
Chinese · Side
Mantou (馒头), Chinese steamed buns
From the zcook collection
Plain flour buns raised with instant yeast and baking powder. Choose hand or mixer kneading, then six medium round buns or four larger flower buns with optional Chinese dates. Steam from cold water after one shaped-bun proof.
- Vegan
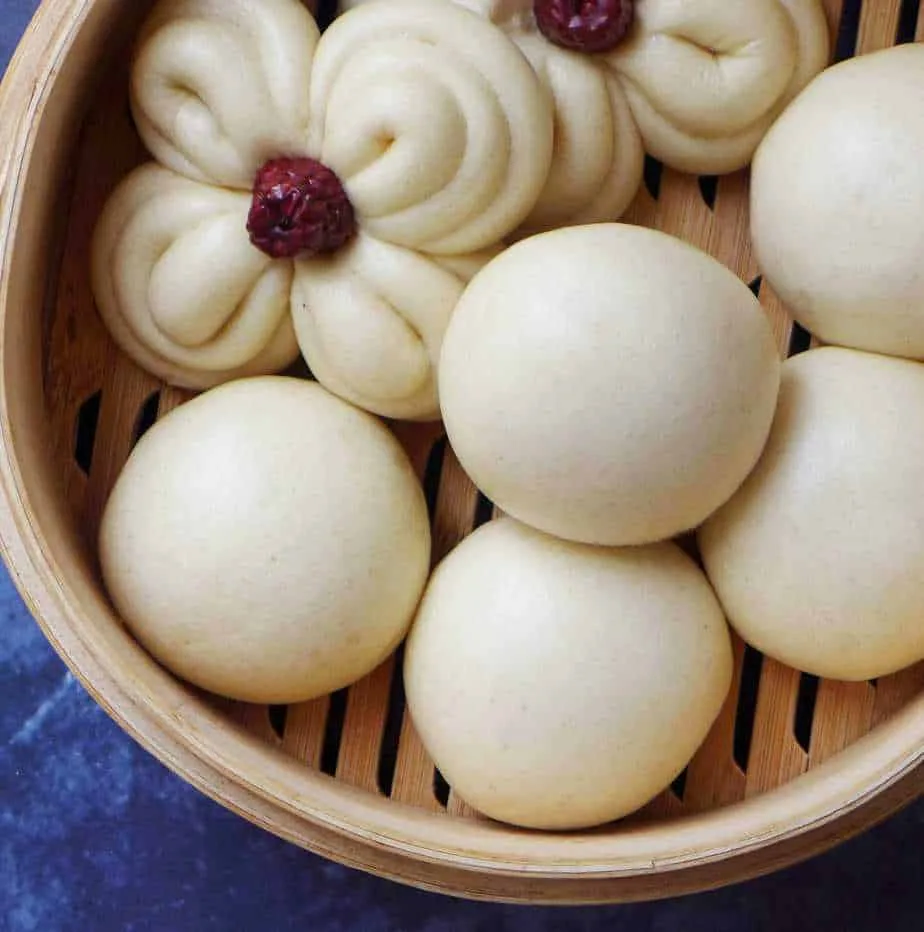
- Dairy-free
- Chinese
- Side
- Steamed buns
- Vegetarian
- Prep
- 10 min
- Cook
- 12 min
- Serves
- 6 medium round buns (or 4 larger round or flower buns)
- Level
- Medium
- Energy
- 166 kcal
Method9 steps
Step 1: Choose hand kneading or the stand mixer before starting. Mix all 250 g plain flour, 1 tsp instant yeast, ¾ tsp baking powder and 1 tbsp sugar. Add lukewarm water gradually from the 130 g allowance, combining until no loose flour remains. Aim for a medium-firm dough that does not stick to hands or the work surface; hold back water, or add a little extra, only as the flour needs. Do not add the optional dates to the dough.
Step 2: For hand kneading only, briefly knead the combined dough, cover and rest it for 10 minutes. If using the stand mixer, skip this hand-kneading rest and continue directly to step 3.
Step 3: For the hand route, knead the rested dough until its surface is evenly very smooth. For the stand-mixer route, knead the combined dough on low speed for about 8 minutes until very smooth, then finish by hand for about 1 minute. Choose one kneading route, then choose either round or flower shaping in steps 4 and 5.
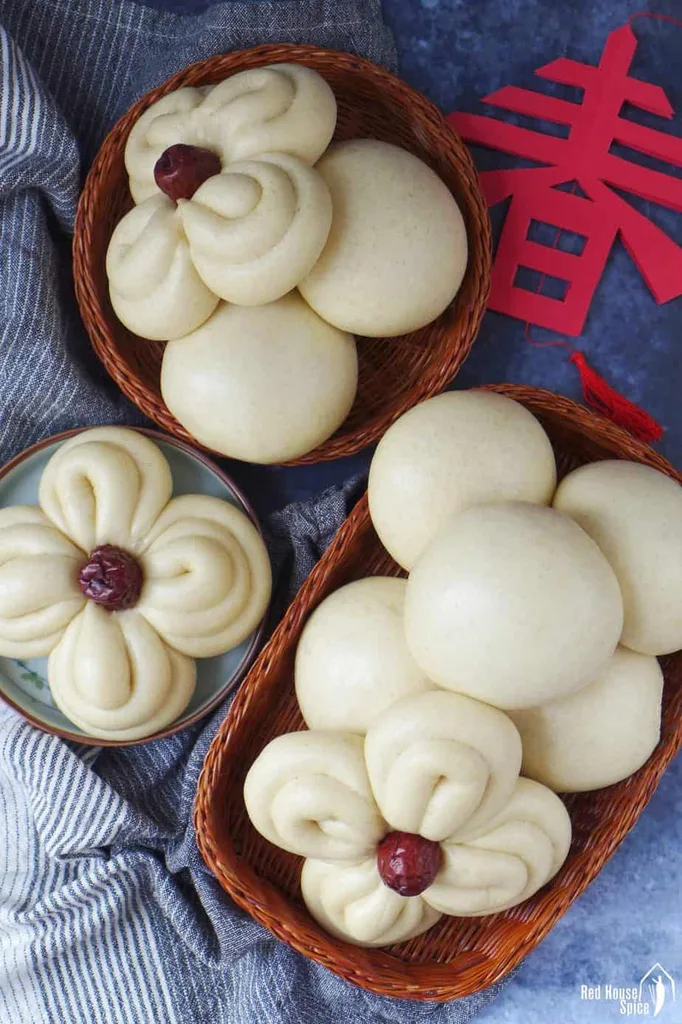
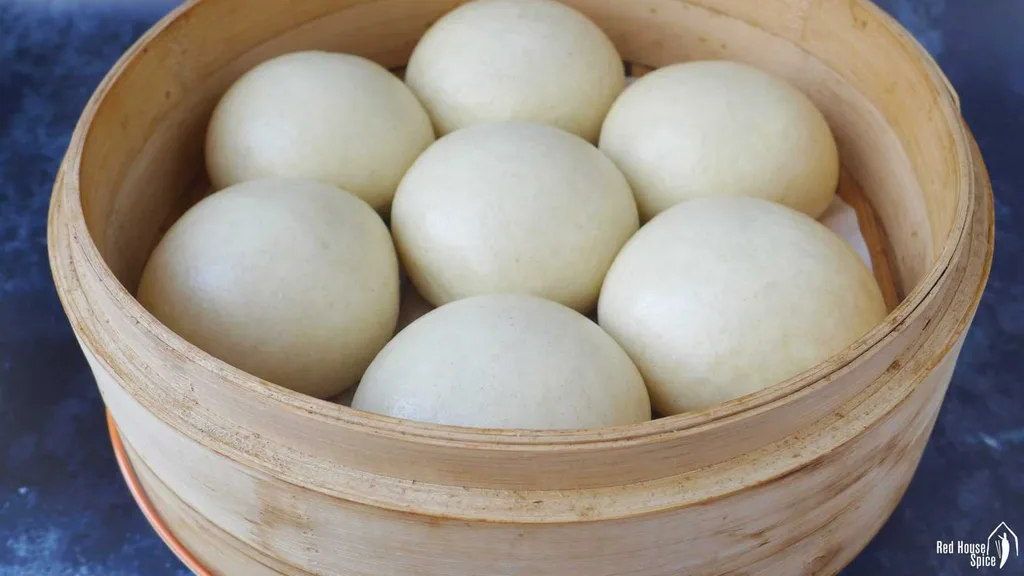
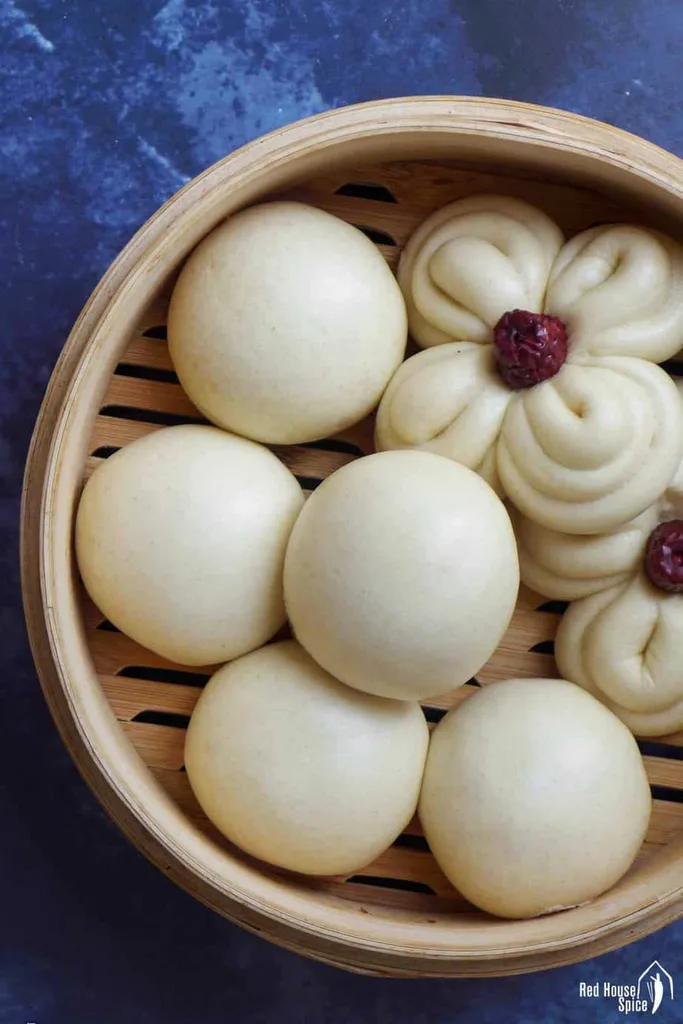
Step 4: For six medium round buns, divide the smooth dough into six equal pieces. Work one at a time: knead and fold its edges towards the centre without turning it over to create a smooth outer surface. Rotate between your hands to make a slightly raised round bun. Skip flower shaping and continue to step 6. If you prefer four larger round buns, divide the same dough into four instead and use the longer steaming guide in step 9.
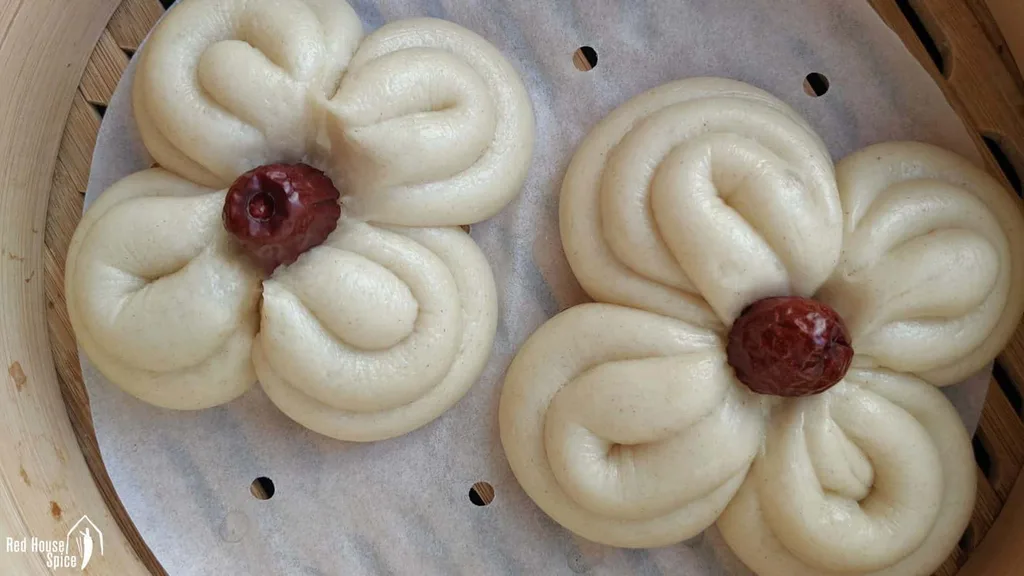
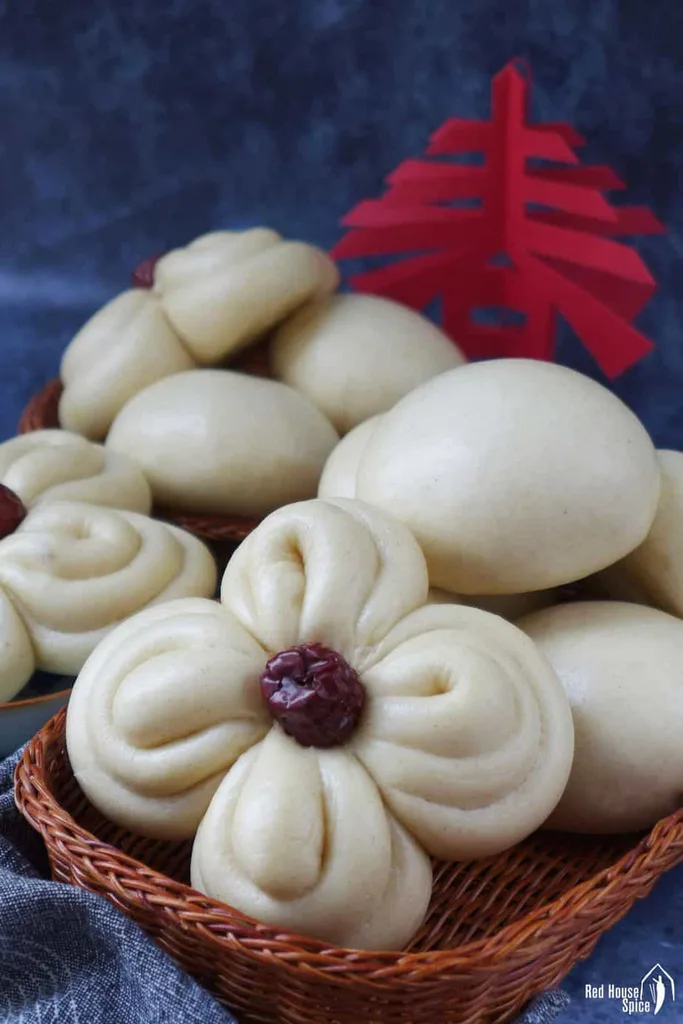
Step 5: For the alternative flower buns, skip round shaping and divide the smooth dough into four equal pieces. Roll each into a thin rope, bend its ends into opposite J shapes and curl both ends towards the centre. Squeeze the middle gently with a pair of chopsticks, one on each side, to form petals. Put one Chinese date in the centre of each flower, using all four dates for this option.
Step 6: Line the steamer basket with steamer parchment and arrange only the buns from your chosen shaping route. Leave ample space between them for expansion during cooking. If using a metal or glass lid, wrap it with a clean tea towel to catch condensation, securing the cloth safely away from the heat.
Step 7: Let the shaped buns proof for around 30 minutes at about 25°C / 77°F, checking their condition rather than waiting for doubling. They should be slightly bigger, very smooth, and spring back when gently pressed. A cooler room may need longer and a warmer room less; avoid overproofing.
Step 8: Put cold water in the pot below the steamer basket, keeping it below the buns. Set the covered basket over the pot and heat on high until the water reaches a full boil. Do not start the steaming clock during this heat-up.
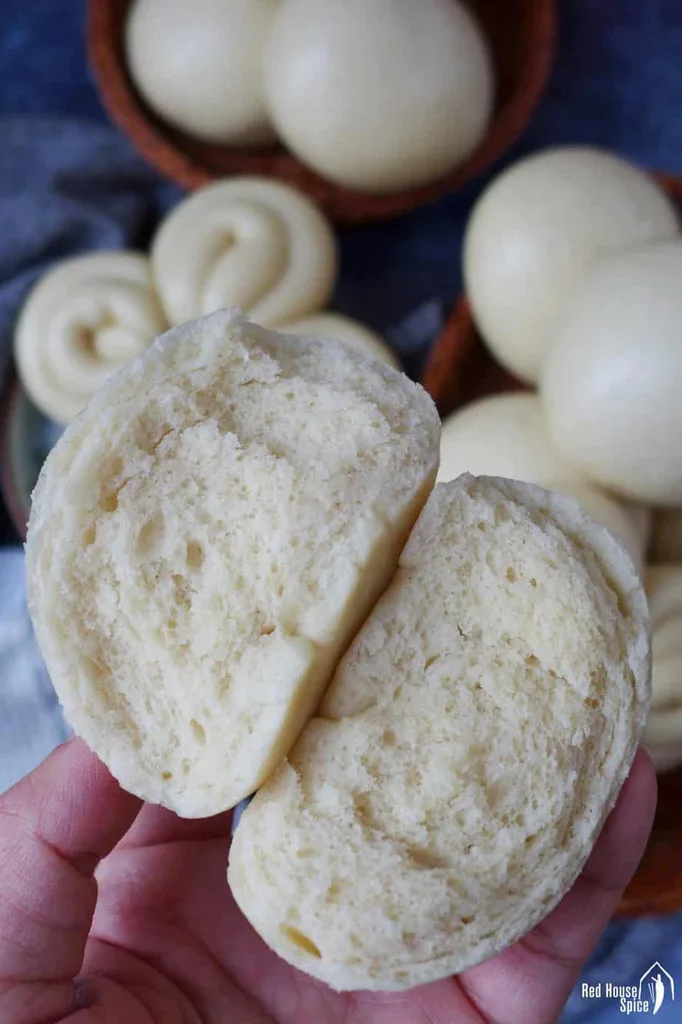
Step 9: Once the water is at a full boil, reduce to medium-low and steam the six medium round buns for 10 minutes. For four larger round or flower buns, steam for 12 minutes instead. Keep the steamer covered and maintain steady steam until the buns are cooked through and fluffy. Remove the lid carefully and serve warm; no extra covered wait is needed after cooking.
Good to know
Store the buns
Step 1: If saving cooked buns, let them cool on a rack, then put them in a closed container or bag. Keep in the refrigerator for up to 4 days or in the freezer for up to 2 months.
Good to know
Reheat the buns
Step 1: To reheat refrigerated buns, steam them covered for about 5 minutes. For frozen buns, put them straight into the steamer without thawing and steam for about 7 minutes instead. Begin these guides once steady steam resumes with the buns in place, and continue if needed until soft and hot throughout.
Photos (7)
Comments
0 threadsSign in to join the discussion.
No comments yet. Start the discussion.