
Japanese · Dessert
Tsukimi Dango (Moon Gazing Dumplings)
From the zcook collection
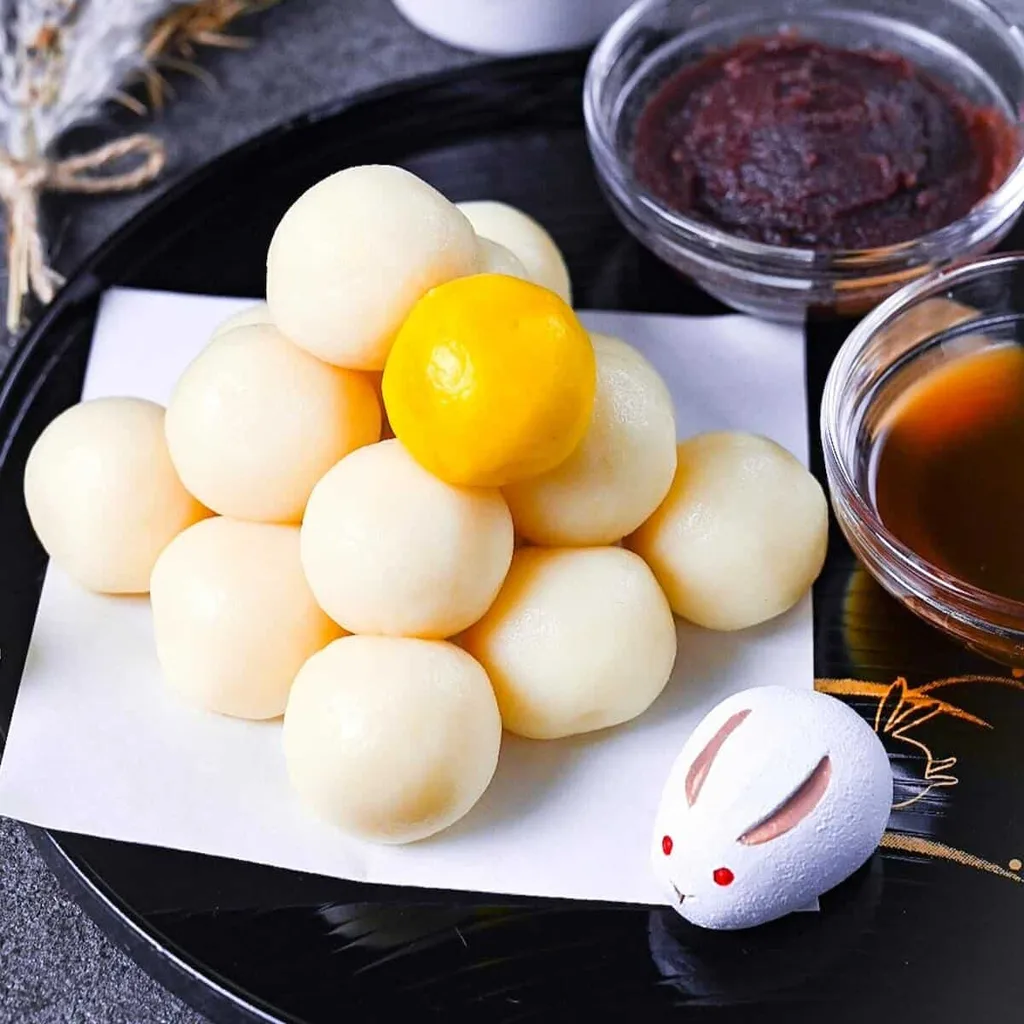
Tsukimi dango is a chewy rice dumpling displayed and eaten during the Japanese mid-autumn festival when the moon is at its most beautiful. Learn the easy way to make this festive sweet with just 3 ingredients!
- Vegan
- Dairy-free
- Dessert
- Prep
- 15 min
- Cook
- 10 min
- Serves
- 15 dumplings
- Level
- Hard
Method15 steps
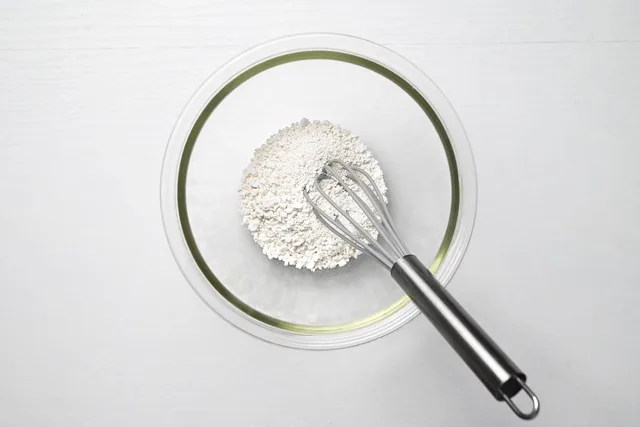
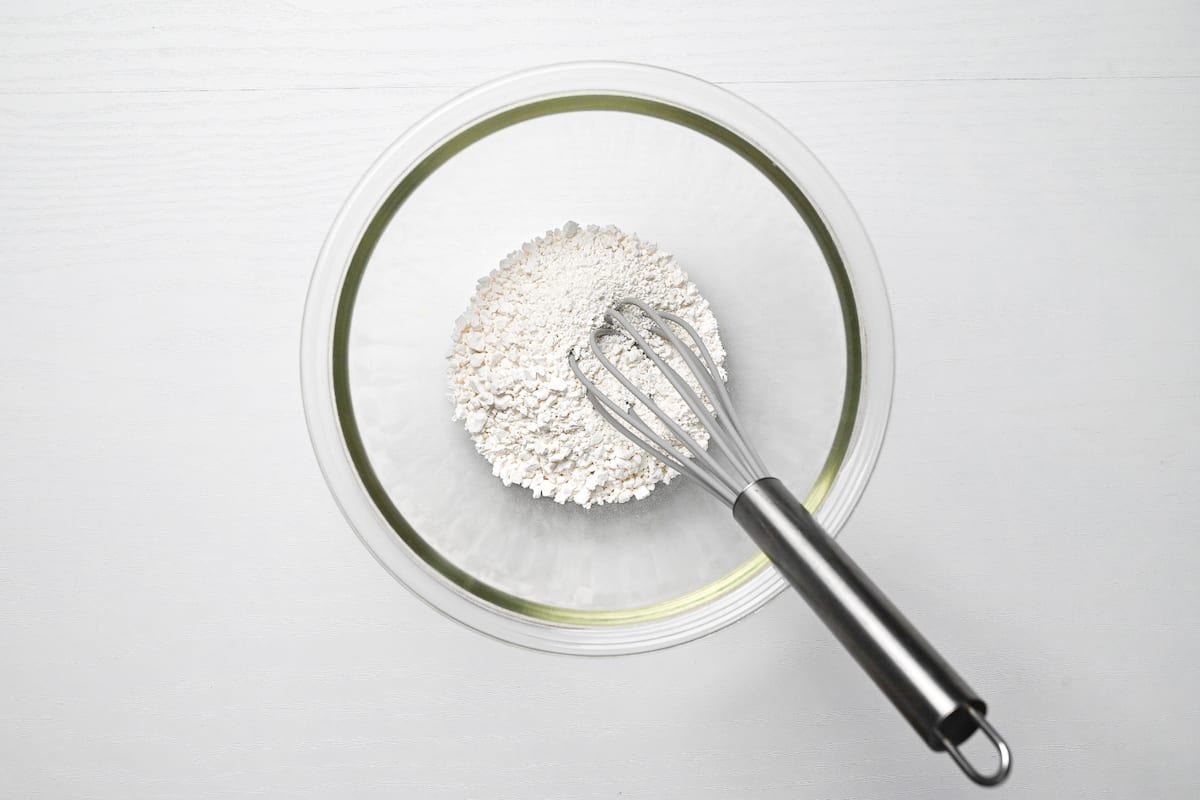
Step 1: Bring a pot of water to a rolling boil over medium heat. While you wait, whisk the 100 g glutinous rice flour in a bowl. (If you use mochiko you can sift it instead.)
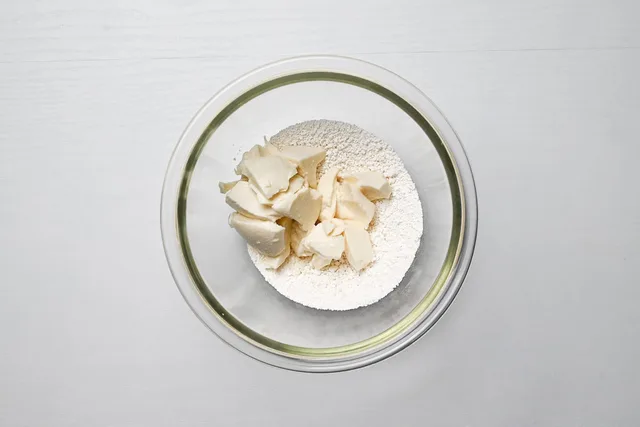
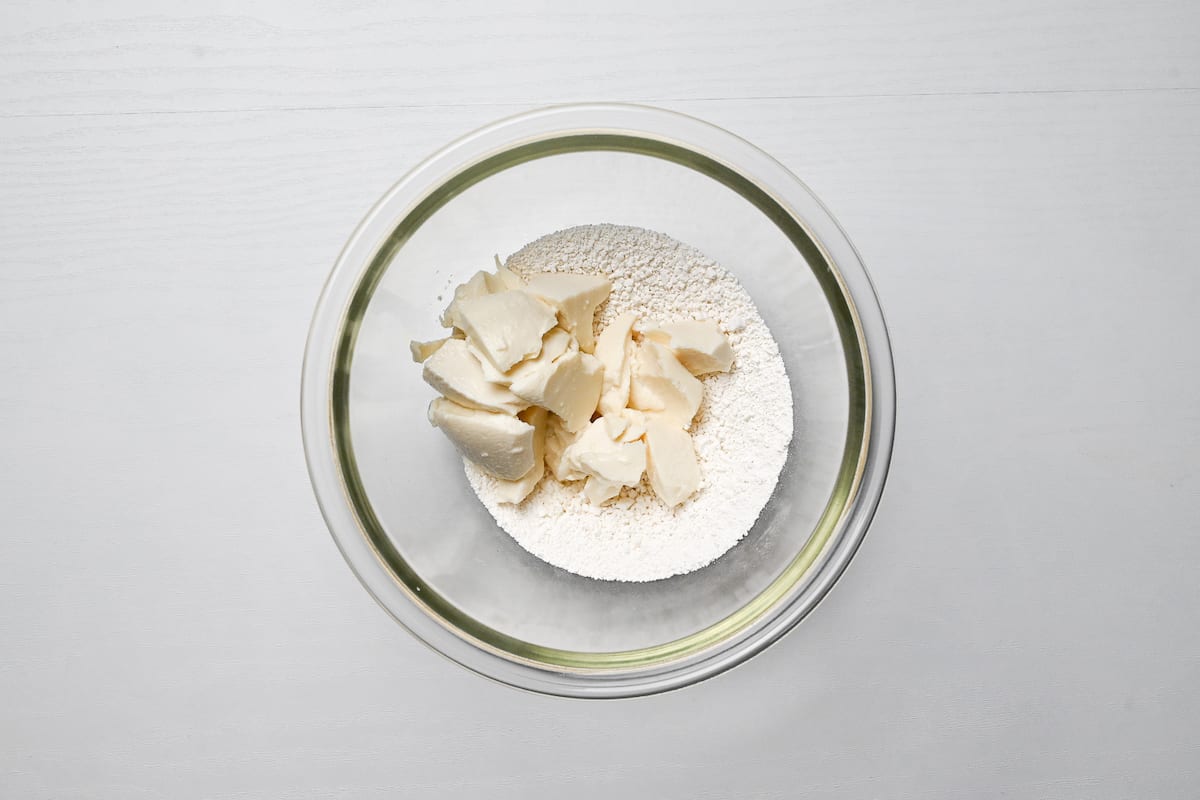
Step 2: Add 125 g silken tofu to the bowl and knead it with your hands.
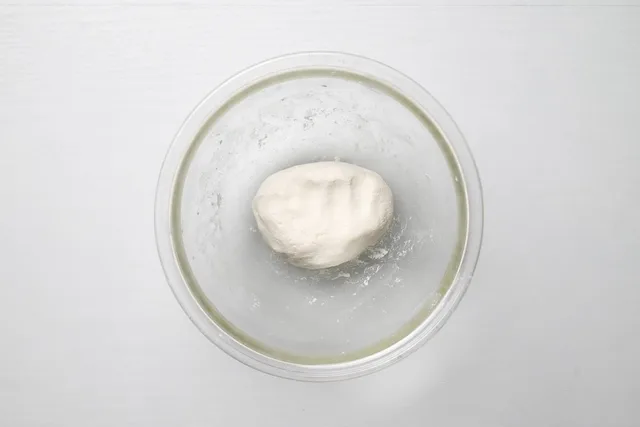
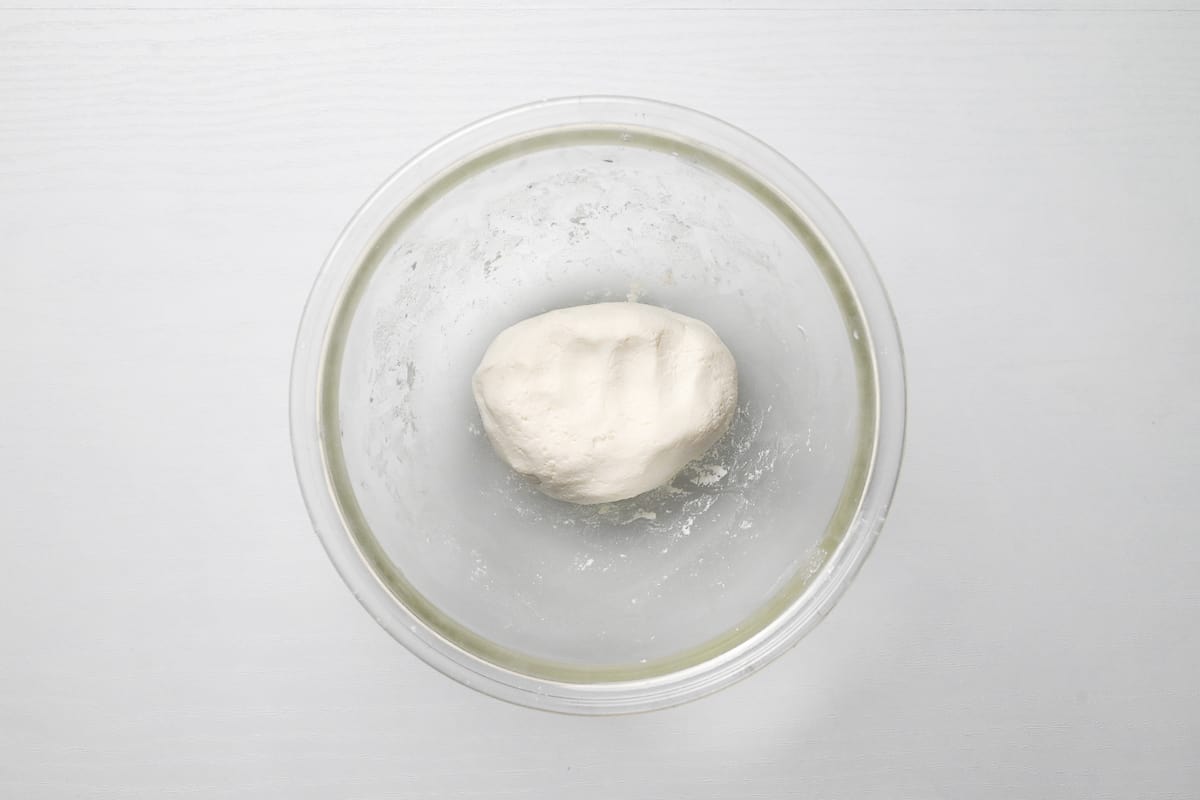
Step 3: Knead the flour-and-tofu dough until smooth like play dough, with no cracks. If dry, add a little extra silken tofu in teaspoon increments. If extra tofu is unavailable, add water 1/2 tsp at a time instead. Stop when smooth, not wet.
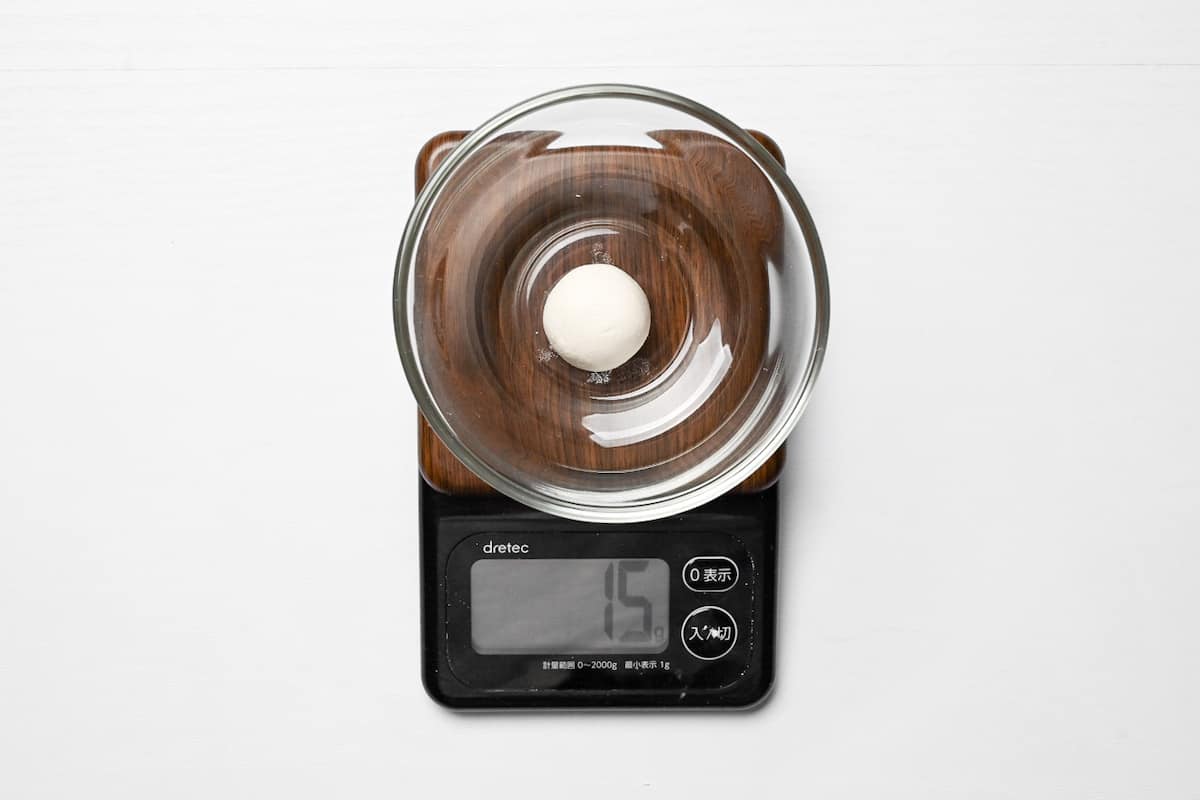
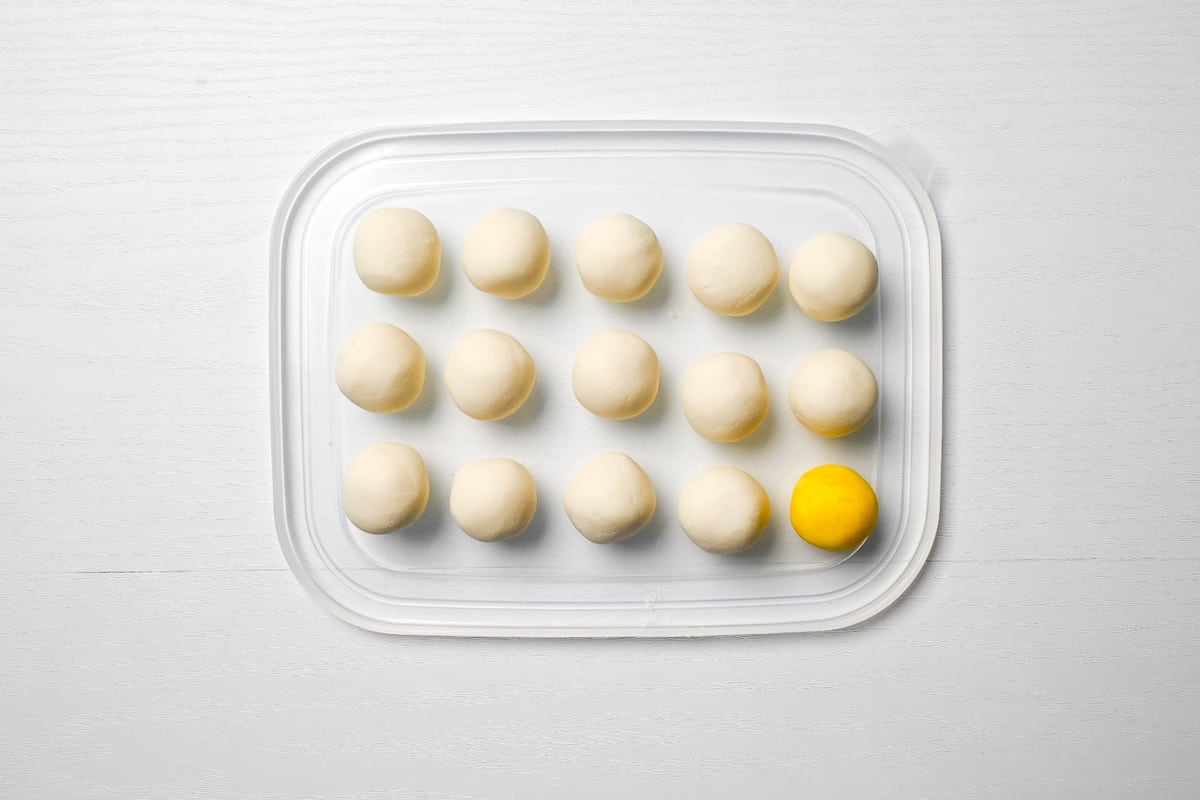
Step 4: Divide the dough into fifteen roughly equal pieces, about 14–15 g each. Roll fourteen into balls and reserve the final piece for the optional yellow dumpling.
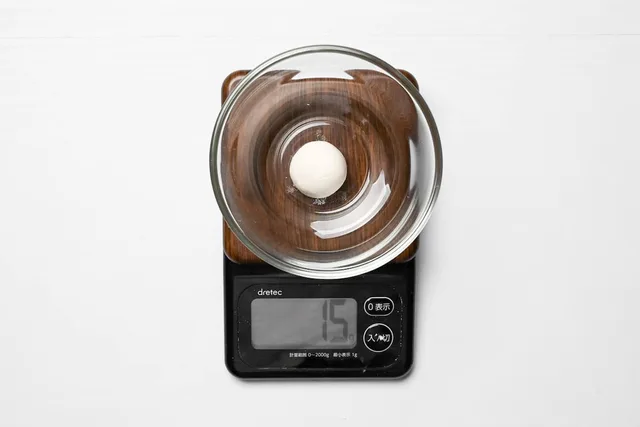
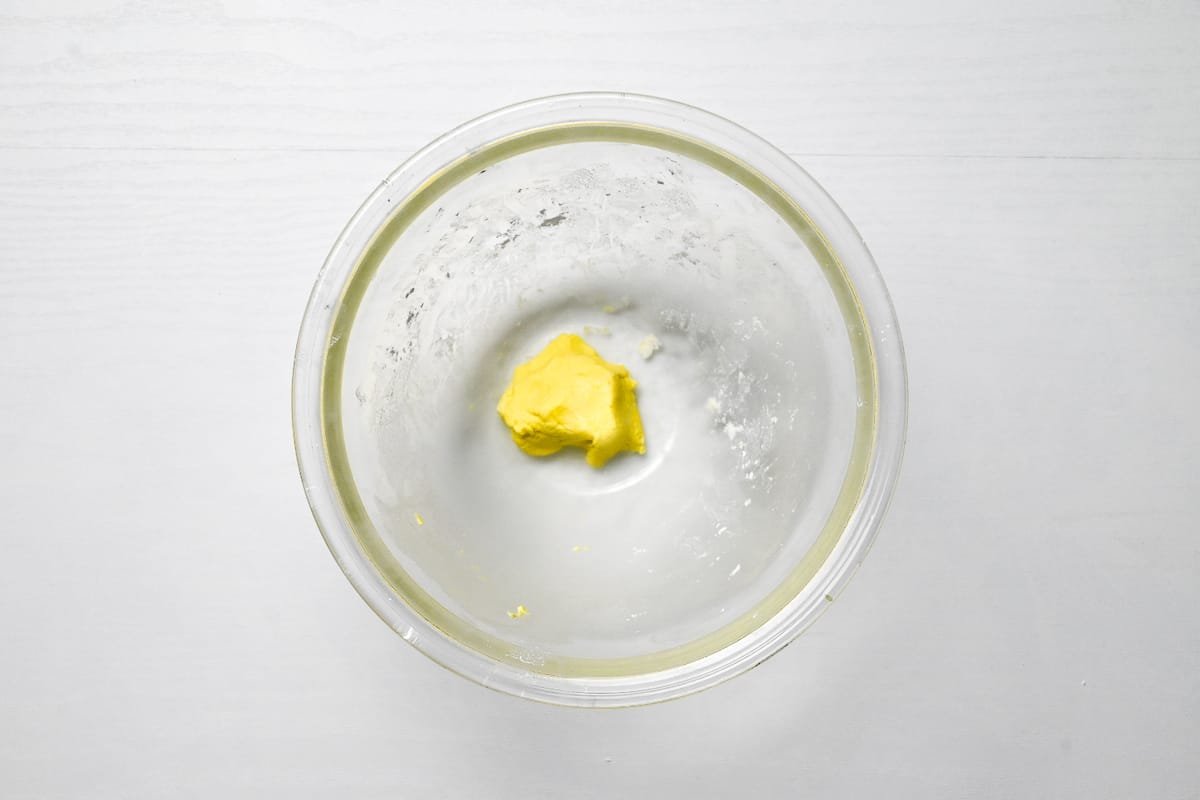
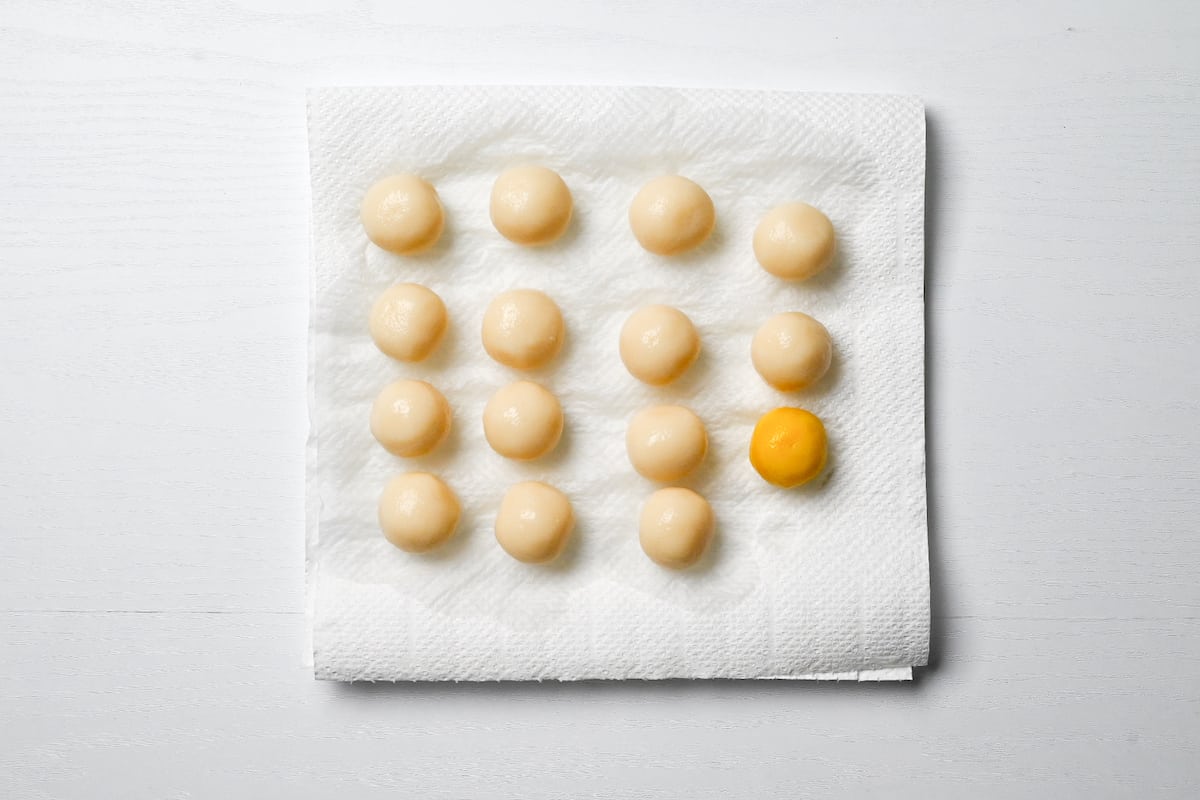
Step 5: Optionally knead a pinch of yellow food dye or turmeric into the reserved final piece until evenly coloured, then roll it into a ball. If omitting colour, roll it plain.
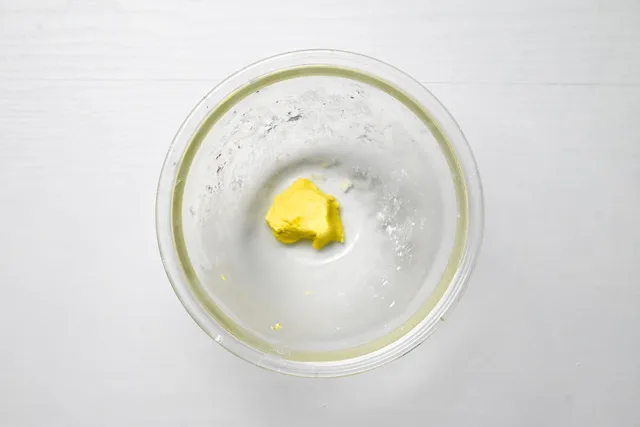
Step 6: You should have 15 balls in total.
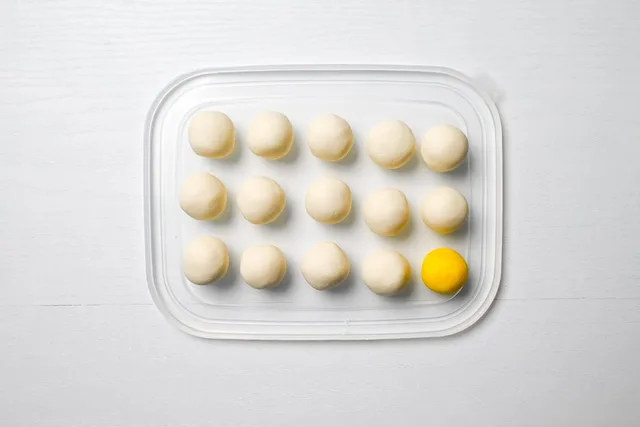
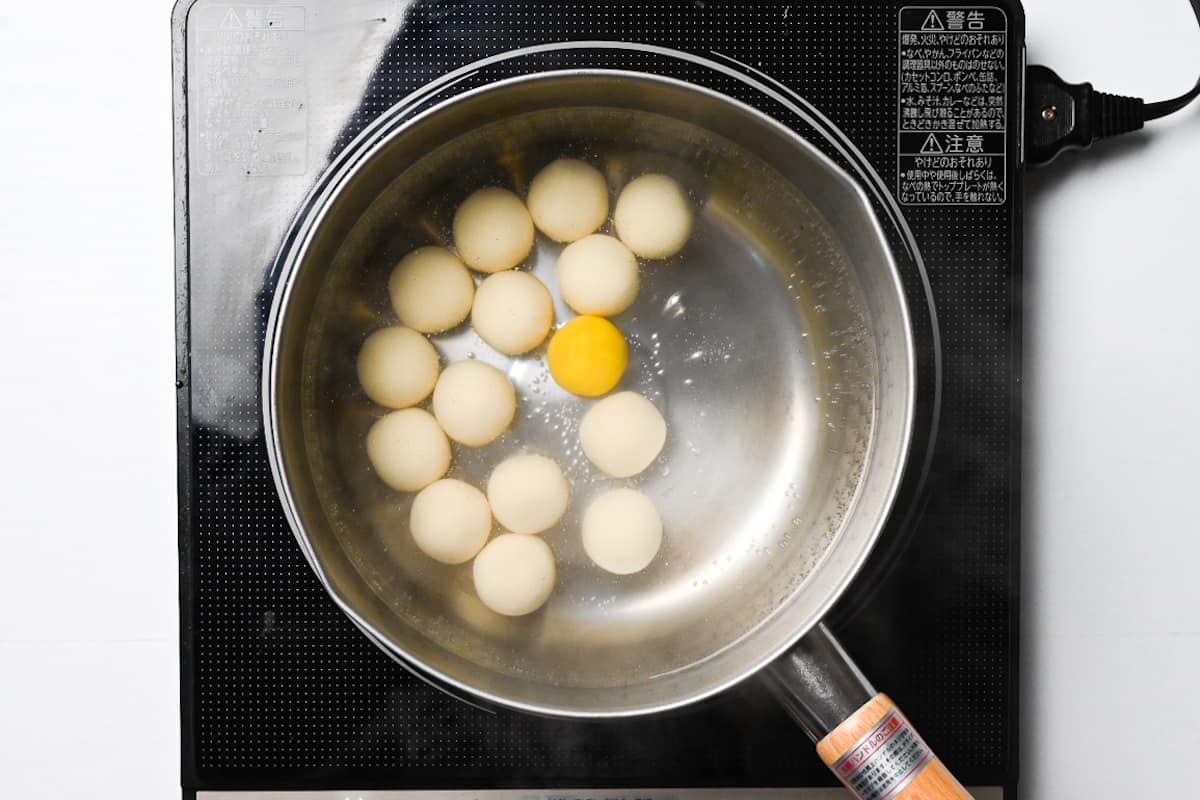
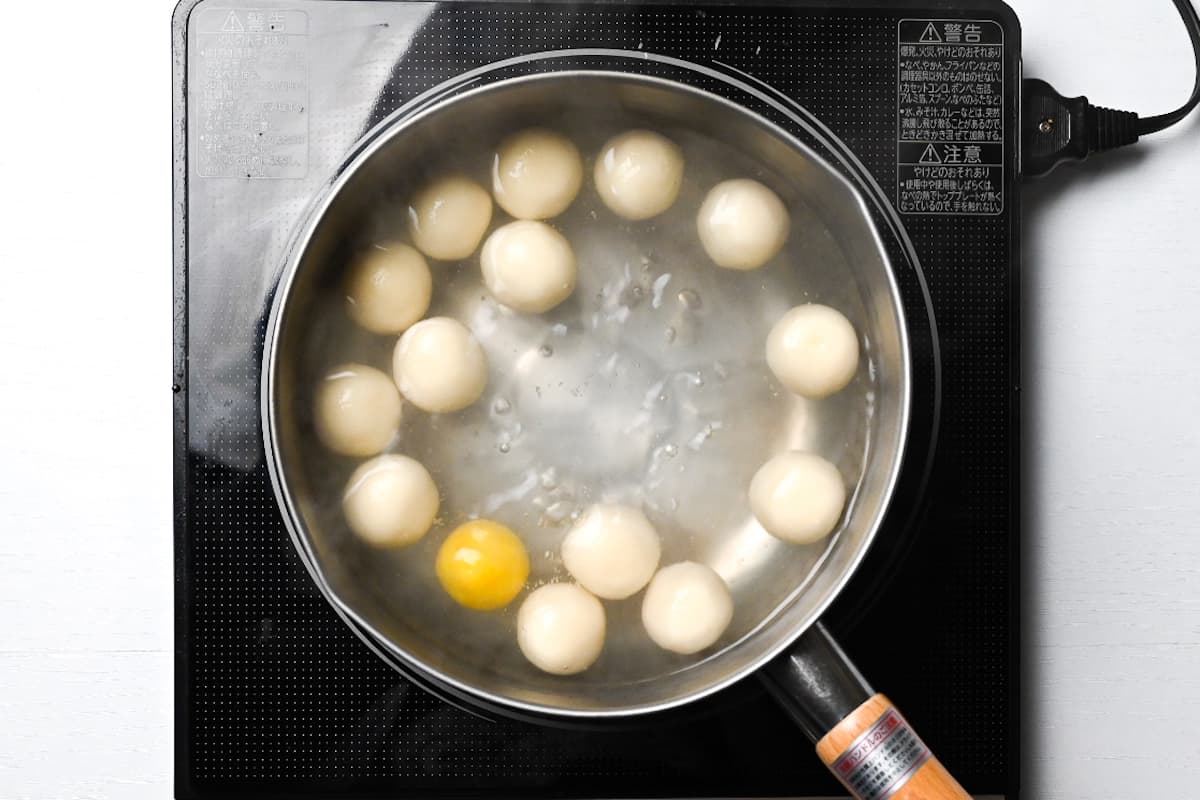
Step 7: Gently add the dango to the pot of boiling water and stir from time to time to stop them from sticking to the bottom.
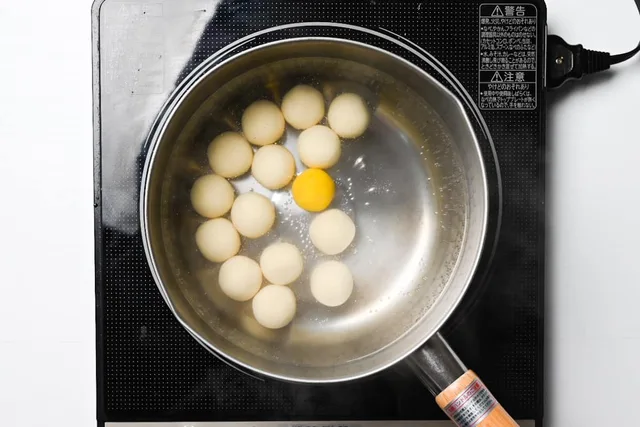
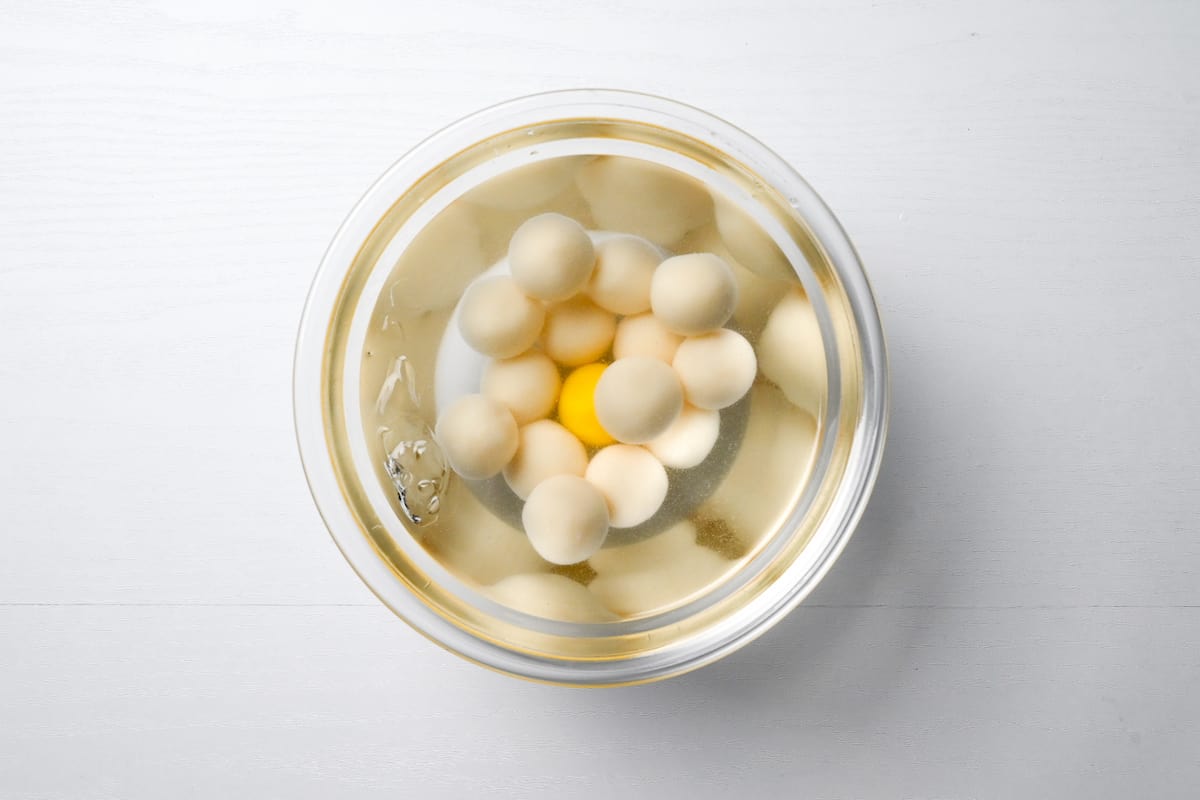
Step 8: Once they start to float (approx 5-7 minutes later) set a timer for 2 minutes. During these two minutes, prepare a bowl of ice cold water.
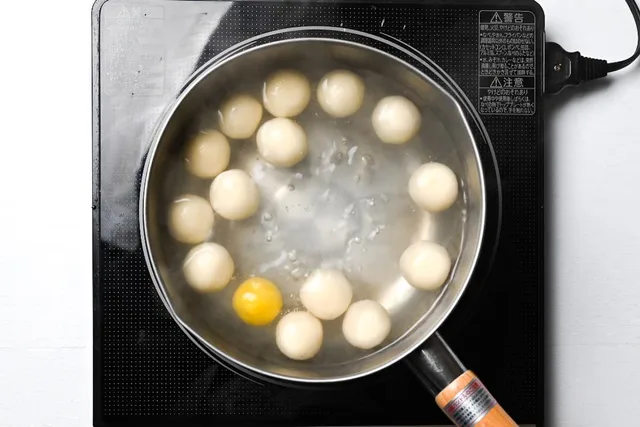
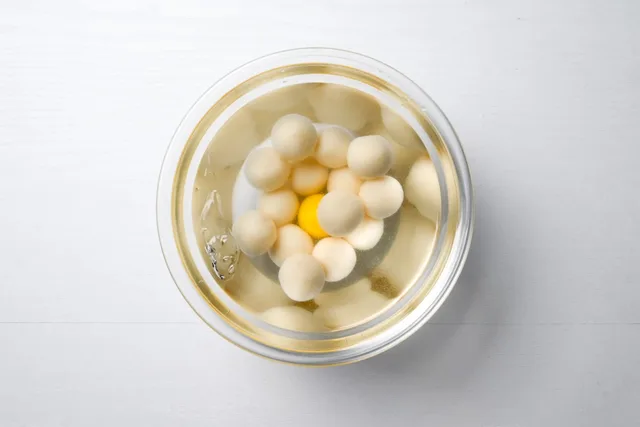
Step 9: After 2 minutes of floating, transfer the dango to a bowl of ice cold water and leave to cool for 5 minutes.
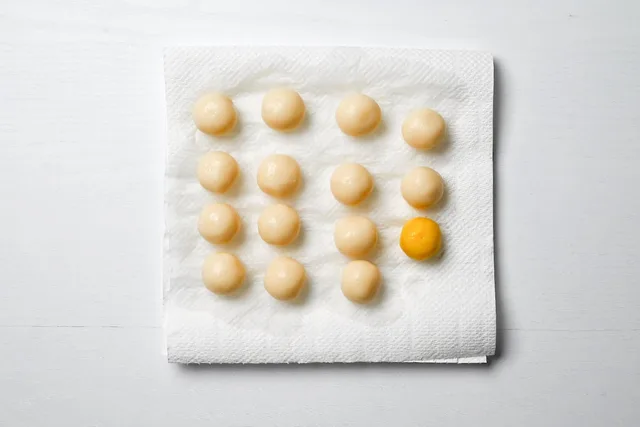
Step 10: Line a plate with kitchen paper and place the dango on the paper, leave them to air dry for about 30 minutes.
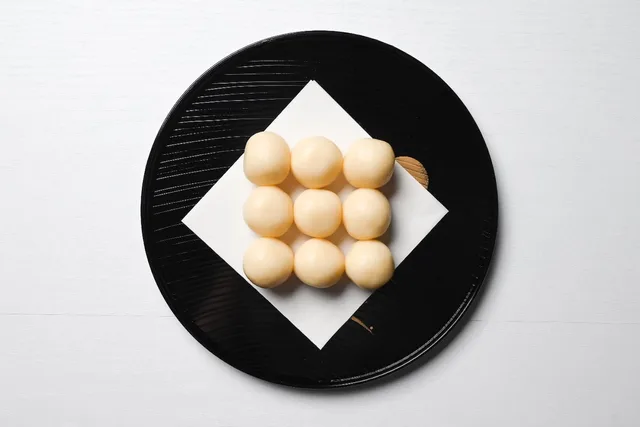
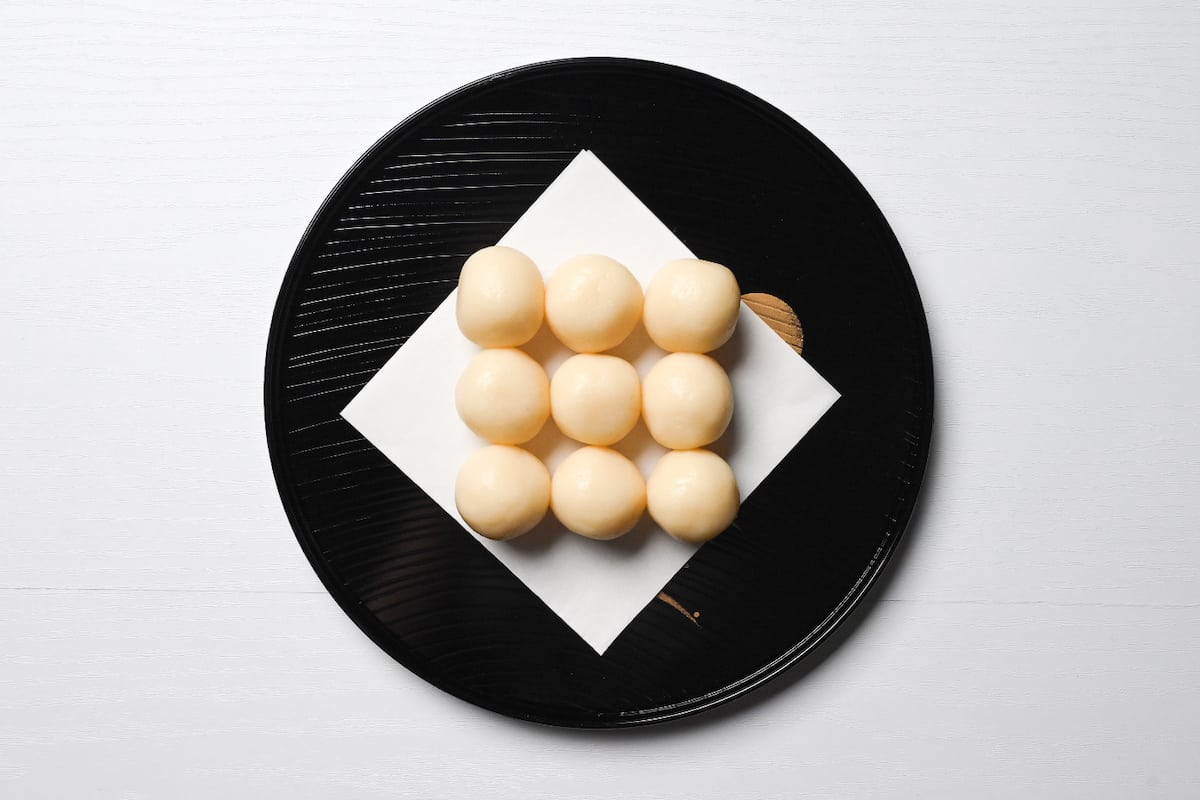
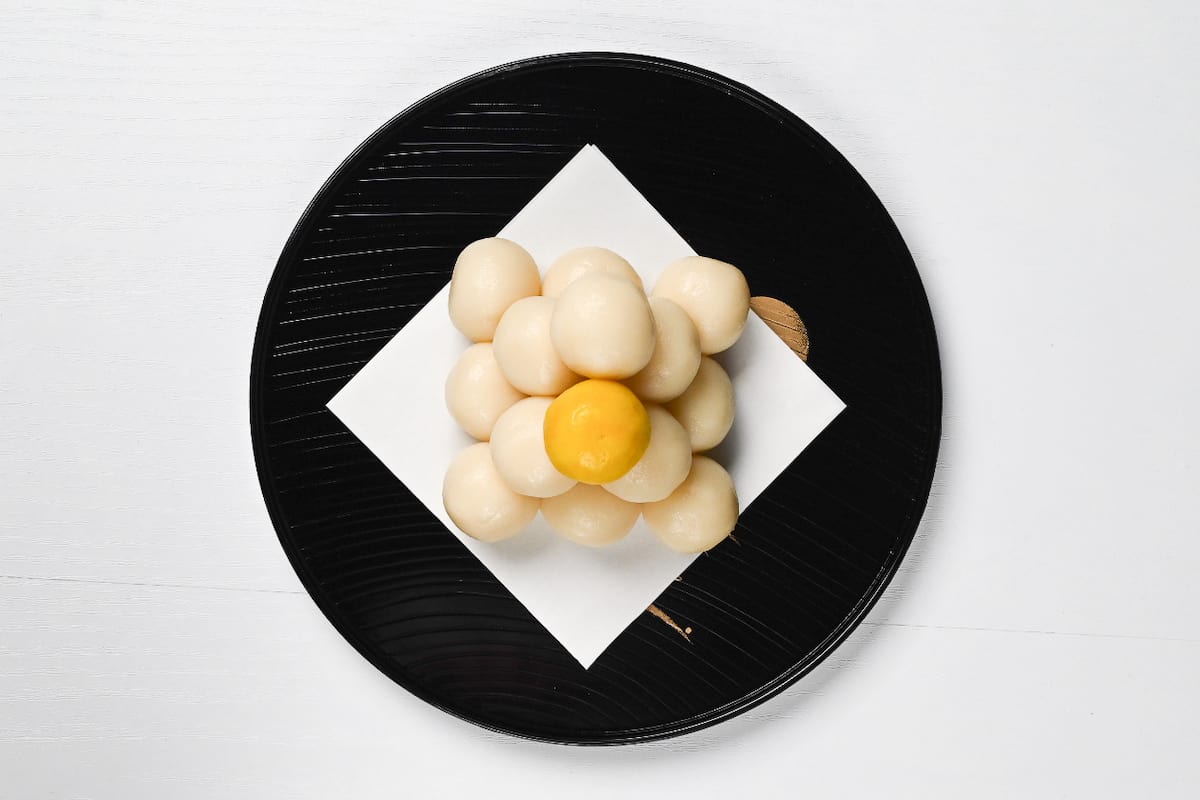
Step 11: Make the base of the pyramid by lining up 9 balls in a 3x3 formation.
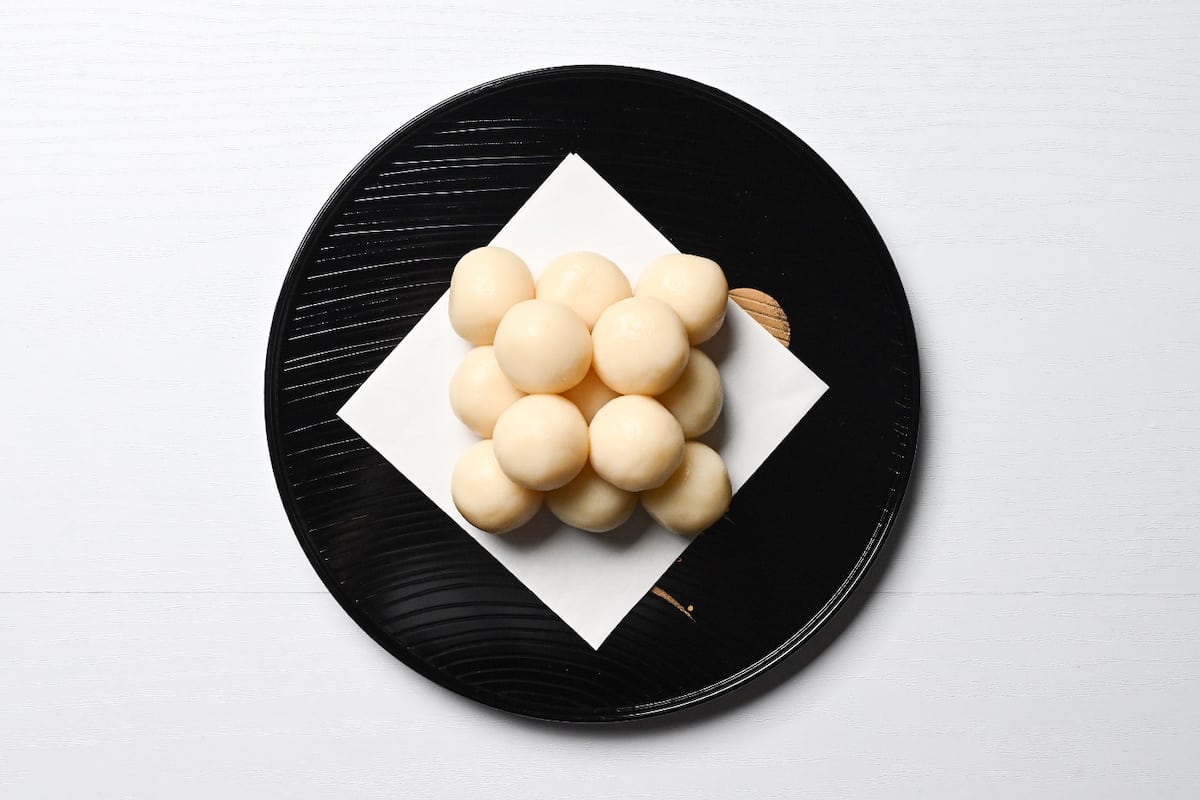
Step 12: For the next layer, add 4 balls in a 2x2 formation.
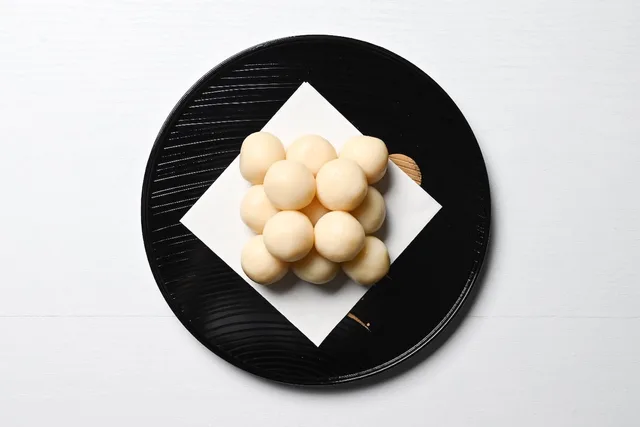
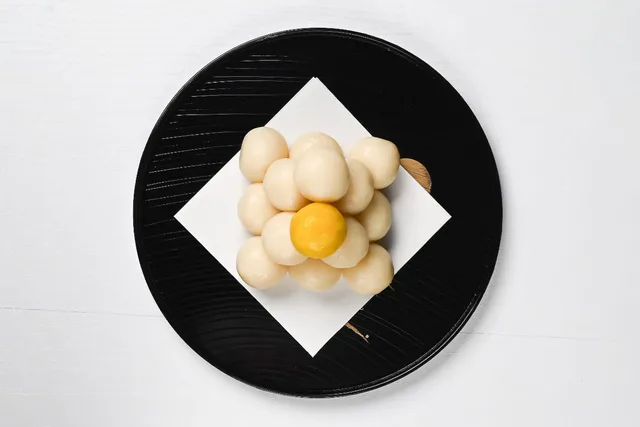
Step 13: The top layer has two. If you make a yellow one, it should be on the top at the front of the display.
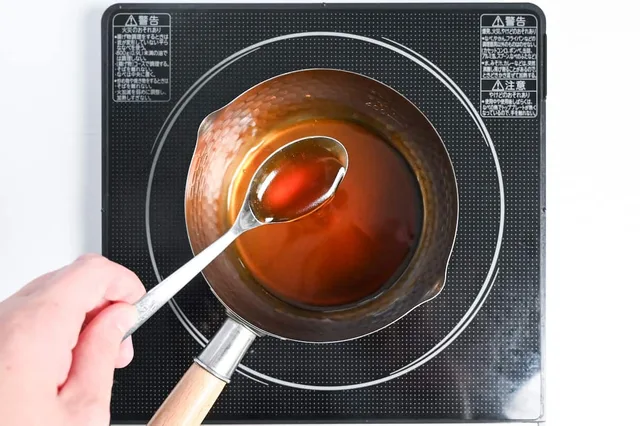
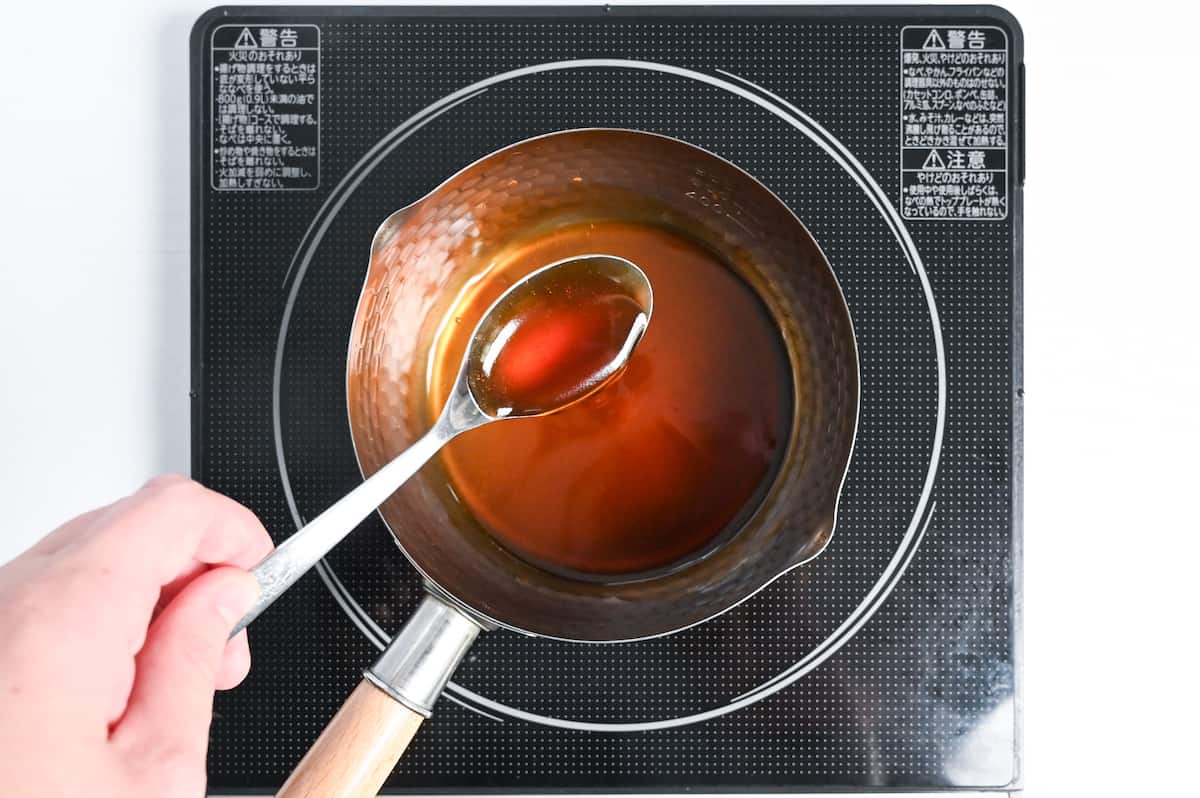
Step 14: Optional mitarashi sauce: mix 1 tbsp caster sugar, 1/2 tbsp mirin, 1/2 tbsp Japanese soy sauce, 1/2 tsp cornstarch and 1 1/2 tbsp cold water in a small saucepan. Heat on low, stirring continuously until thick and glossy.
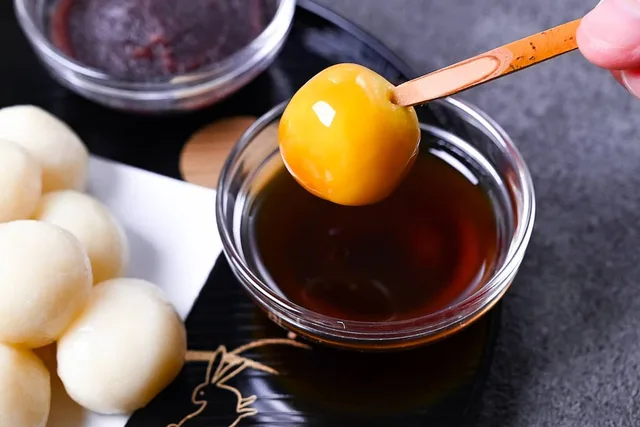
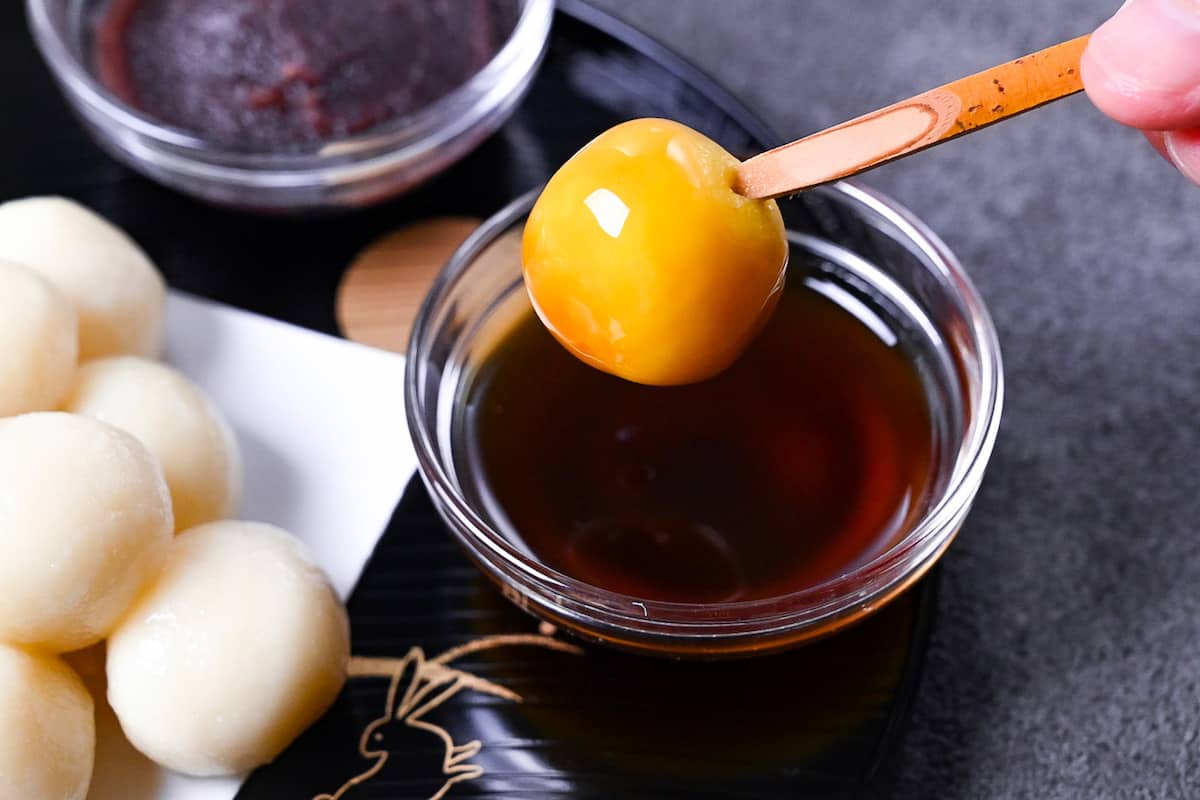
Step 15: Serve the dango with the optional homemade mitarashi sauce or smooth red bean paste.
Photos (1)
Comments
0 threadsSign in to join the discussion.


No comments yet. Start the discussion.