
Chinese · Dessert
Classic Mooncakes with Red Bean Paste
From the zcook collection
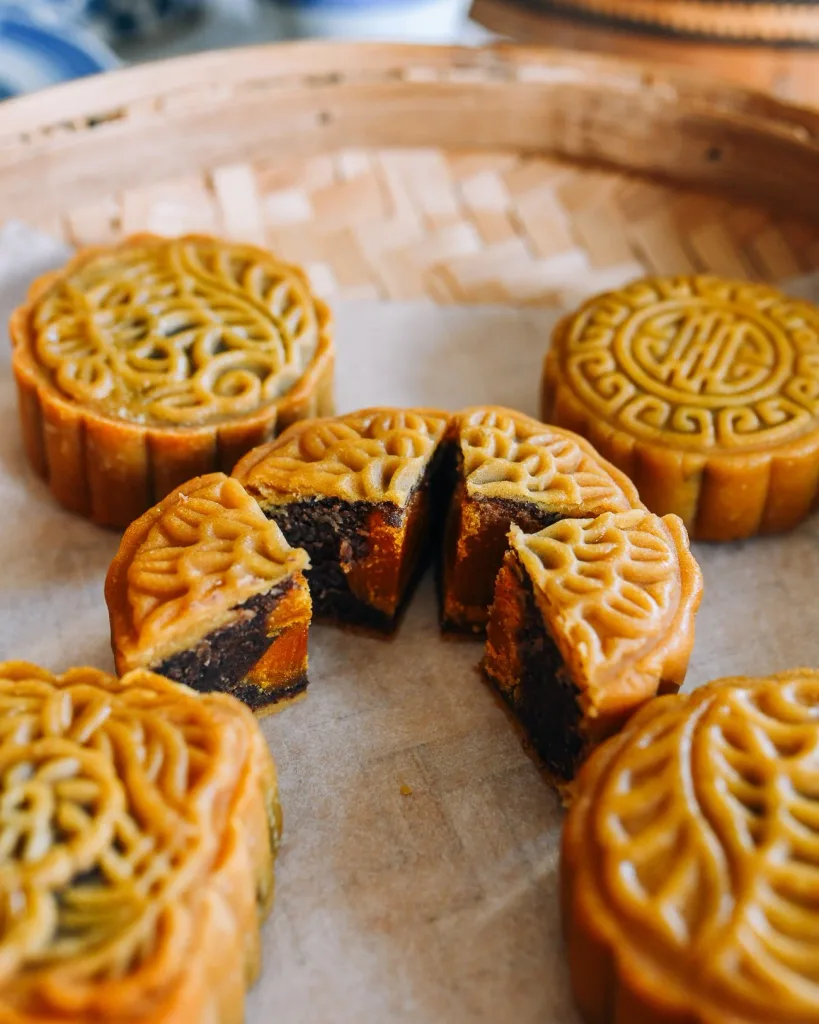
Patterned baked mooncakes filled with homemade red bean paste, with an optional centre of pre-cooked salted duck egg yolk.
- Vegetarian
- Dairy-free
- Chinese
- Dessert
- Mooncakes
- Red bean
- Prep
- 4 hr
- Serves
- 24 mooncakes
- Level
- Hard
- Energy
- 380 kcal
Method25 steps
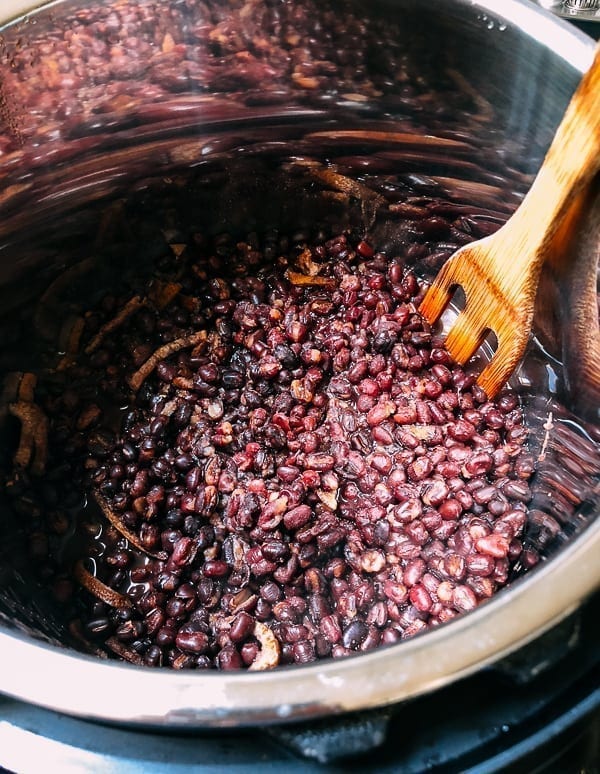
Step 1: Choose either the pressure-cooker route here or the stovetop route in step 2 before starting; cook the beans only once. For the pressure-cooker route, rinse all 450 g adzuki beans and drain. Add them and the 830 ml pressure-cooker water to the Instant Pot, close it according to its directions and select Bean/Chili for 25 minutes; very large or older beans may need a 30–35-minute setting. After cooking, leave the pot untouched for 10 minutes, then carefully vent as directed, keeping hands away from the steam. Open only when pressure is fully released. The beans must be soft enough to mash; if necessary, continue cooking according to the appliance directions. Skip step 2 and continue at step 3.
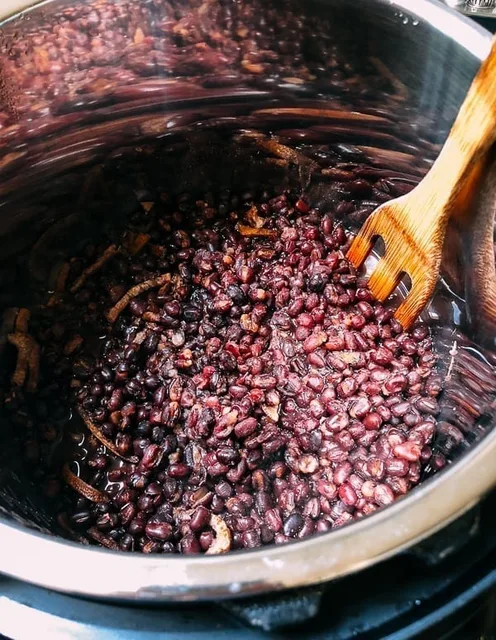
Step 2: For the stovetop route only, skip step 1. Rinse the 450 g dried beans, cover with soaking water extending 2 inches (5 cm) above them, and soak overnight in the refrigerator. Drain and discard the soak water. Put the soaked beans in a pot with the separate 4 cups fresh cooking water, bring to a boil, reduce to medium-low and cover. Simmer for 40–60 minutes, checking from 40 minutes and stirring occasionally, until the beans mash easily with the back of a spoon. If they begin to dry, add the separate top-up water ¼ cup at a time. Keep the cooked beans and remaining cooking liquid for blending.
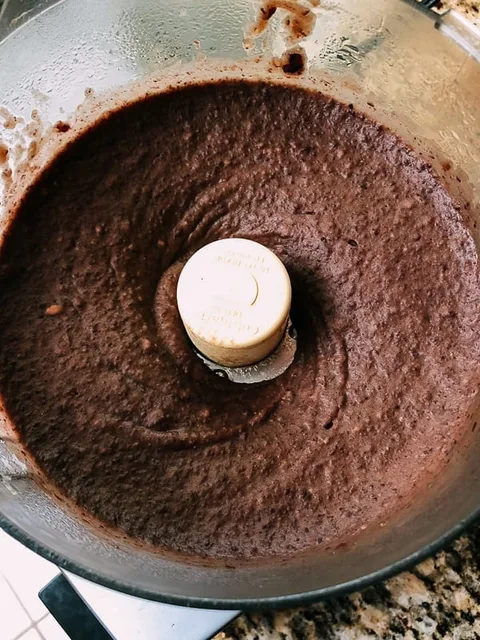
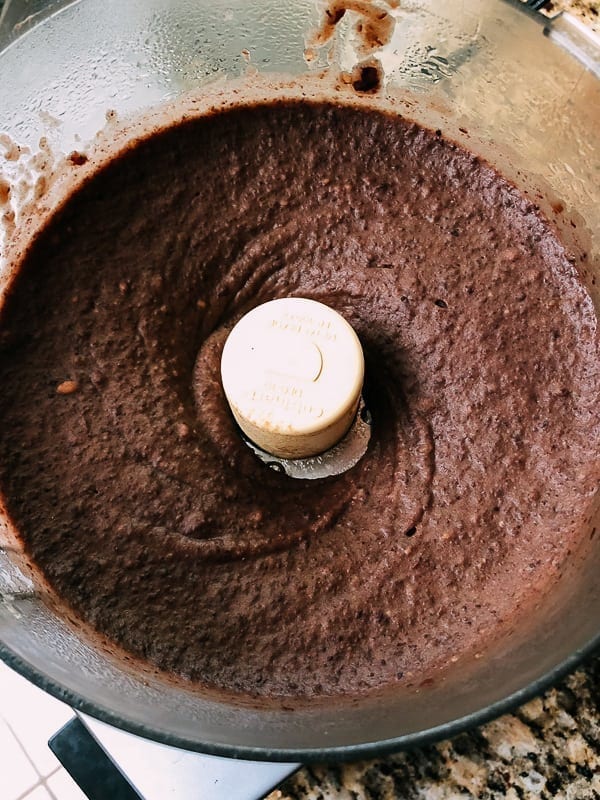
Step 3: Transfer the cooked beans and retained cooking liquid from your single chosen cooking route to a food processor. Blend until very smooth, working in batches if needed and following the processor’s hot-food directions. Add only a few drops of the separate puree water if the mixture is too thick to blend.
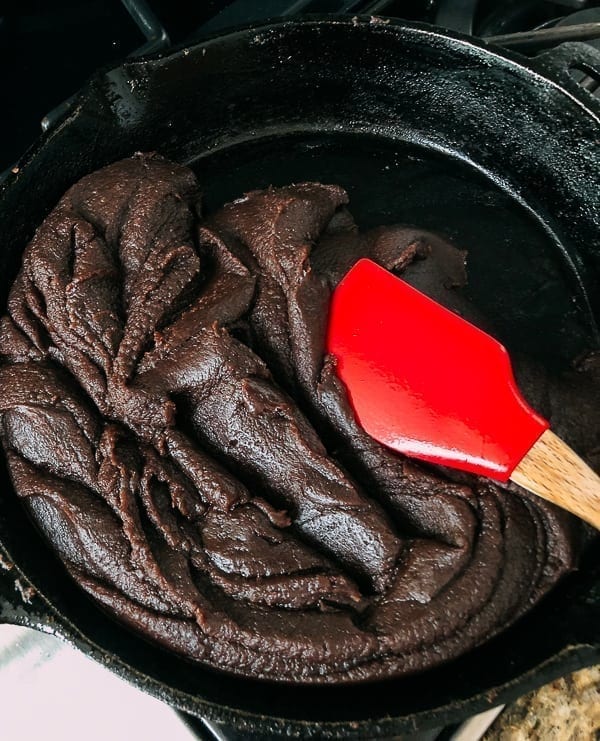
Step 4: Divide the measured 235 ml filling oil into four equal portions of 58.75 ml. Heat the first portion in a heavy or nonstick pan over medium to medium-low heat. Add all the bean puree and 190 g rock sugar. Cook, stirring frequently with a rubber spatula to prevent sticking or scorching, for the first 10 minutes.
Step 5: Add the second 58.75 ml portion of filling oil and stir until fully incorporated. Continue cooking and stirring over medium to medium-low heat for another 10 minutes.
Step 6: Add the third 58.75 ml portion of filling oil and stir until fully incorporated. Continue cooking and stirring gently for another 10 minutes.
Step 7: Add the final 58.75 ml filling-oil portion and incorporate it completely. After the first 30 minutes of paste cooking, continue stirring as needed for up to about 40 minutes overall, until the paste is thick and all 235 ml filling oil is incorporated with no standing oil.
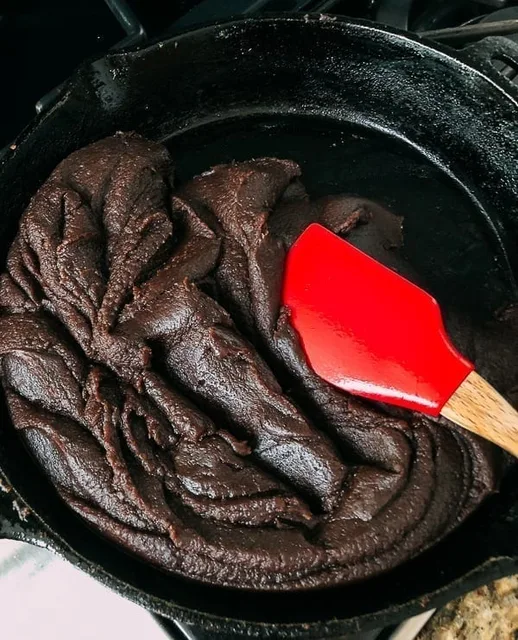
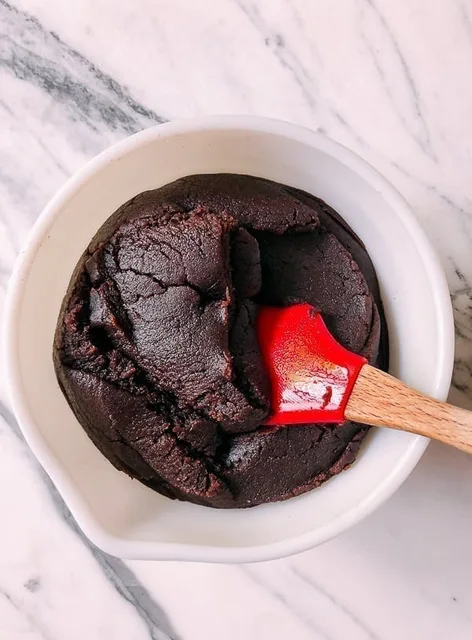
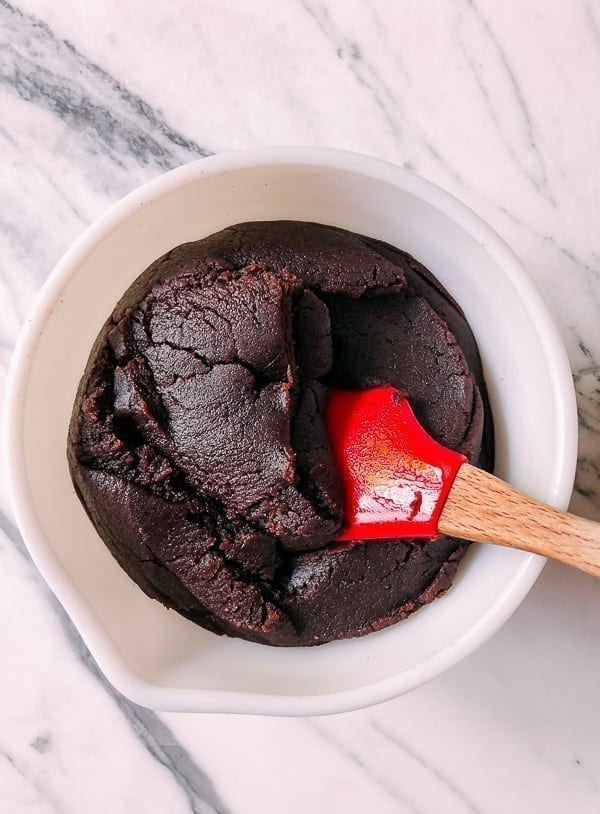
Step 8: Stir your chosen 105–160 g maltose into the thick bean paste. Continue stirring until the filling holds its shape, then transfer to a clean shallow container. Let it cool enough to handle; refrigerate promptly and within 2 hours of cooking if it will not be used immediately. Keep any advance-made filling covered and refrigerated.
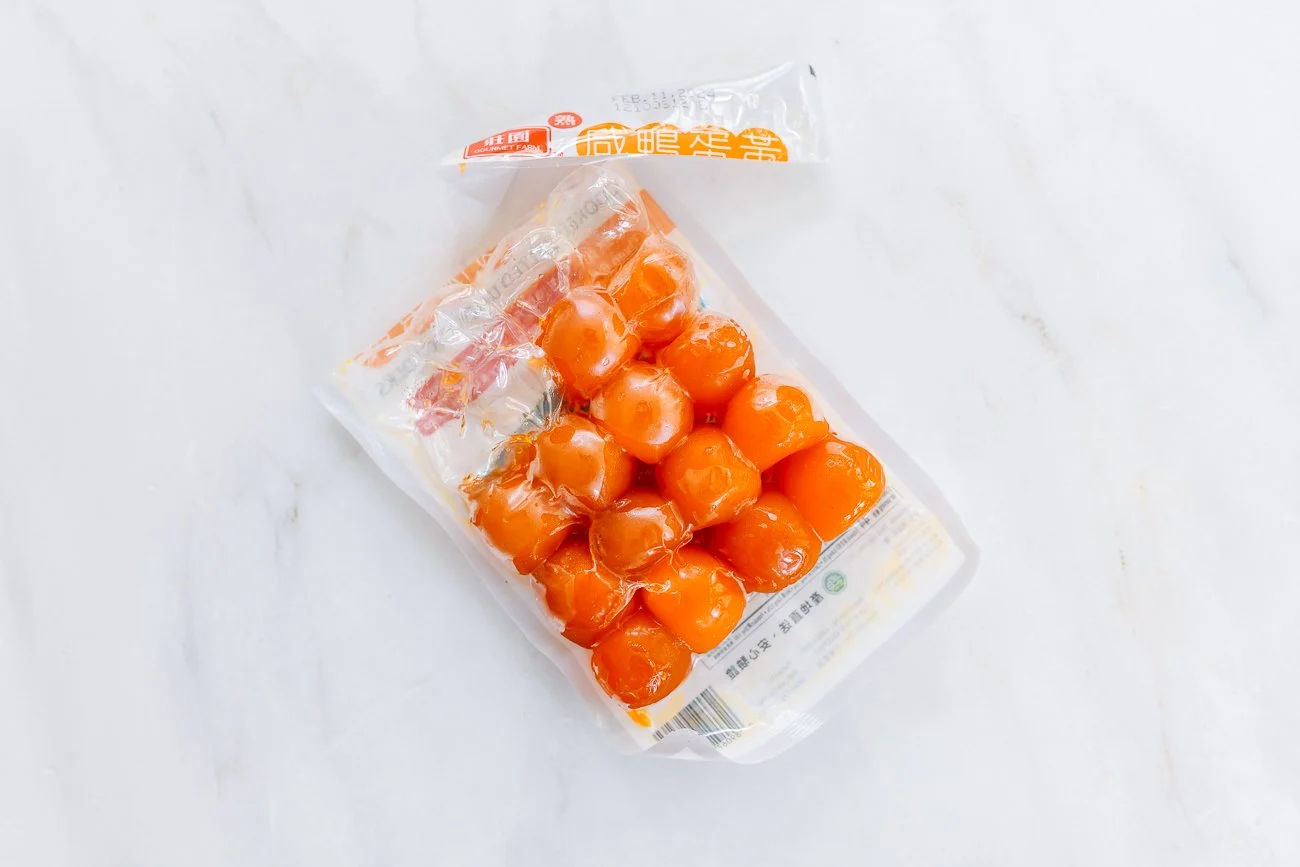
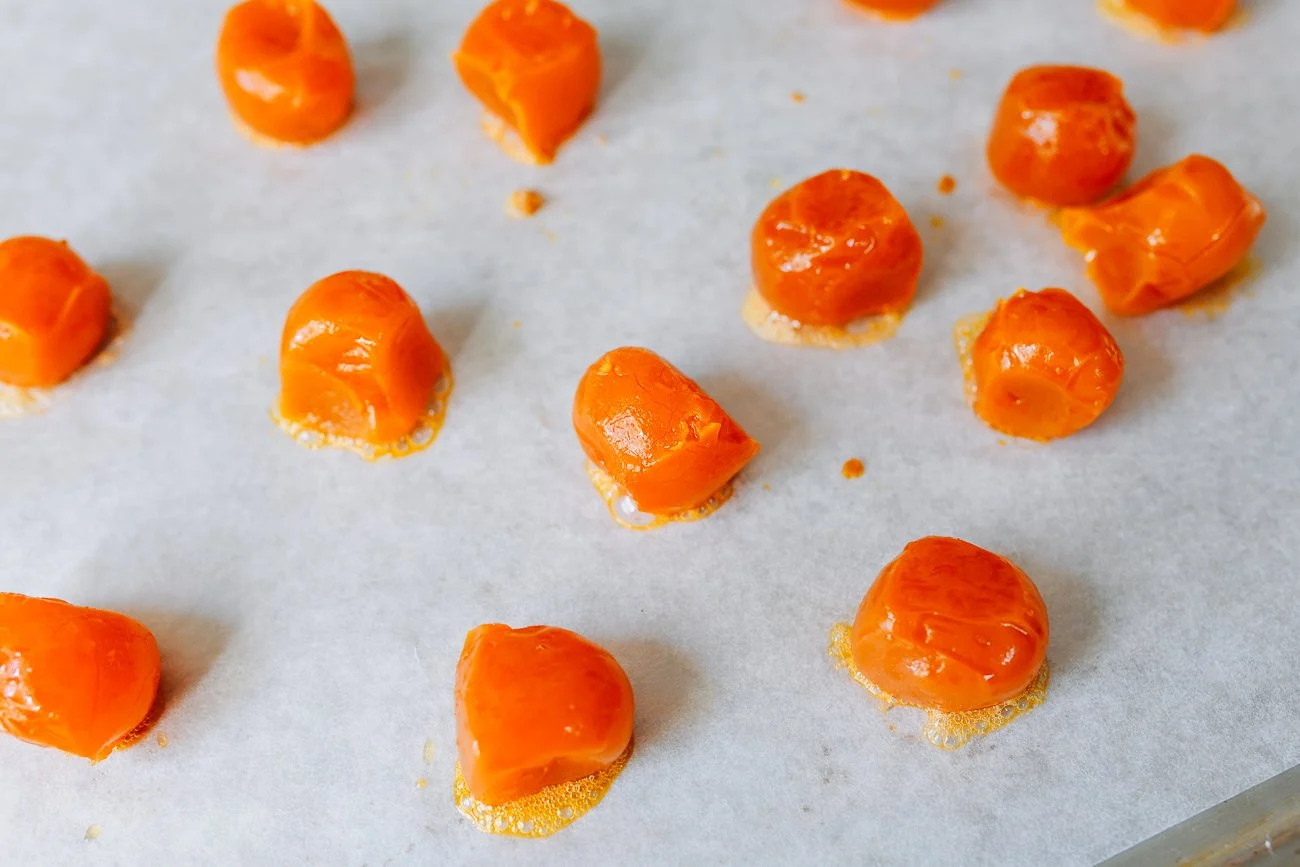
Step 9: If omitting the optional salted duck yolks, skip steps 9–11 and continue with the dough in step 12. Otherwise use the 24 pre-cooked packaged salted duck egg yolks. Heat the oven to 175°C (350°F), place the yolks on a parchment-lined tray and bake for 10 minutes to release their oils.
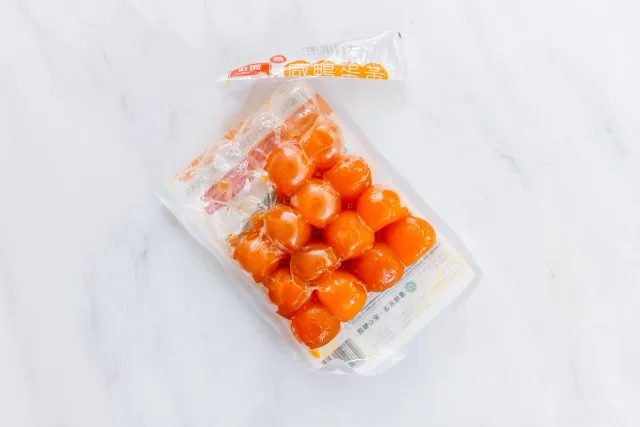
Step 10: For the yolk choice, let the baked pre-cooked yolks cool completely before enclosing them in the bean paste. Refrigerate promptly if assembly will be delayed; do not leave them warm on the counter for an extended period.
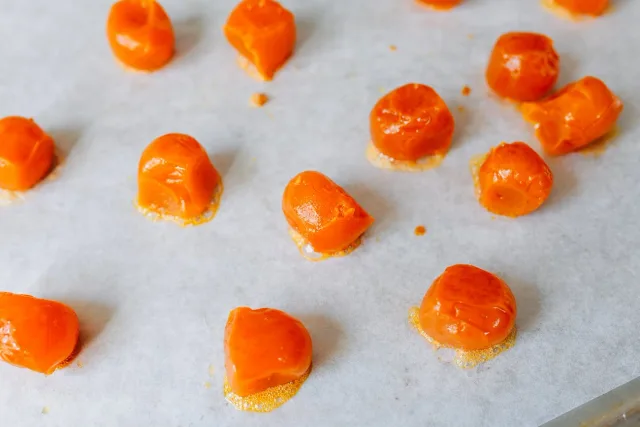
Step 11: Keep the 24 cooled yolks covered in the refrigerator until you are ready to put one into each filling ball. If making plain red-bean mooncakes, omit the yolks throughout.
Step 12: In a bowl, stir all 250 g ready-made golden syrup, 120 ml peanut oil and 1½ tsp food-grade potassium carbonate solution together with a rubber spatula. Scrape the measured syrup and oil into the bowl thoroughly.
Step 13: Add all 385 g dough flour and fold with the spatula just until a soft dough forms, about 1–2 minutes; do not overwork it. Cover airtight or with an overturned plate and refrigerate for at least 1 hour, or overnight, before portioning.
Step 14: While the dough chills, weigh twenty-four 55 g portions of the cooled red bean paste. With hands lightly oiled using the separate hand-greasing allowance, shape each into a smooth ball. Reserve any remaining paste in a covered refrigerated container for another use.
Step 15: If including yolks, make a well in each paste ball, place one cooled salted duck yolk inside and close the paste around it. Alternatively flatten the paste ball, place the yolk centrally and enclose it. Reshape each into a smooth ball. For plain red-bean mooncakes, leave the twenty-four paste balls unfilled by yolks. Keep the single chosen set of filling balls covered in the refrigerator until wrapping.
Step 16: After the dough has chilled for at least 1 hour, weigh twenty-four pieces of 28–30 g each. Shape them into balls and reserve the remaining small dough ball for patching. Keep the balls and patching dough covered in the refrigerator, taking out only a couple at a time.
Step 17: Fit and lock the desired pattern plate into a mooncake mould with about 100 g capacity. Dust the inside with the separate dusting flour and shake out loose excess. Repeat the dusting before pressing each mooncake to prevent sticking.
Step 18: Take one chilled dough ball, dust lightly and roll on a lightly floured surface to about a 10 cm (4 inch) round. Lift with a thin spatula and drape over one chosen filling ball. Press out trapped air, turn the opening upward and gently close the dough around the filling with an even thickness. Pinch cracks closed or patch with a small piece of reserved dough. Roll gently between your hands to make a smooth, sealed ball.
Step 19: Lightly dust the filled ball and work surface. Place the mould over the ball until its base touches the surface, then press the spring firmly until you feel resistance. Lift the mould and gently release the patterned mooncake.
Step 20: If filling shows through or dough sticks in the mould, patch the exposed area with a small piece of reserved dough. Clean any stuck dough out of the mould, including its grooves, and dust again. Gently press the mooncake’s sides inward so it fits, then mould it again. If the first cake released cleanly, keep it as it is.
Step 21: Put each finished mooncake on a parchment-lined baking sheet about 2.5 cm (1 inch) apart. Repeat the wrapping, mould dusting, pressing and any necessary patching with the remaining twenty-three dough and filling balls to assemble all twenty-four cakes. They will not expand during baking. Keep waiting filling and dough covered and refrigerated as you work.
Step 22: Preheat the oven to 160°C (325°F) as assembly nears completion. Just before baking, lightly mist the twenty-four mooncakes with fresh misting water from a food-grade spray bottle. Alternatively flick a little fresh water over them with clean fingertips; do not soak the cakes.
Step 23: Immediately bake the misted cakes at 160°C (325°F) for 5 minutes to set their shape. While they bake, whisk the one egg-wash yolk with all 45 ml egg-wash water in a separate bowl. Keep this wash ready for brushing; it is separate from the optional salted duck yolks inside the filling.
Step 24: After the first 5 minutes, take the cakes out and immediately lower the oven to 150°C (300°F). Very lightly brush the tops with prepared egg wash, preventing pools in the patterned grooves. Return the cakes to the oven for another 15 minutes, until the pastry and thin egg wash are set and the cakes are lightly golden. Discard unused egg wash after brushing.
Step 25: Let the mooncakes cool on a rack; they may look drier immediately after baking. Refrigerate within 2 hours in covered containers once excess steam has escaped. Keep airtight and refrigerated, allowing 1–2 days for the pastry to soften and take on a shinier sheen before serving. Use promptly, keeping any unused cakes cold.
Photos (1)
Comments
0 threadsSign in to join the discussion.



No comments yet. Start the discussion.