
Asian · Appetizers and Snacks
Air Fryer Dumplings
From the zcook collection
A cooking technique for ready assembled fresh or frozen dumplings: lightly oil them, add a little water to a compatible air-fryer basket, then cook using the route for their starting state.
- Asian
- Appetizers and Snacks
- air fryer dumplings
- Prep
- 3 min
- Serves
- 1 air-fryer batch; count varies
- Level
- Easy
Method7 steps
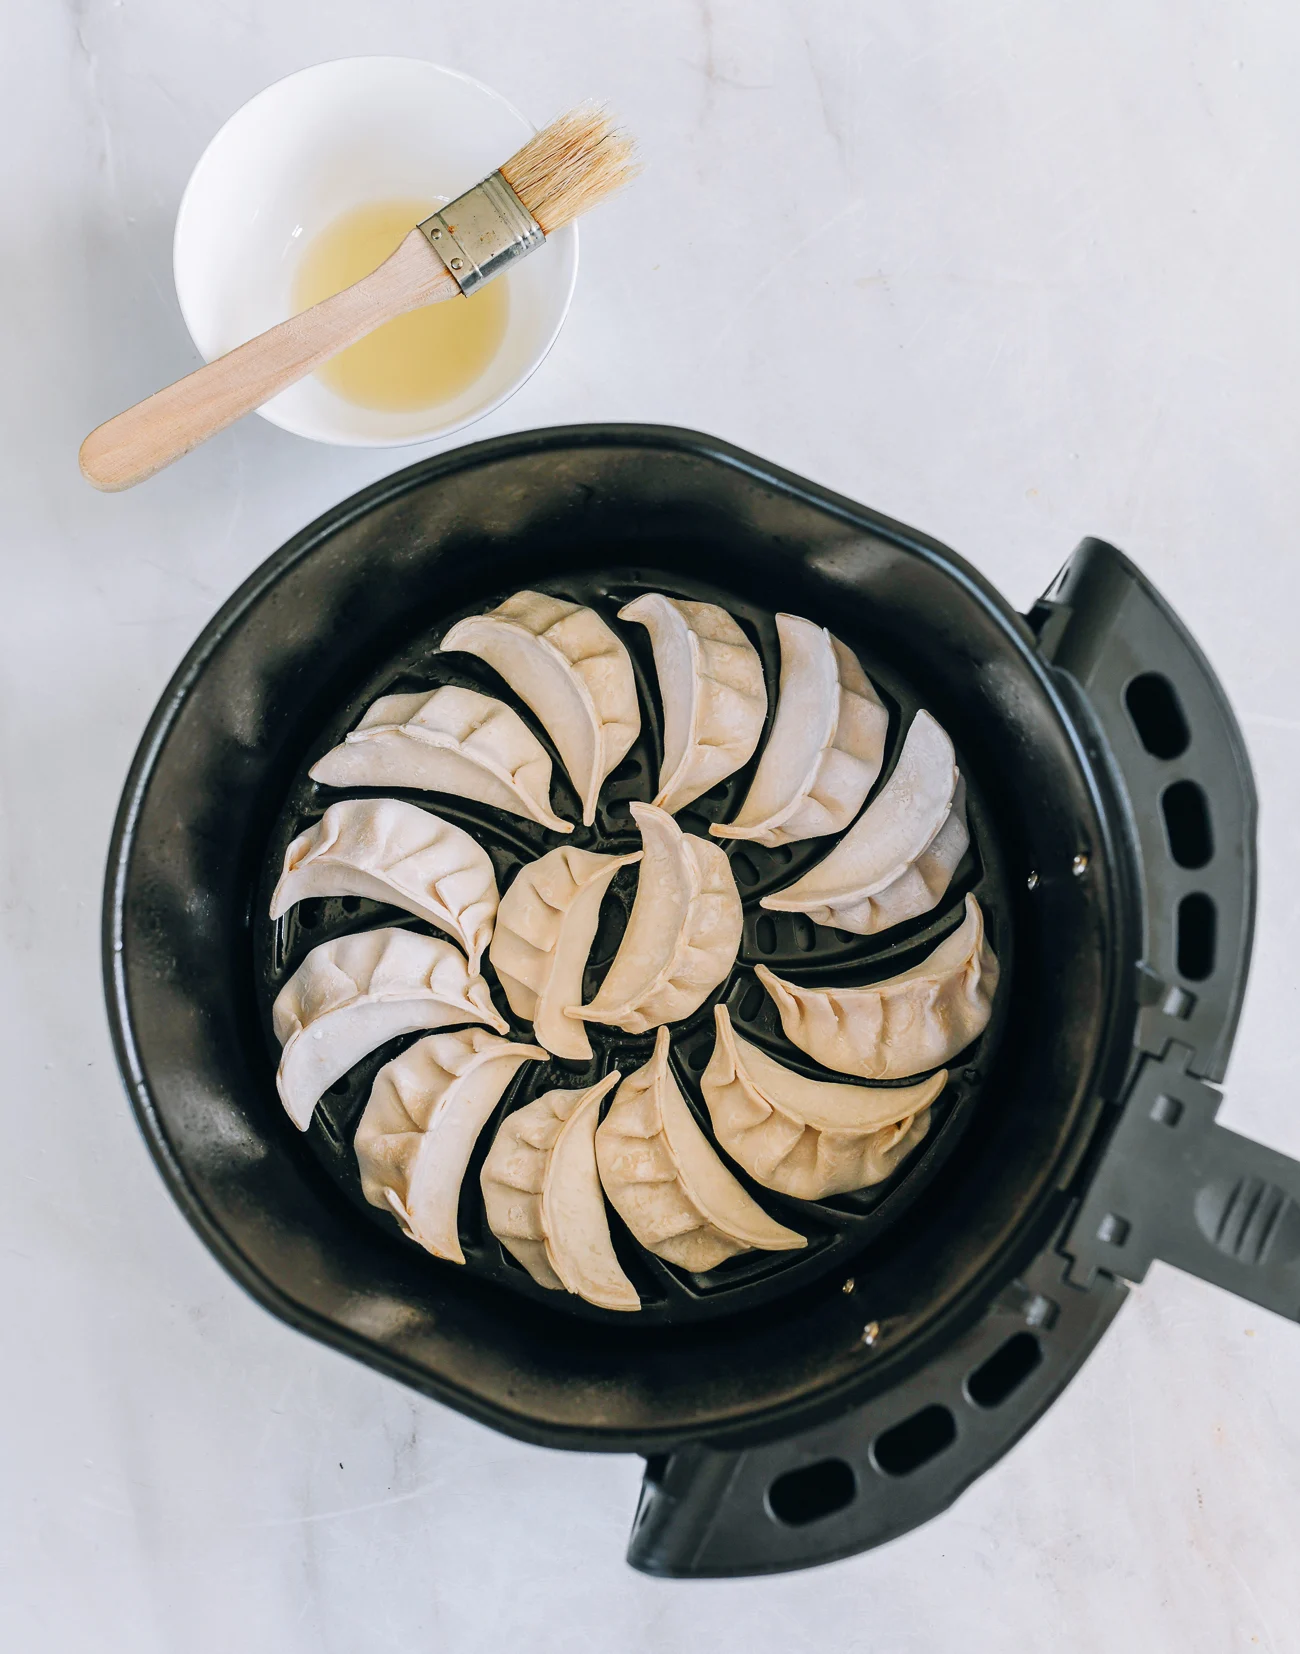
Step 1: Check that the air-fryer instructions permit the water-in-basket setup and cooking from a cold start, and that the selected dumplings can be cooked by this method. Arrange enough assembled dumplings for one uncrowded basket, leaving about ¼–½ inch between them. Use either fresh or frozen dumplings; keep frozen dumplings frozen.
Step 2: Brush a thin film of neutral oil over every side of the dumplings from step 1. Have 1–2 tbsp available, but use only what is needed to coat them lightly.
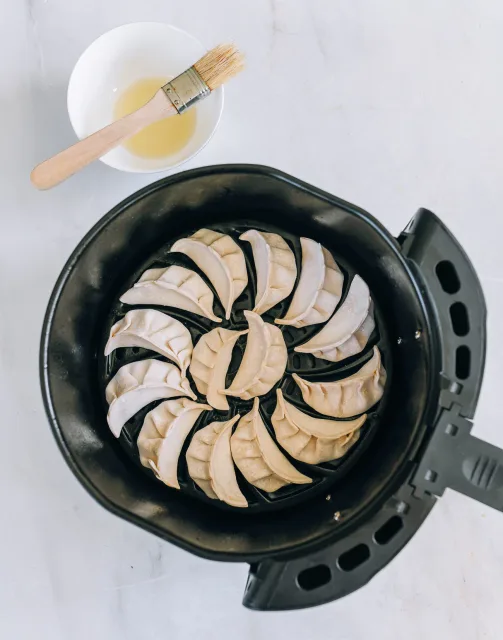
Step 3: Check that the dumplings from step 2 are lightly coated all over. A bristle pastry brush gives a thin coating; alternatively rub on the same coating with lightly oiled clean hands. Keep the dumplings spaced apart.
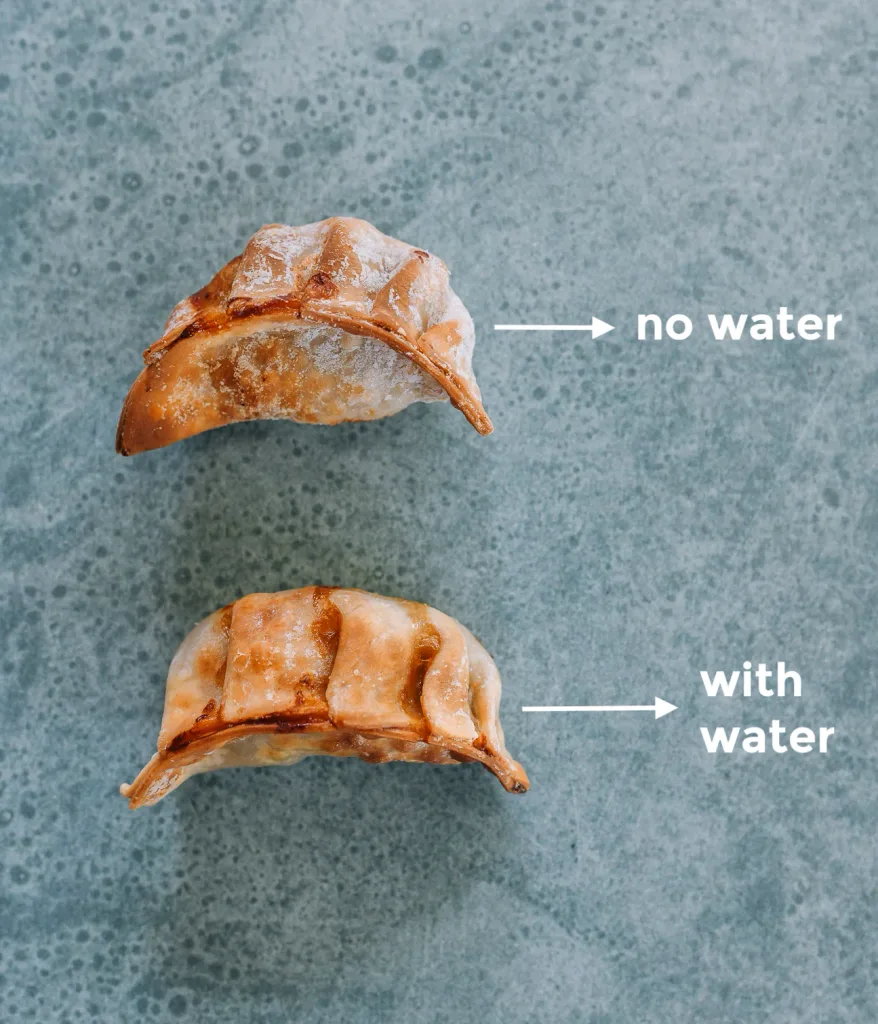
Step 4: Flick the ¼ cup water over the coated dumplings from step 3 with clean fingers. Pour any water that remains into the base of the basket as permitted by the model instructions. Do not preheat. Choose only one cooking route below: step 5 for fresh dumplings, or step 6 for frozen dumplings.
Step 5: FRESH DUMPLINGS ONLY: Air-fry the loaded basket from step 4 at 400°F (200°C) for 10–12 minutes, checking from 10 minutes. A smaller batch may finish sooner. No flipping is needed. Continue as needed until the filling meets its package or filling-recipe doneness instructions; raw pork or beef filling must reach 71°C, and poultry filling 74°C. Skip step 6 and go to step 7.
Step 6: FROZEN DUMPLINGS ONLY: Without thawing, air-fry the loaded basket from step 4 at 400°F (200°C) for 12–14 minutes, checking from 12 minutes. A smaller batch may finish sooner. No flipping is needed. Continue as needed until the filling meets its package or filling-recipe doneness instructions; raw pork or beef filling must reach 71°C, and poultry filling 74°C. Use this route instead of step 5, then go to step 7.
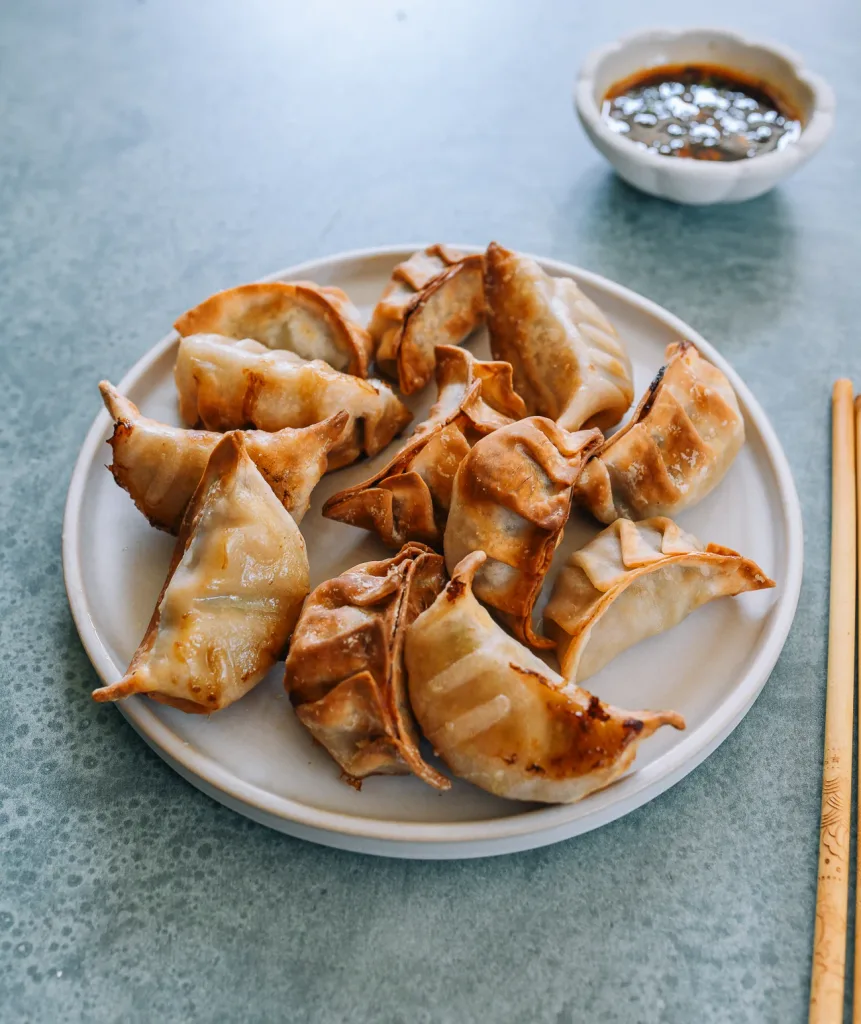
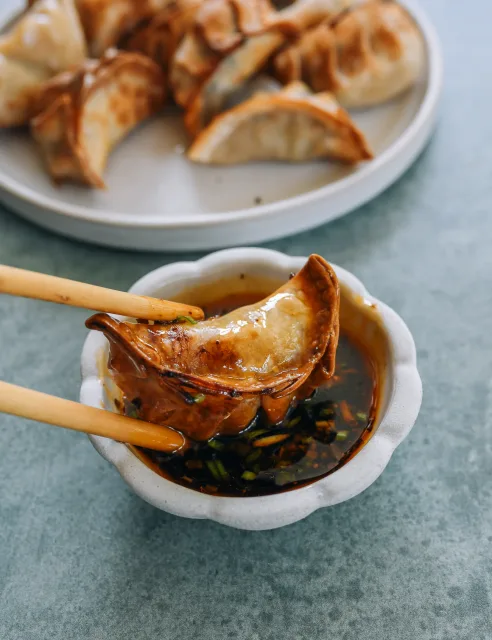
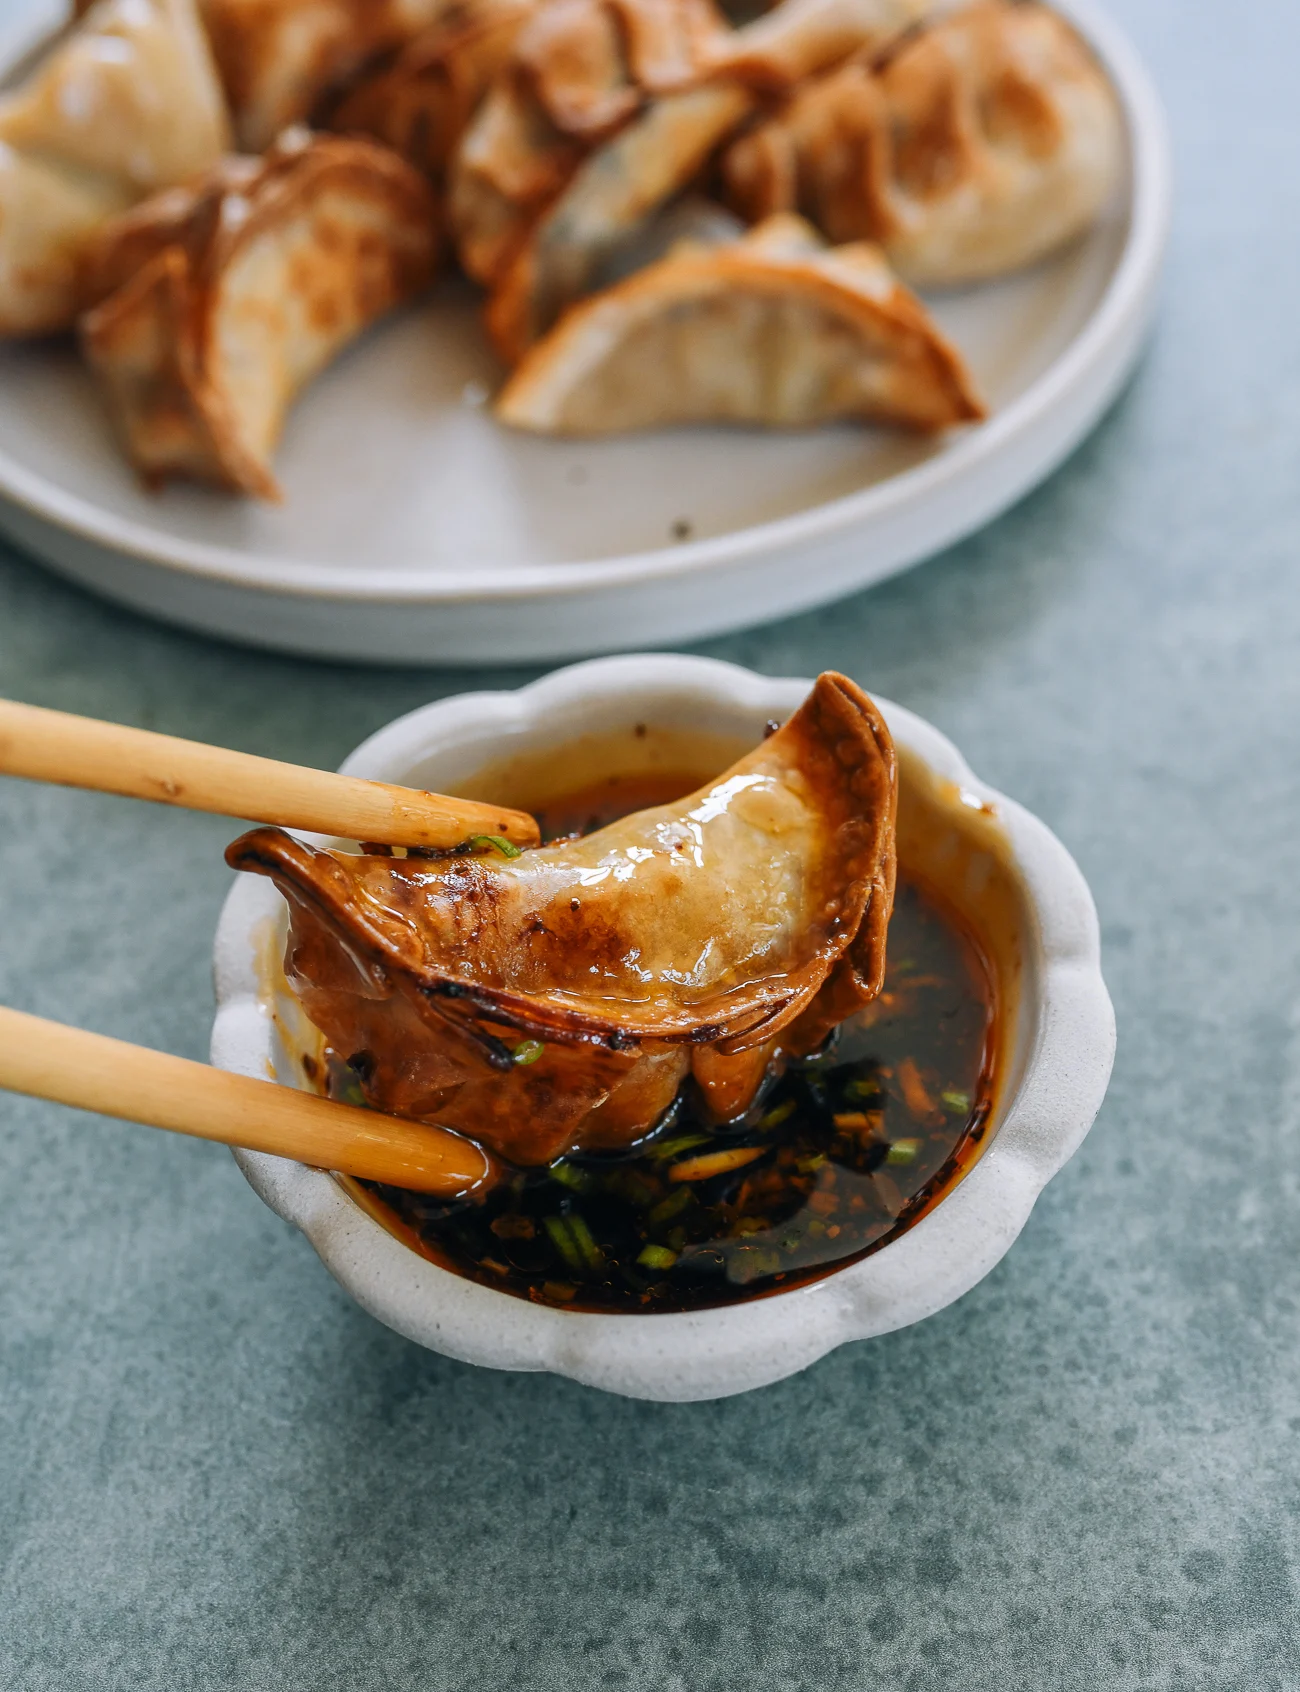
Step 7: Lift the fully cooked dumplings from your chosen route in step 5 or step 6 onto a plate. Serve with the optional ready dipping sauce.
Photos (2)
Comments
0 threadsSign in to join the discussion.
No comments yet. Start the discussion.