
Japanese · Appetizer
Pokemon Ball Sushi ポケモンボール寿司
From the zcook collection
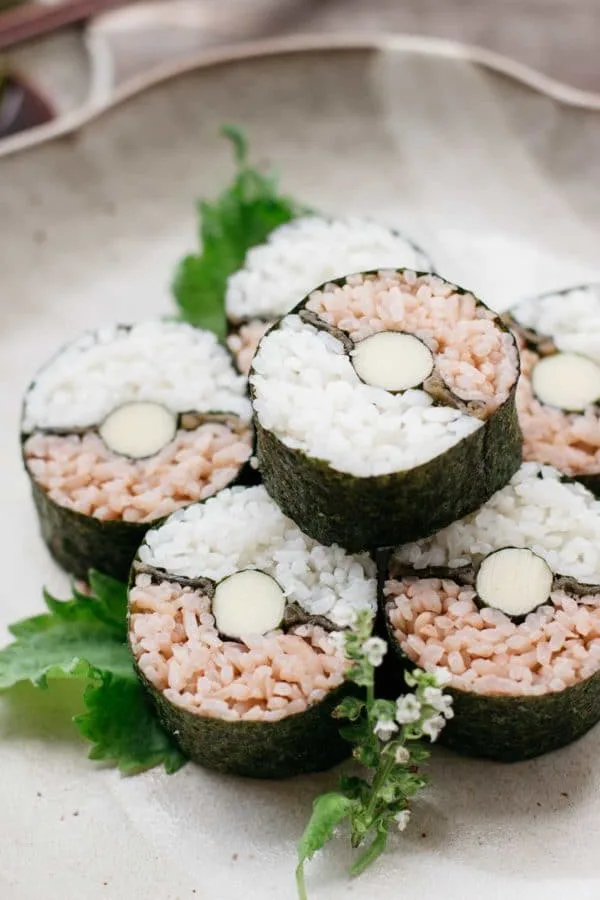
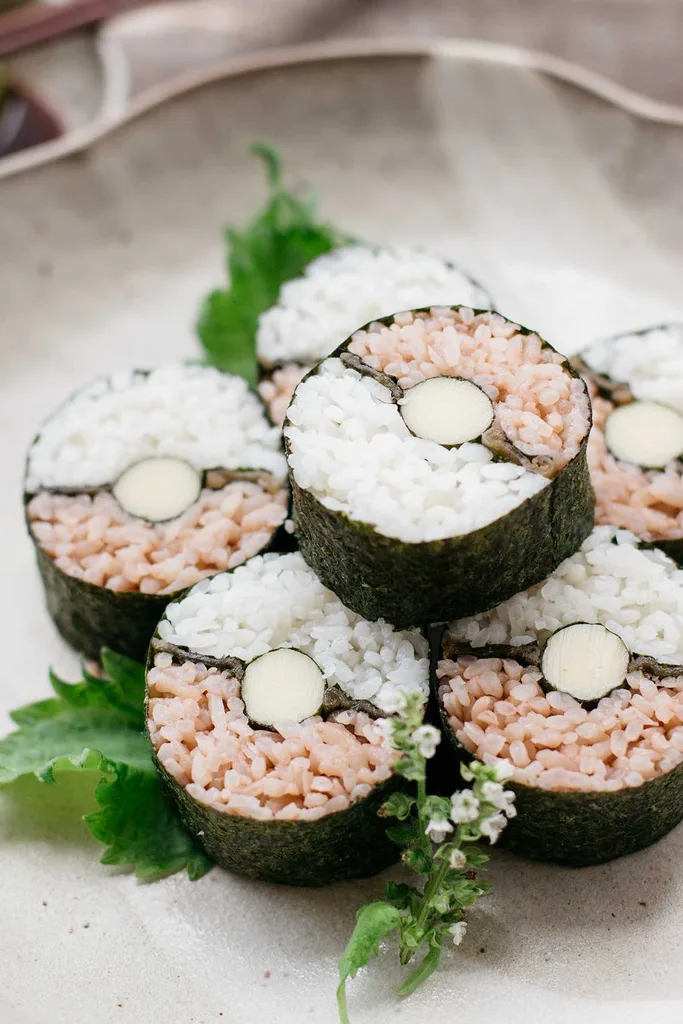
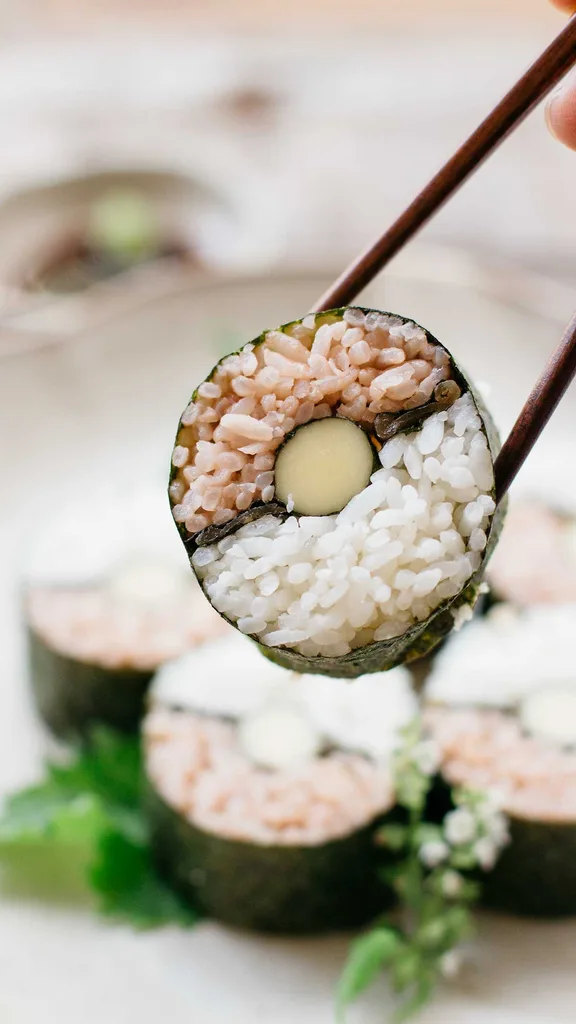
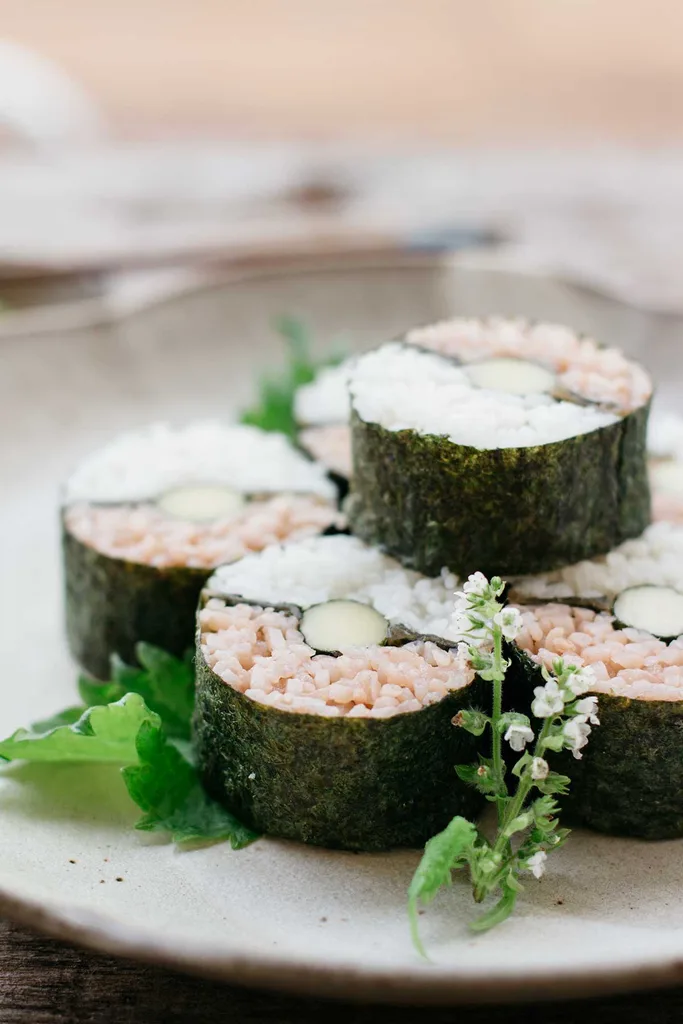
A step-by-step guide on how to make Pokemon Sushi Ball! This is a fun food to make for parties and to put in bento boxes for children (or adults!).
- Vegetarian
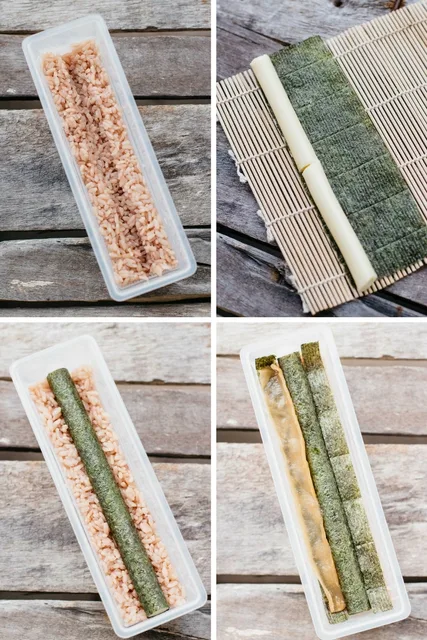
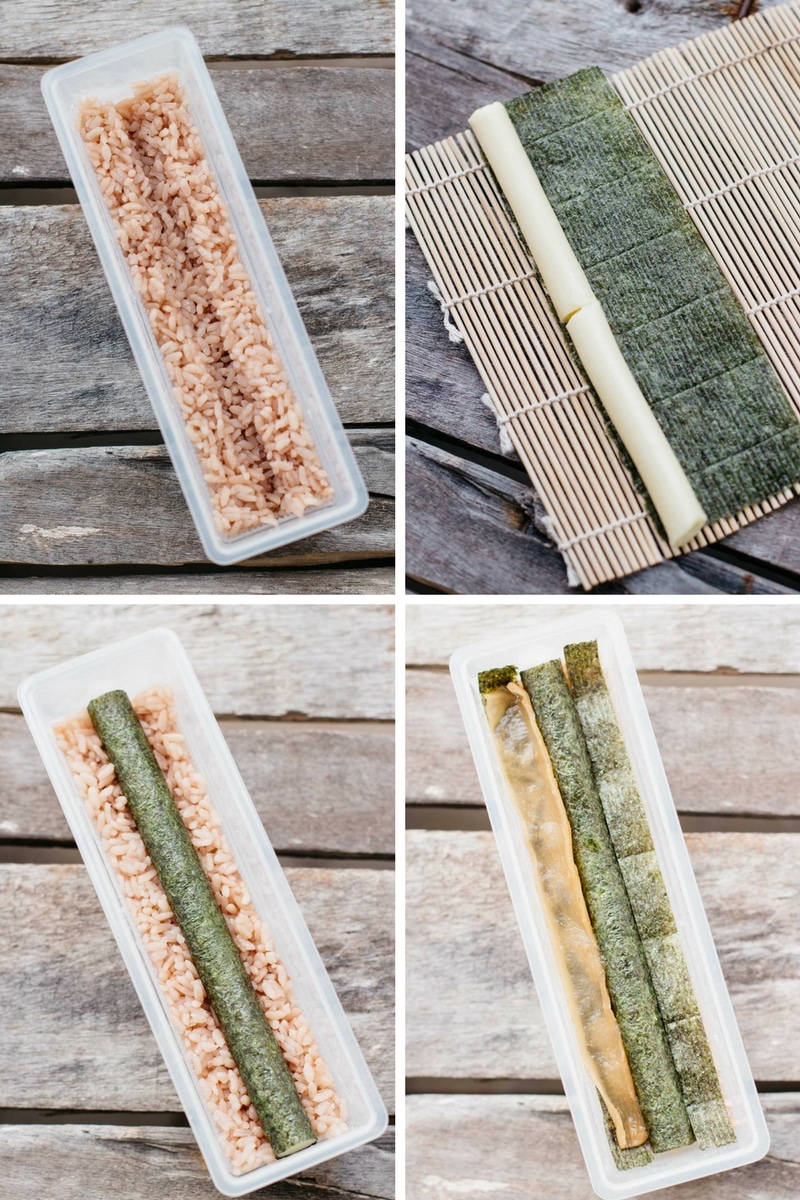
- Japanese
- Appetizer
- Rice
- Side Dish
- Sushi
- Prep
- 1 hr
- Serves
- 3
- Level
- Hard
- Energy
- 611 kcal
Method18 steps
Step 1: Rinse and drain the two cups uncooked short-grain rice, then divide into two one-cup portions: one for white sushi rice and one for rice coloured with azuki cooking broth. Prepare the two batches in the following steps.
Step 2: Cook one cup of the rinsed rice with plain water according to your rice cooker or rice package directions. While it is hot, gently fold in ¼ cup prepared sushi vinegar in a separate bowl without mashing the grains, then fan and let cool enough to handle.
Step 3: Pressure-cook ¼ cup azuki beans with two cups water for 15 minutes, following your cooker’s operating instructions and depressurizing fully before opening. Drain the beans and reserve one cup of the coloured cooking broth. Use that broth to cook the second one-cup rice portion according to your rice cooker or rice package directions. While hot, gently fold in the remaining ¼ cup sushi vinegar, then fan and let cool enough to handle.
Step 4: Cut one nori sheet into three equal pieces for the three cheese centres.
Step 5: For each centre, place two cheese sticks end to end on one prepared nori piece and wrap them together into a long cylinder, as shown. Make three wrapped centres and set them aside.
Step 6: Put one-third of the coloured sushi rice in the bottom half of the sushi mould and make a trench along its middle.
Step 7: Place one prepared nori-wrapped cheese centre into the trench.
Step 8: Cut half a nori sheet into 1 cm-wide strips, keeping enough for all three rolls.
Step 9: Place the 1 cm nori strips on both sides of the cheese.
Step 10: Lay one cooked kanpyo strip on each side over the narrow nori strips.
Step 11: Place another prepared narrow nori strip over each kanpyo strip.
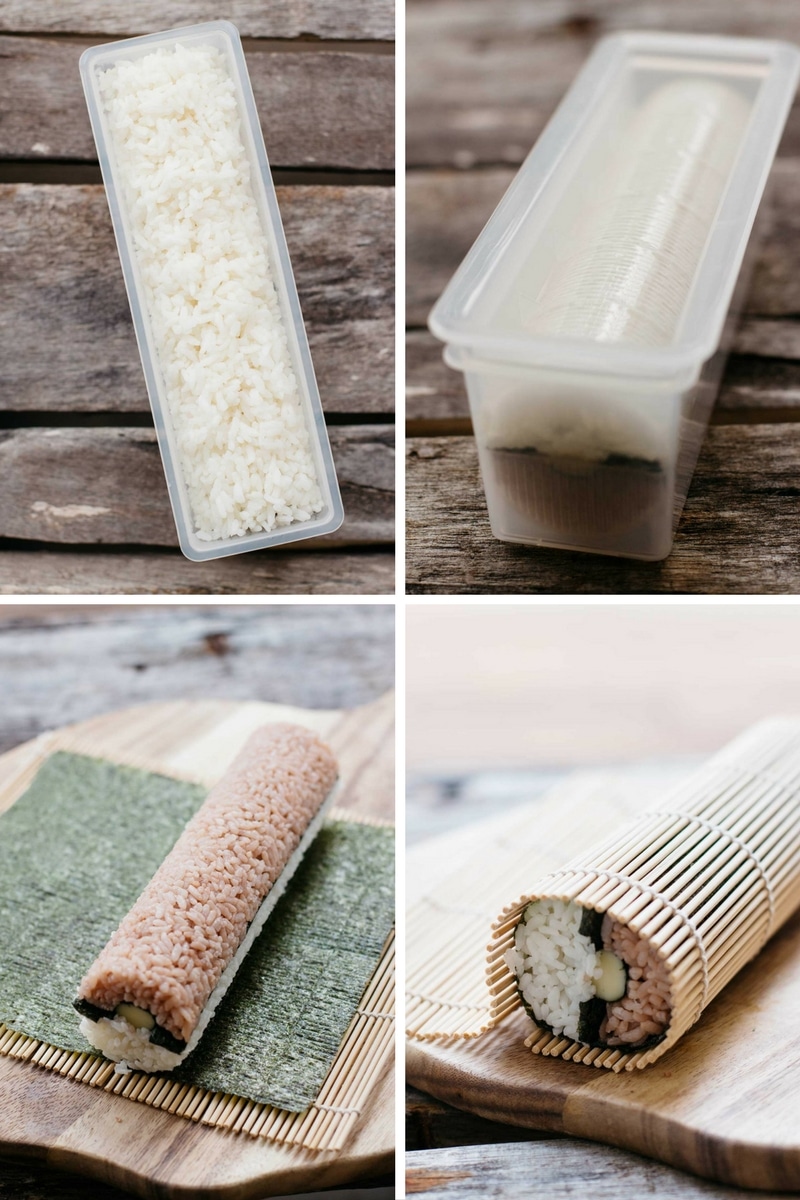
Step 12: Fill the top half of the mould with one-third of the prepared white sushi rice and shape it into a semicylinder.
Step 13: Place the mould lid on and press it down firmly.
Step 14: Take the sushi roll out of the mould and roll onto a nori sheet on a bamboo sushi rolling mat.
Step 15: Wrapped the nori sheet around the sushi by rolling the bamboo mat.
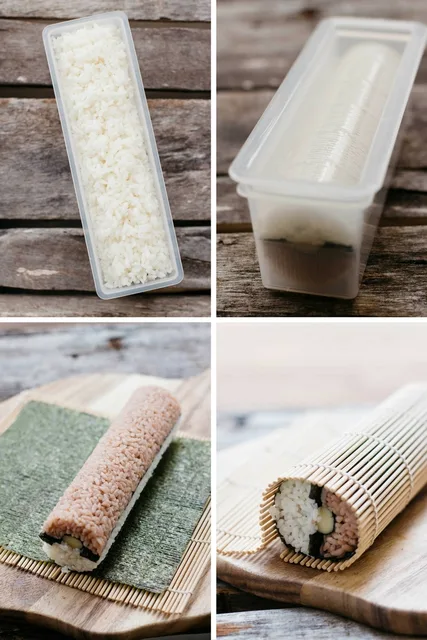
Step 16: Wet the edge of the nori sheet with water so that it will seal the sushi.
Step 17: Place the nori overlapped side down for a few minutes.
Step 18: Repeat the moulding and wrapping with the remaining rice, two cheese centres, dividing strips, four kanpyo strips and two full outer nori sheets to make three rolls total. With a sharp wet knife, slice each roll into eight pieces, wiping and rewetting the blade between cuts. Serve promptly with optional shiso leaves.
Photos (4)
Comments
0 threadsSign in to join the discussion.
No comments yet. Start the discussion.