
Japanese · Side
Onigiri (Japanese Rice Balls)
From the zcook collection
Japanese rice balls made with warm short-grain rice and a filling of your choice. The photographed route uses an onigiri mold; use whichever filling options you want and reserve unused fillings for another use.
- Japanese
- Side
- Just One Cookbook
- Prep
- 35 min
- Cook
- 30 min
- Serves
- About 13 mold-shaped onigiri (size dependent)
- Level
- Hard
Method22 steps
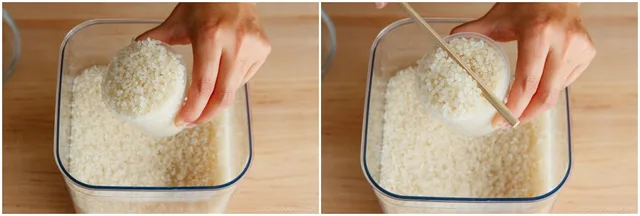
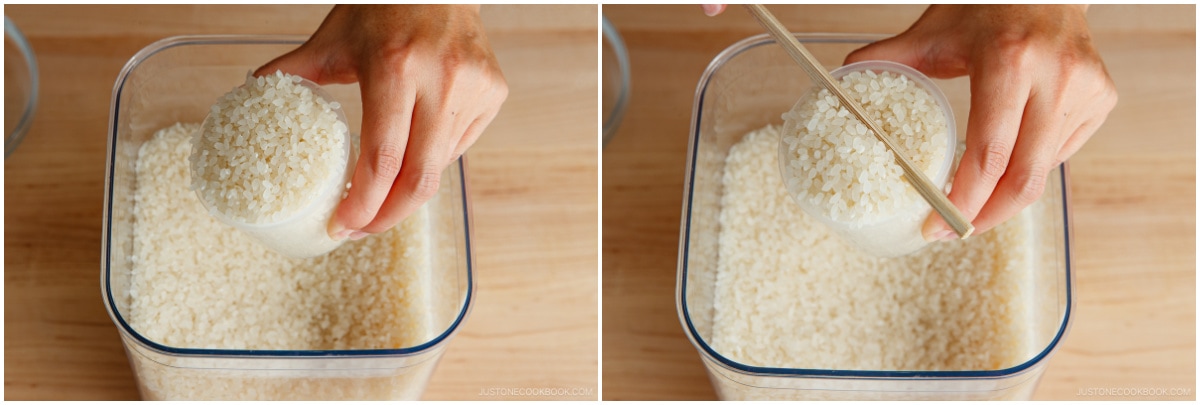
Step 1: Measure 2¼ US cups (450 g, or 3 rice-cooker cups) uncooked Japanese short-grain white rice (2¼ cups) and level each measure. This makes about 990 g cooked rice: about 13 onigiri with the mold shown, depending on mold size.
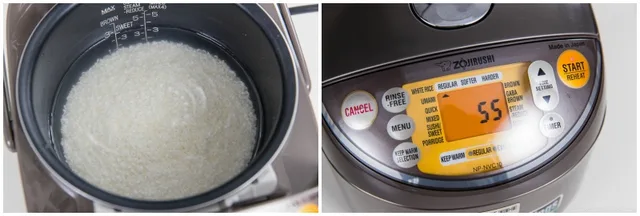
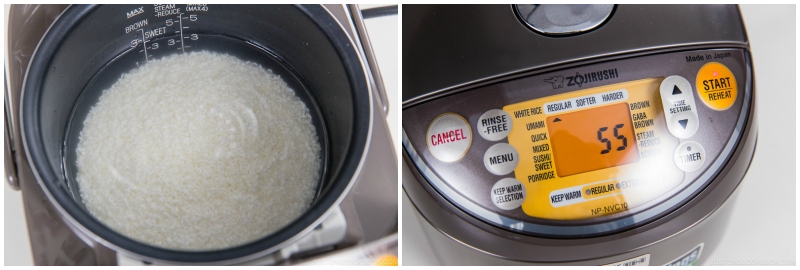
Step 2: Rinse and gently wash the rice in several changes of water, then drain. Put the drained rice in a rice cooker with 2½ cups (600 ml) fresh cooking water. If your cooker does not include a soaking phase, soak the rice for 20–30 minutes before starting. Run the cooker’s white-rice cycle until the rice is cooked; follow your cooker’s operating instructions.
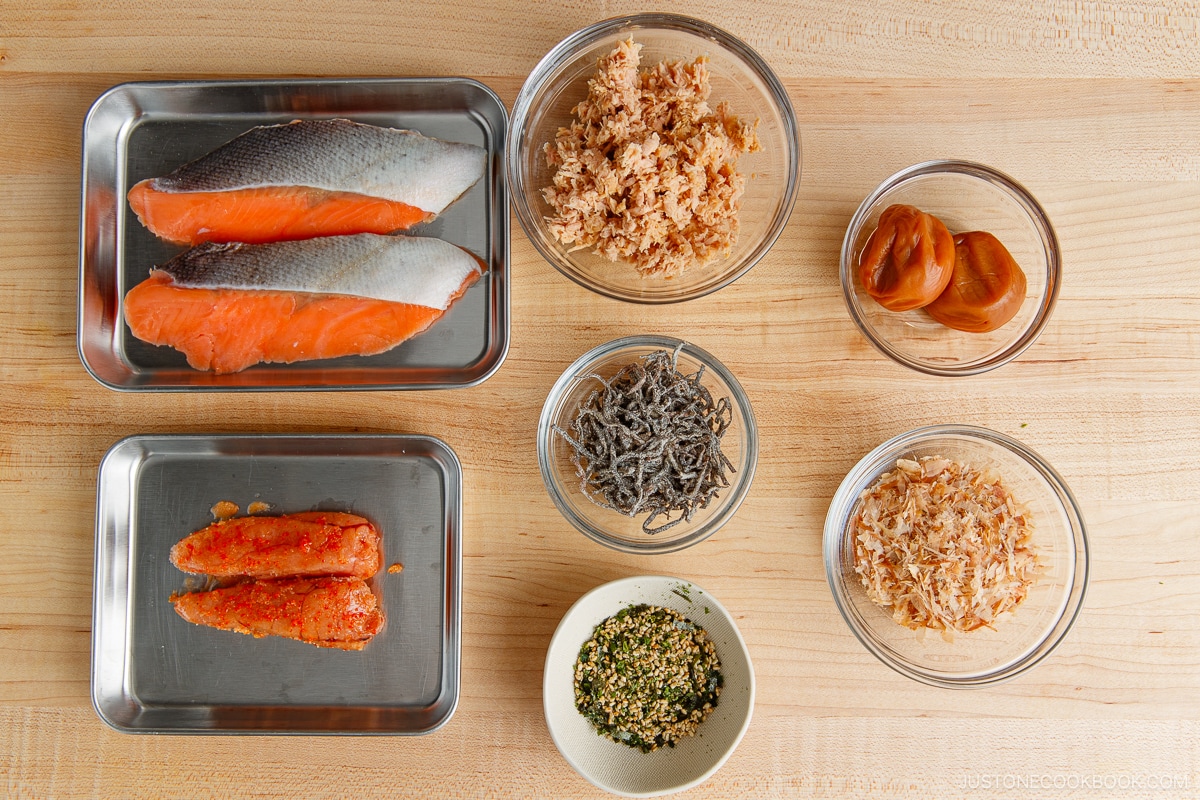
Step 3: While the rice cooks, prepare whichever filling options you want from steps 4–9. Each rice ball takes only a little filling; reserve any unused filling for another use.
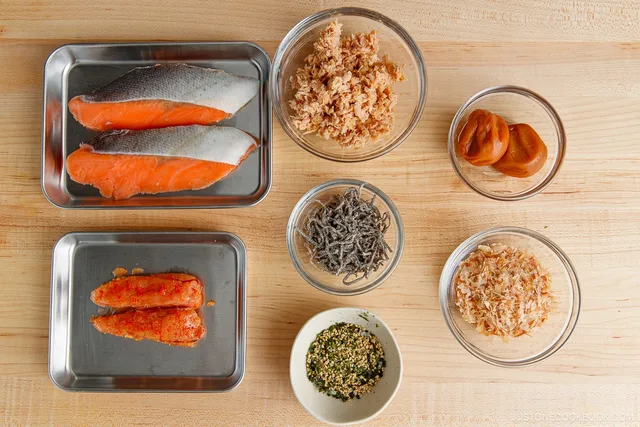
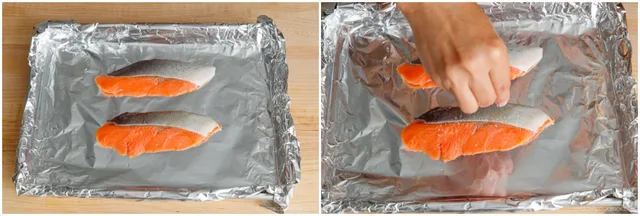
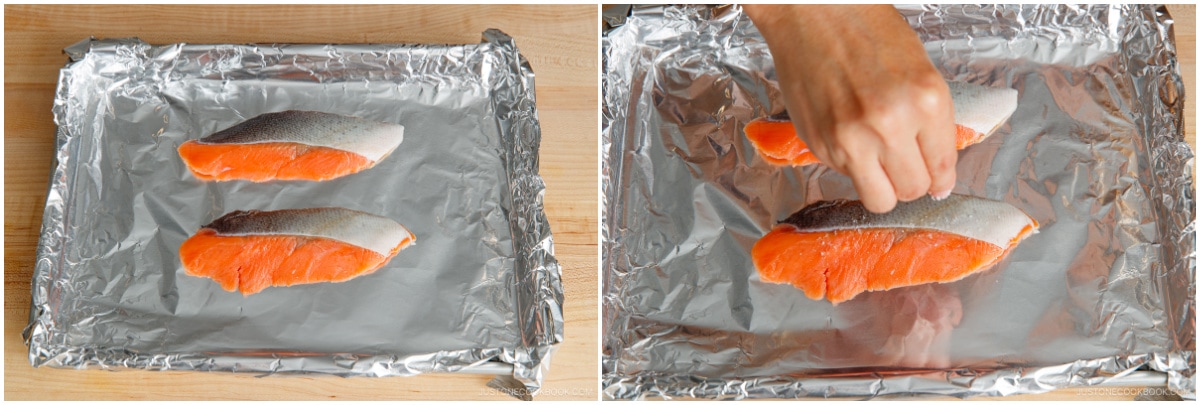
Step 4: Optional salmon filling: place 1–2 salmon fillets on a lined baking sheet. Sprinkle the salmon-filling Diamond Crystal kosher salt on both sides.
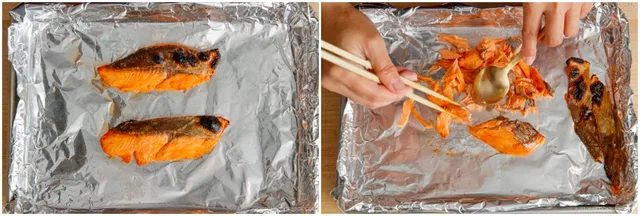
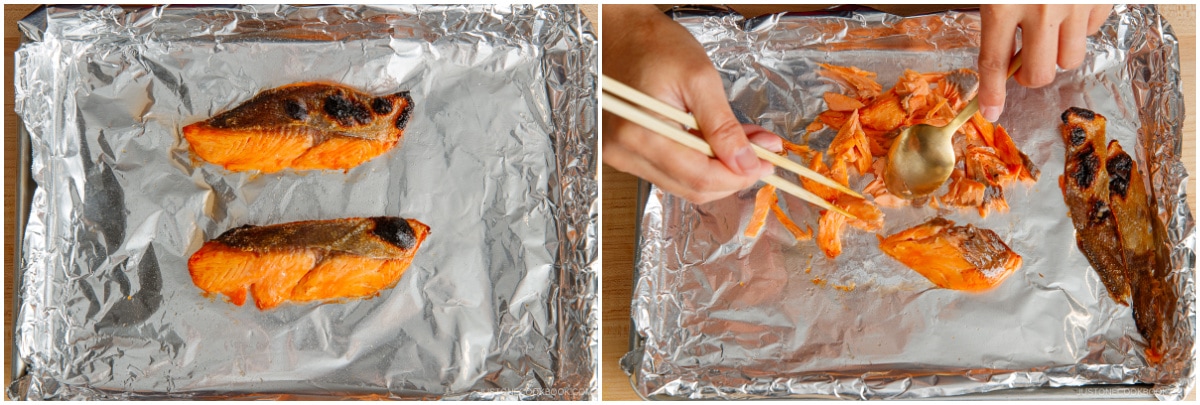
Step 5: Broil or bake at 425ºF (218ºC) in a toaster oven or standard oven for 10–20 minutes. Japanese salted salmon is cooked until well done (you want it dry and flaky). Break the cooked salmon into flakes and set aside.
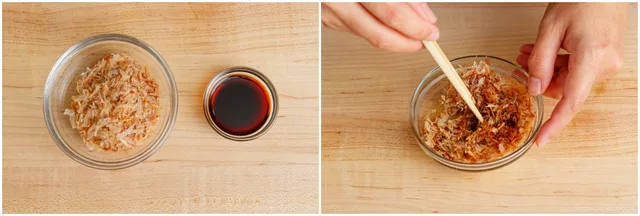
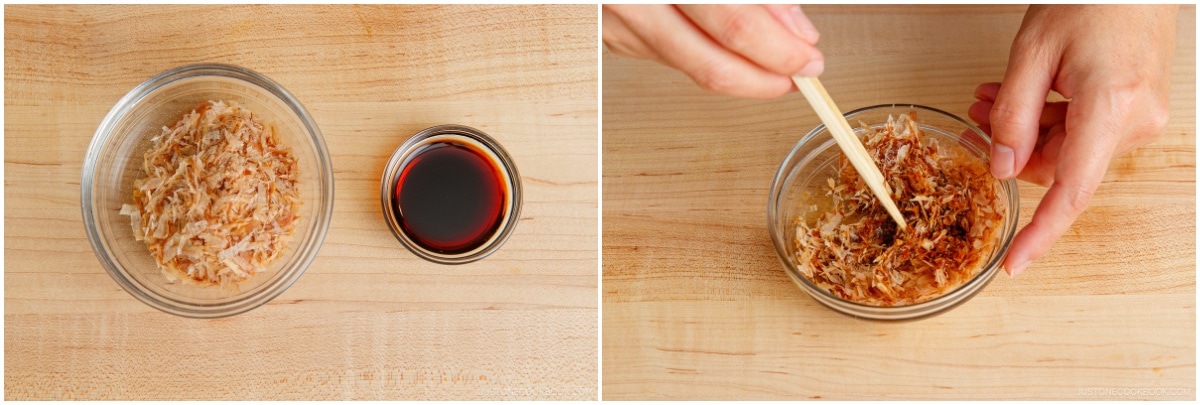
Step 6: Okaka Filling: Put 1 packet katsuobushi (dried bonito flakes) in a bowl and add 1 Tbsp soy sauce. Mix to combine. The katsuobushi should be moistened but not drenched in the soy sauce.
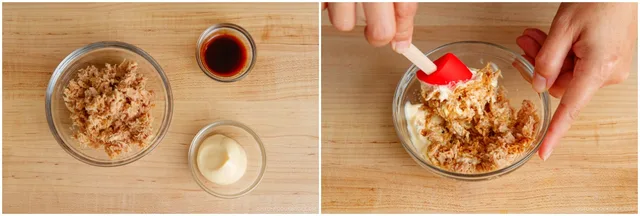
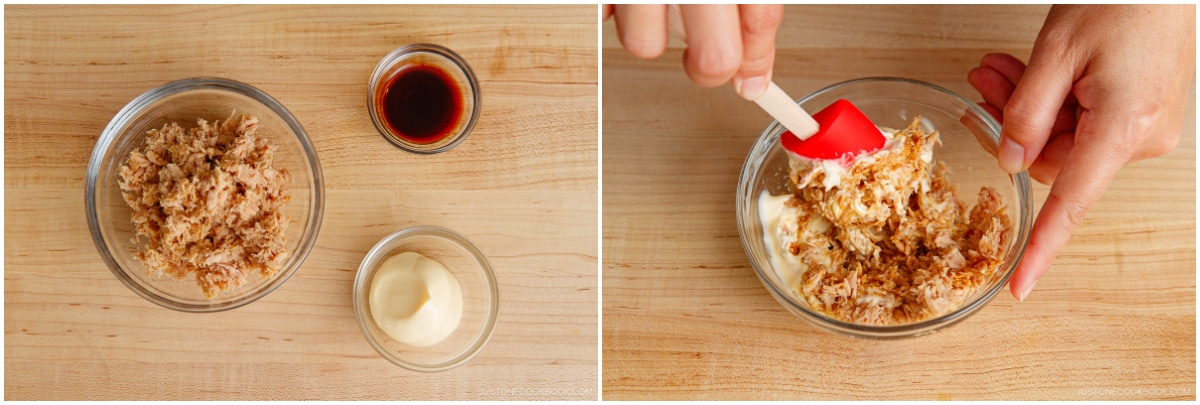
Step 7: Tuna Mayo Filling: Put 1 (5-ounce) can albacore tuna (preferably packed in olive oil), drained, in a bowl. Add 2 Tbsp Japanese Kewpie mayonnaise and ½ Tbsp soy sauce. Mix to combine.
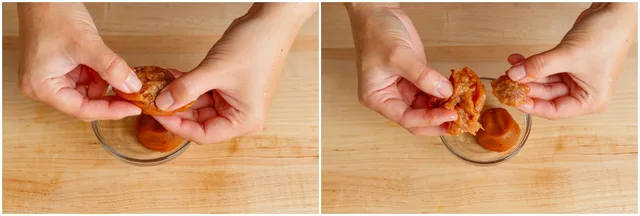
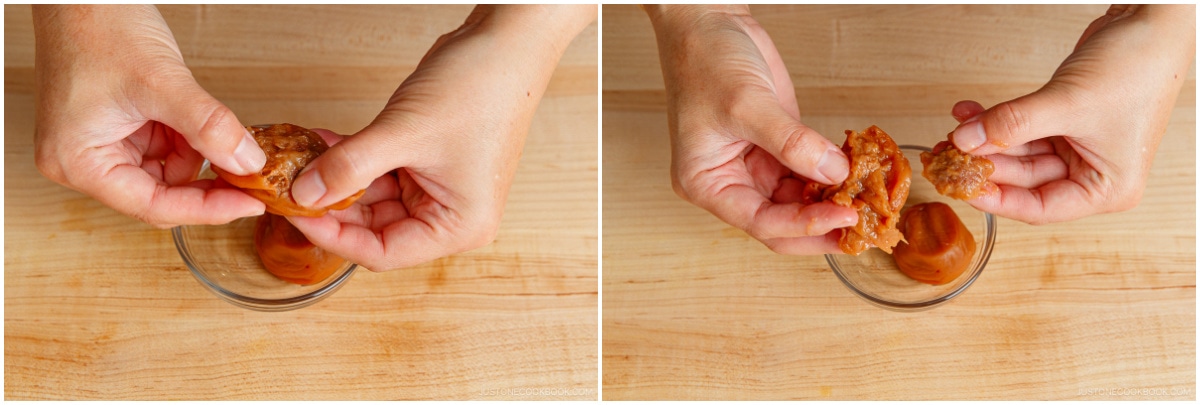
Step 8: Umeboshi (2) Filling: Remove and discard the seed from 2 umeboshi (Japanese pickled plum) and put the umeboshi flesh on a small plate or bowl.
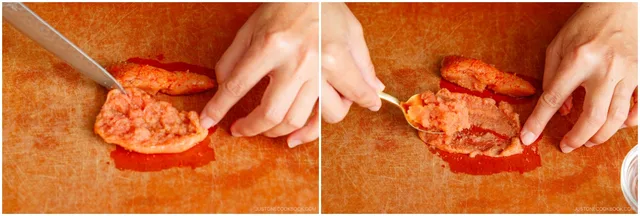
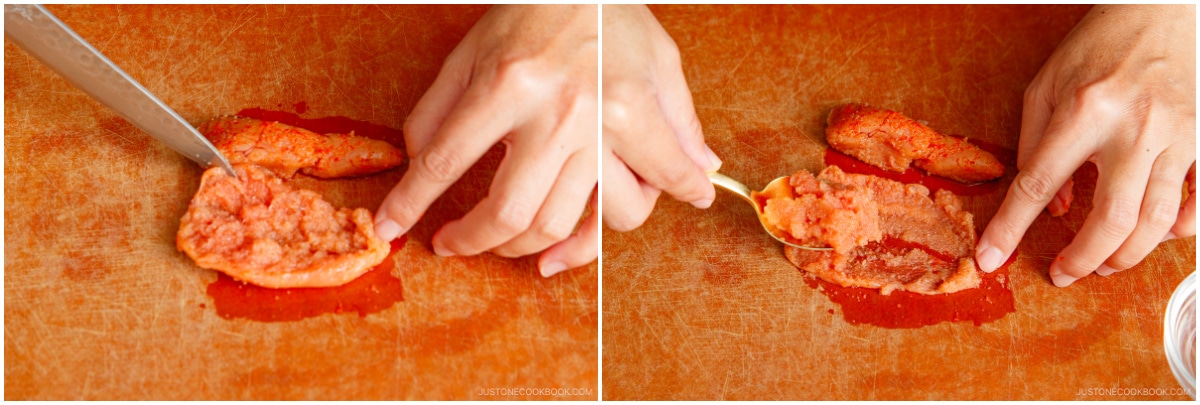
Step 9: Optional mentaiko filling: cut the 2 sacs of karashi mentaiko in half and squeeze the roe into a small bowl. Optional shio-kombu filling: put prepared shio kombu in a separate bowl for easy access.
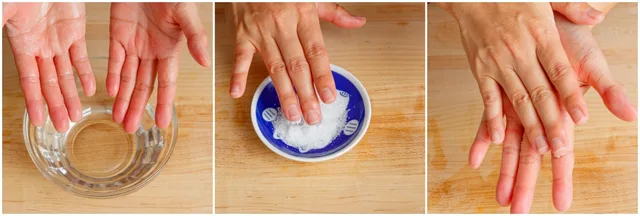
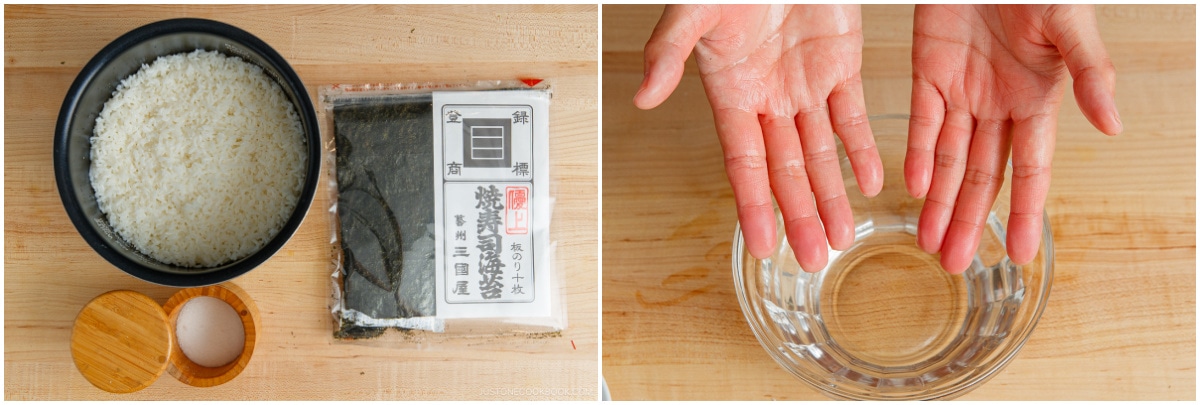
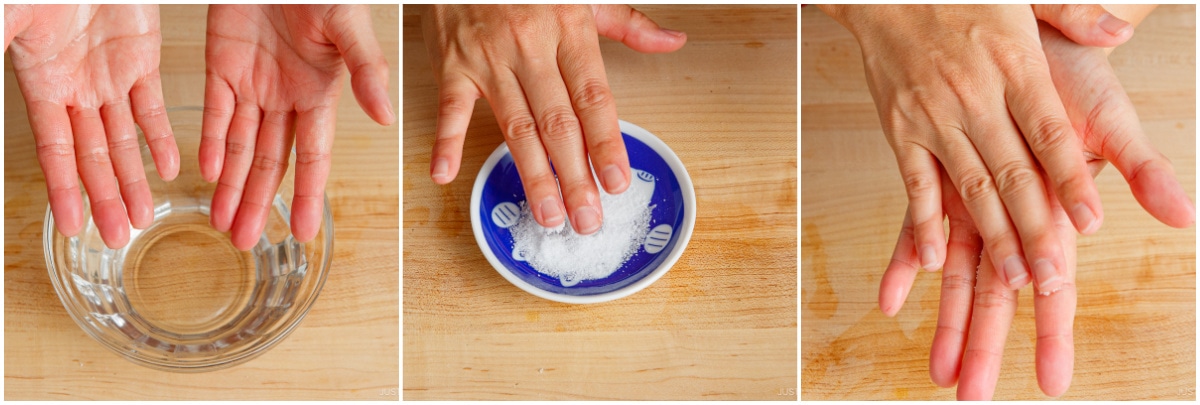
Step 10: Gather the cooked rice and the fillings you chose. Have a separate bowl of water ready for your hands and mold. Let the rice cool just enough to handle comfortably; it should still be warm for shaping.
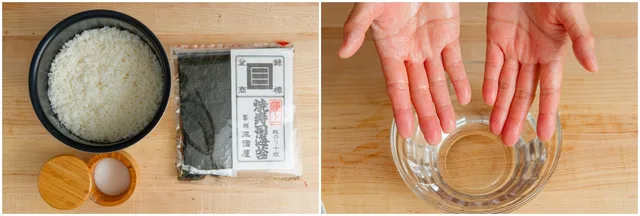
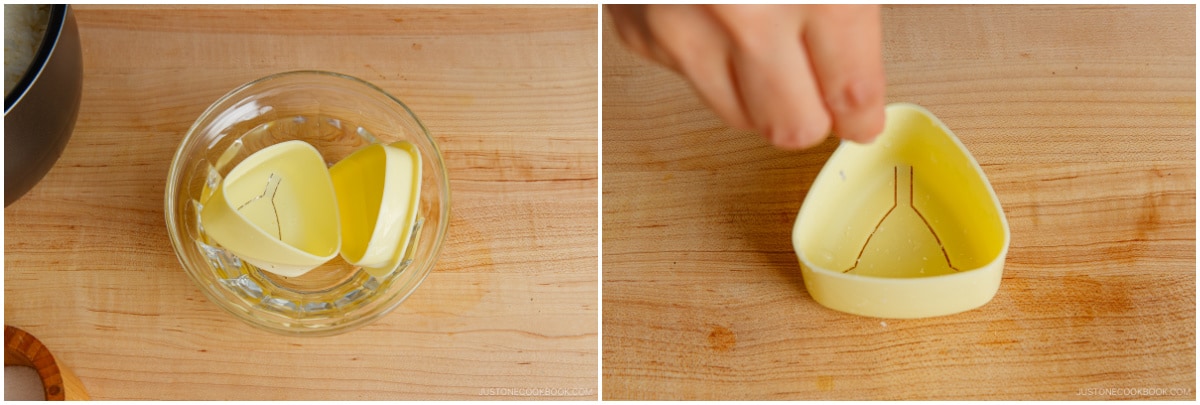
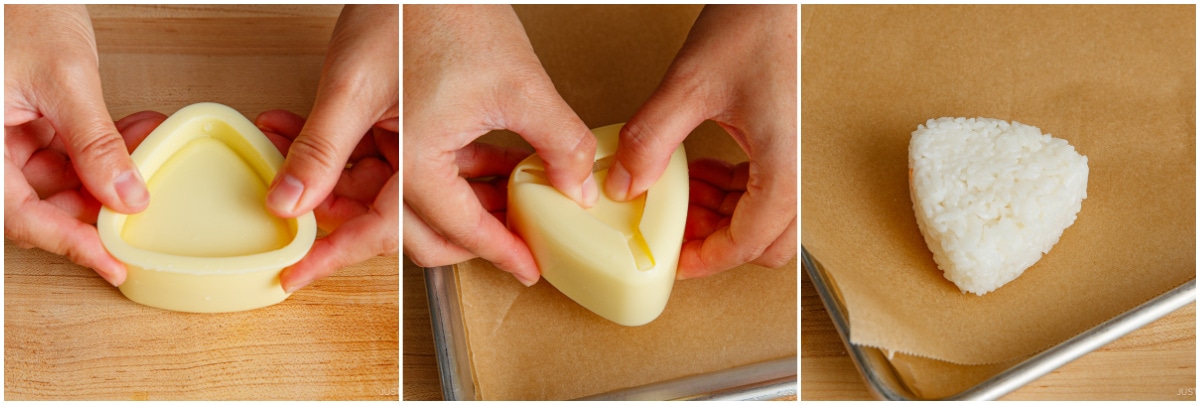
Step 11: Mold method: moisten the onigiri mold and its lid in water, then drain off the excess. Sprinkle a little rice-seasoning salt inside the mold.
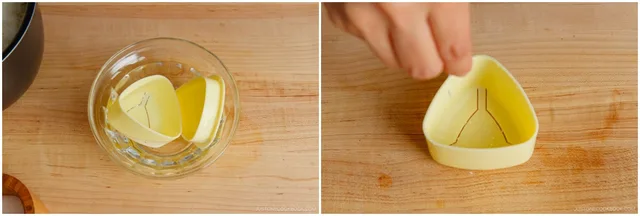
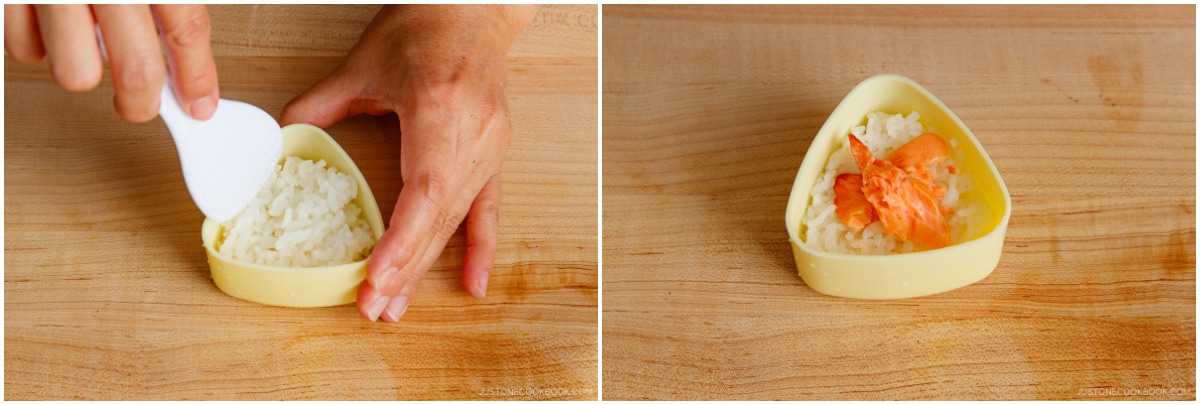
Step 12: Fill the mold halfway with warm rice, reaching the corners. Add a spoonful of just one of the prepared fillings of your choice.
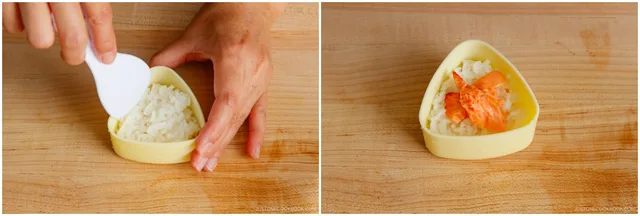
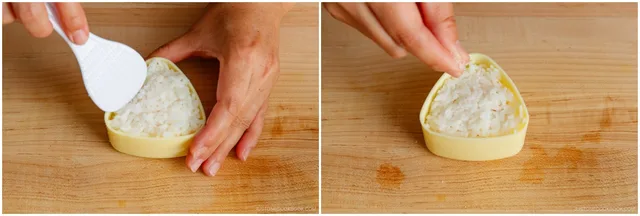
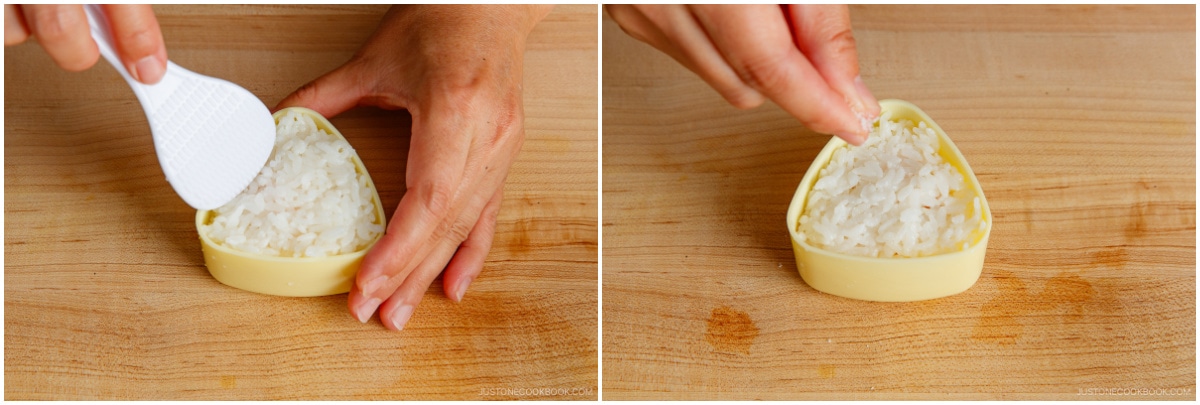
Step 13: Fill the rest of the mold with more rice, all the way to the edges. Sprinkle the top of the rice with more salt.
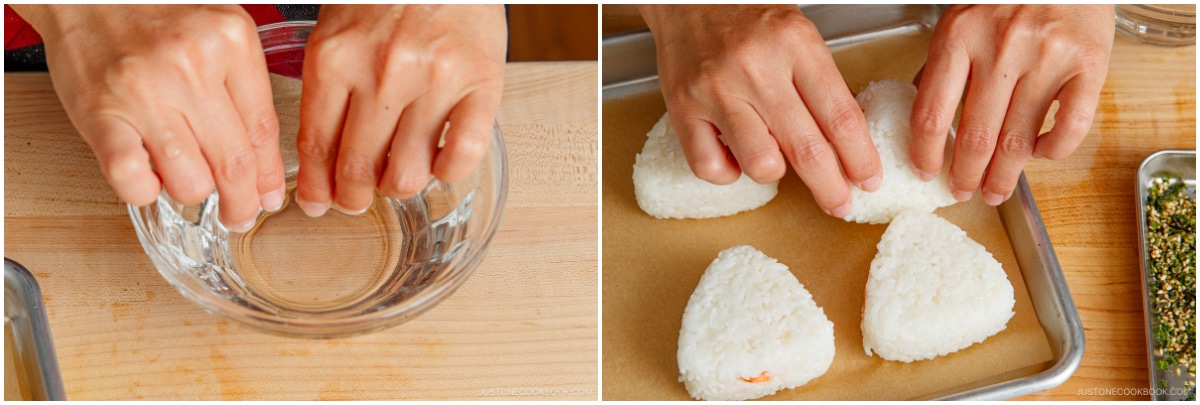
Step 14: Cover with the lid and push down firmly. You should feel a slight resistance to it; if not, you may want to add a bit more rice. Remove the lid, flip the mold over, and push the “button” to release your onigiri onto a baking sheet or plate lined with parchment paper. Repeat with the remaining rice. Tip: Always dip your fingers in water before touching the onigiri to prevent the rice from sticking to your fingers.
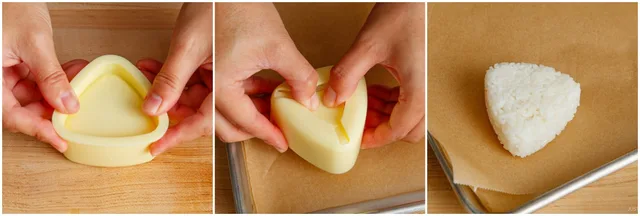
Step 15: Remember, dip your fingers before touching the onigiri to prevent the rice from sticking to your fingers.
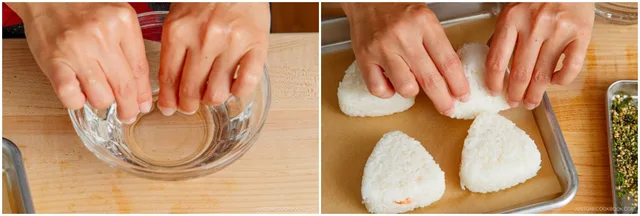
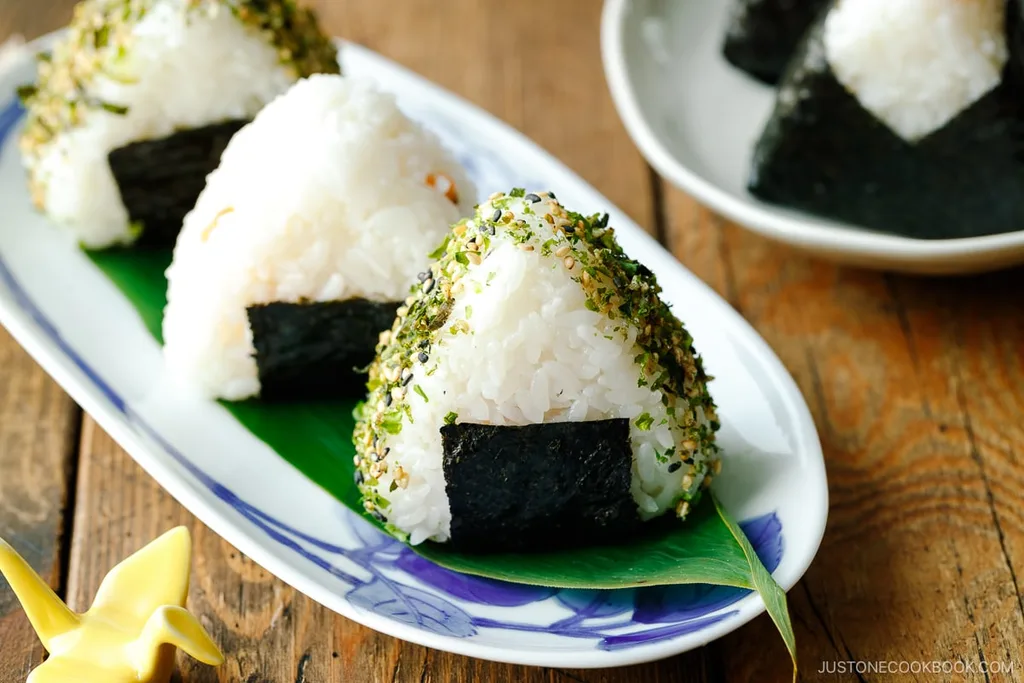
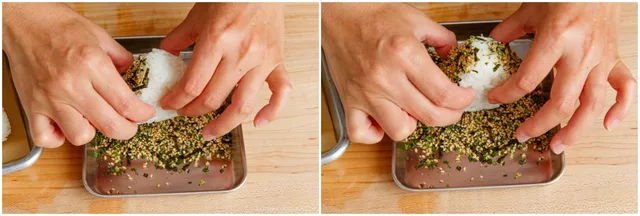
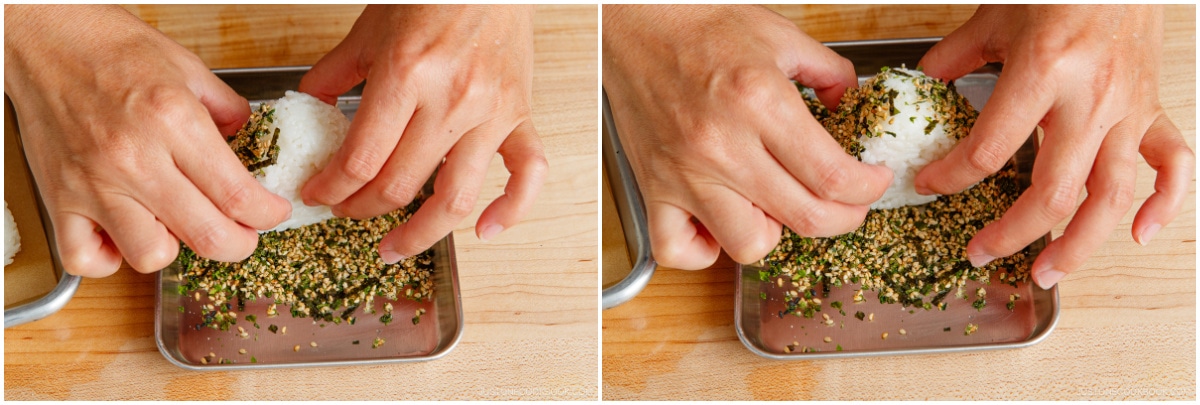
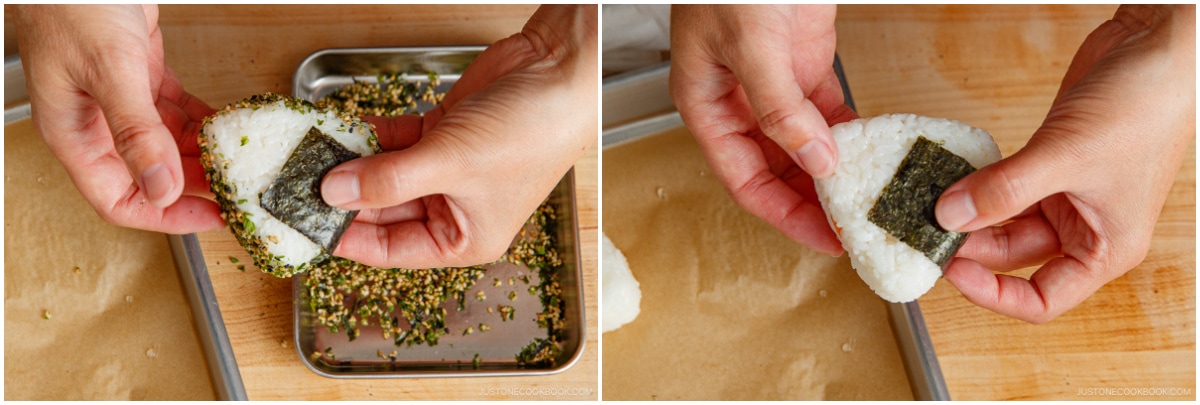
Step 16: If desired, coat the three sides of the shaped onigiri with furikake.
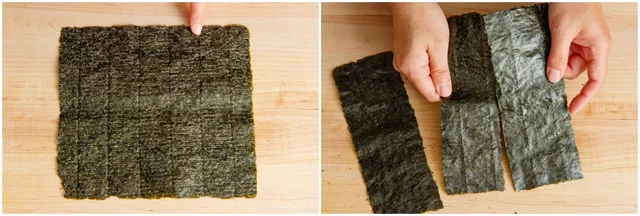
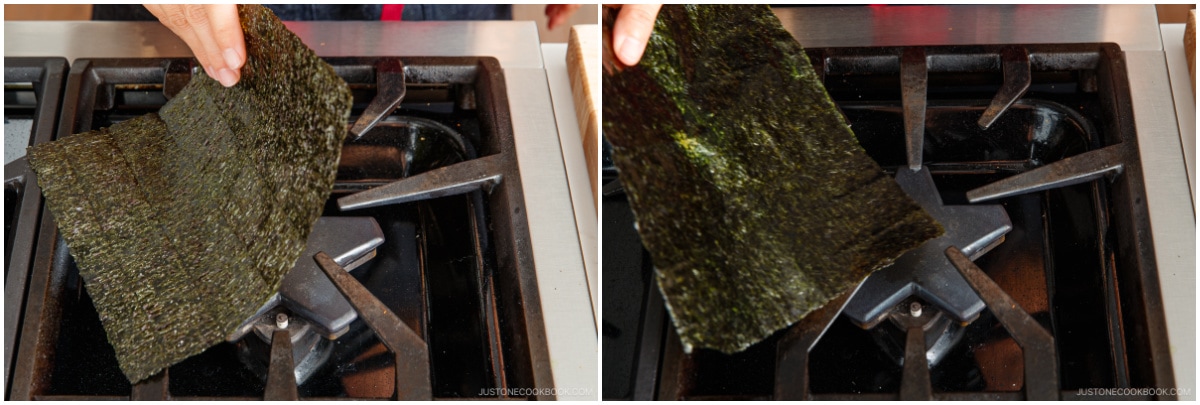
Step 17: Toast 3 sheets nori seaweed over an open flame one by one.
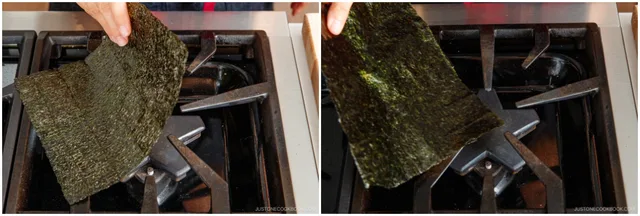
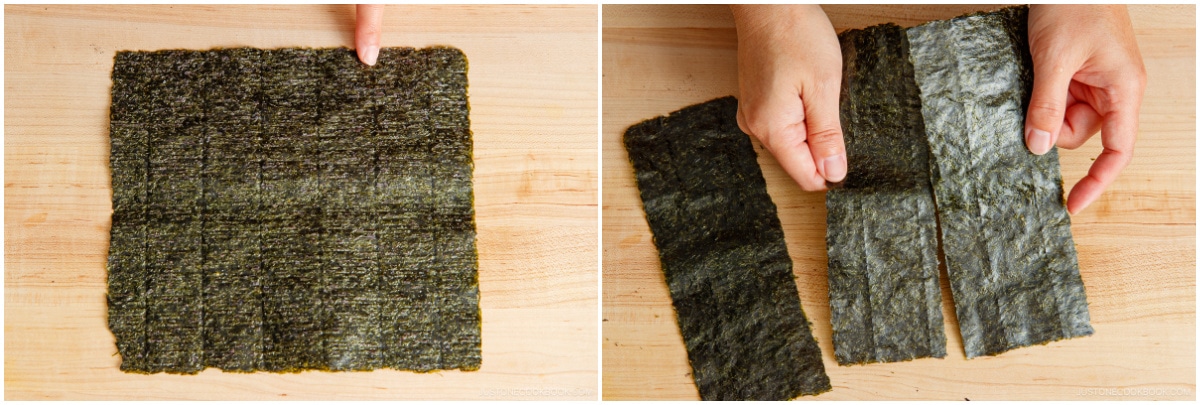
Step 18: Then, cut them into thirds, parallel to the lines on the nori sheet.
Step 19: Wrapping option A: wrap a narrow strip of the toasted, cut nori on one side of each onigiri. Trim the strips smaller if needed. Use this style or the fuller wrapping in step 21.
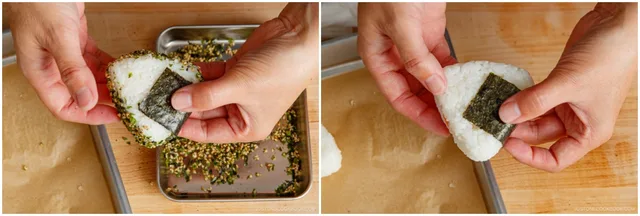
Step 20: Serve the finished onigiri promptly while the rice is warm. If using wrapping option B, continue with step 21 instead.
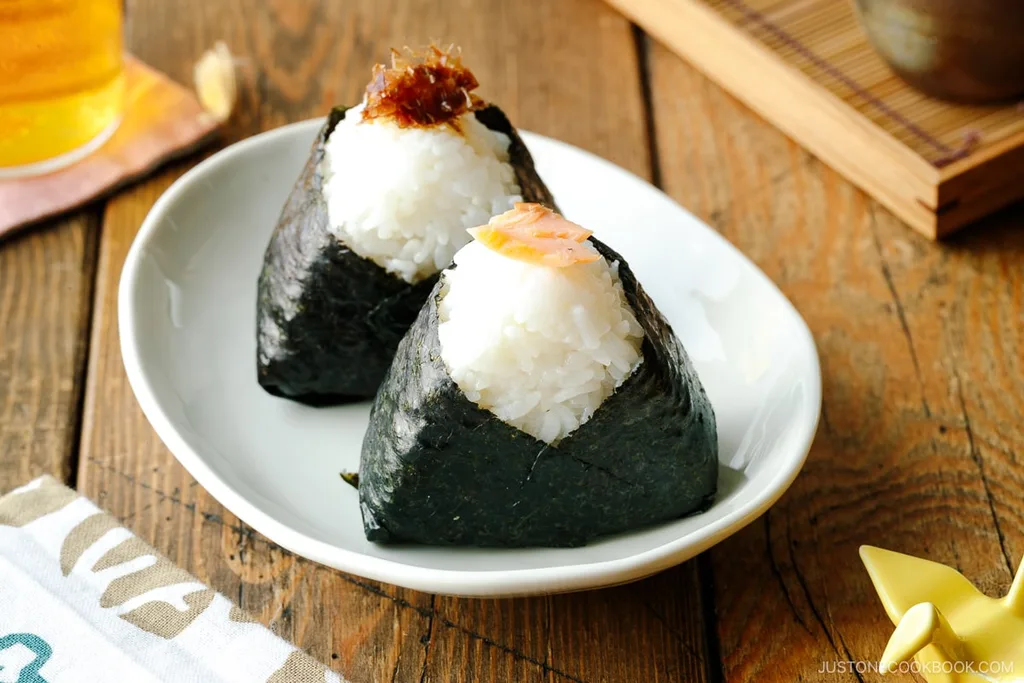
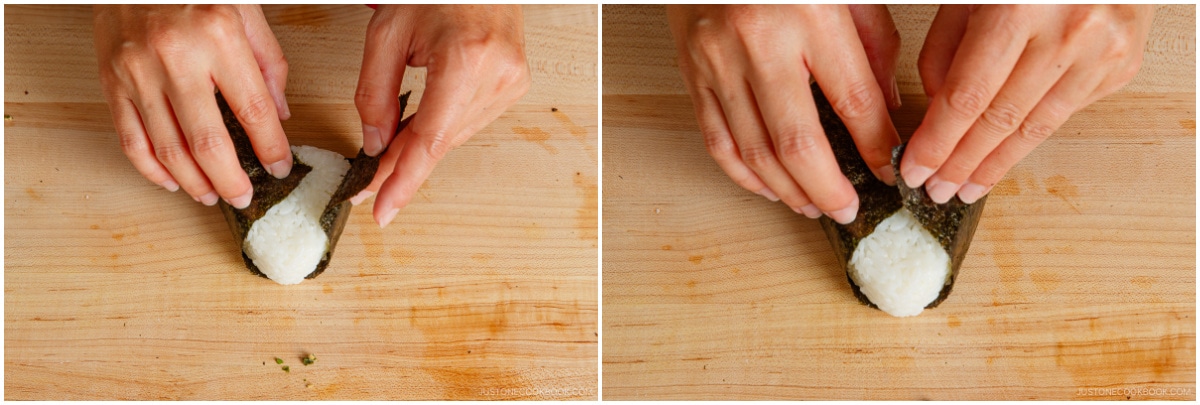
Step 21: Wrapping option B: wrap each onigiri with a fuller piece of the toasted nori. To keep the nori crisp, wrap just before eating and keep the unused nori airtight. This is an alternative to option A.
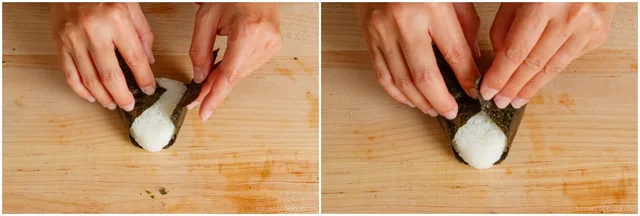
Step 22: If desired, place a little of the same filling used inside on the tip of each onigiri so you can identify it. Serve promptly.
Photos (2)
Comments
0 threadsSign in to join the discussion.



No comments yet. Start the discussion.