
Tamil · Breakfast
Ven Pongal Recipe (Khara Pongal)
From the zcook collection
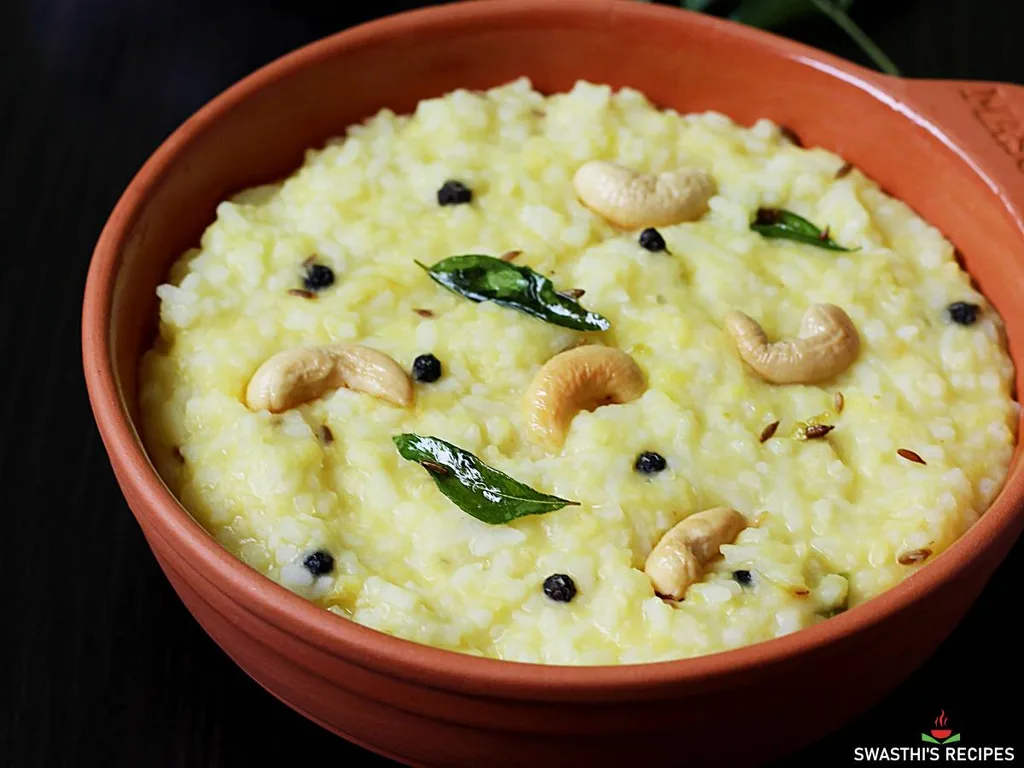
Creamy savory South Indian rice and moong dal pongal, finished with ghee, cumin, lightly crushed pepper, ginger and curry leaves. Choose the traditional pressure-cooker or regular-pot cooking route and serve hot.
- Vegetarian
- Indian
- Breakfast
- how to make pongal
- khara pongal
- pongal
- ven pongal
- Total
- 30 min
- Prep
- 5 min
- Cook
- 25 min
- Serves
- 3 servings
- Level
- Easy
- Energy
- 322 kcal
Method11 steps · about 30 min
Step 1: Put the ½ cup dry moong dal in a pot or traditional pressure cooker.
Step 2: Dry-roast over low-medium heat, stirring, until aromatic without browning or discoloring.
Step 3: Add the ½ cup rice to the roasted dal. Rinse both at least three times and drain completely. Add 3¼–3½ cups fresh cooking water and ½ tsp initial salt. Assemble only at this stage, then choose exactly one cooking branch in step 4 or 5.
Step 4: Traditional pressure-cooker branch only: cook the rice-dal mixture directly in the cooker for 2–3 whistles over medium heat, then turn off. Allow pressure to release naturally and open only when safe. Skip step 5.
Step 5: Regular-pot branch only: cook the rice-dal mixture until both are completely soft and mushy, adding extra hot water only as needed. Skip step 4.
Step 6: After your single cooking branch is complete, stir and optionally mash the cooked rice and dal lightly for a creamy, mushy consistency.
Step 7: If too thick or dry, add extra boiling water and simmer for a few minutes until gooey and creamy, neither dry nor watery. Taste and add extra salt only if needed.
Step 8: In a separate small pan, heat the 2 tbsp tempering ghee. If using cashews (10), fry all 10 split cashews until golden, lift them out and reserve for garnish. Keep the ghee in the pan.
Step 9: To the retained tempering ghee add cumin seeds (¾ tsp) and lightly crushed peppercorns. When they sizzle, reduce the heat and add optional green chili (1) and the chopped or grated ginger (1). Sauté for 30 seconds.
Step 10: Add the pat-dried curry leaves (1) and fry until crisp and aromatic. Add the asafoetida (⅛ tsp) and optional pinch turmeric (1), then turn off the tempering heat.
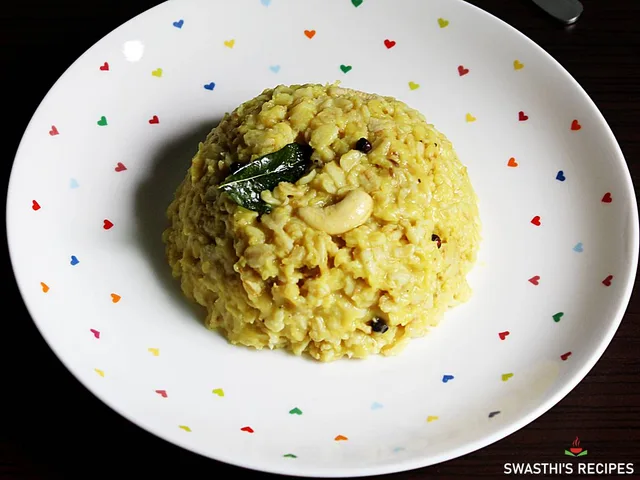
Step 11: Pour all the prepared tempering from step 10 into the cooked pongal from step 7. Mix and simmer for 1–2 minutes to infuse the flavors. Garnish with the reserved fried cashews if used and optional ½ tbsp extra hot serving ghee (½ tbsp). Serve hot while creamy.
Photos (1)
Comments
0 threadsSign in to join the discussion.


No comments yet. Start the discussion.