

Vietnamese · Dessert
Snowskin Mooncake / Bánh Trung Thu Dẻo
From the zcook collection
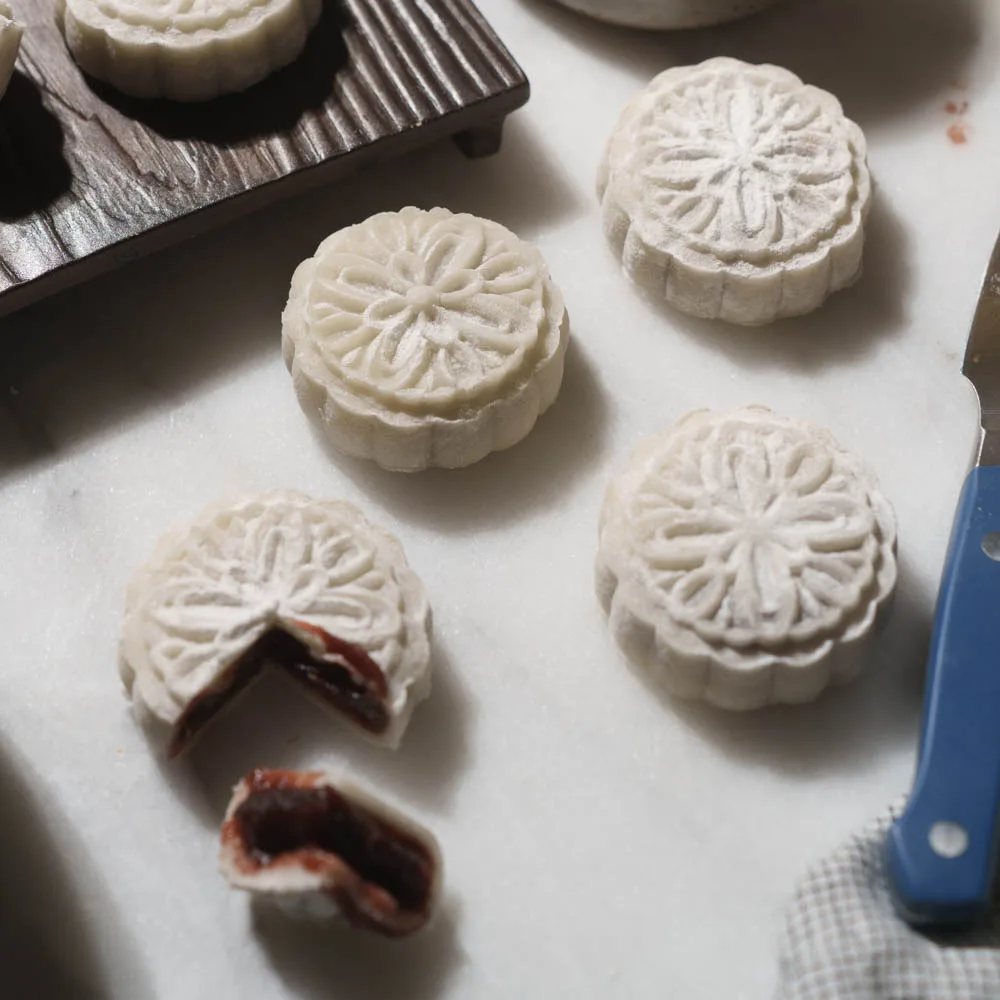
Unbaked Vietnamese mooncakes with a soft roasted-rice-flour shell wrapped around ready-made red bean paste.
- Vegan
- Dairy-free
- Vietnamese
- Dessert
- Snack
- celebration
- mid autumn festival
- Total
- 1 hr 1 min
- Prep
- 45 min
- Cook
- 1 min
- Serves
- 6–10 mooncakes
- Level
- Hard
- Energy
- 119 kcal
Method21 steps · about 1 hr 1 min
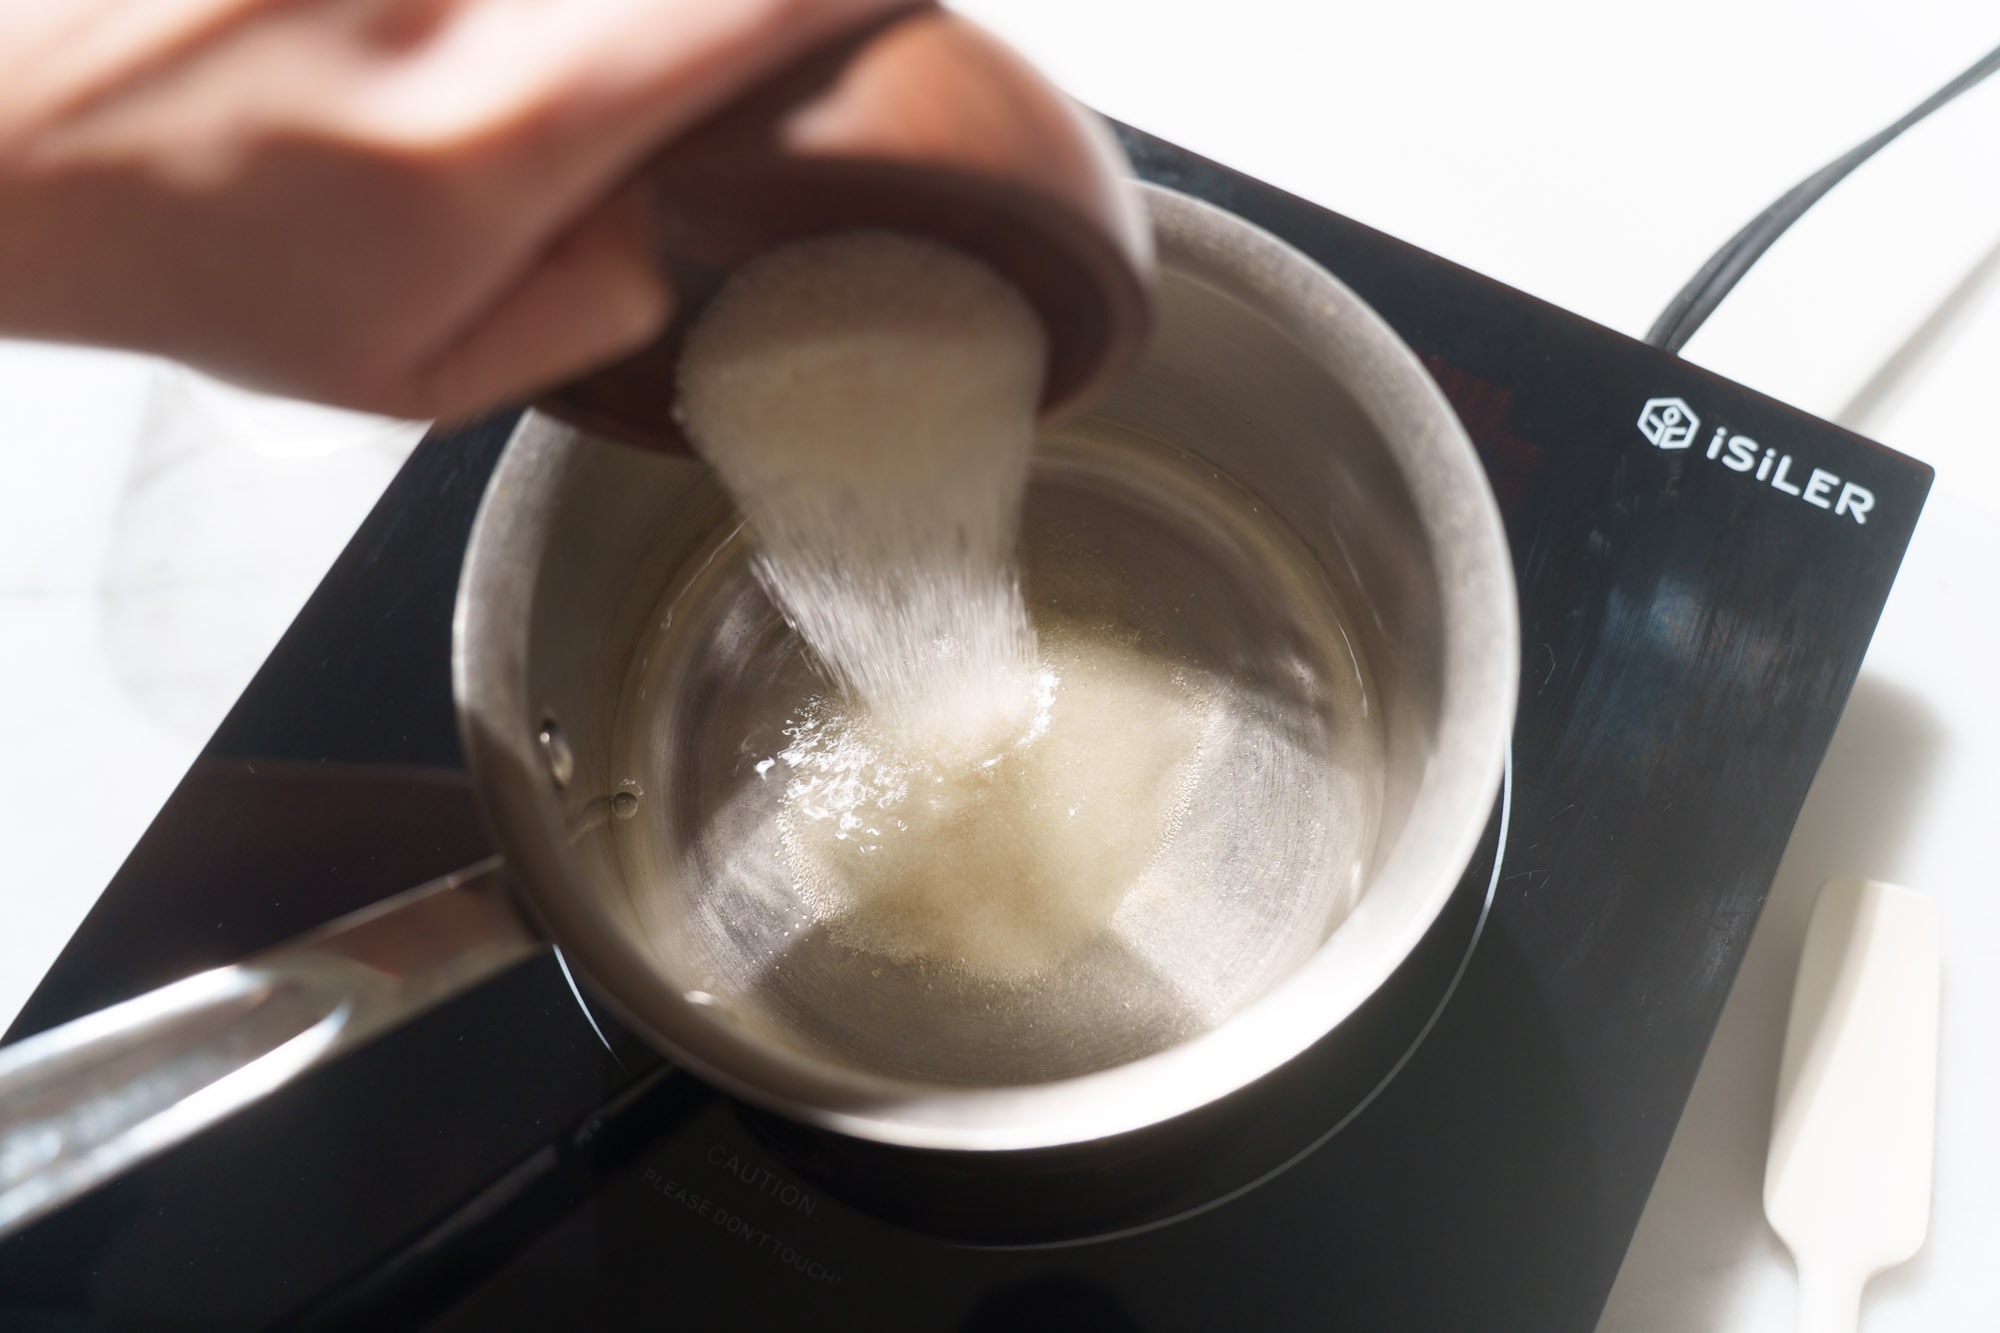
Step 1: In a saucepan over medium heat, combine 170 g water and 37.5 g white cane sugar. Stir to dissolve the sugar. When the syrup starts to boil, remove from the heat and let it cool until lukewarm.
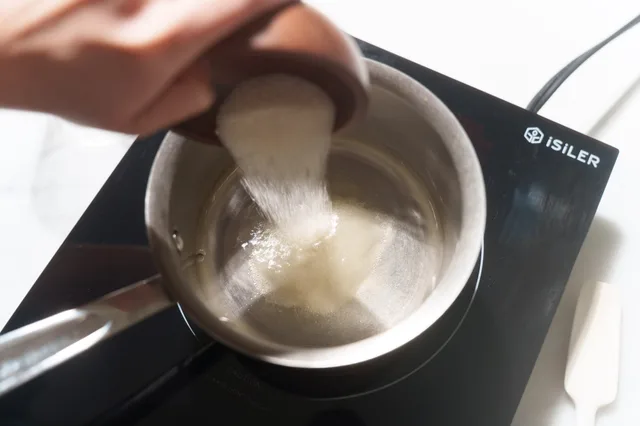
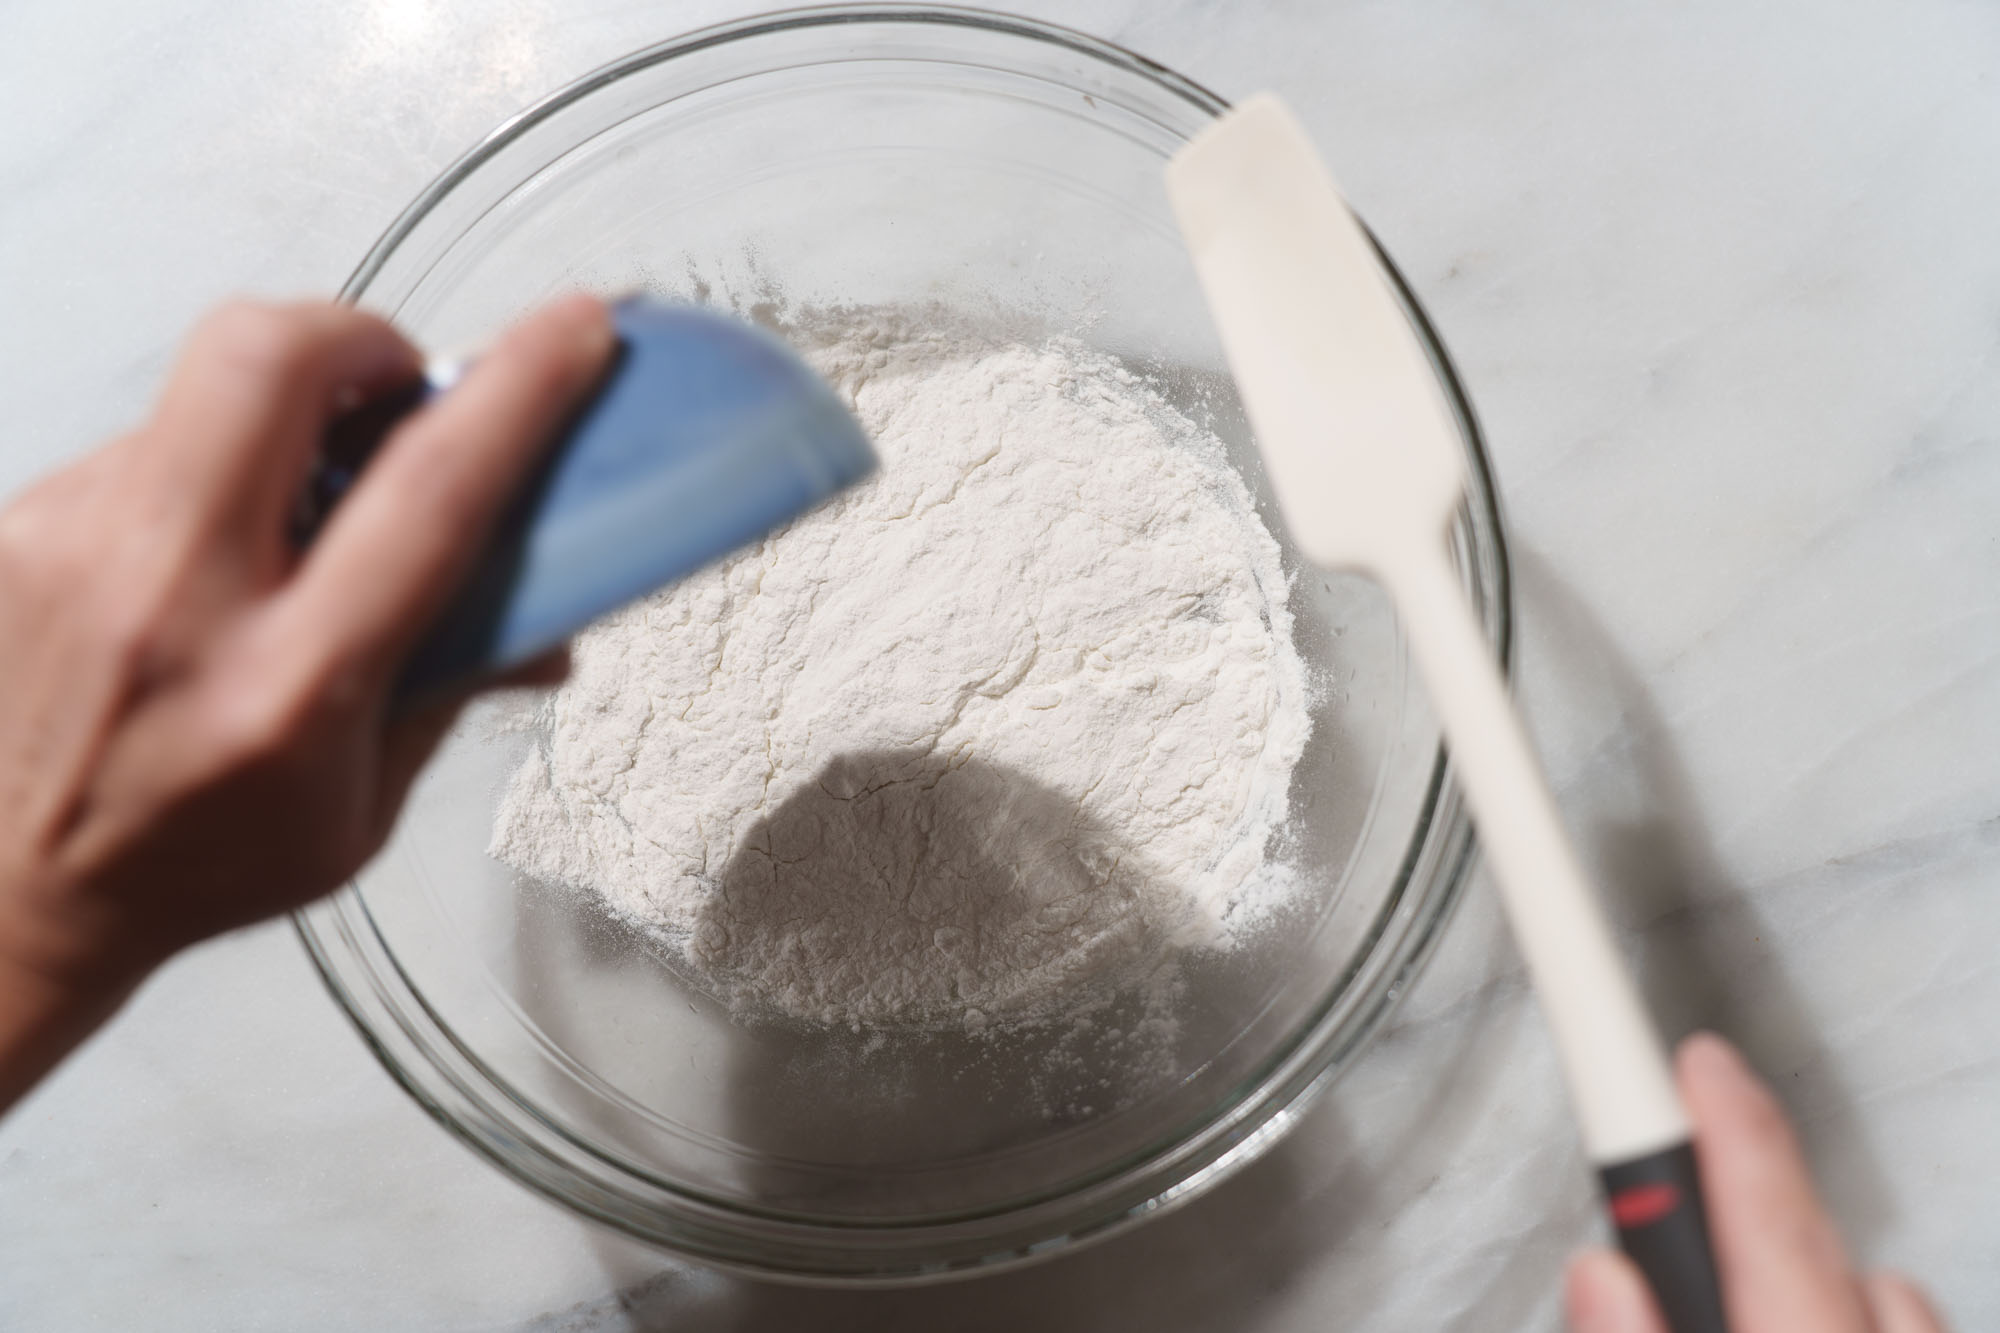
Step 2: Pour the lukewarm syrup into a mixing bowl and gradually mix in 100 g already-cooked or roasted glutinous rice flour (100 g). Add one drop of pomelo flower extract if desired. Do not substitute raw glutinous rice flour; these mooncakes are not cooked after assembly.
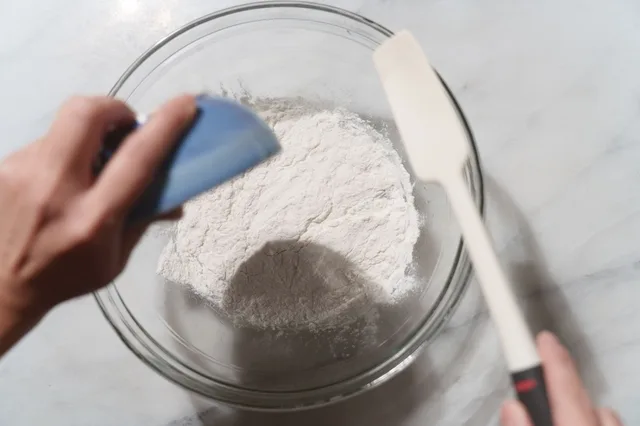
Step 3: Continue to mix until all the flour is incorporated. The dough should feel slightly tacky and soft. Cover with a hand towel and let the dough rest for 15 minutes.
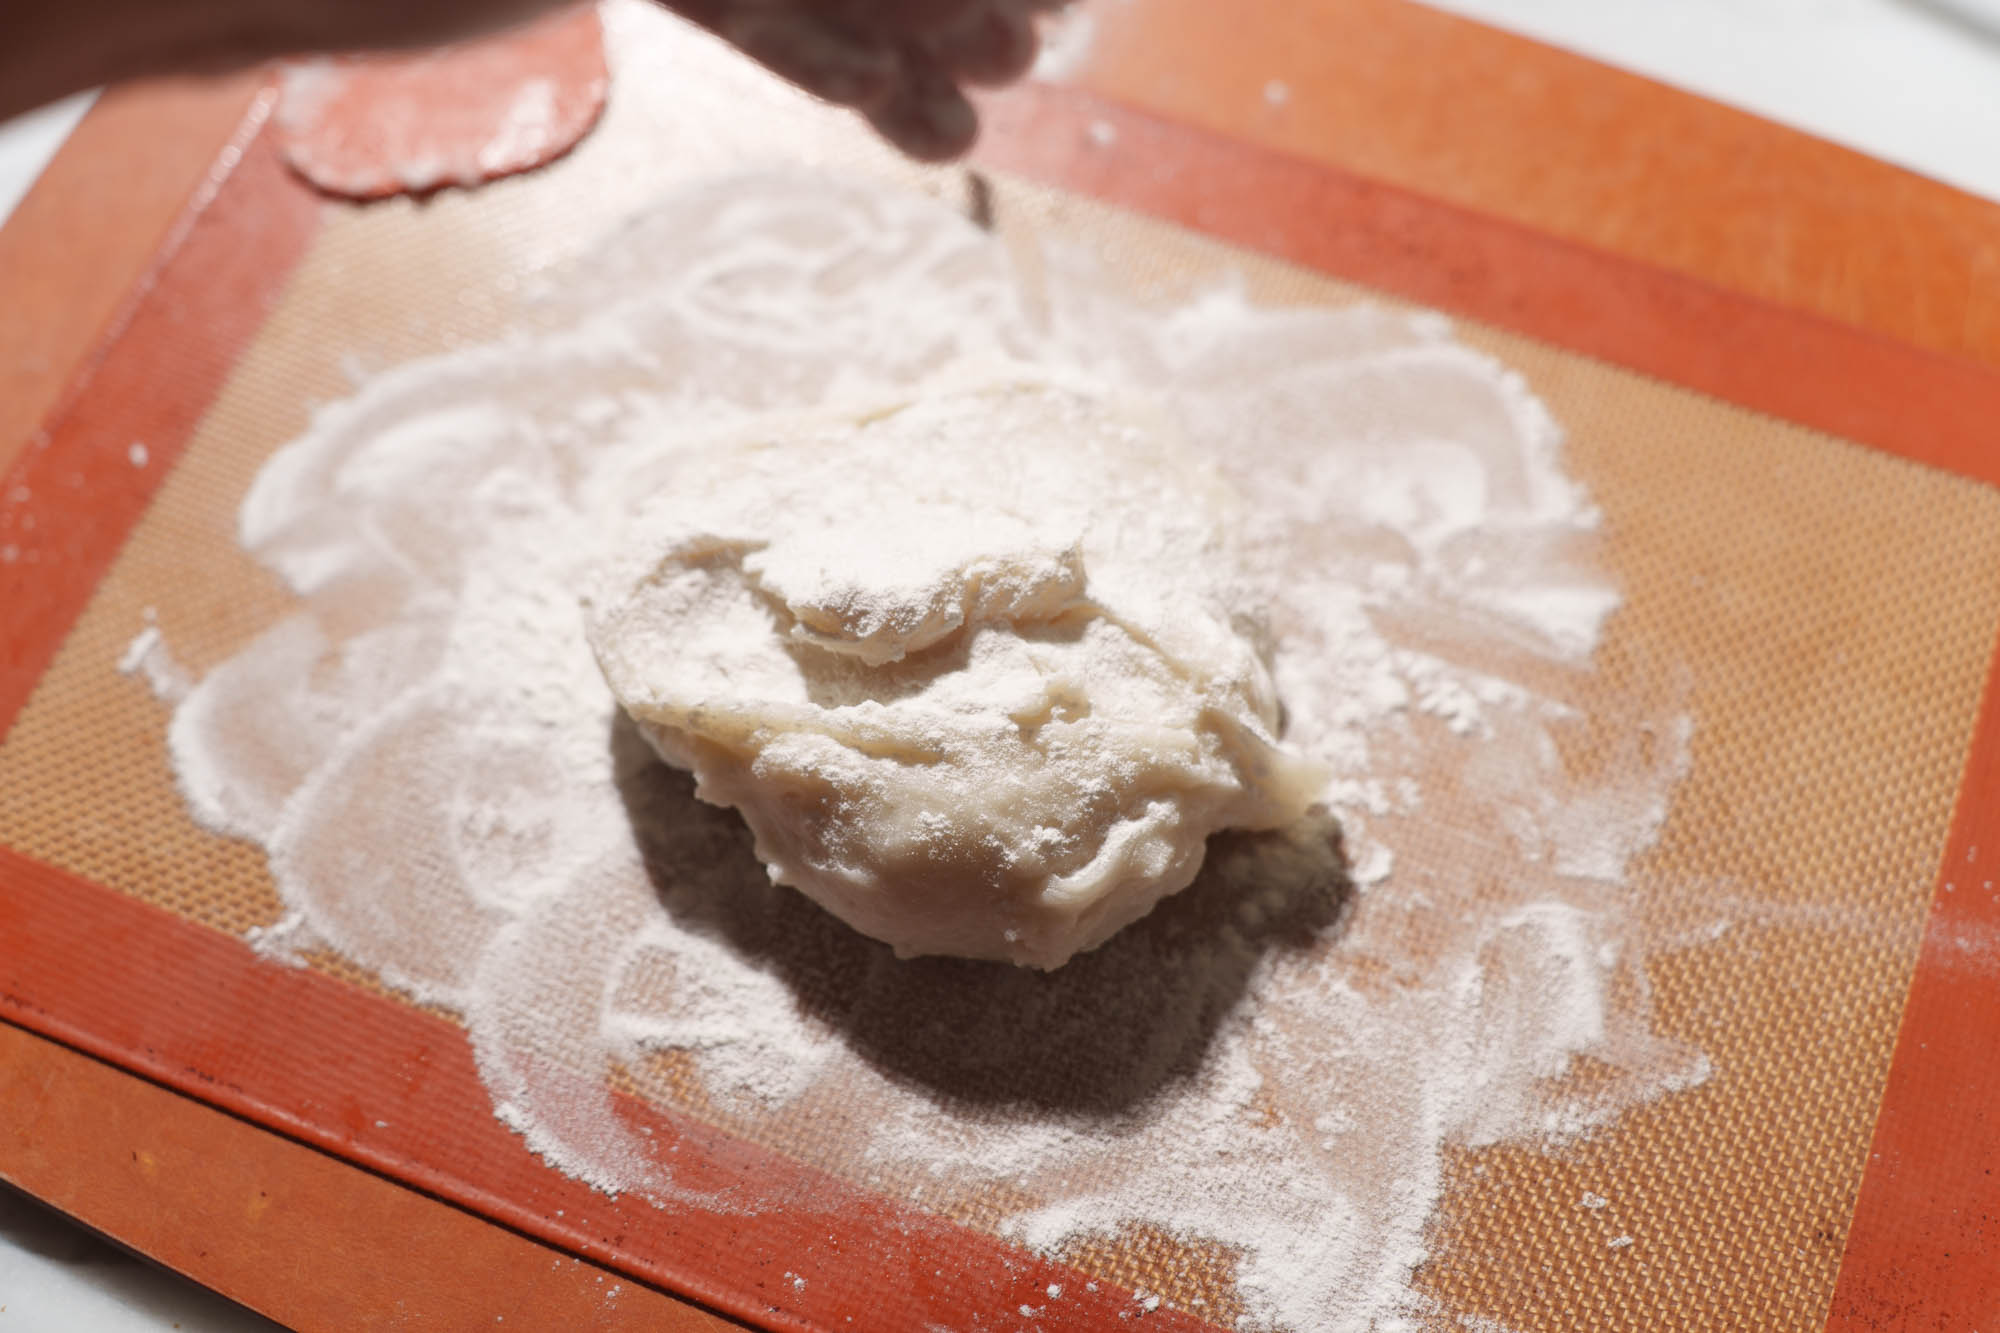
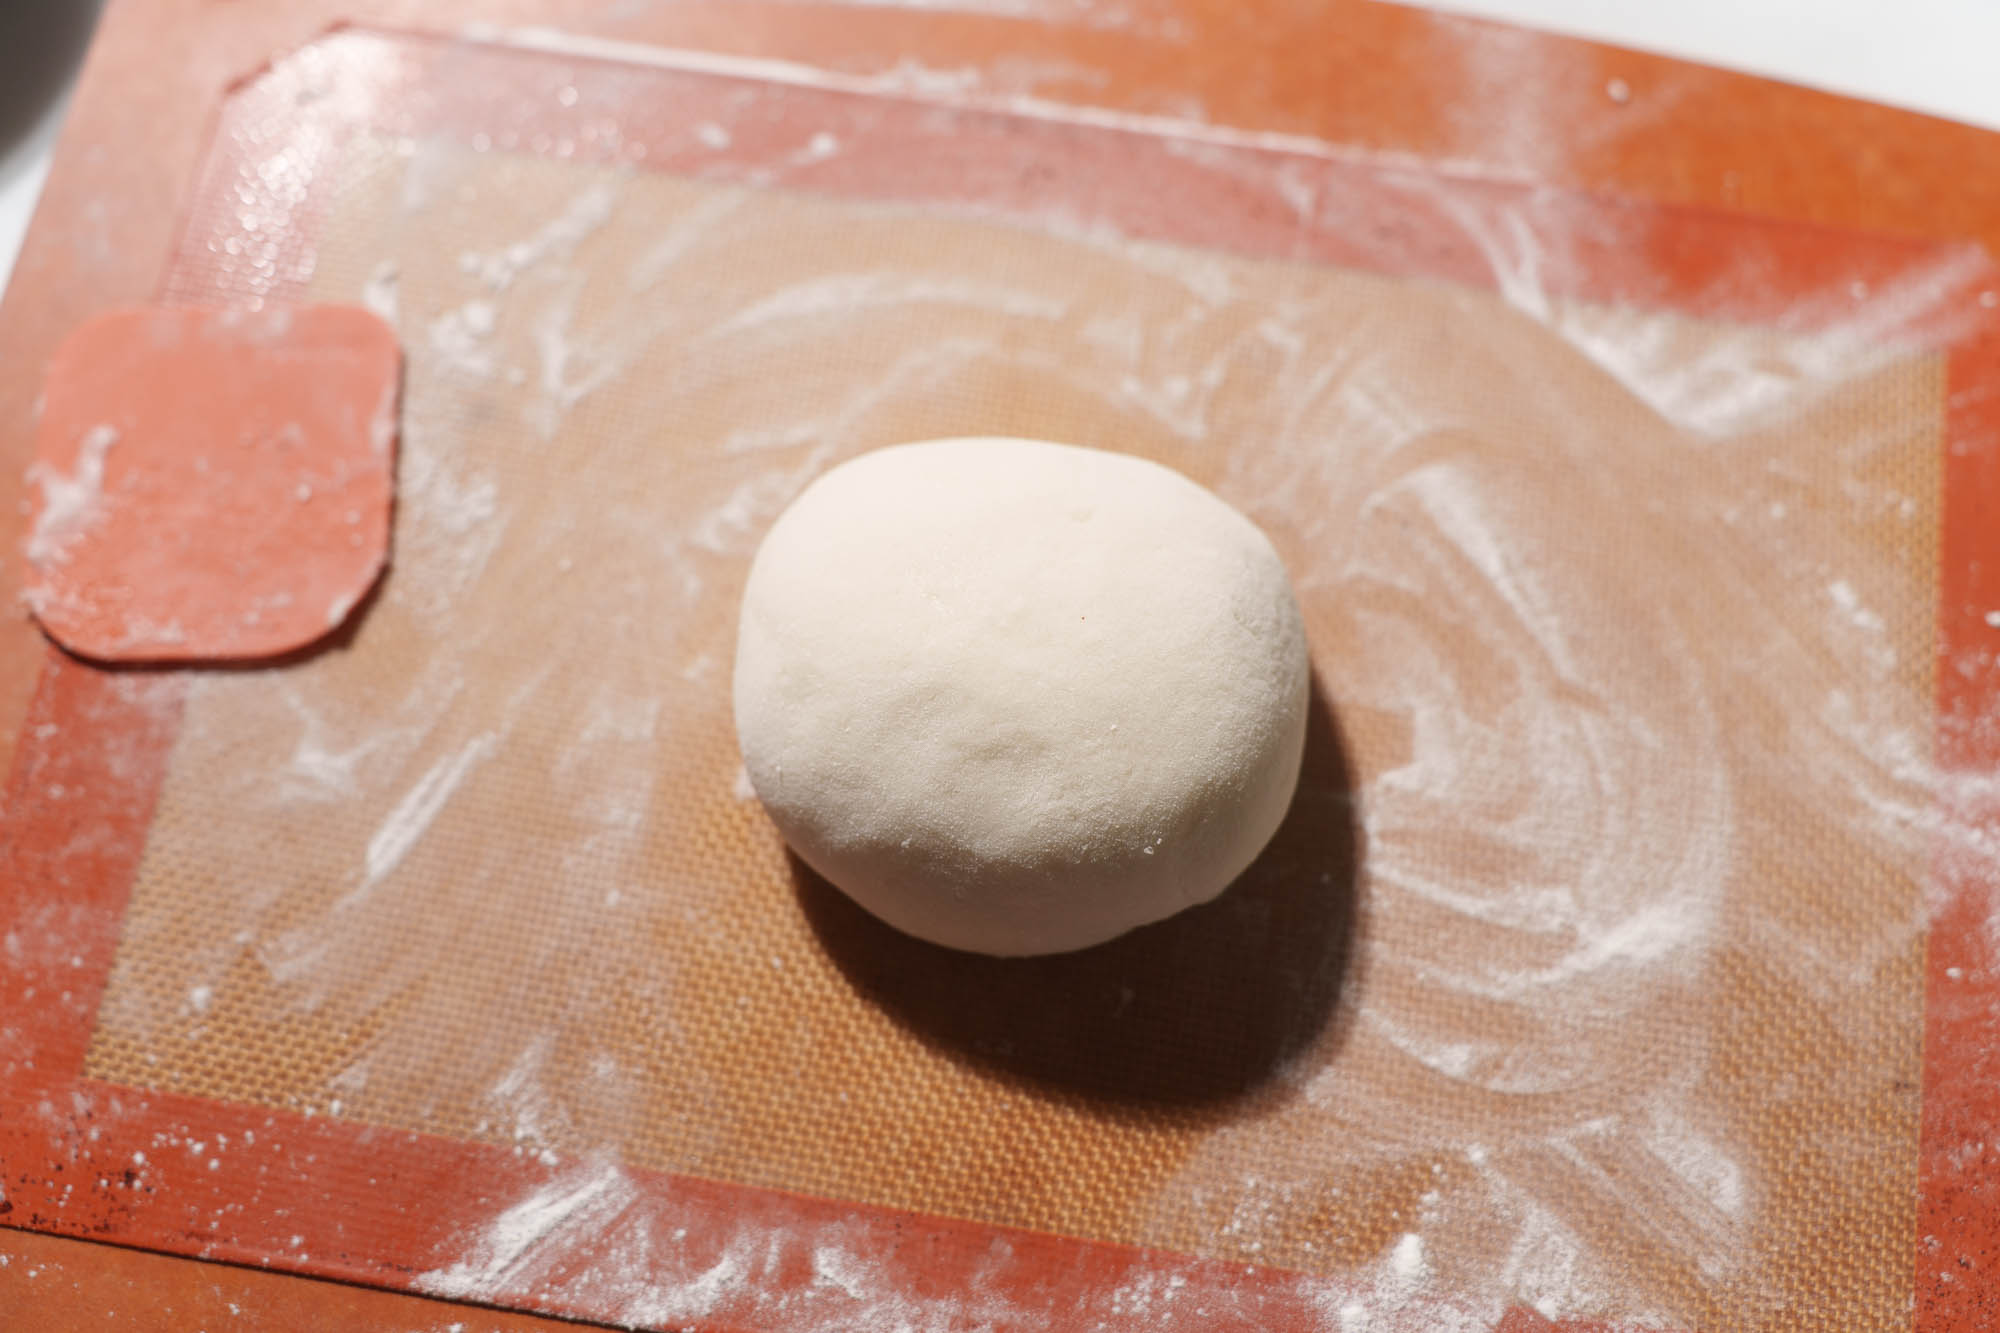
Step 4: Dust a board with some of the separate extra cooked rice flour, place the rested dough in the centre and lightly dust its top.
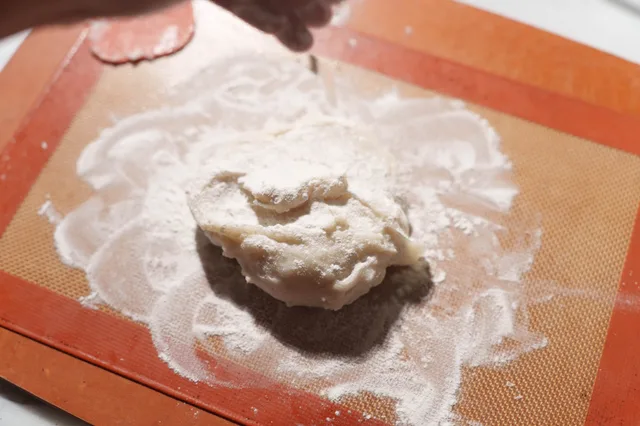
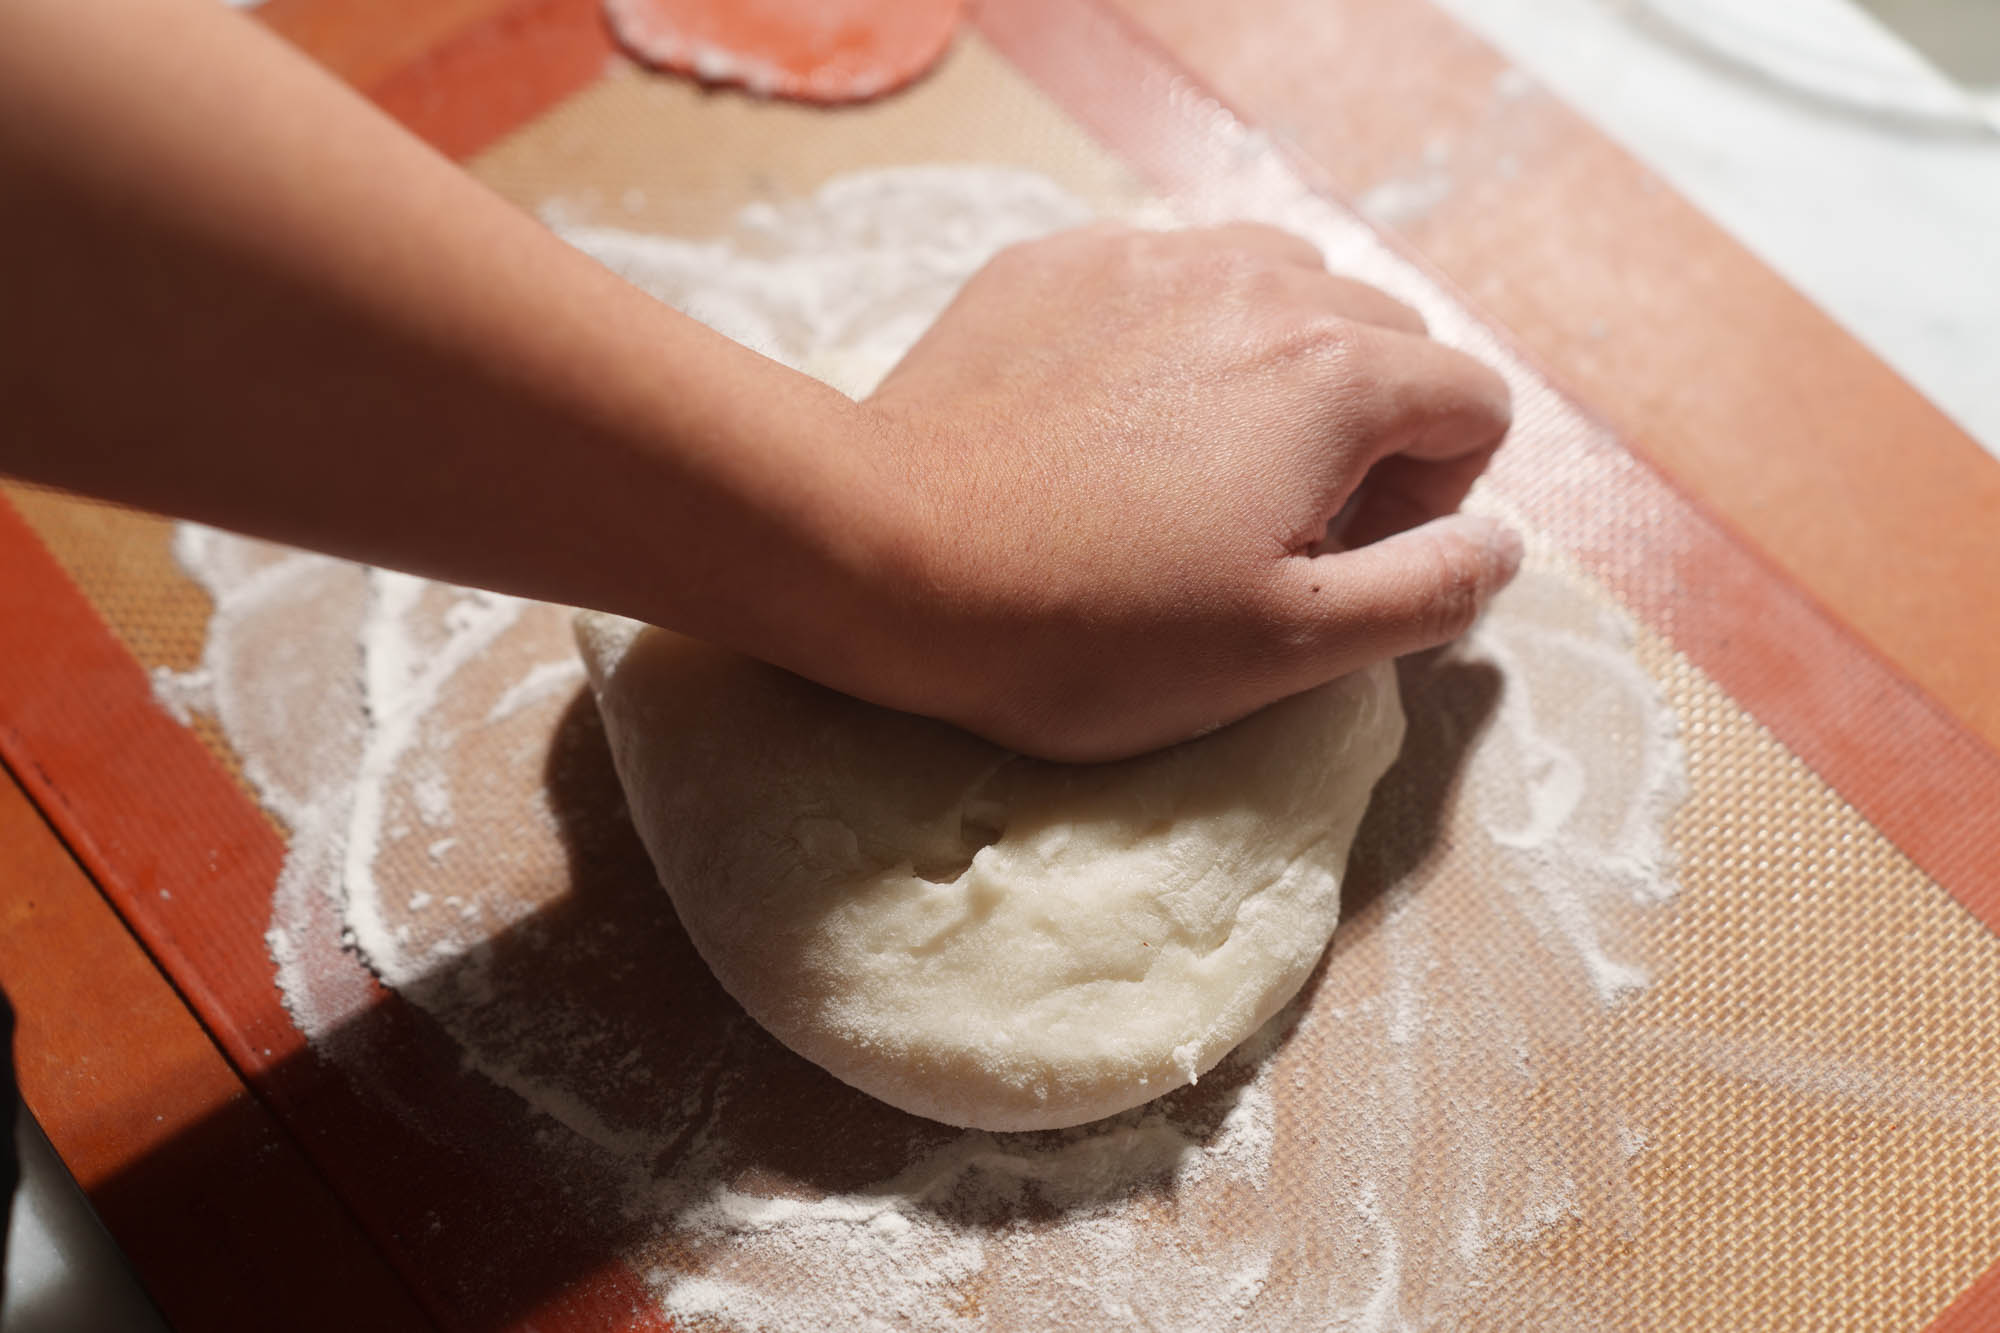
Step 5: Knead by pushing the dough forward with the heel of your hand, partially folding the top over the centre, rotating 45 degrees and repeating. Add only as much extra cooked rice flour as needed to handle the dough.
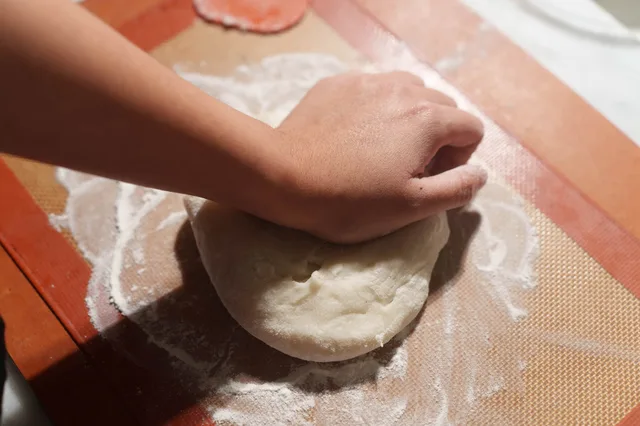
Step 6: Knead until the dough is smooth, holds its shape and remains soft and slightly sticky. Add extra cooked rice flour sparingly rather than trying to reach a fixed extra-flour weight.
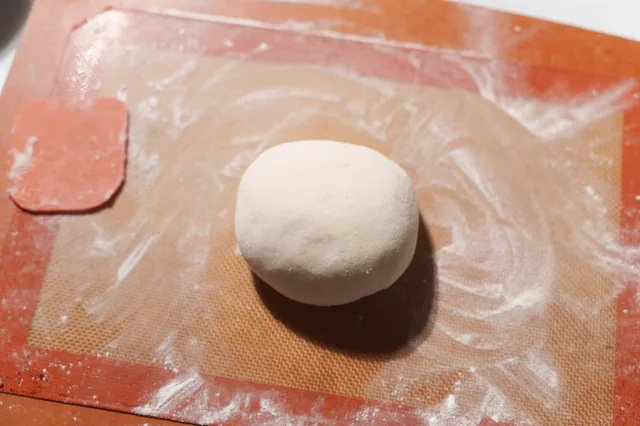
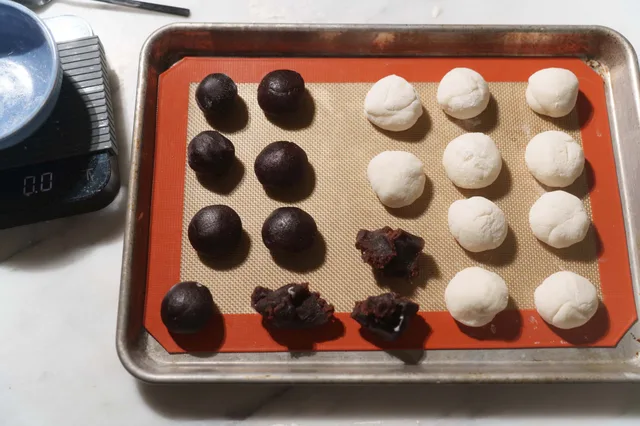
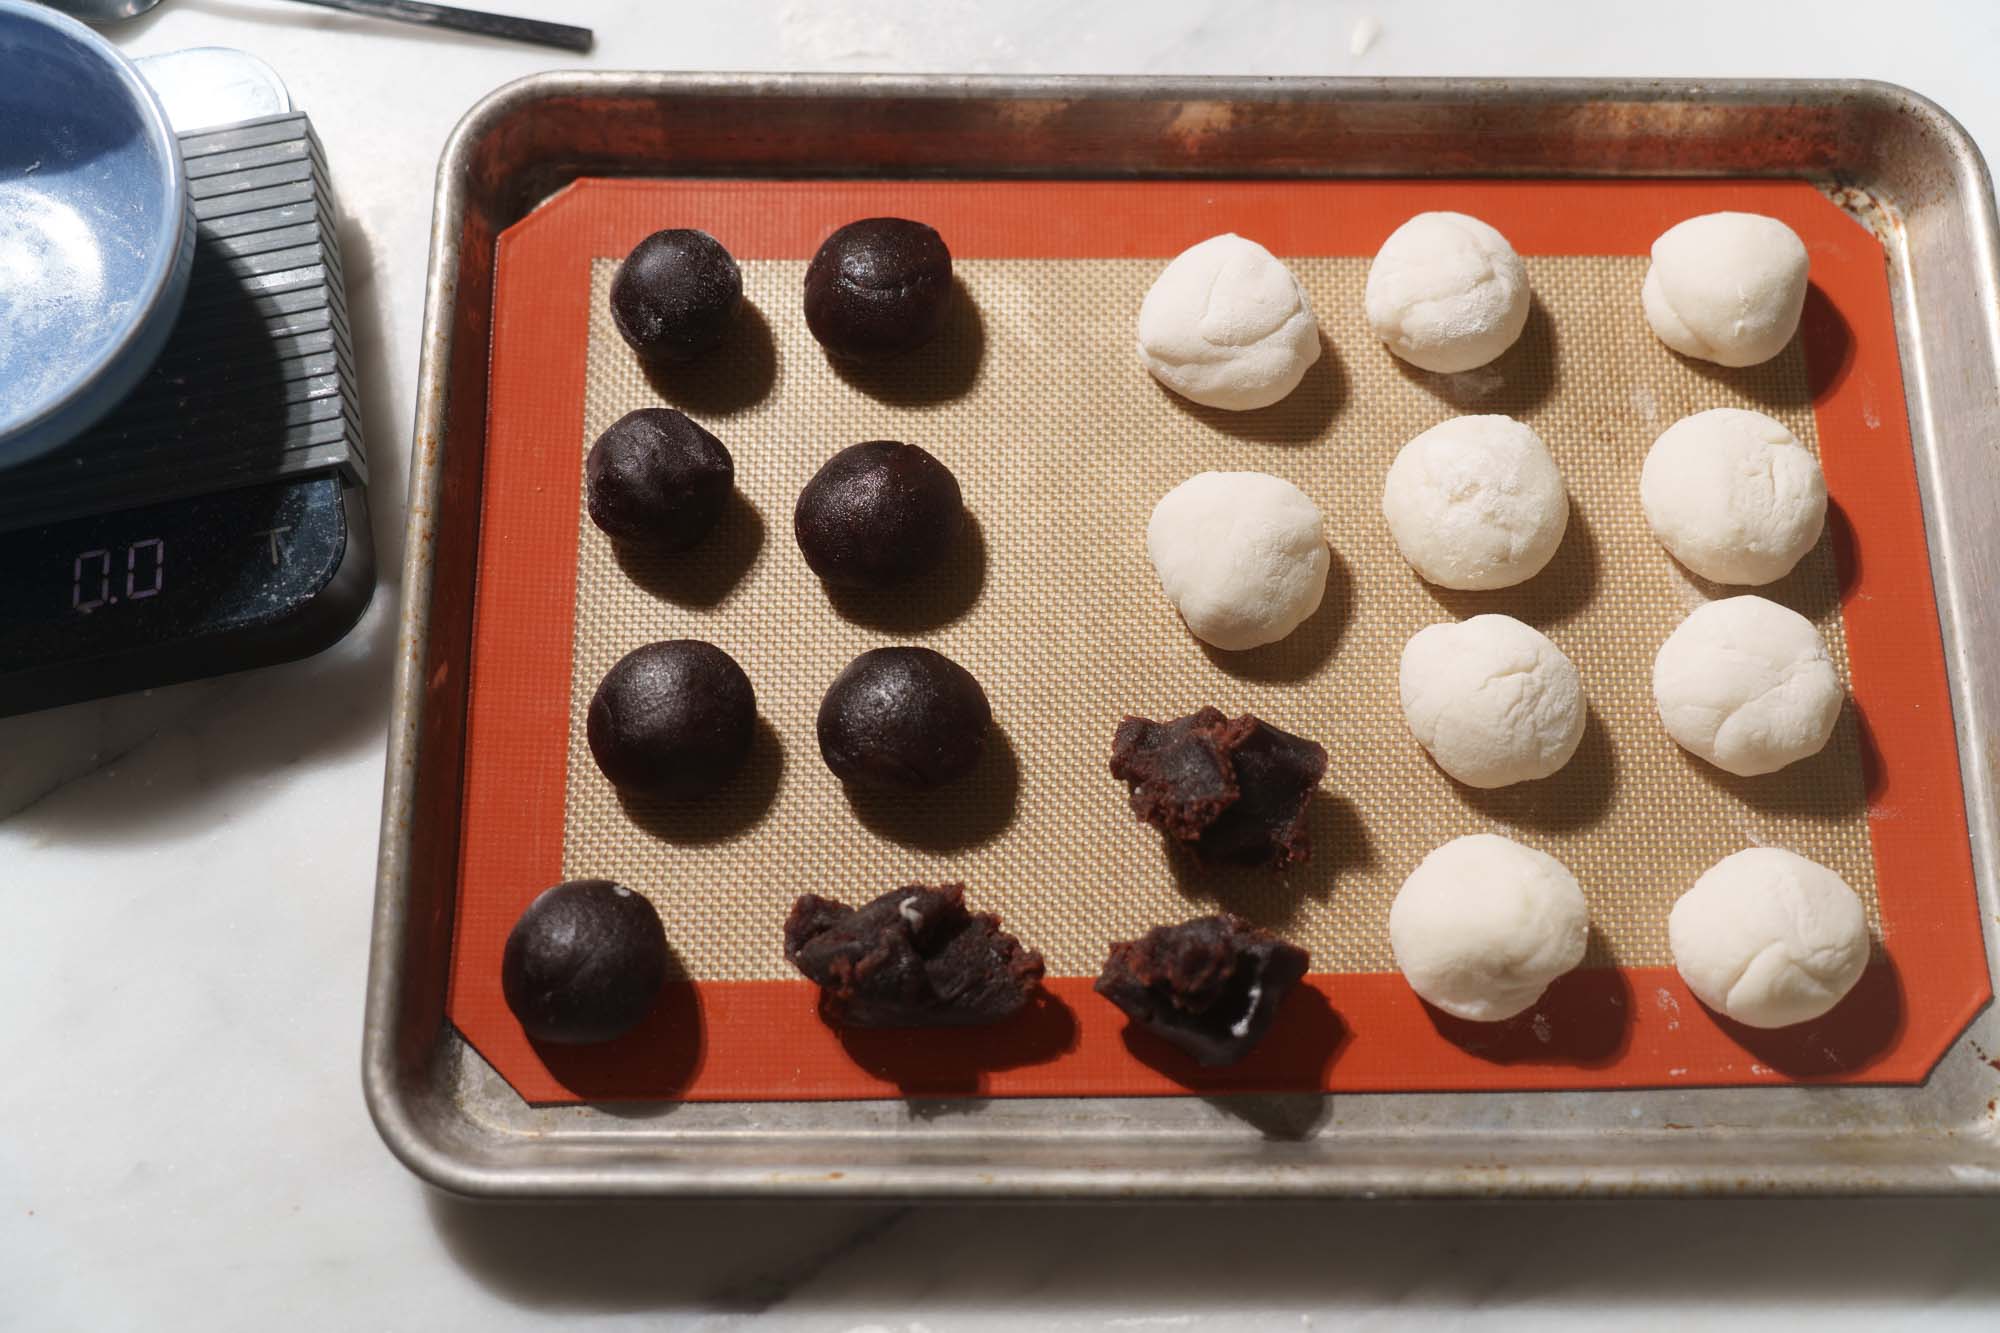
Step 7: Weigh the dough and the 250 g ready-made red bean paste. For the 75 g-capacity mold, portion 30 g dough and 25 g filling per mooncake; the actual mooncakes weigh about 55 g each. Depending on how much usable dough you have, make 6–10 moon cakes and reserve any leftover dough or filling. Keep the portions on a non-stick mat and cover with a clean towel to prevent drying.
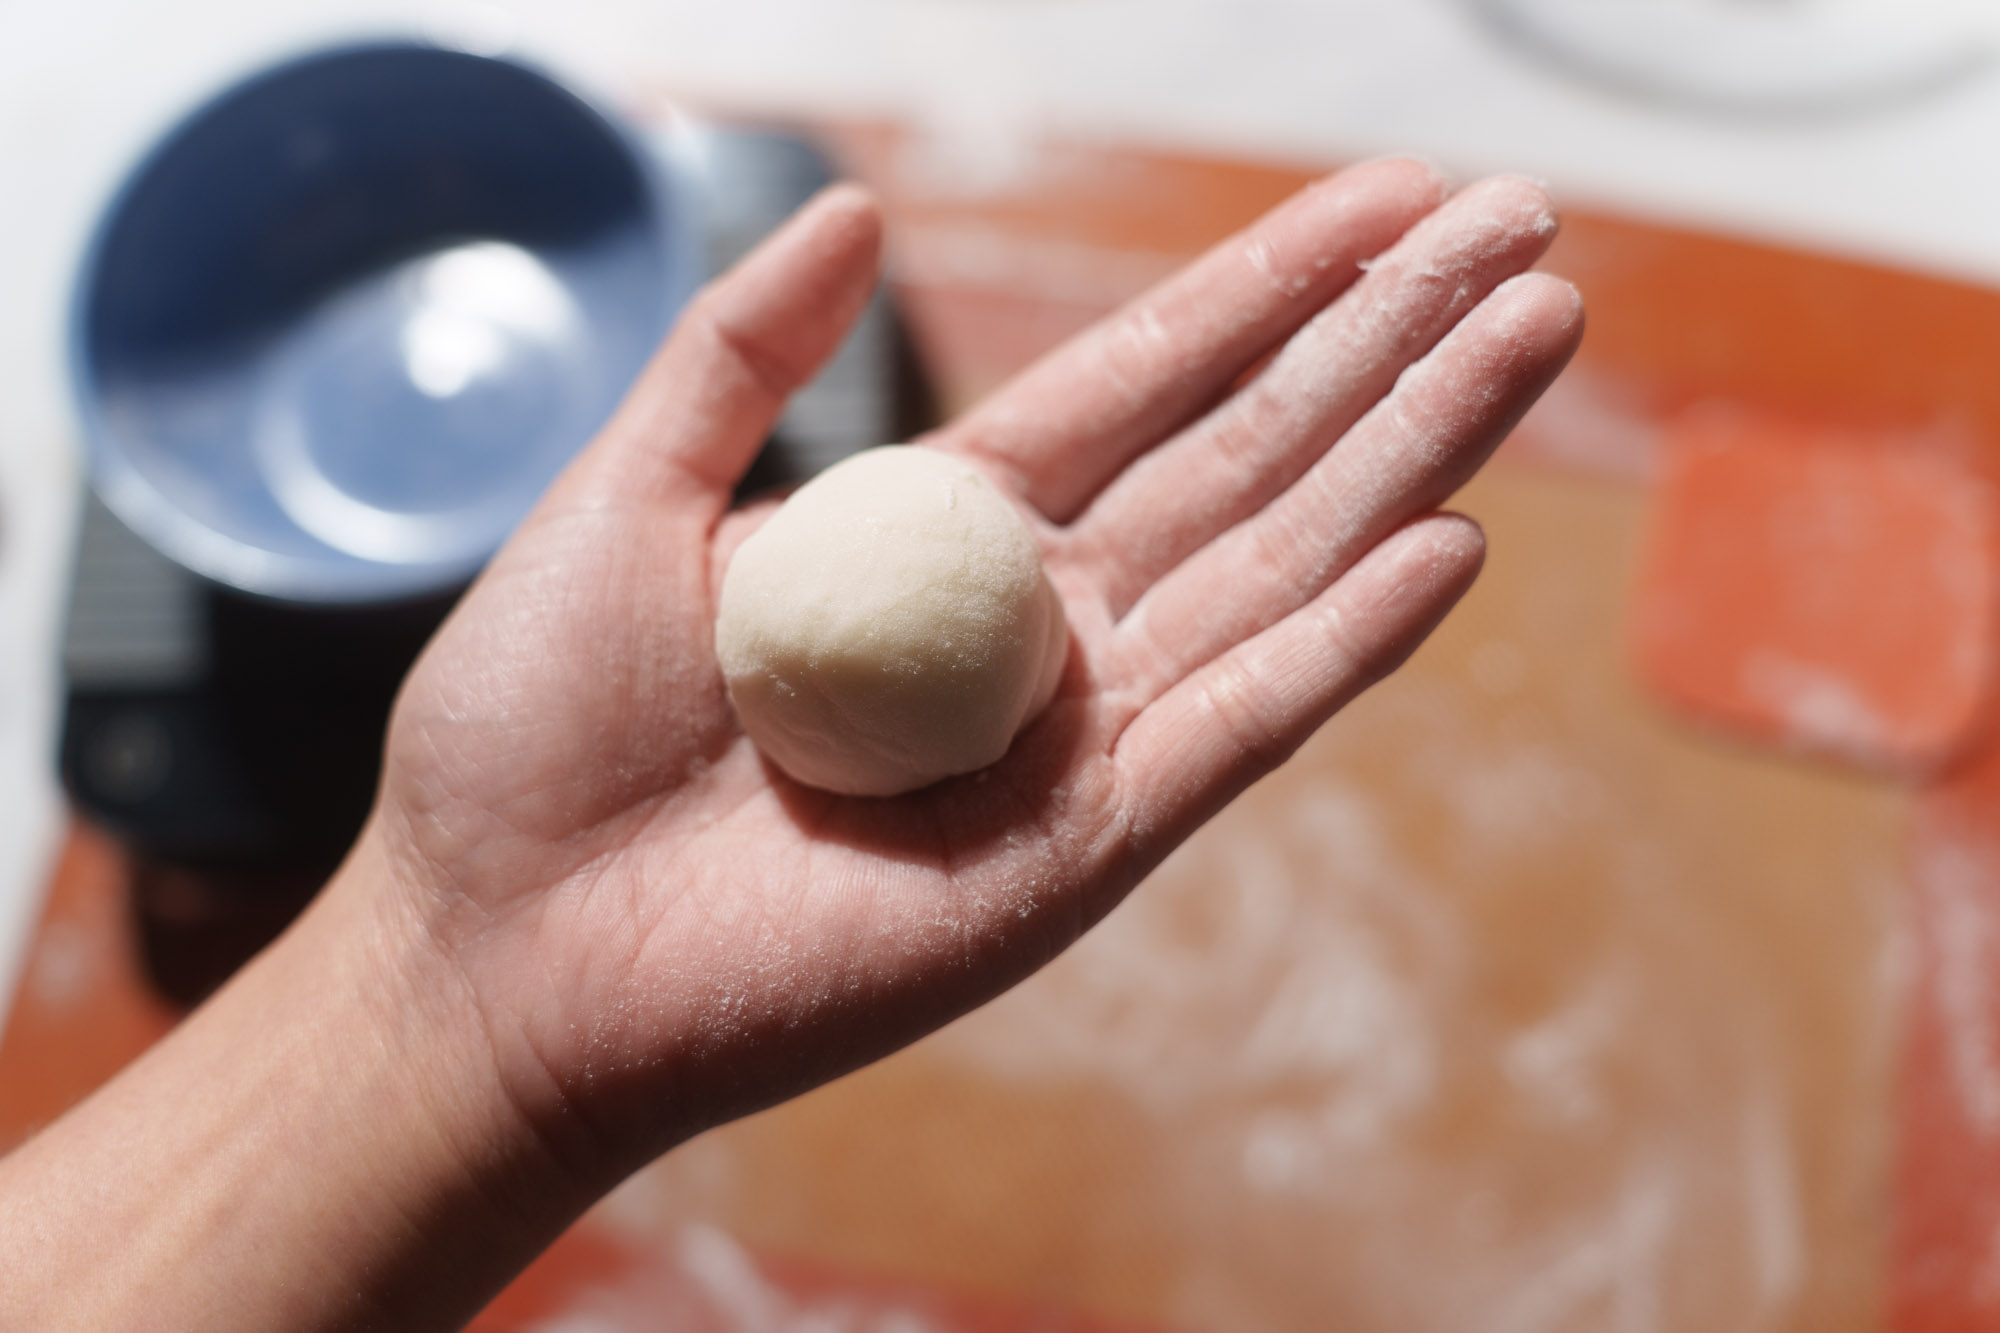
Step 8: Dust your hands with extra cooked rice flour and roll one 30 g dough portion into a smooth ball. Keep your hands lightly dusted as needed, or use food-safe gloves.
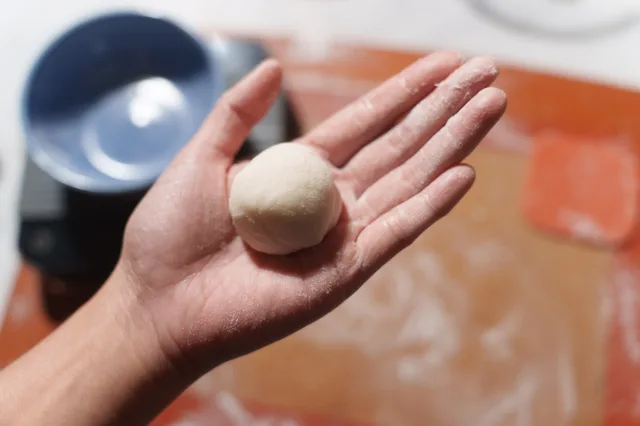
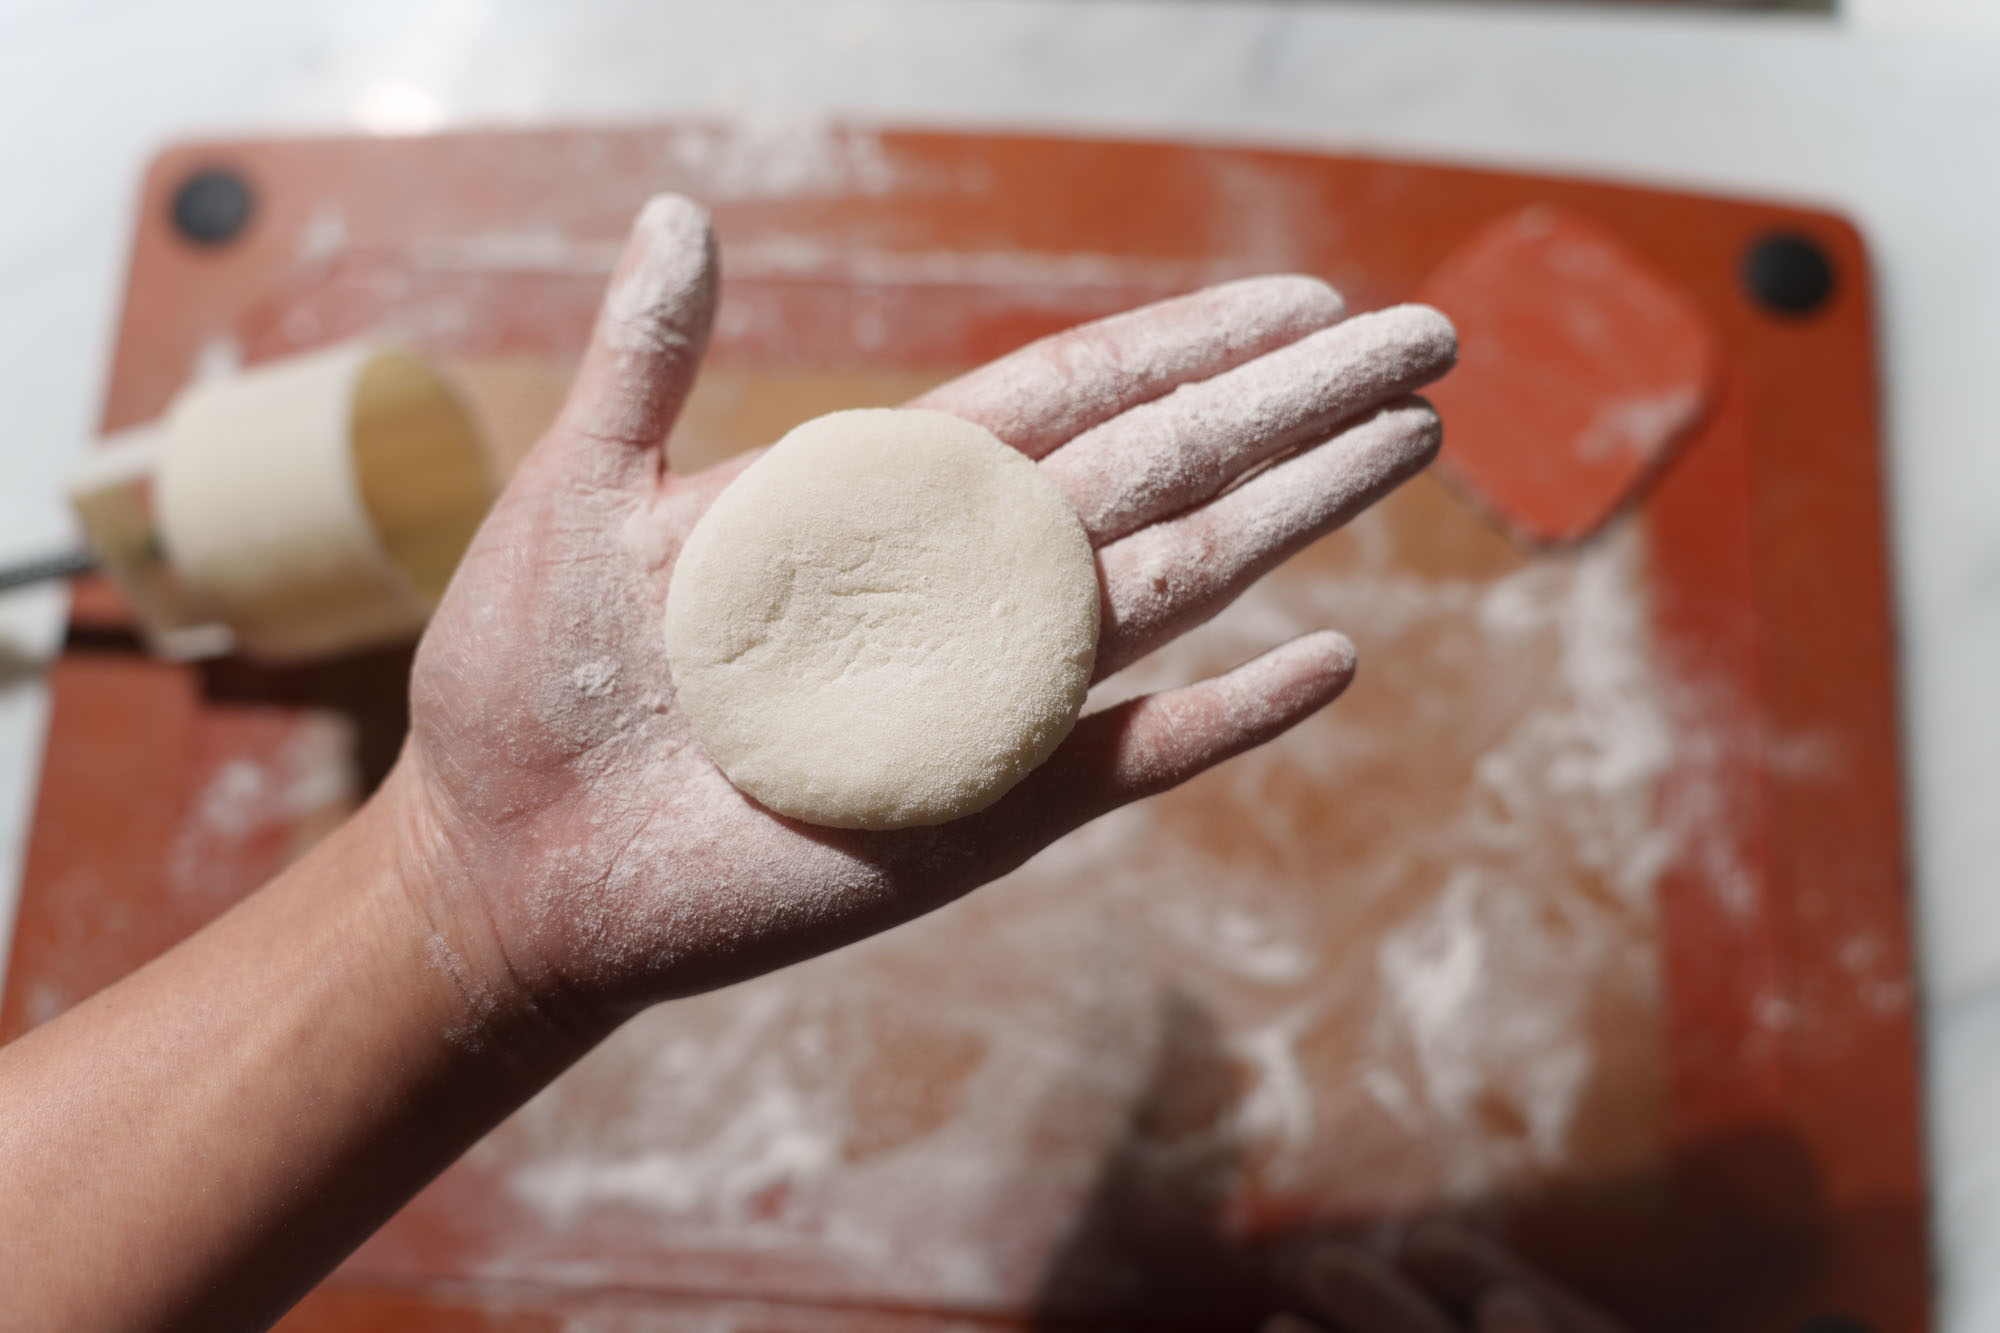
Step 9: Flatten the ball onto the board or your palm.
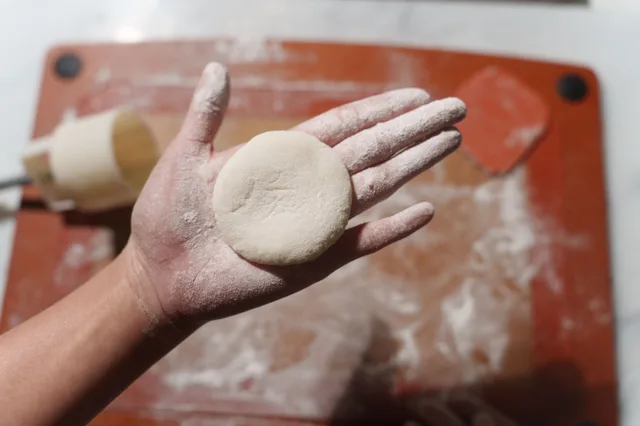
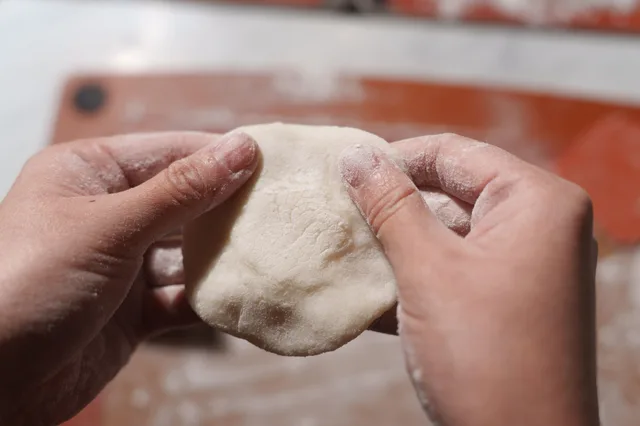
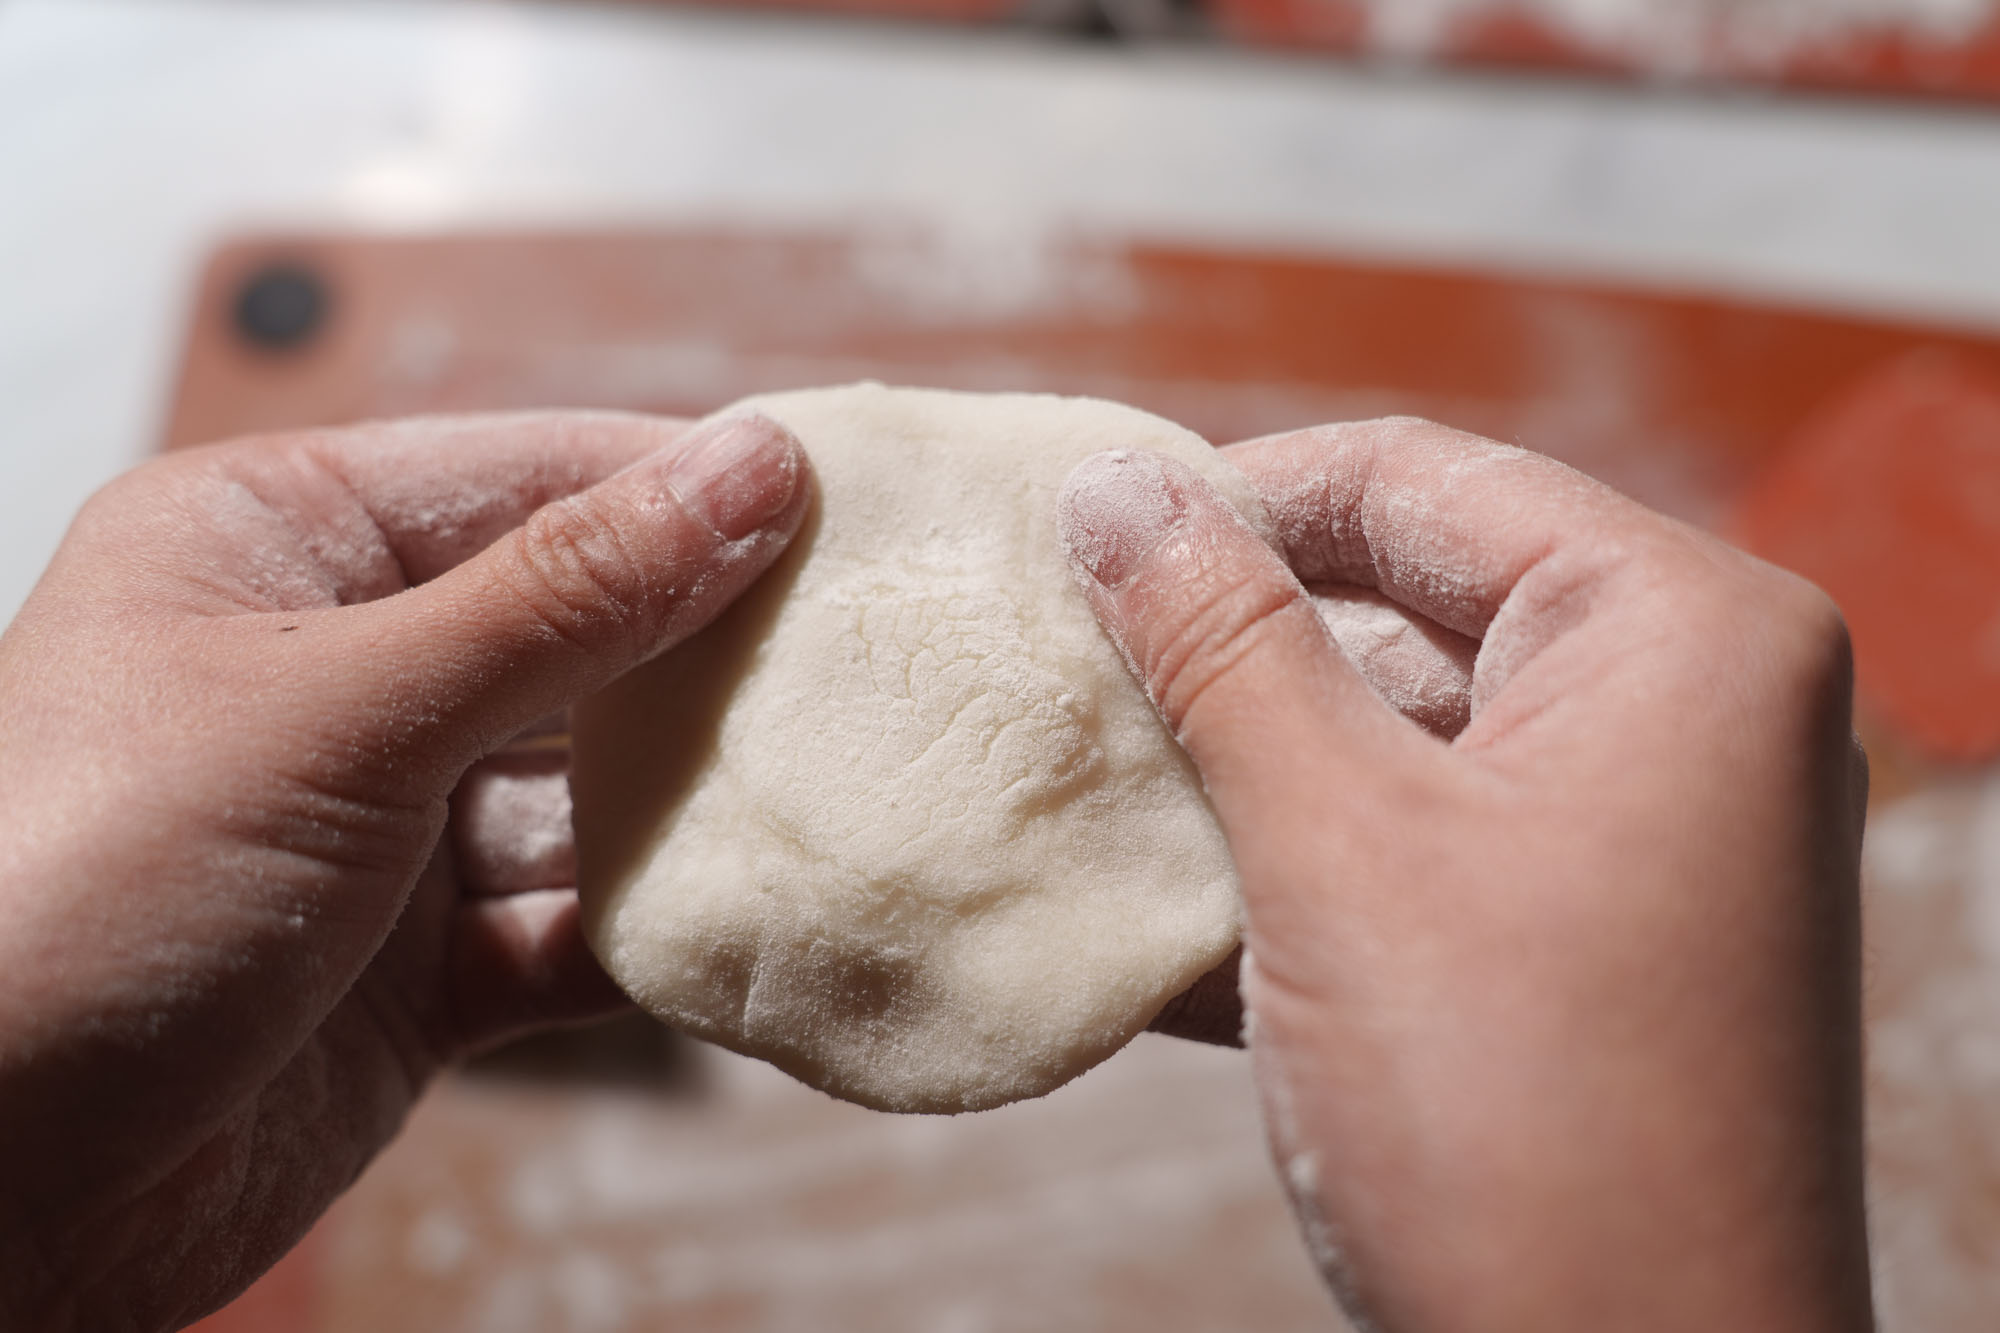
Step 10: Use your pointer fingers and thumbs to gently enlarge the circle, focusing on pressing the edges.
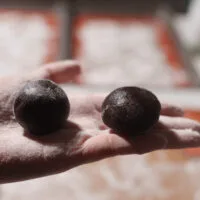
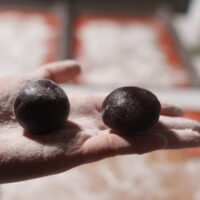
Step 11: Roll one 25 g ready-made filling portion into a ball and flatten it slightly into a disc to make wrapping easier.
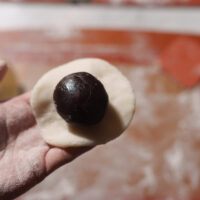
Step 12: Place filling onto the center of the flattened dough circle.
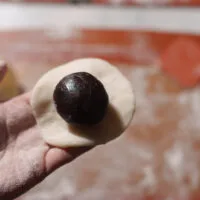
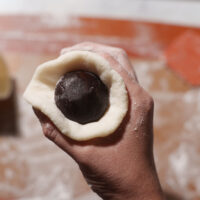
Step 13: With your pointer finger and thumb on your dominant hand, make a circle. Place the skin and filling over the circle.
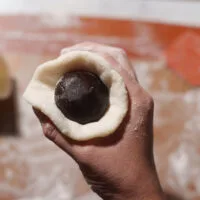
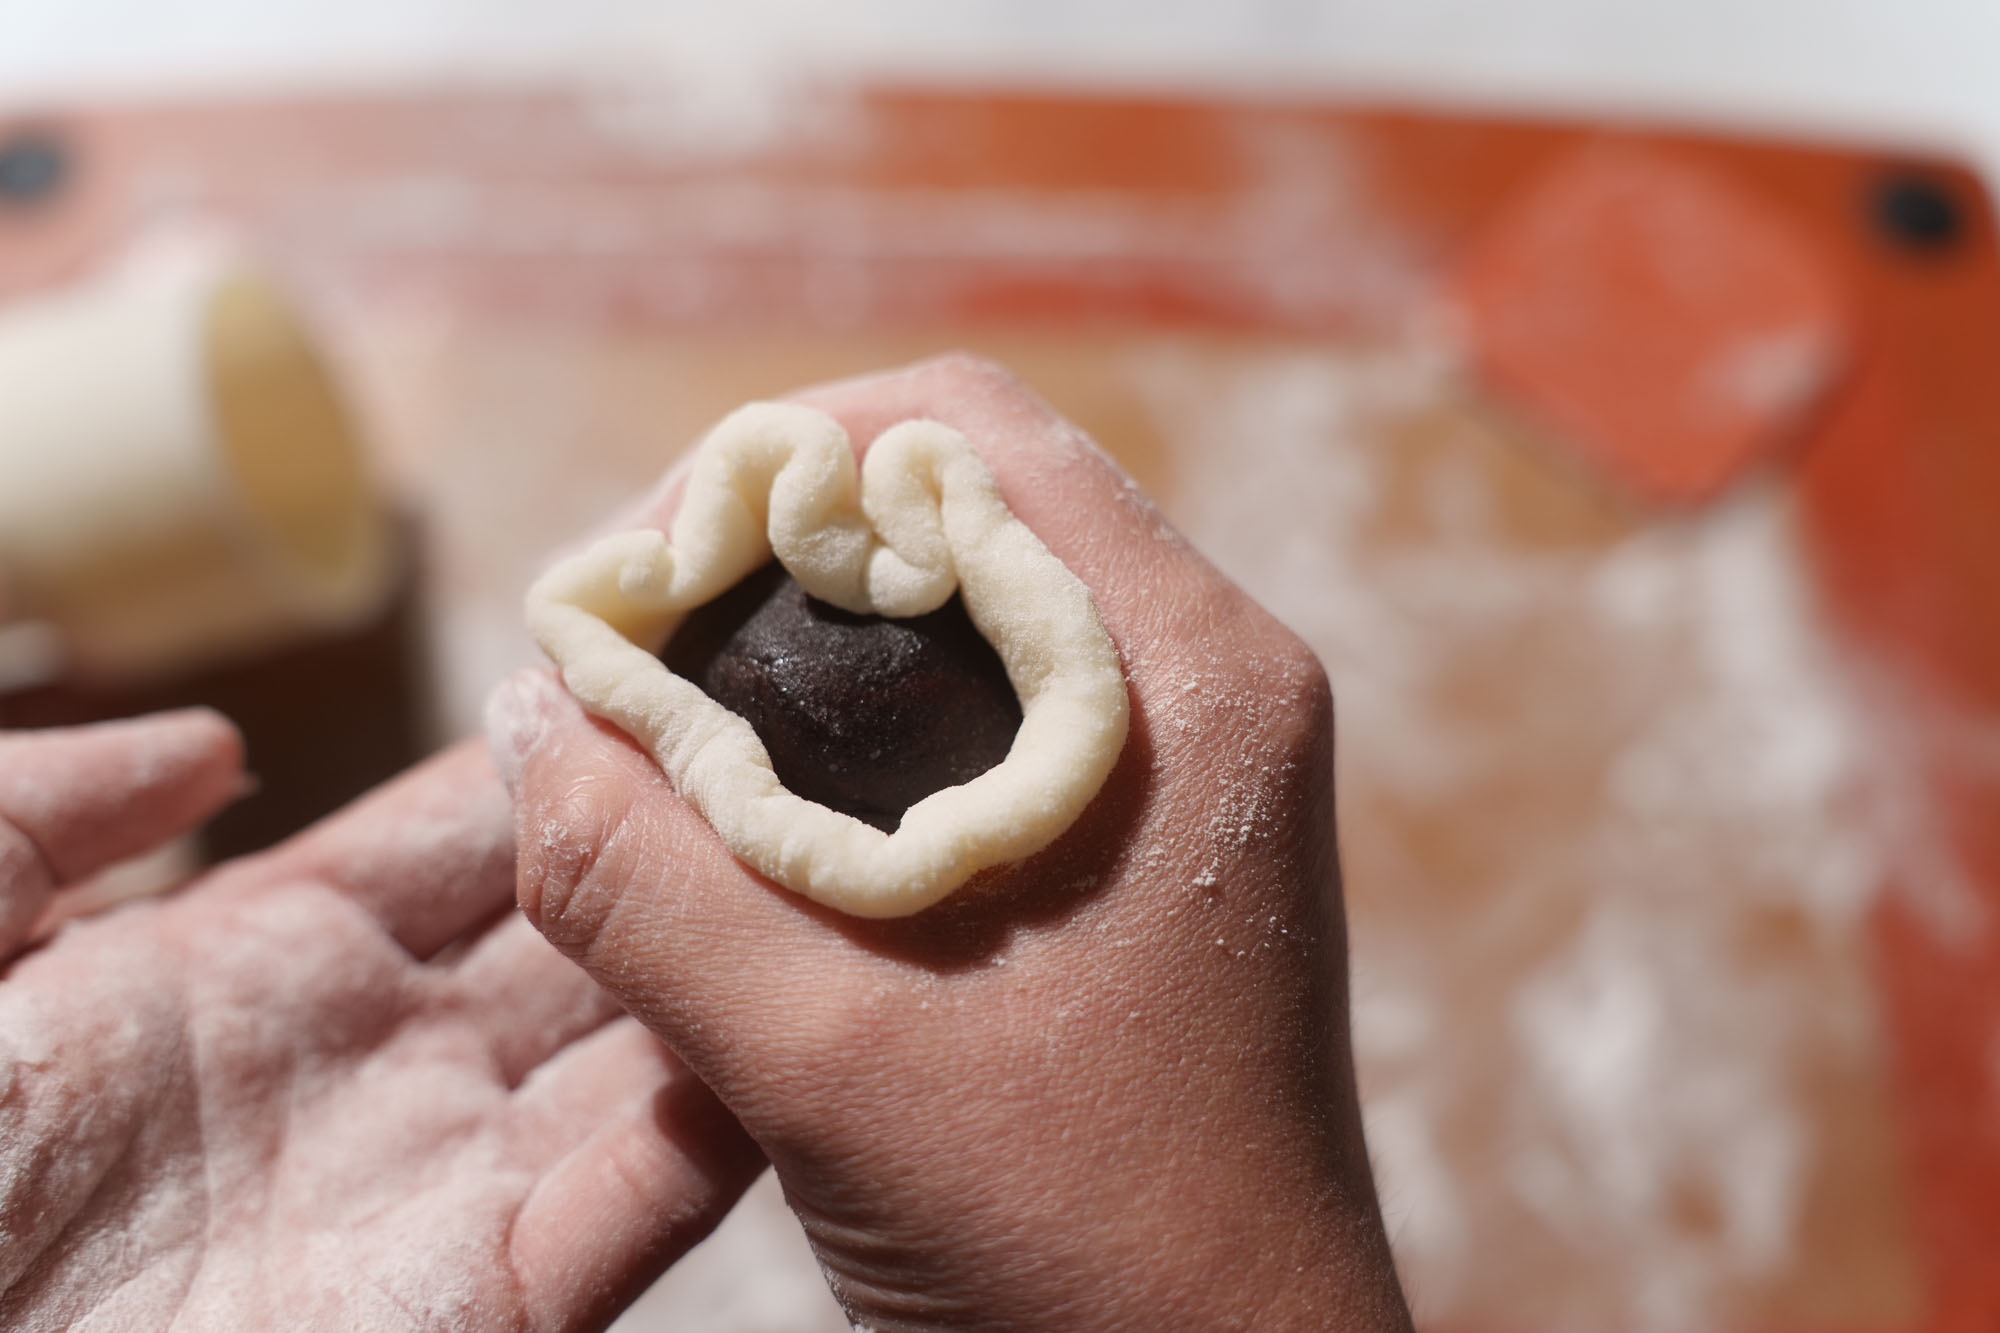
Step 14: Use your fingers to gently wrap the dough skin over the ball of filling.
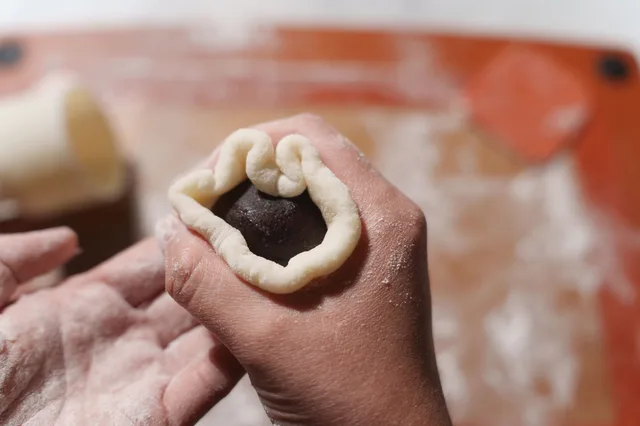
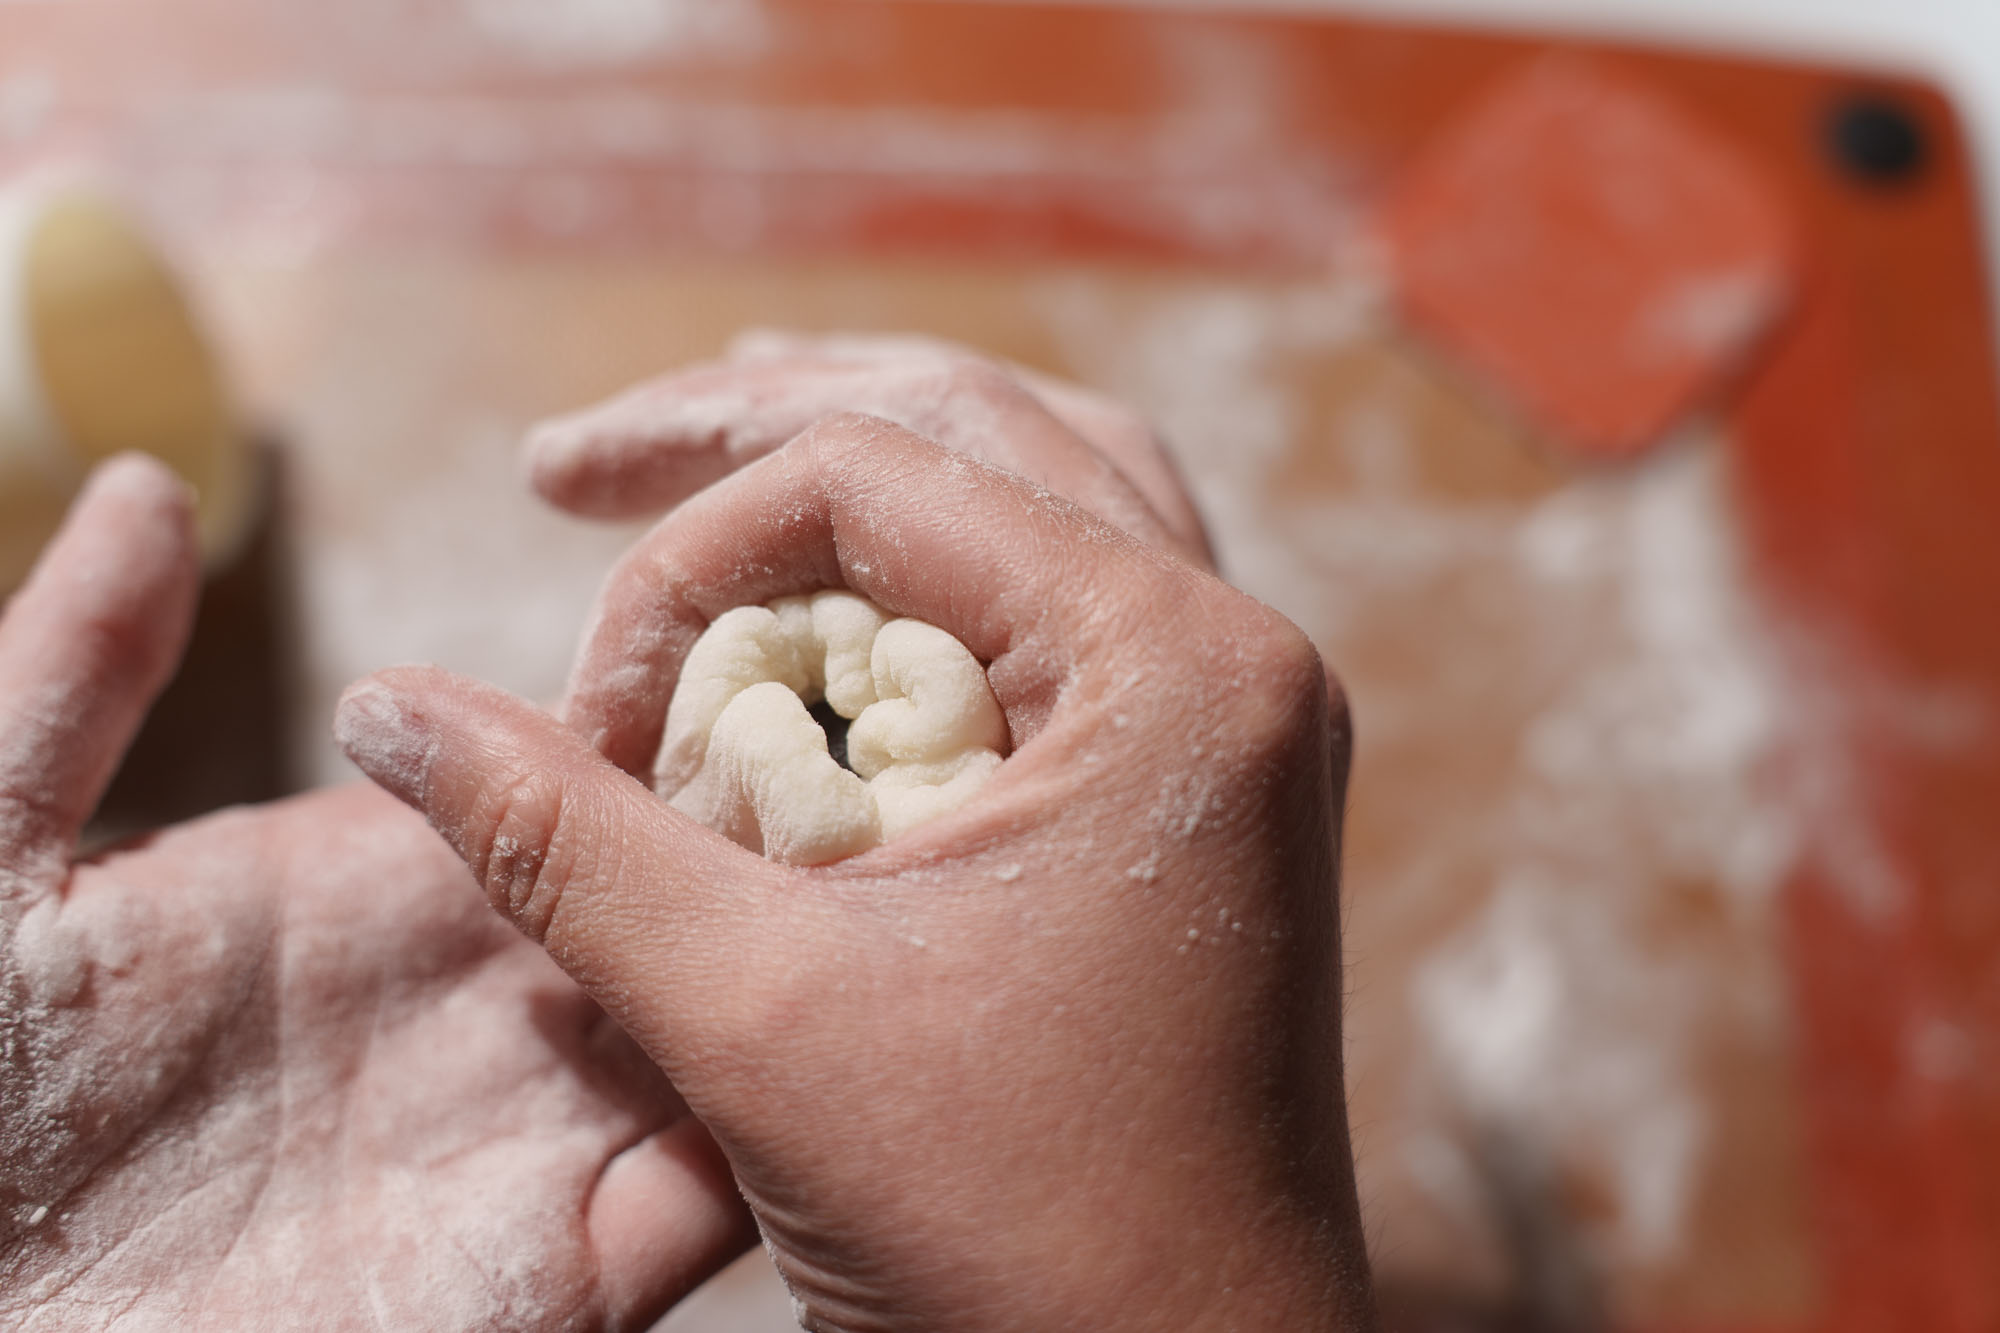
Step 15: Make sure to remove all the air bubbles and wrap it completely.
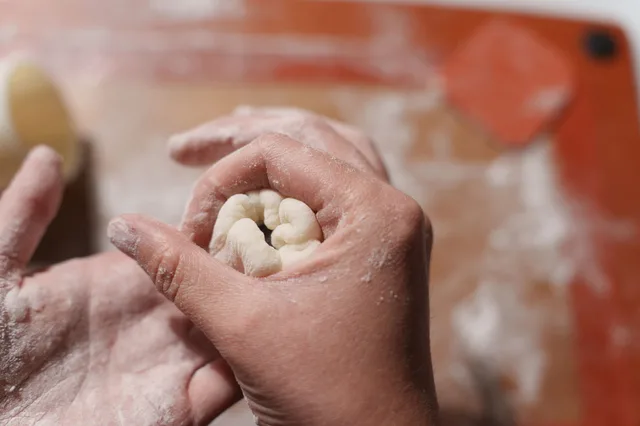
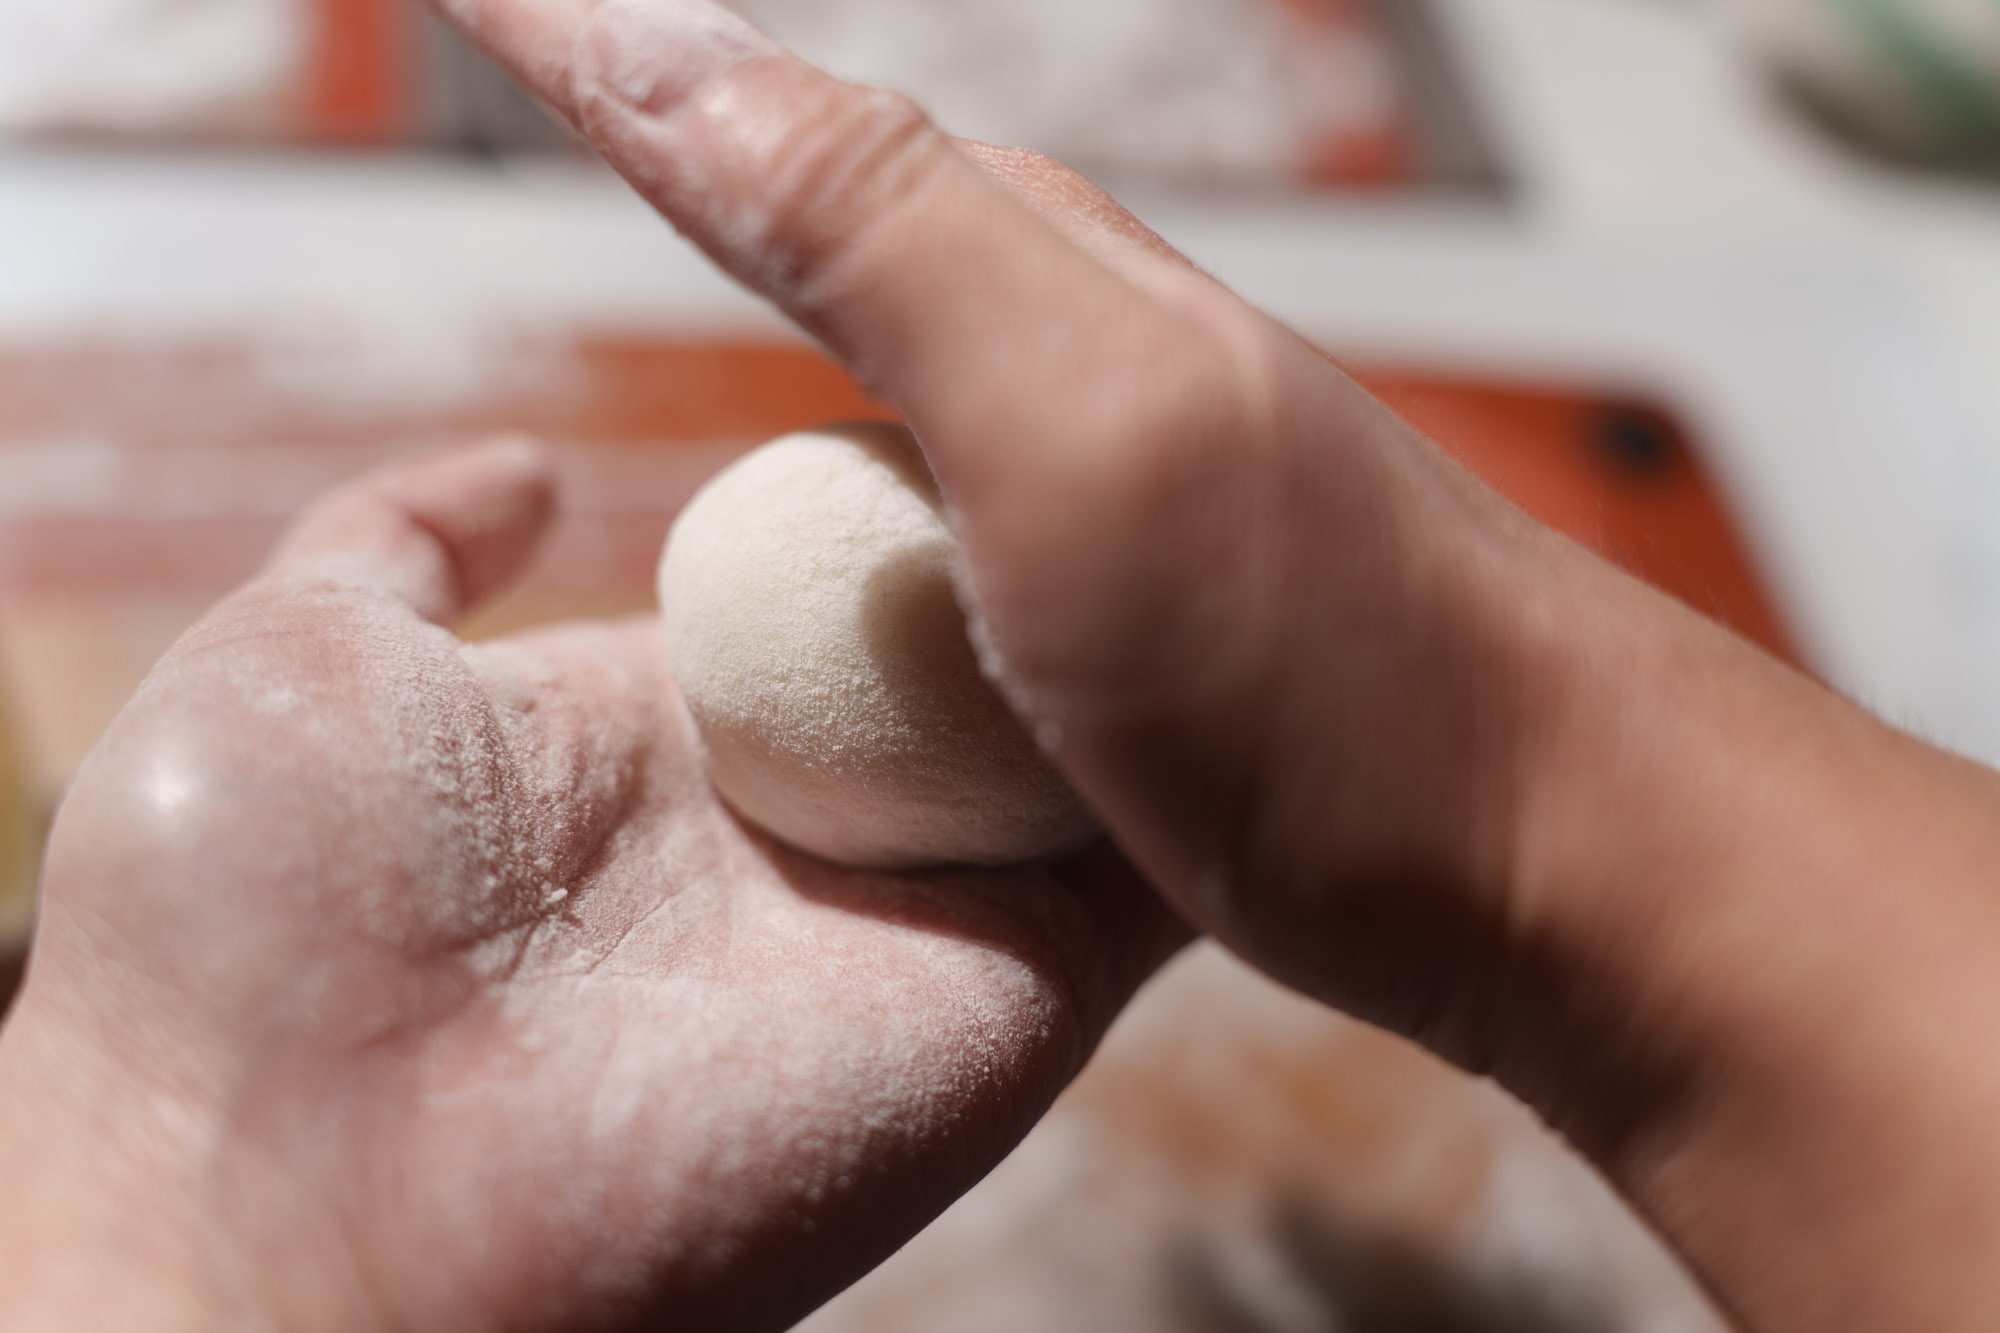
Step 16: Gently pinch the top so the dough closes over the ball and sticks to itself. Place the ball of dough in your palms and gently roll to reinforce the ball shape.
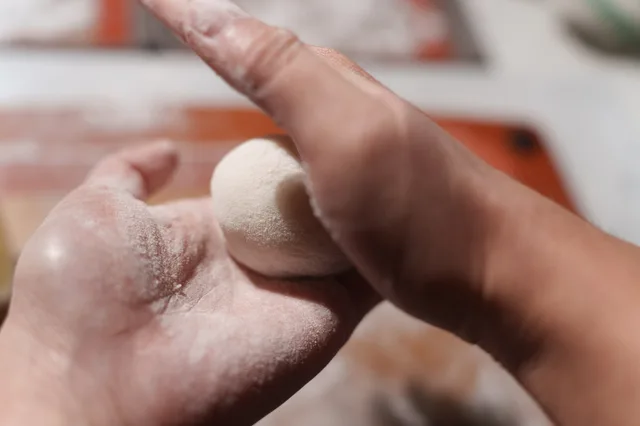
Step 17: Lightly dust the wrapped ball with extra cooked rice flour, particularly the top that the mold will press.
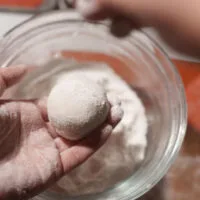
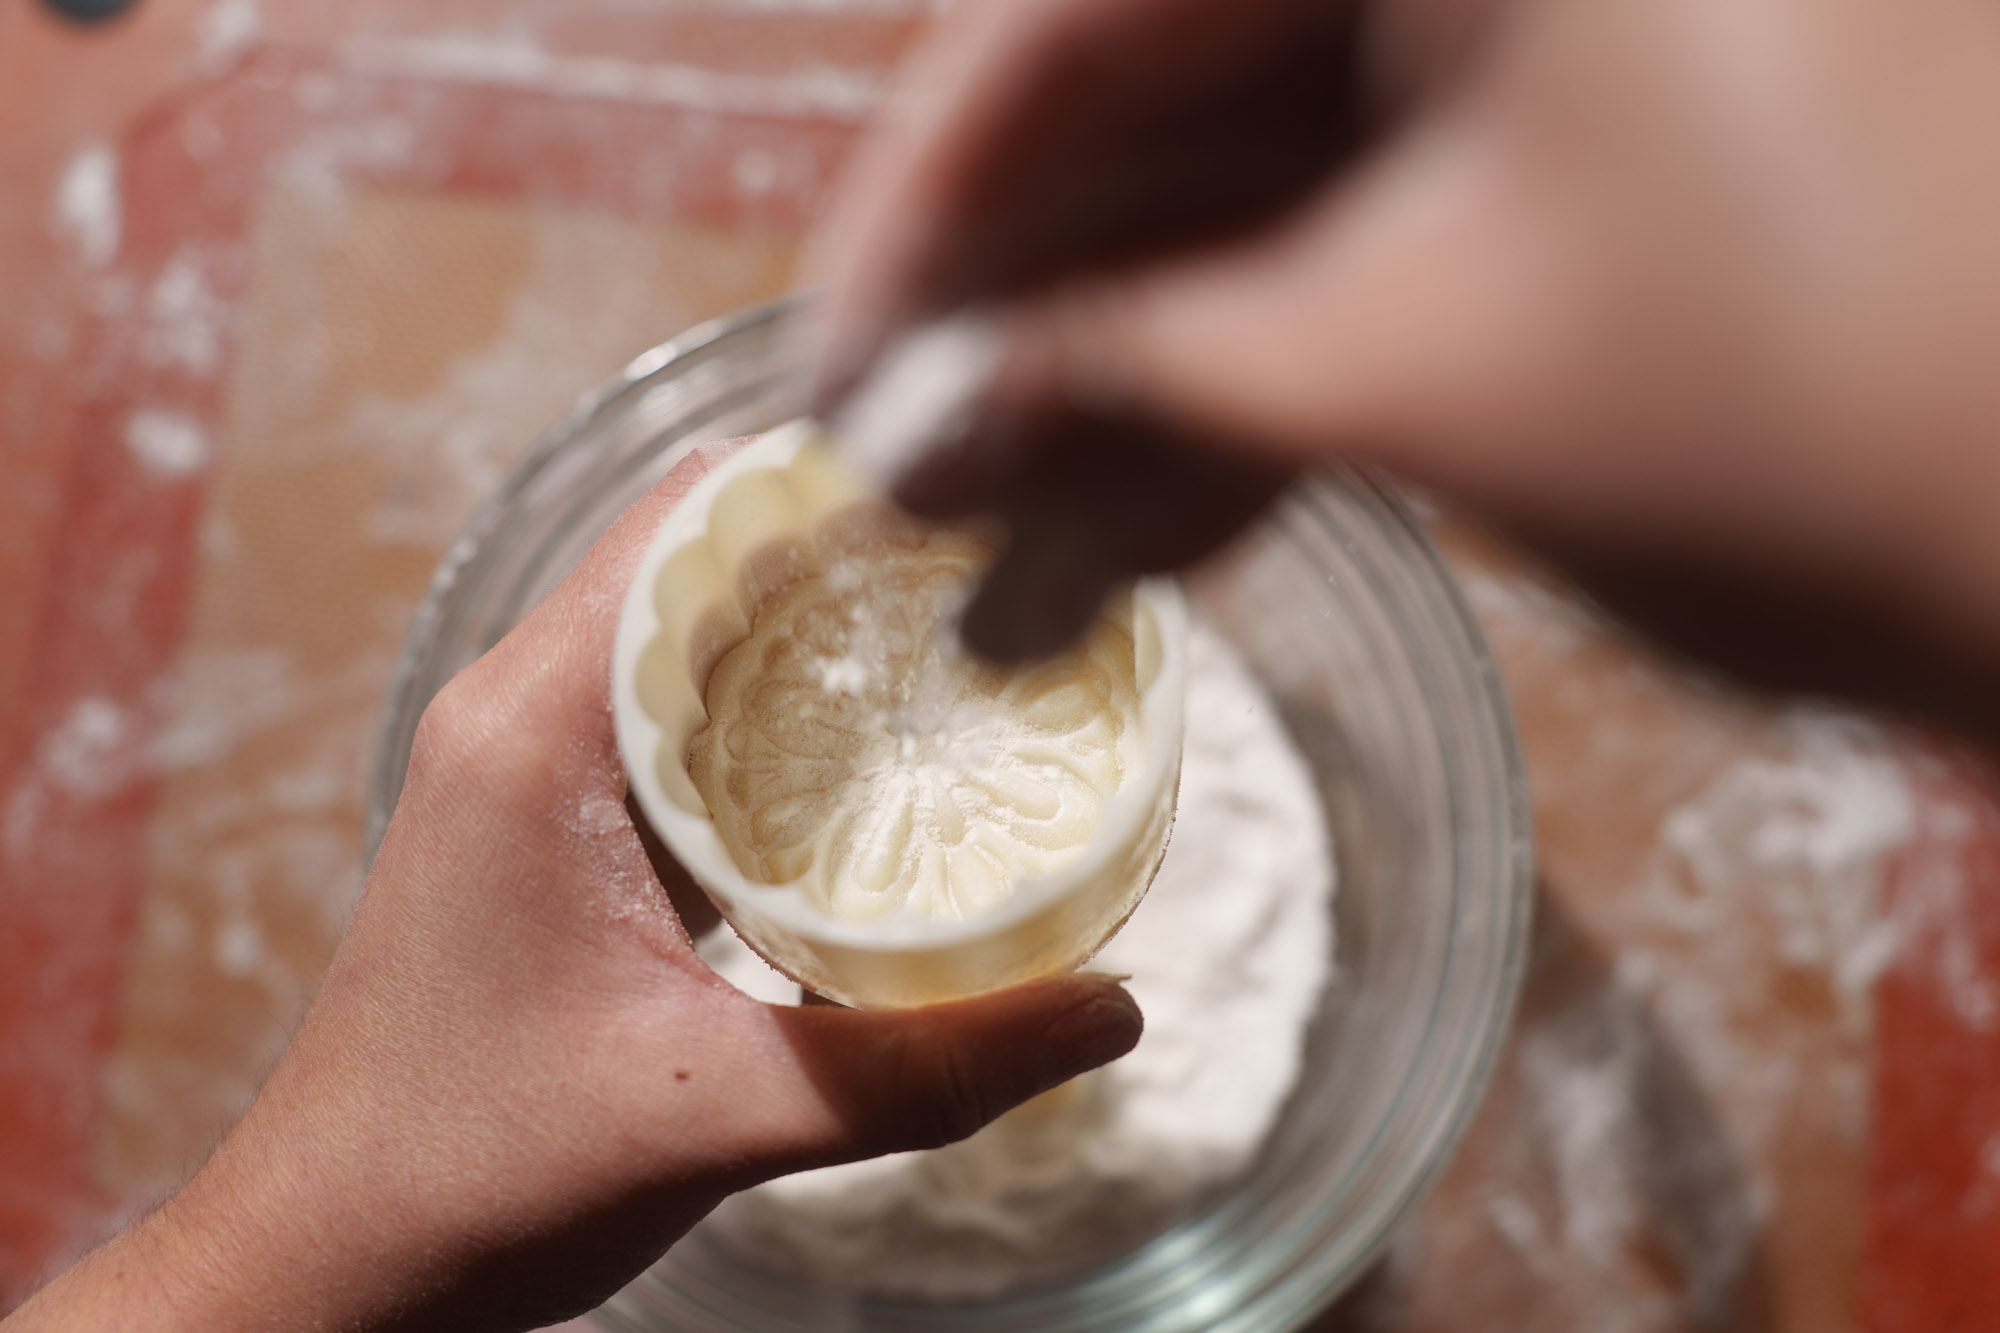
Step 18: Dust the inside of the mold with extra cooked rice flour, then turn it upside down and gently tap out the excess.
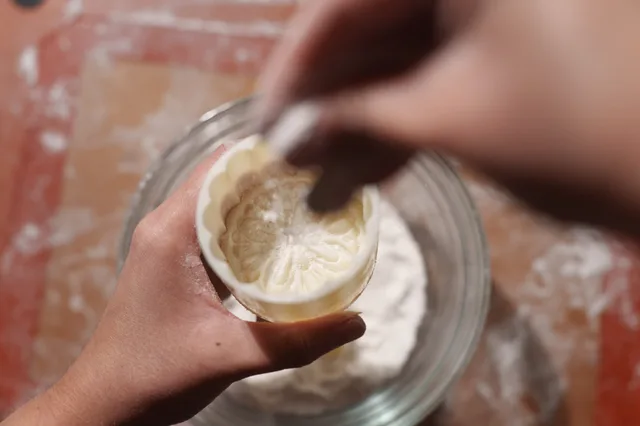
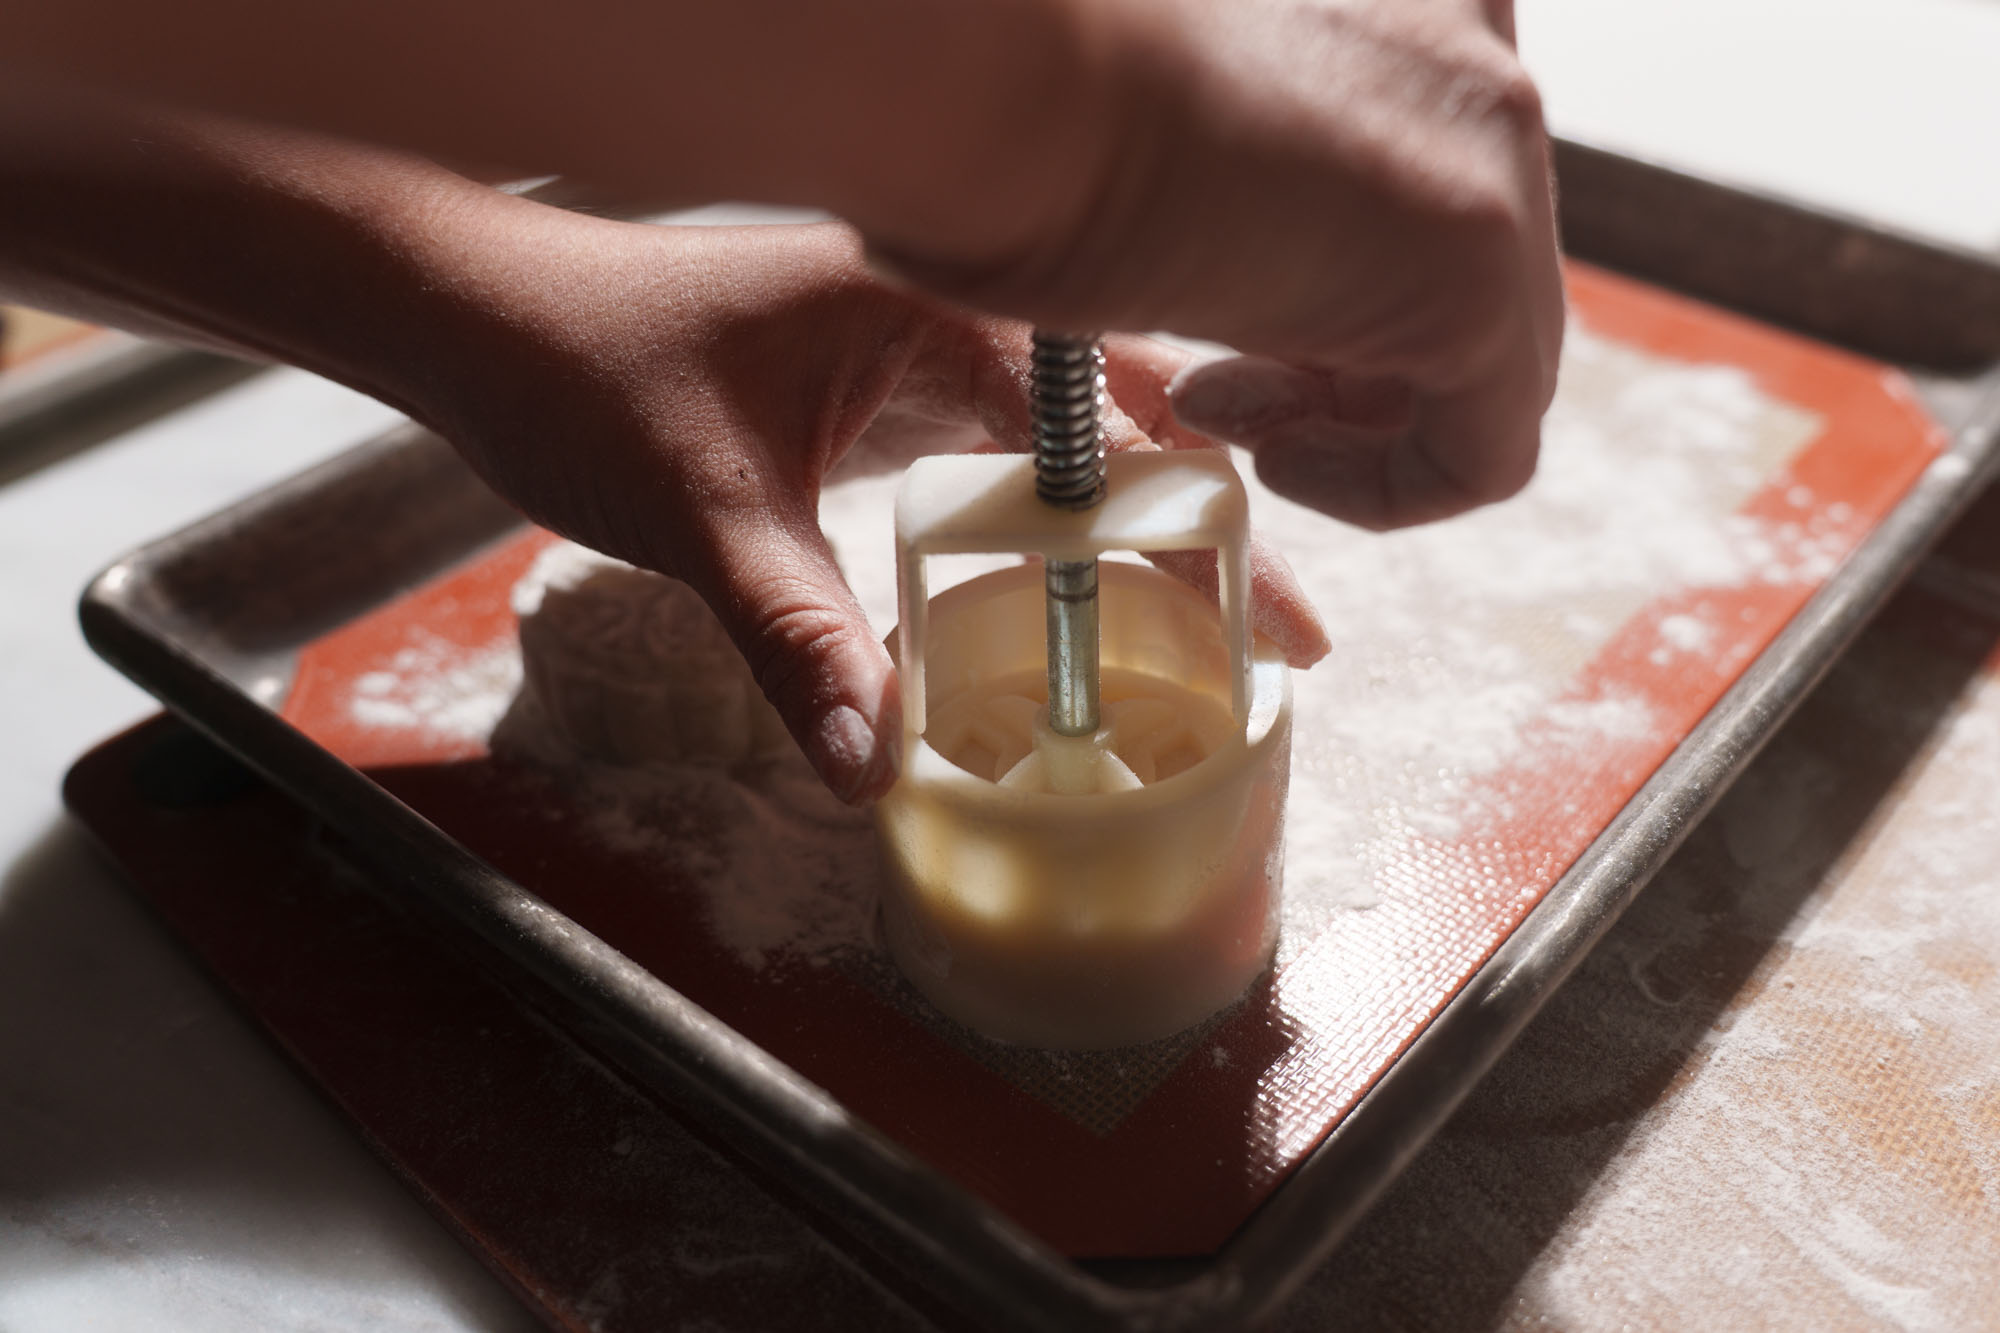
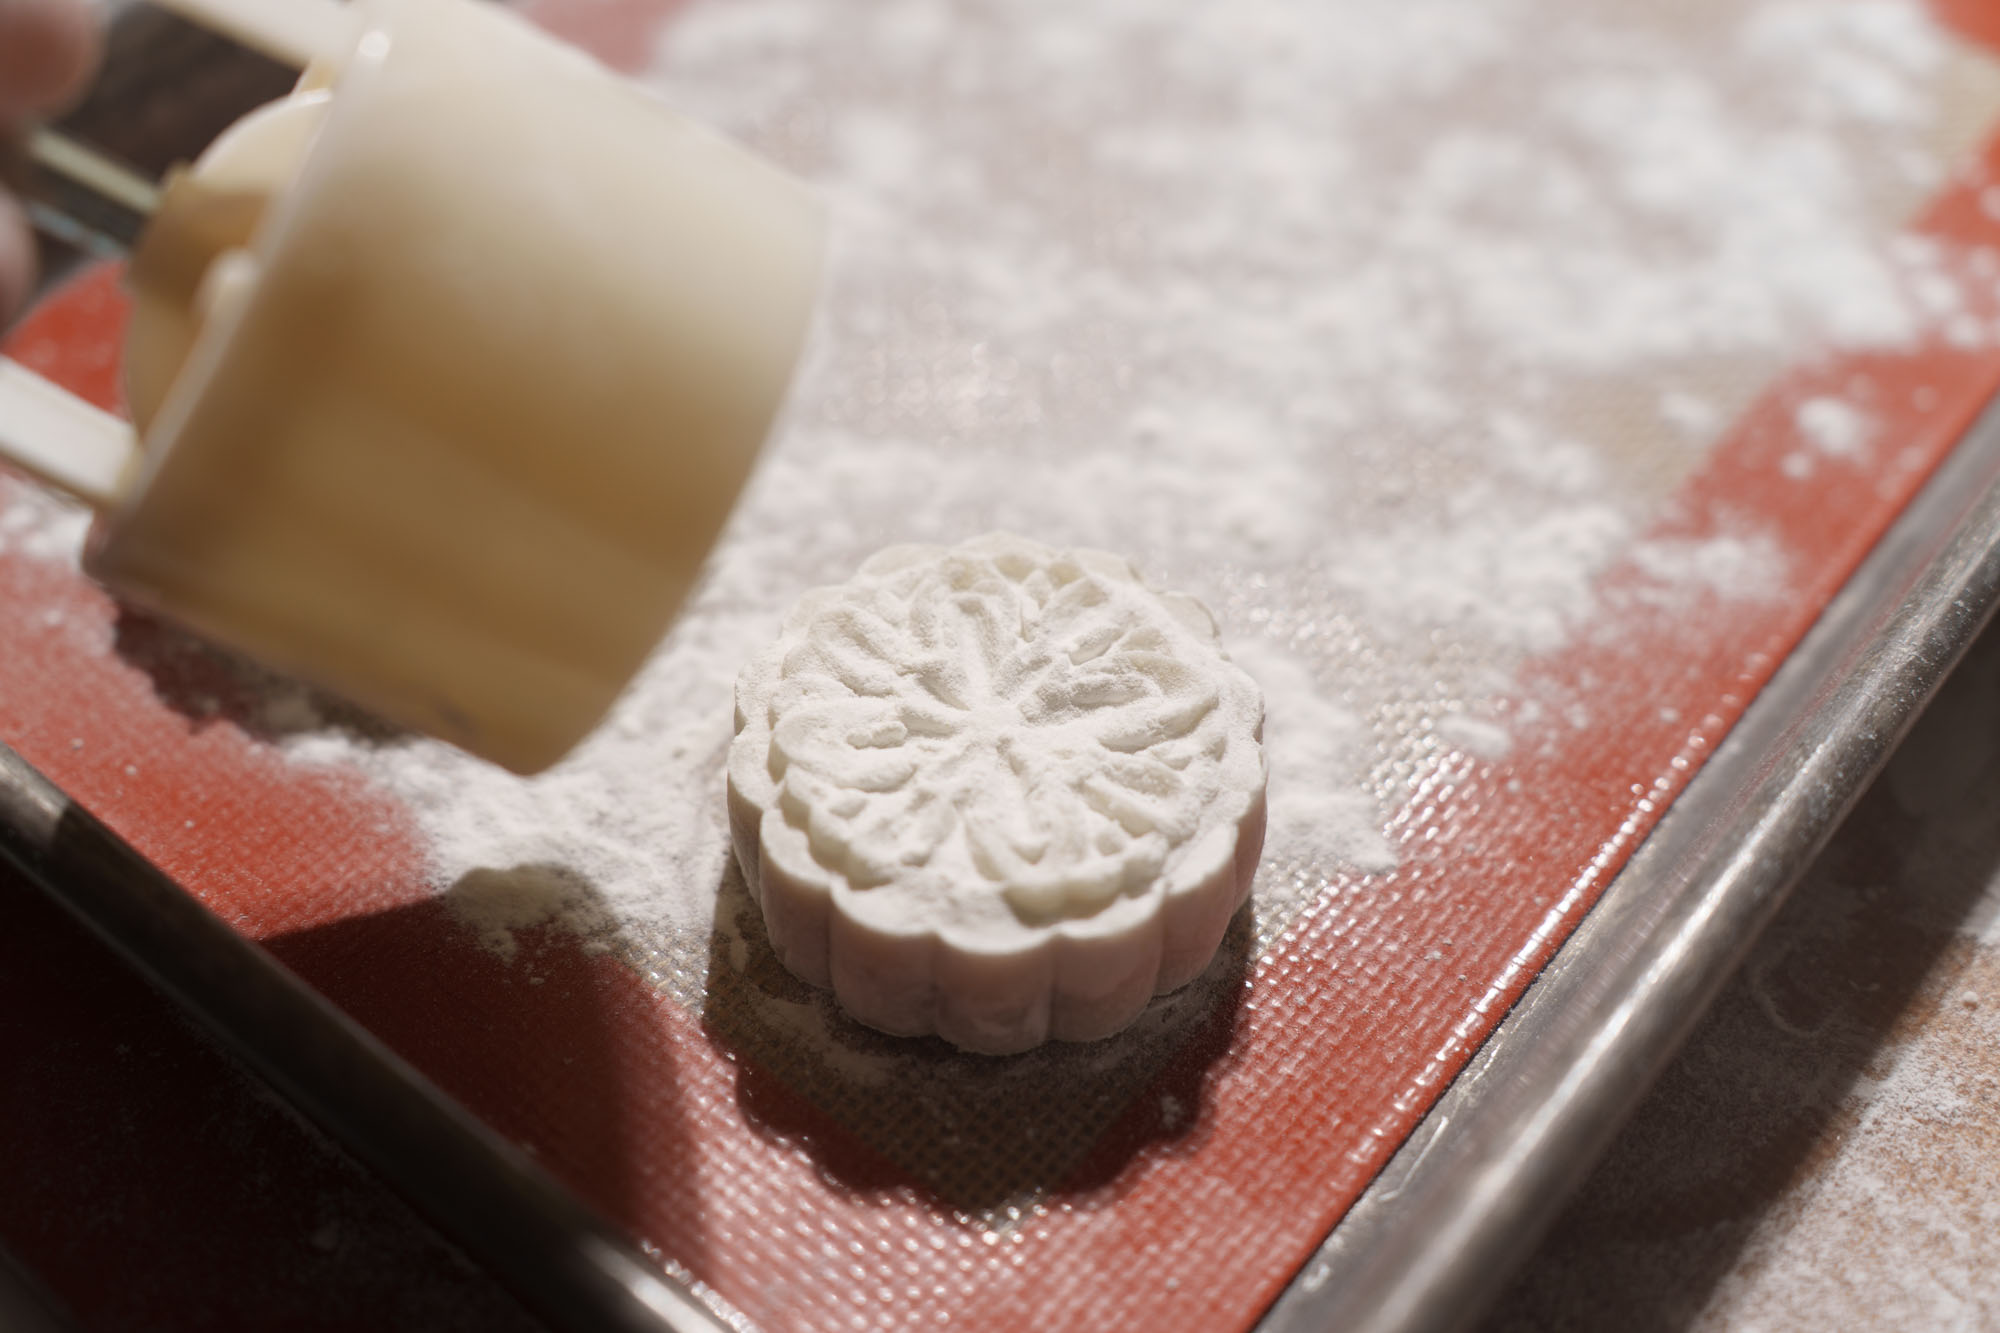
Step 19: Place the ball on the cutting board, seam-side down. Place the mold above and firmly and evenly press for a few seconds. Remove the mold from the mooncake.
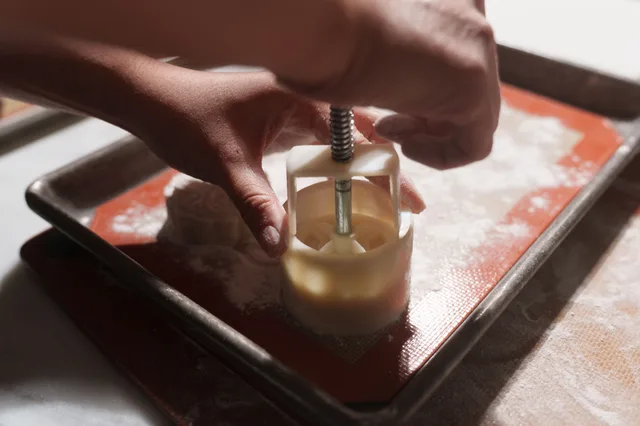
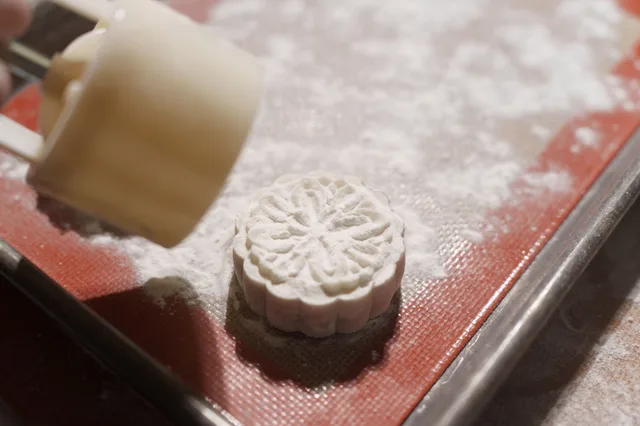
Step 20: Gently brush off the excess flour on top.
Step 21: You can serve them immediately or let the snow skin mooncakes rest on the counter, uncovered for 1-hour to get a slightly firm texture.
Photos (2)
Comments
0 threadsSign in to join the discussion.
No comments yet. Start the discussion.