
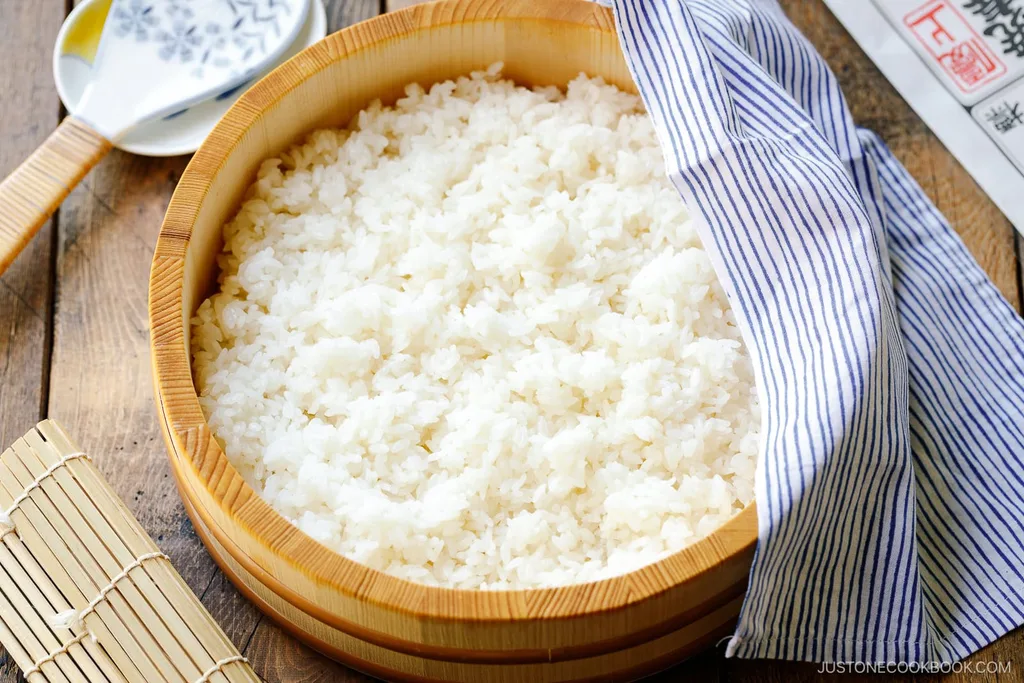
Japanese · Side
How to Make Sushi Rice (for Sushi Recipes)
From the zcook collection
Learn how to make sushi rice perfectly so you can dish up your favorite sushi rolls at home! In this recipe, I'll share my secrets for how to cook the rice and season it well for delicious, mouth-watering results every time.
- Vegan
- Dairy-free
- Japanese
- Side
- Just One Cookbook
- Prep
- 15 min
- Cook
- 40 min
- Serves
- small batch: 3–4 servings (4 medium rolls); large batch: 5–6 servings (6 medium rolls)
- Level
- Hard
- Energy
- 245 kcal
Method20 steps
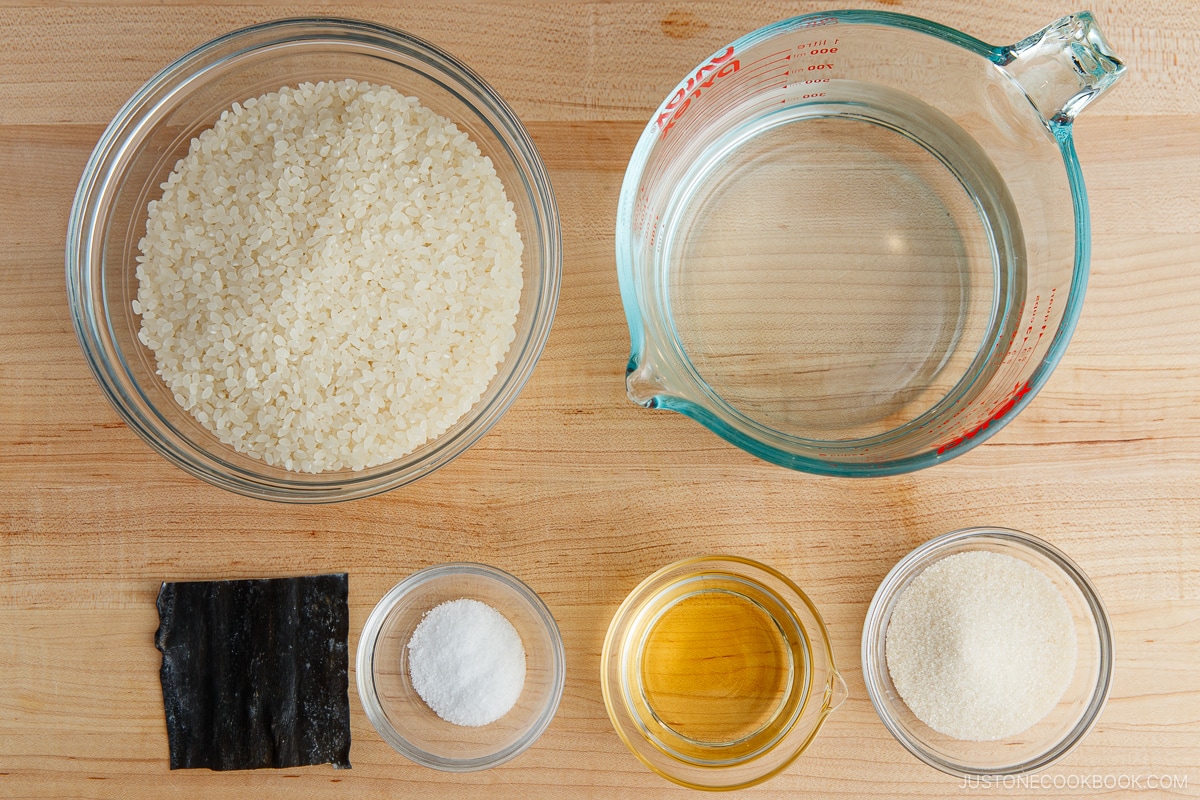
Step 1: Choose one batch, using only that batch’s ingredient section. Small batch: 1½ cups rice and water, 1 optional piece kombu, 4 Tbsp vinegar, 2 Tbsp sugar and 1 tsp Diamond Crystal kosher salt; enough for 3–4 servings or 4 medium sushi rolls. Large batch: 2¼ cups rice and water, 1 optional piece kombu, ⅓ cup vinegar, 3 Tbsp sugar and 1½ tsp Diamond Crystal kosher salt; enough for 5–6 servings or 6 medium rolls. Do not combine the two sections. Use the authored quantities rather than multiplying every item.
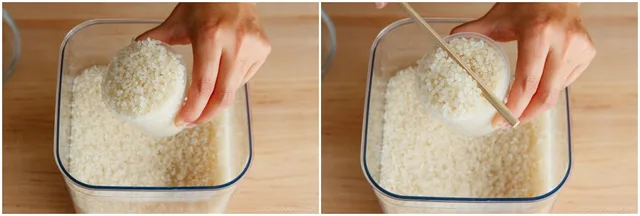
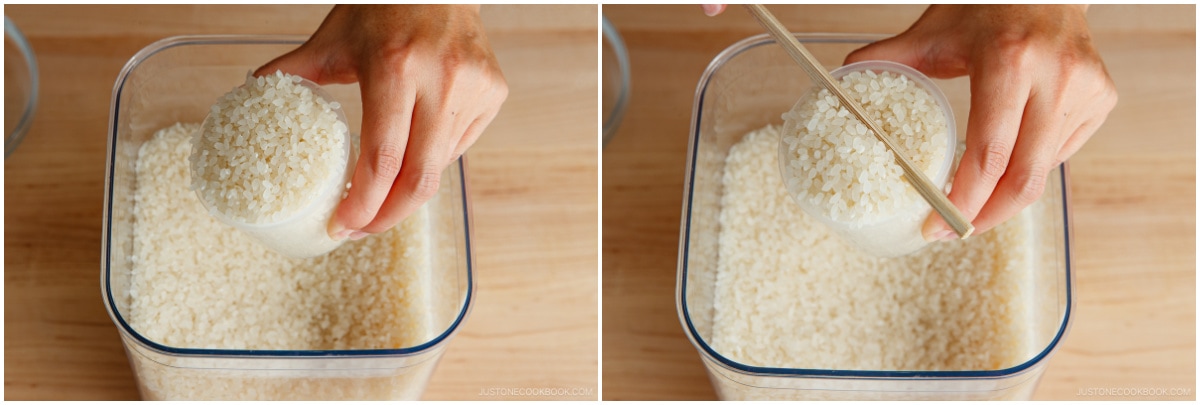
Step 2: Measure the Japanese short-grain white rice for your chosen batch into a large bowl. Level each measure: 1½ standard cups equals 2 rice-cooker cups; 2¼ standard cups equals 3 rice-cooker cups. One rice-cooker cup is ¾ standard cup (180 ml).
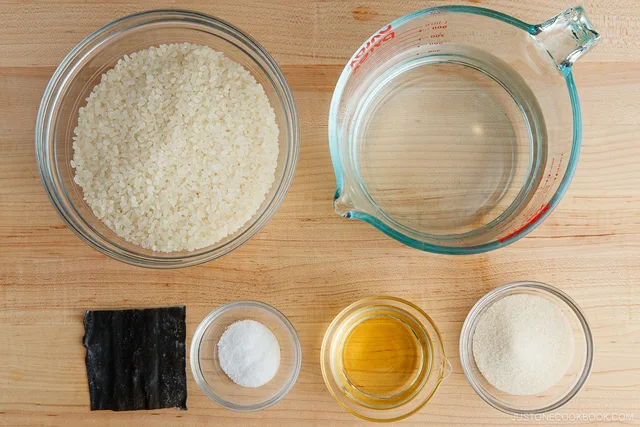
Step 3: Now, gather all the ingredients.
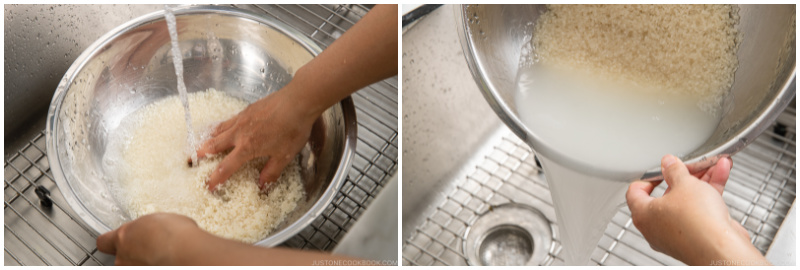
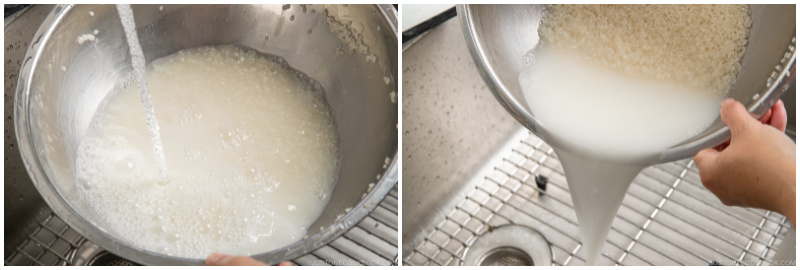
Step 4: Quick Rinse: Add just enough water to the bowl to submerge the rice, then pour it off immediately. Nami's Tip: Rice absorbs water quickly at first, so discard this water right away. This helps rinse off impurities and reduce absorption of the milky water.
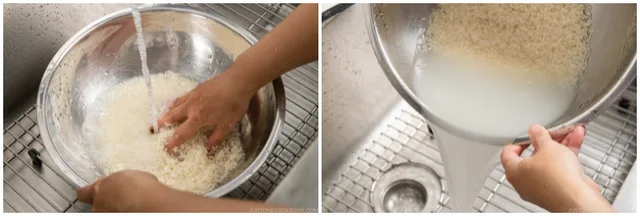
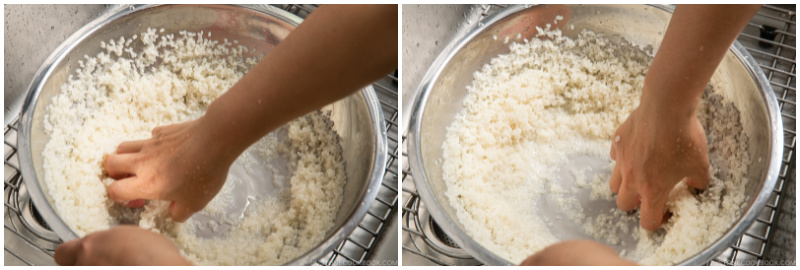
Step 5: Wash: Gently agitate the wet grains in a circular motion with your fingers for 10–15 seconds. Nami's Tip: Using very little water allows the grains to rub against each other and reduces the absorption of impurities.
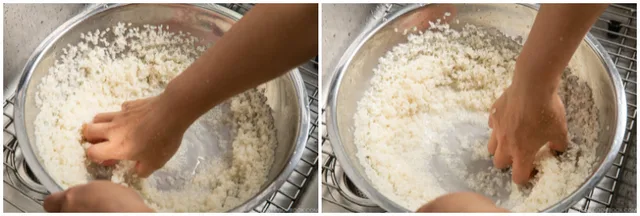
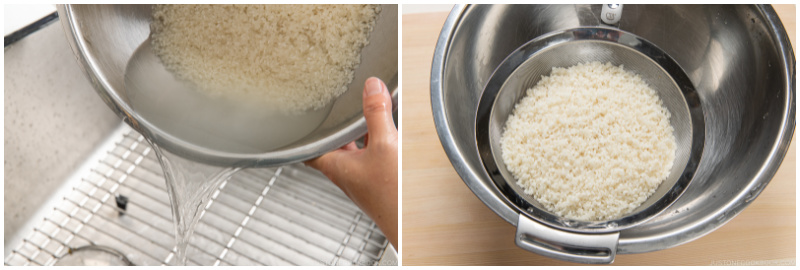
Step 6: Add fresh water to cover the grains and immediately discard the cloudy water. Repeat the gentle washing and rinsing in steps 5 and 6 two more times.
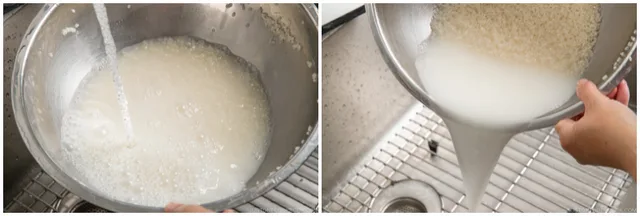
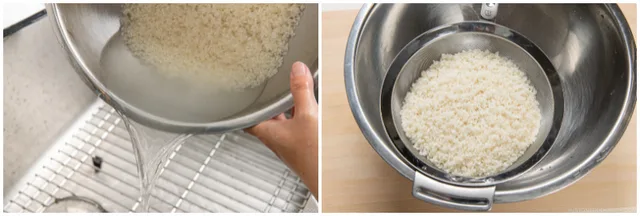
Step 7: Drain Well: When the water is almost clear, drain the rice thoroughly in a fine-mesh sieve. Shake off any excess water.
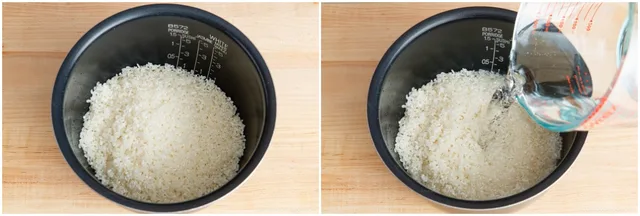
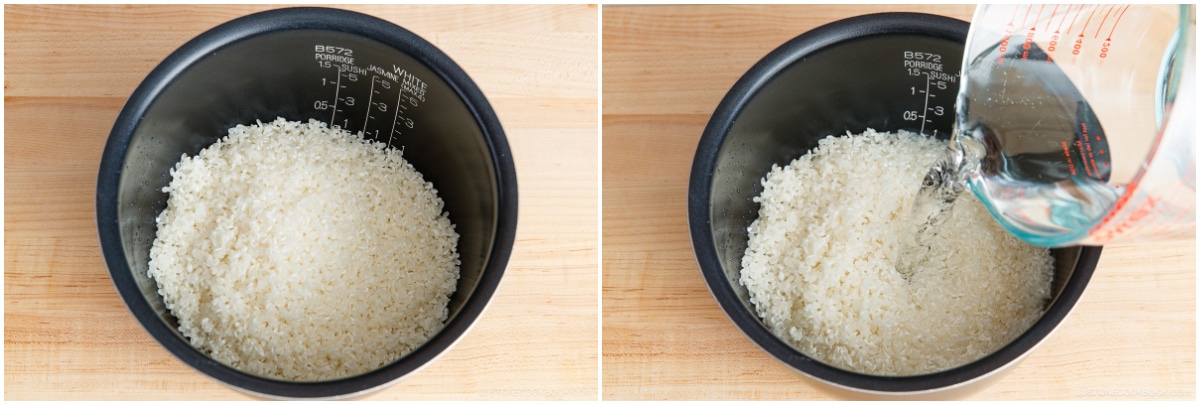
Step 8: Put the well-drained rice in the inner pot of a rice cooker. Add only the measured cooking water for your chosen batch: 1½ cups (360 ml) for the small batch, or 2¼ cups (540 ml) for the large batch. Use equal volumes of dry short-grain rice and cooking water for sushi rice, allowing for the vinegar added later.
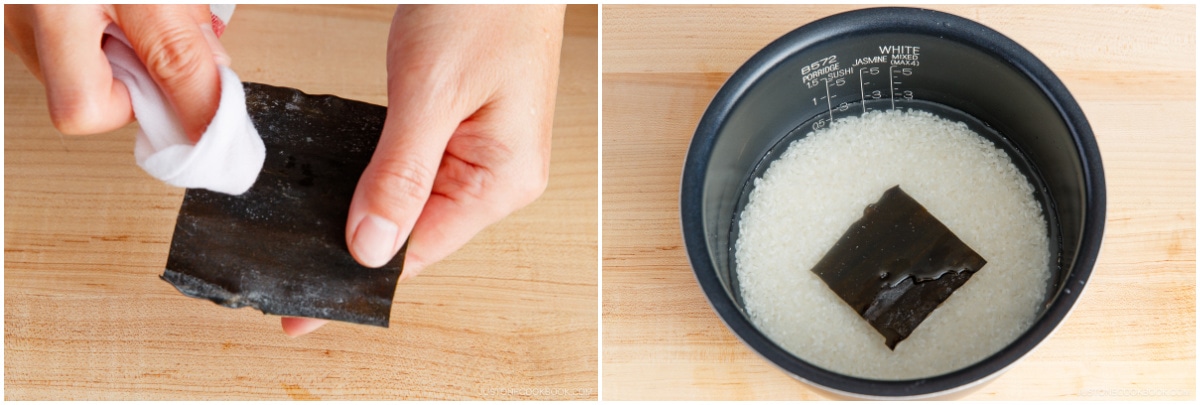
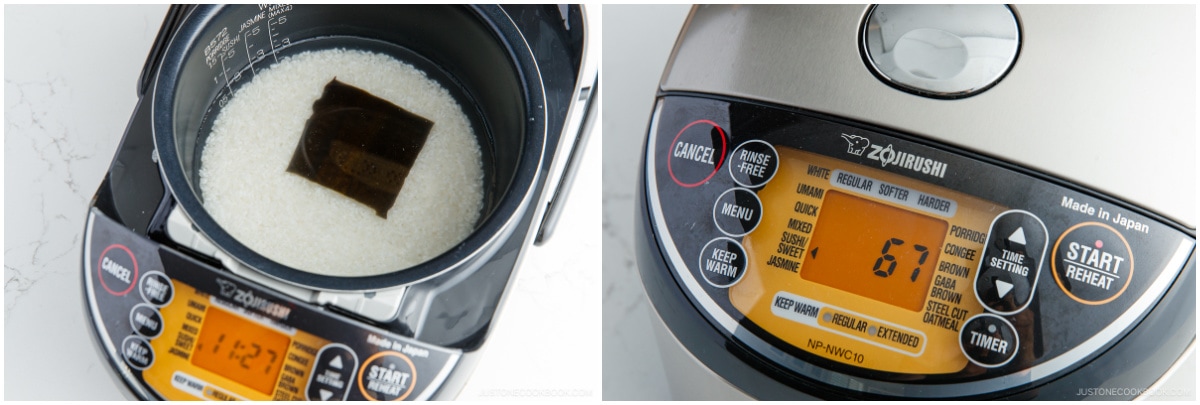
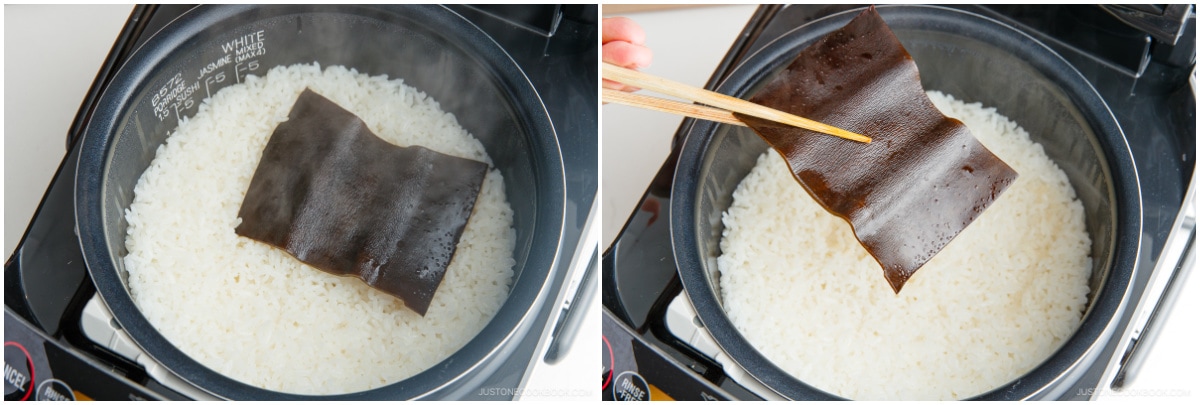
Step 9: If using kombu, use the one piece from your chosen batch. Gently wipe away any visible dirt with a damp cloth, leaving the white powder intact, and place the kombu on top of the rice. Do not wash the kombu.
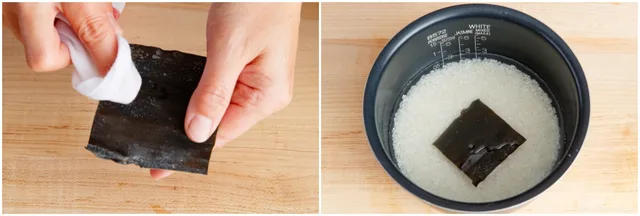
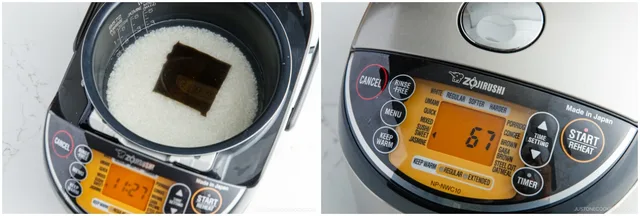
Step 10: Soak the rice and optional kombu in the measured cooking water for 20–30 minutes. Then start the rice cooker’s sushi-rice or white-rice programme and let it finish cooking. Continue preparing the vinegar while the rice cooks.
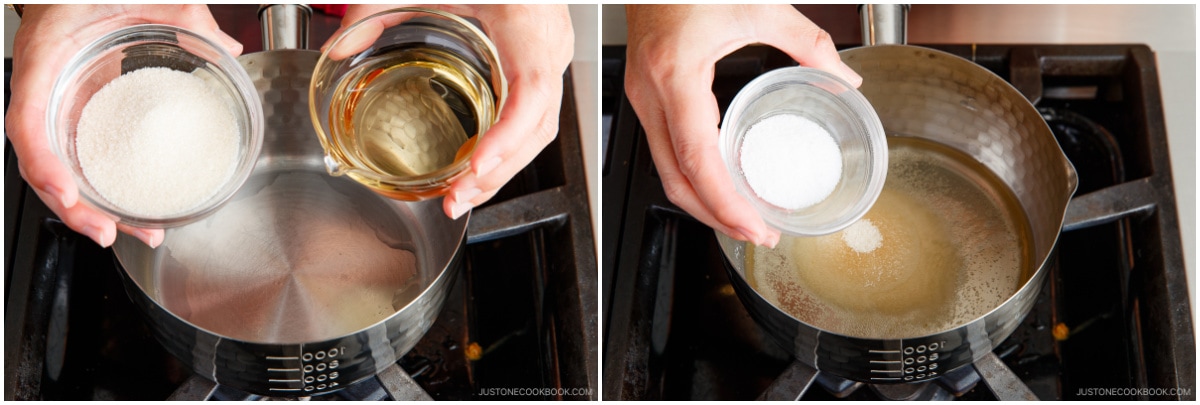
Step 11: If using unseasoned rice vinegar, combine only your chosen batch’s vinegar, sugar and salt in a small saucepan: small batch, 4 Tbsp vinegar, 2 Tbsp sugar, 1 tsp salt; large batch, ⅓ cup vinegar, 3 Tbsp sugar, 1½ tsp salt. If using bottled seasoned sushi vinegar instead, measure the same vinegar amount for your chosen batch, omit the sugar and salt, and skip the heating step.
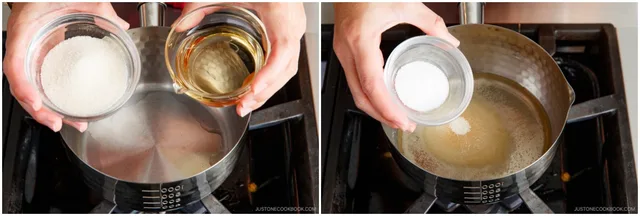
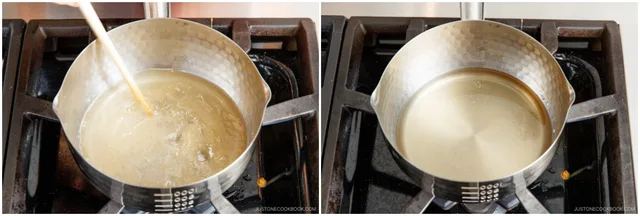
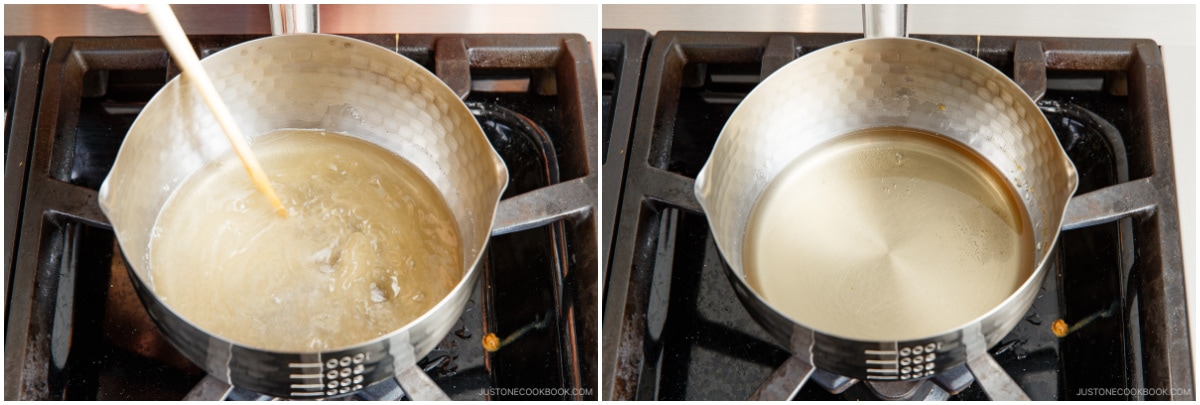
Step 12: For the homemade vinegar mixture, heat over medium-high heat while whisking until nearly simmering and the sugar has dissolved, then set aside to cool. Alternatively, heat the mixture in a microwave-safe bowl for about 1 minute, checking that the sugar dissolves, then cool. Bottled seasoned sushi vinegar is ready to use without this step.
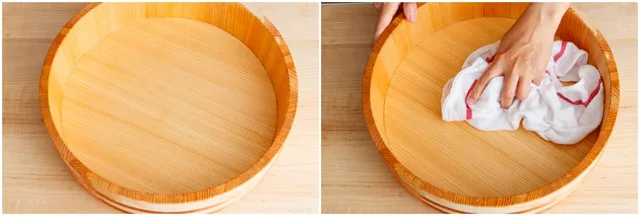
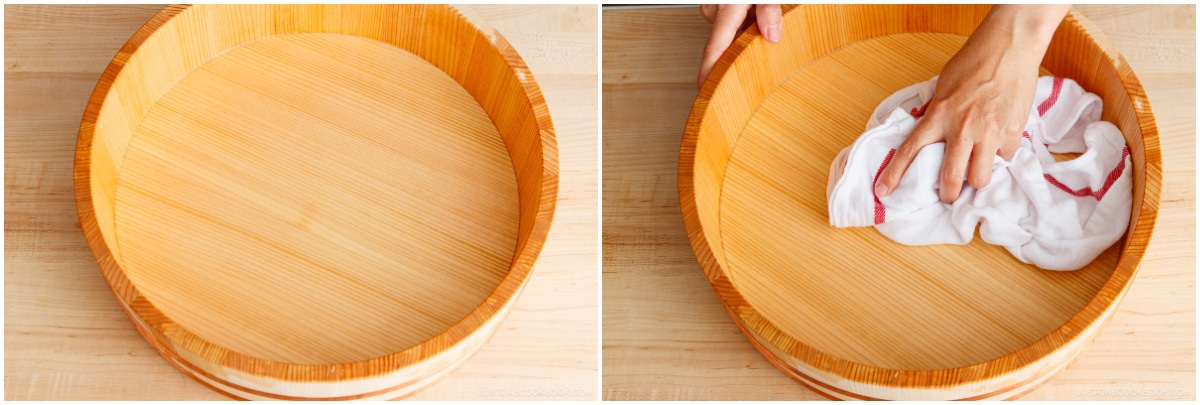
Step 13: Moisten a wooden sushi oke (hangiri) with running water, drain, and dry it with a clean towel. You can also use a baking sheet moistened with water. Nami's Tip: This wooden tub helps absorb excess moisture, whereas a baking sheet does not.
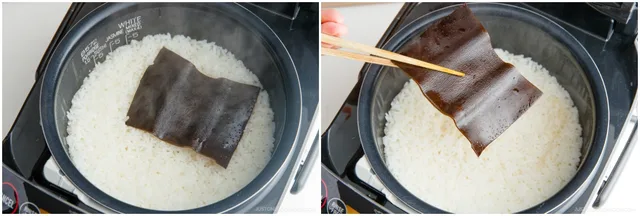
Step 14: When the rice cooker has finished, remove and discard the used kombu if added.
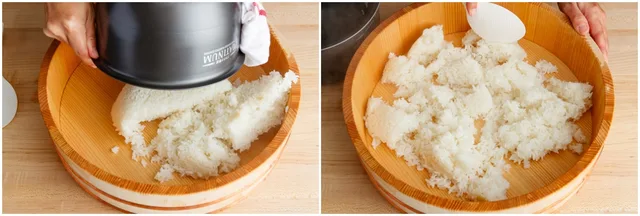
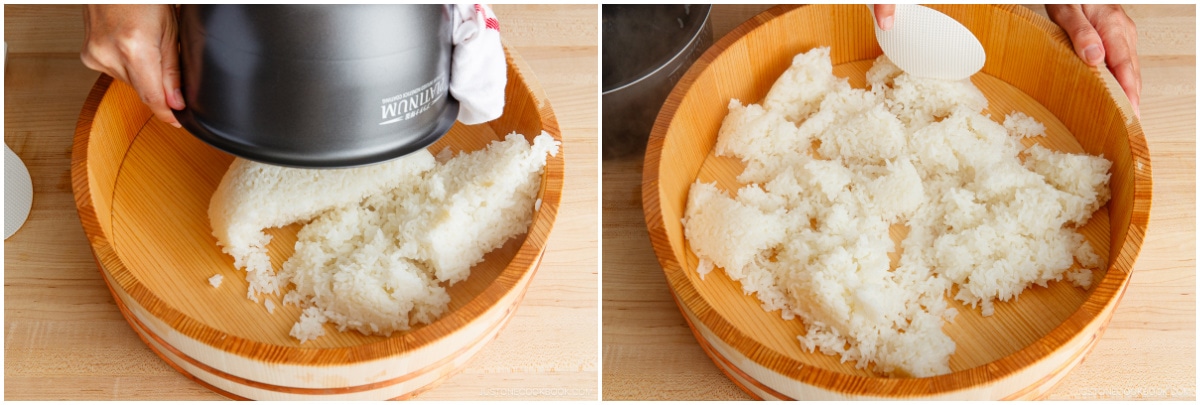
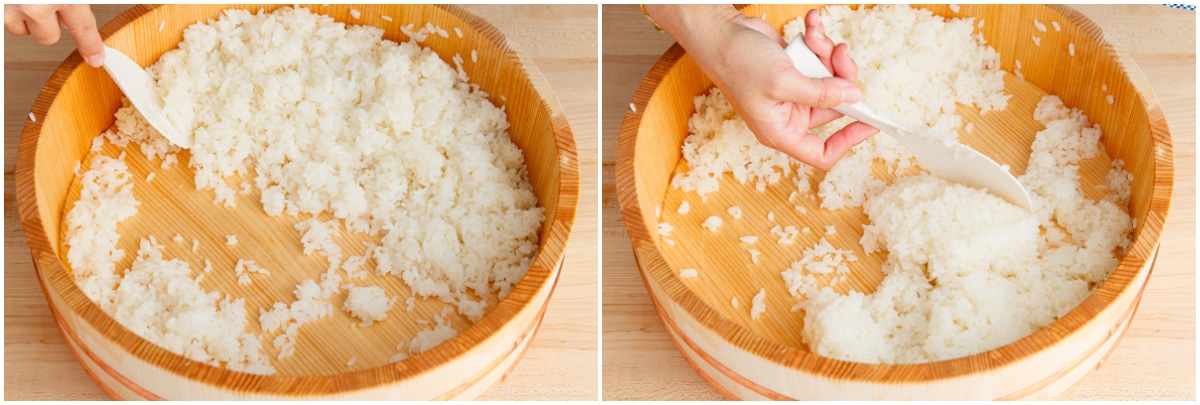
Step 15: Transfer the hot cooked rice to the sushi oke. Spread out the rice evenly with a rice paddle so it will cool faster.
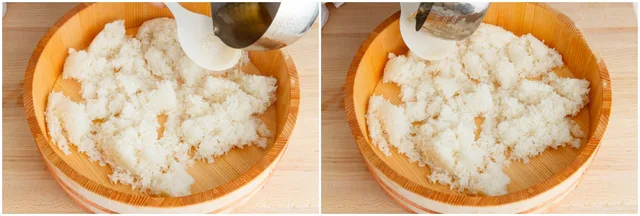
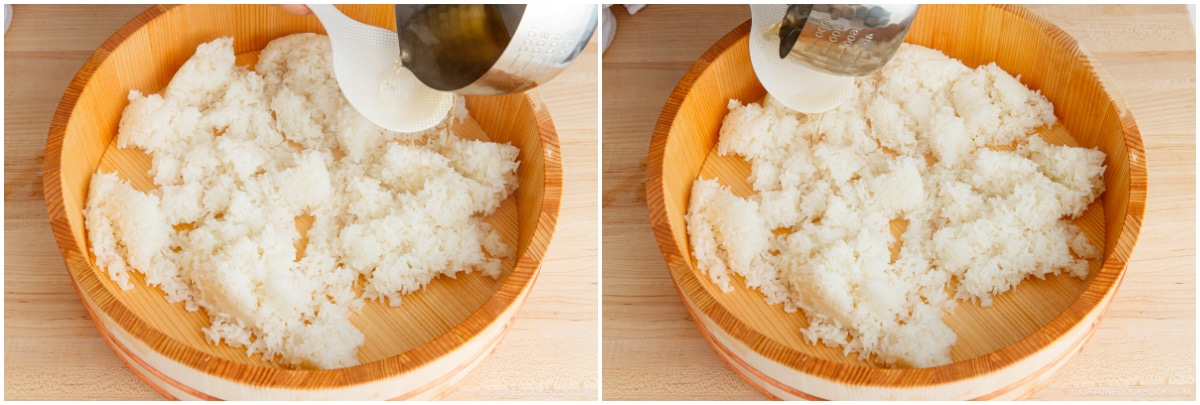
Step 16: While the rice is hot, pour over all the cooled homemade sushi vinegar for your chosen batch, or the measured bottled seasoned sushi vinegar.
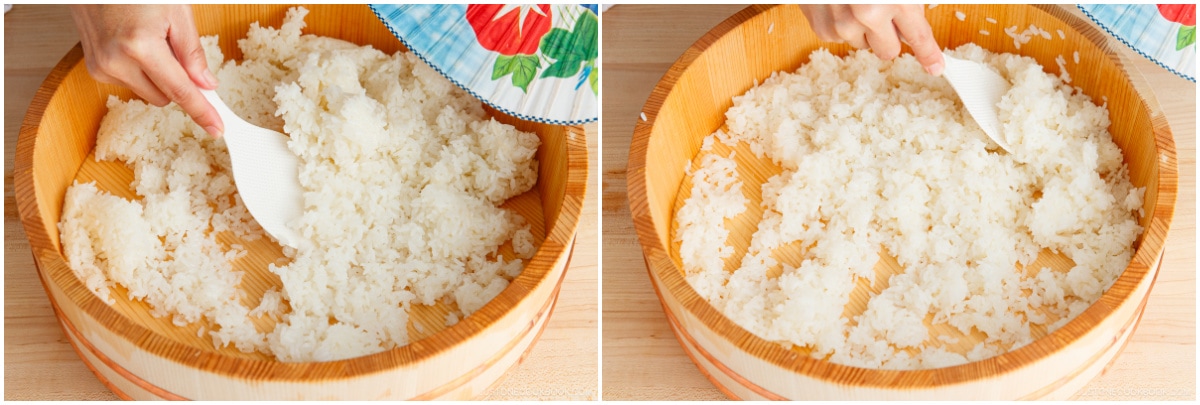
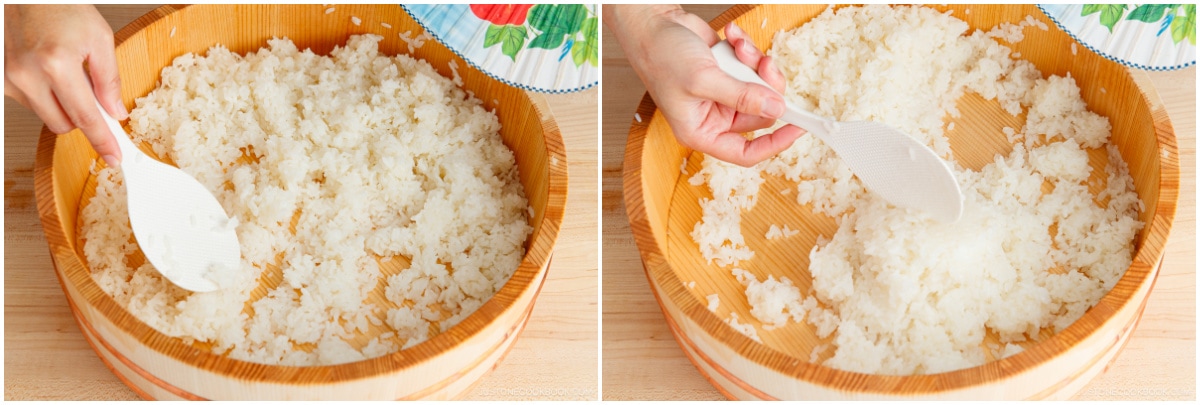
Step 17: Gently “slice” the rice with the rice paddle at a 45-degree angle to incorporate the seasoned vinegar and separate the rice chunks. Do not stir or mix because that may break the grains and make it mushy. As you slice, vigorously fan the rice to cool it with a paddle fan or another fan. Nami's Tip: Fanning wicks away the excess moisture and makes the rice shine.
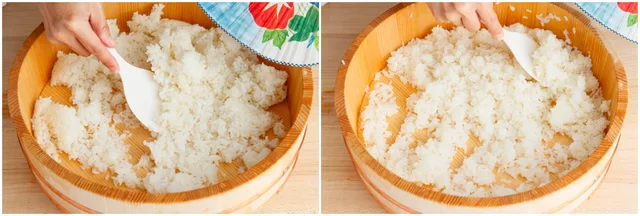
Step 18: Gently flip a scoop of rice after every few slices.
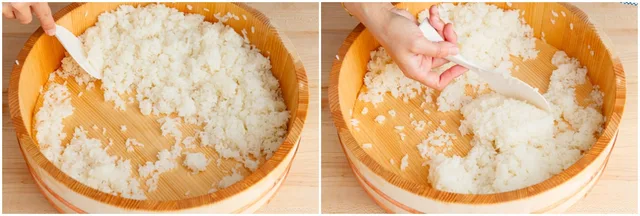
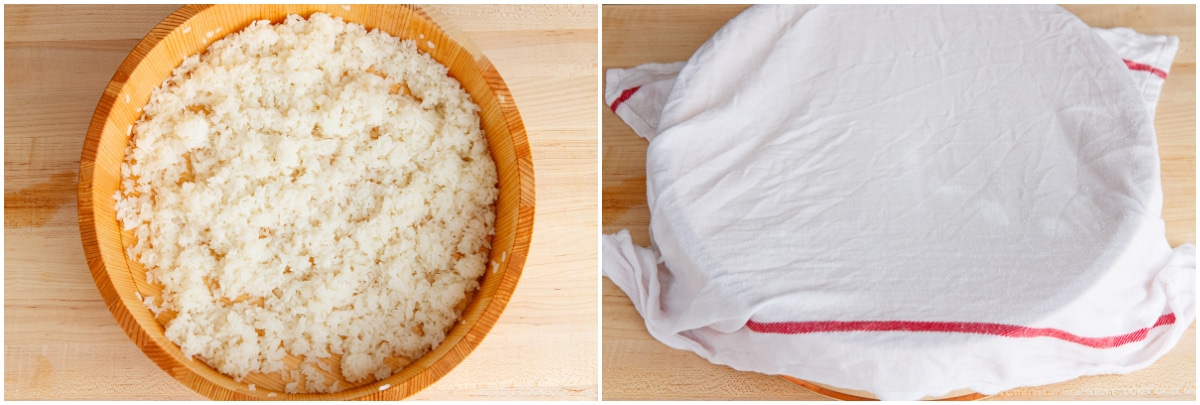
Step 19: Continue until the rice has cooled to the temperature of human skin. Your sushi rice is now ready to use in your favorite sushi recipes.
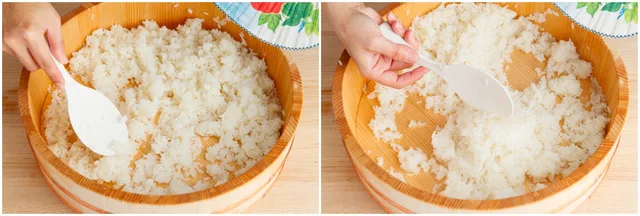
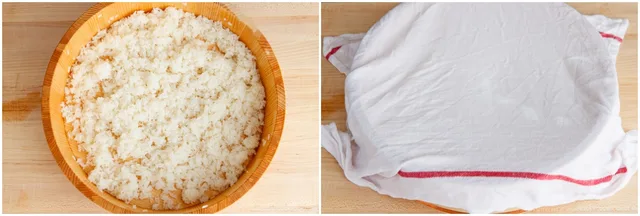
Step 20: Cover the finished sushi rice with a damp towel or paper towel and use promptly. For longer storage, cool promptly and freeze leftovers in an airtight container for up to a month. Thaw overnight in the refrigerator, then gently bring to room temperature in the microwave before using.
Photos (1)
Comments
0 threadsSign in to join the discussion.
No comments yet. Start the discussion.