
Korean · Appetizer, Main
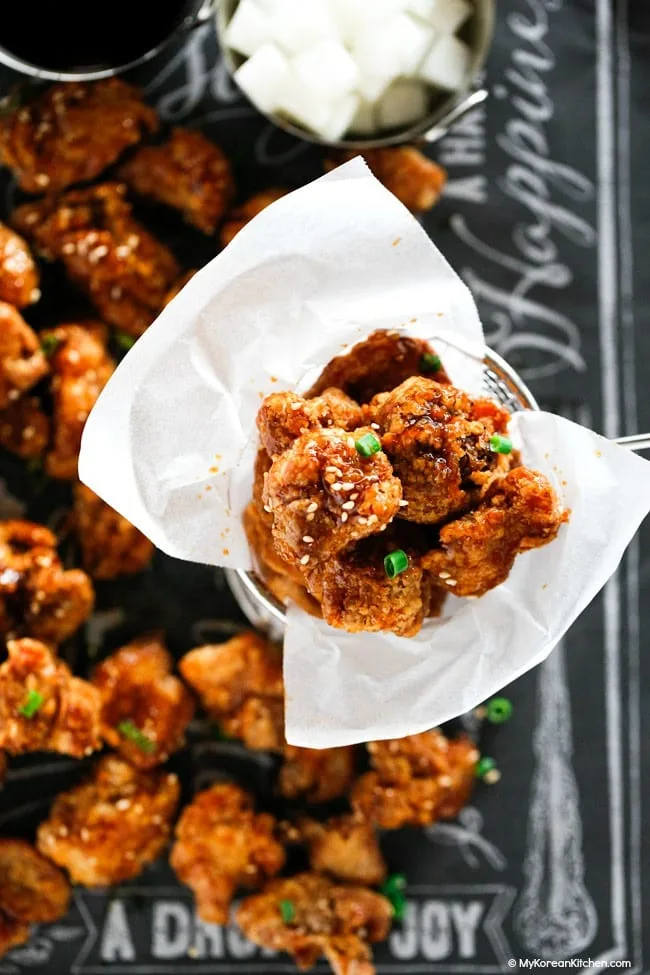
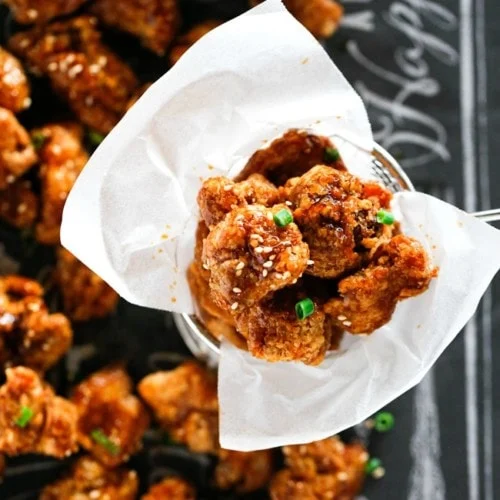
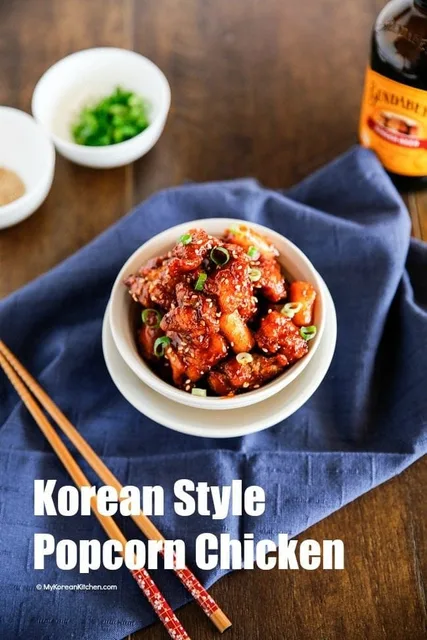
Dakgangjeong - Soy Garlic Fried Chicken
From the zcook collection
Bite-size Korean soy-garlic chicken with separate seasoning, starch coating and sticky glaze. Choose double deep frying or the two-pass air-fryer route, then brush the one cooked chicken batch with the thickened glaze after its five-minute cooling rest.
- Spicy
- Korean
- Appetizer
- Main
- Soy-garlic chicken
- Exclusive cooking routes
- Prep
- 15 min
- Serves
- 4–6 servings
- Level
- Medium
Method13 steps
Step 1: Choose one cooking route for the single chicken batch: double deep frying or air frying. In a large bowl, mix the 900 g bite-size chicken with its 2 tbsp rice wine, 1 tsp onion powder, 1 tsp garlic powder, 1 tsp fine sea salt, ¼ tsp ginger powder and a few cracks black pepper. Set aside briefly while preparing the coating.
Step 2: Coat the seasoned chicken evenly. For the deep-fry route, place the 1½ cups chosen corn or potato starch in a bowl and dredge the chicken. For the air-fryer route instead, use less than 1 cup corn starch and shake off excess well. Follow only the chosen cooking route below; keep the separate 2 tsp slurry corn starch for the sauce.
Step 3: Deep-fry route only — skip all air-fryer stages. Heat a generous depth of the deep-frying oil to 175°C / 347°F in a deep saucepan or fryer. Carefully add coated chicken in uncrowded batches and fry for about 4–5 minutes per batch, until cooked through; check at least 74°C / 165°F in the thickest pieces. Remove to kitchen paper to drain.
Step 4: Deep-fry route only. Skim floating debris from the same oil and return it to 175°C / 347°F. Fry the drained cooked chicken a second time, in uncrowded batches, for 2–3 minutes until the coating is golden and crisp. Drain and set aside. Skip the air-fryer stages and continue to the common sauce.
Step 5: Air-fryer route only — skip both deep-frying stages. Spray the air-fryer basket with some of the unmeasured spraying oil.
Step 6: Air-fryer route only. Put the air-route coated chicken in the prepared basket in a single layer without overlapping. Optionally spray a light coating of the same spraying oil over the pieces to help browning; cook in batches as needed.
Step 7: Air-fryer route only. Cook at 200°C / 390°F for 6–7 minutes per batch. Turn the pieces and lightly spray the same spraying oil over any dry white starch spots.
Step 8: Air-fryer route only. Cook the turned chicken at 200°C / 390°F for another 6–7 minutes, until golden brown and at least 74°C / 165°F in the thickest pieces; continue as needed for the appliance/batch size. Repeat the same two-pass route for any remaining coated chicken, then continue to the common sauce.
Step 9: In a separate pan, combine all the soy-garlic sauce supplies: ¼ cup soy sauce, 2 tbsp brown sugar, 2 tbsp honey, 2 tbsp sauce water, the separate 2 tbsp sauce rice wine, ½ tbsp minced ginger and ½ tbsp minced garlic, plus optional sauce pepper, three dried chilies and the white parts of two green onions. Bring to a boil over medium-low heat, stirring often. Once bubbling, remove the dried chilies and green-onion white pieces if used.
Step 10: Mix the separate 2 tsp corn starch with 2 tsp slurry water in a small bowl until smooth. Pour the complete slurry into the bubbling sauce.
Step 11: Stir the sauce often over the heat until it thickens into a glaze, about 1–2 minutes after adding the slurry. Remove from the heat.
Step 12: Let the cooked glaze cool off the heat for 5 minutes before brushing it onto the chicken.
Step 13: Place the chicken from the one chosen cooking route on a lined baking sheet. Gently brush it with the prepared cooled soy-garlic glaze, then garnish with the unmeasured toasted sesame seeds and thinly sliced green onion. Serve for four to six people, optionally with ready coleslaw, corn cheese, Korean macaroni salad or pickled radish.
Photos (3)
Comments
0 threadsSign in to join the discussion.

No comments yet. Start the discussion.