
Chinese · Breakfast
Chinese Doughnut Sticks (Youtiao, 油条)
From the zcook collection
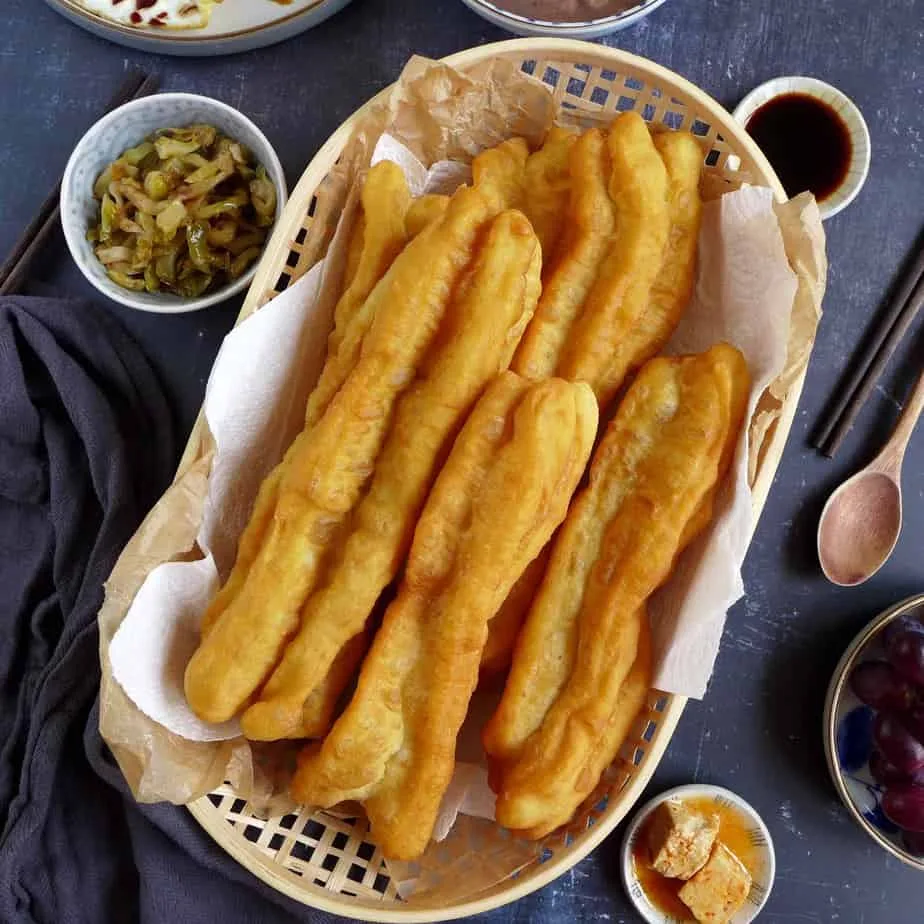
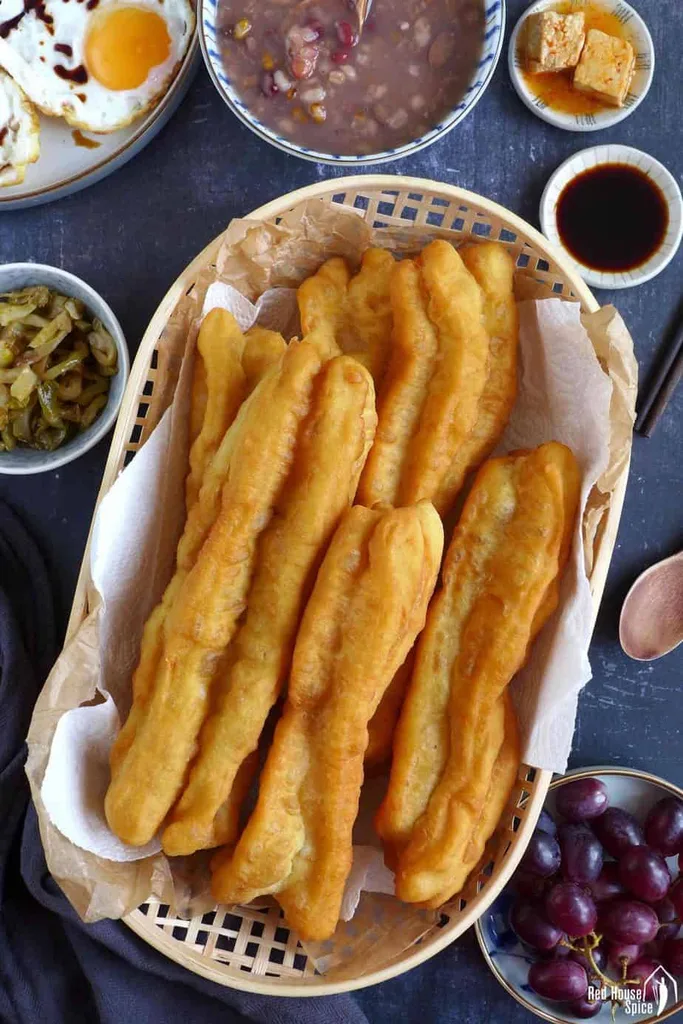
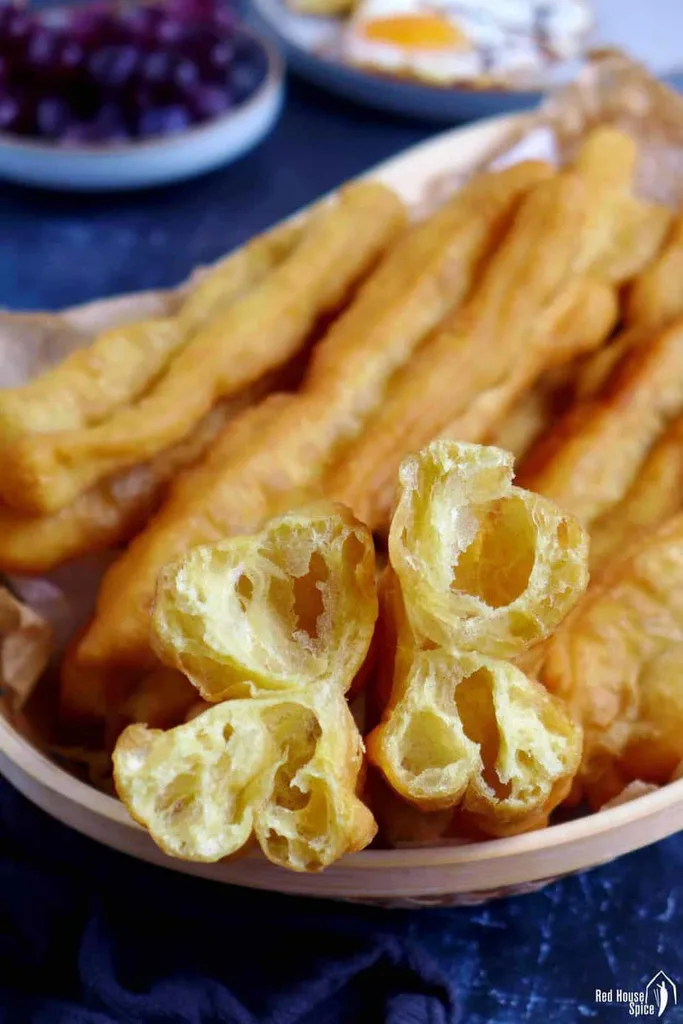
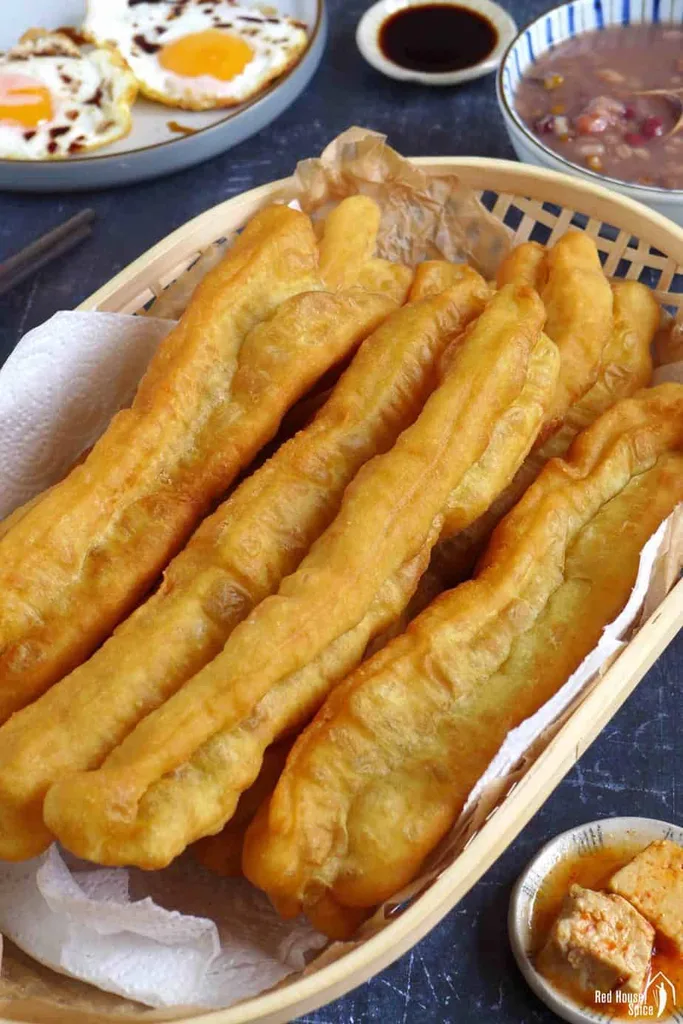
Ten light, airy Chinese doughnut sticks made from one egg-and-water dough batch. Choose hand mixing or a stand mixer, rest the dough overnight in the refrigerator and temper it before gentle shaping and deep-frying.
- Vegetarian
- Dairy-free
- Chinese
- Breakfast
- Bread
- Bao & Bread
- classic Chinese
- Prep
- 20 min
- Cook
- 15 min
- Serves
- 10 sticks
- Level
- Hard
- Energy
- 230 kcal
Method17 steps
Step 1: Use a kitchen scale. Tare a bowl, crack in two eggs without their shells and beat lightly. Add water until the eggs and water together weigh exactly 250 g. Choose either the mixer route or the hand route for one dough batch.
Step 2: Mixer route only: combine the 400 g flour, 2 tsp baking powder, optional ¼ tsp baking soda, ½ tsp salt, the prepared 250 g egg-water mixture and 2 tbsp dough oil. Mix and knead on low speed for about 8 minutes, until evenly combined and smooth. Rub a little coating oil on your hands to remove the dough. Skip both hand-route actions and continue to dividing the dough.
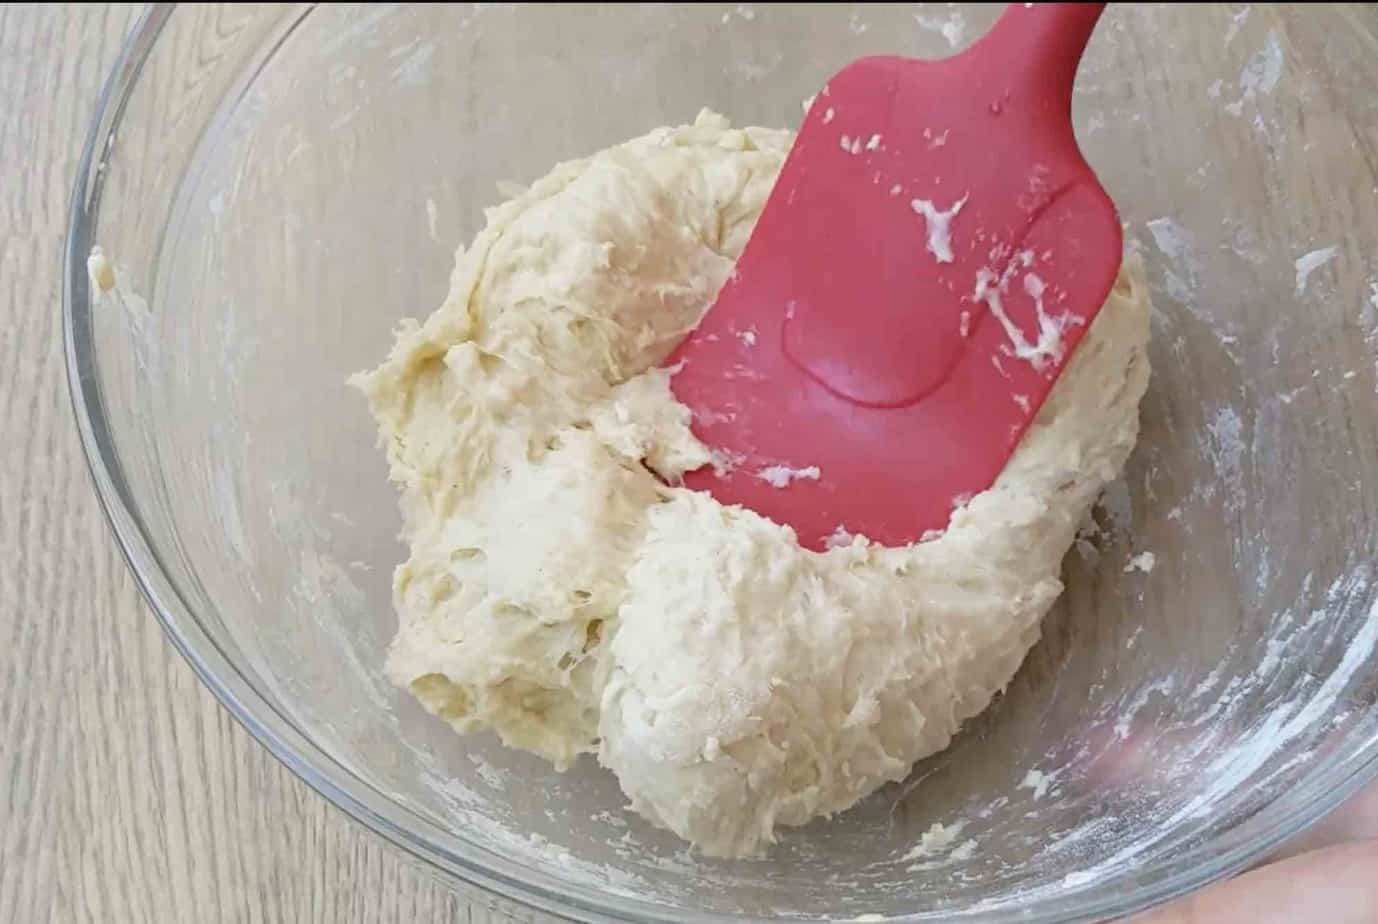
Step 3: Hand route only: skip the mixer action. Combine the same 400 g flour, 2 tsp baking powder, optional ¼ tsp baking soda, ½ tsp salt, prepared 250 g egg-water mixture and 2 tbsp dough oil with a silicone spatula to make a rough dough. Cover and rest for 15 minutes.
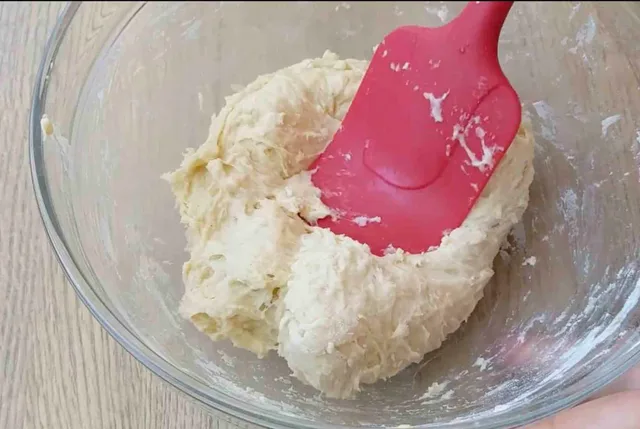
Step 4: Hand route only: coat your hands lightly with the separate coating oil. Press the rested dough with your fist, then fold the edges towards the centre with your fingers. Repeat until the dough is smooth, soft and no longer sticky. Do not add flour to change its high-hydration formula.
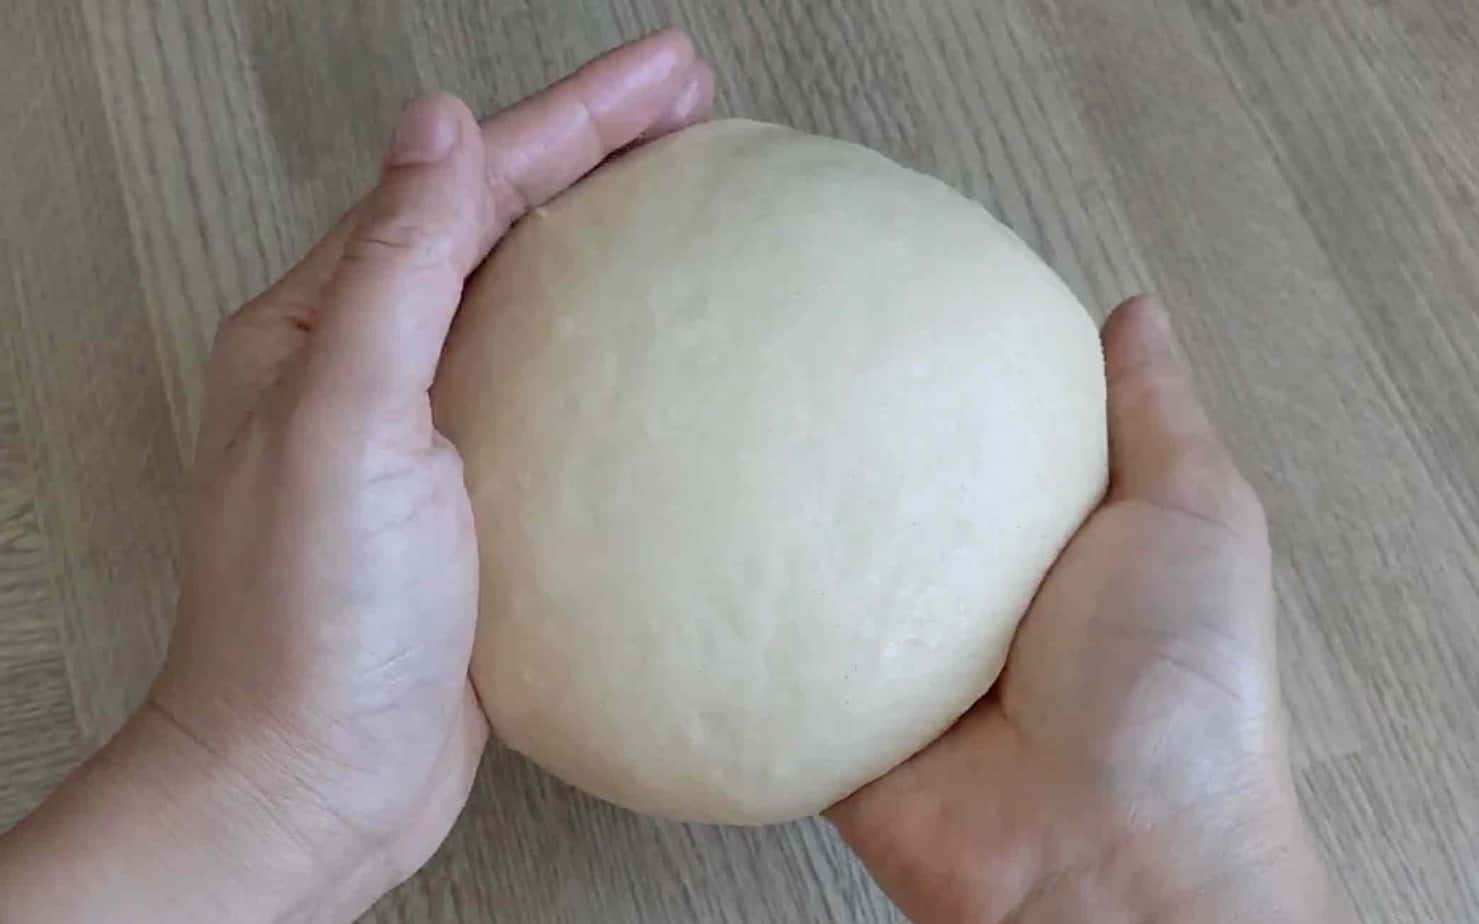
Step 5: Take the smooth dough from your chosen mixer or hand route. Divide it into two equal portions, shape each into a smooth ball and coat lightly with the separate coating oil. Cover both balls with cling film.
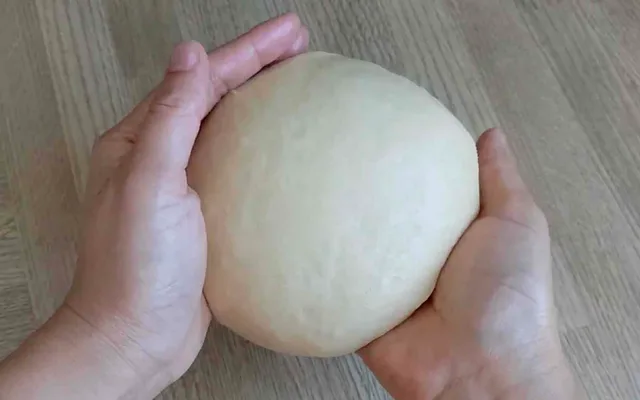
Step 6: Refrigerate both covered dough balls overnight at 4°C (40°F) or below. Keep them covered so they do not dry out.
Step 7: The next morning, temper the covered dough balls in a cool room below 32°C (90°F) for at least 1 hour, until very soft and flexible. Count tempering, shaping and waiting to fry together: keep total time outside refrigeration within 2 hours. Prepare the frying station so the dough can be cooked promptly once flexible.
Step 8: Before shaping, start heating the deep-frying oil in a wok or deep pot with enough oil depth. Monitor it with a thermometer and stay beside the pan while shaping. Aim for 190°C (374°F); reduce the heat when it reaches that temperature.
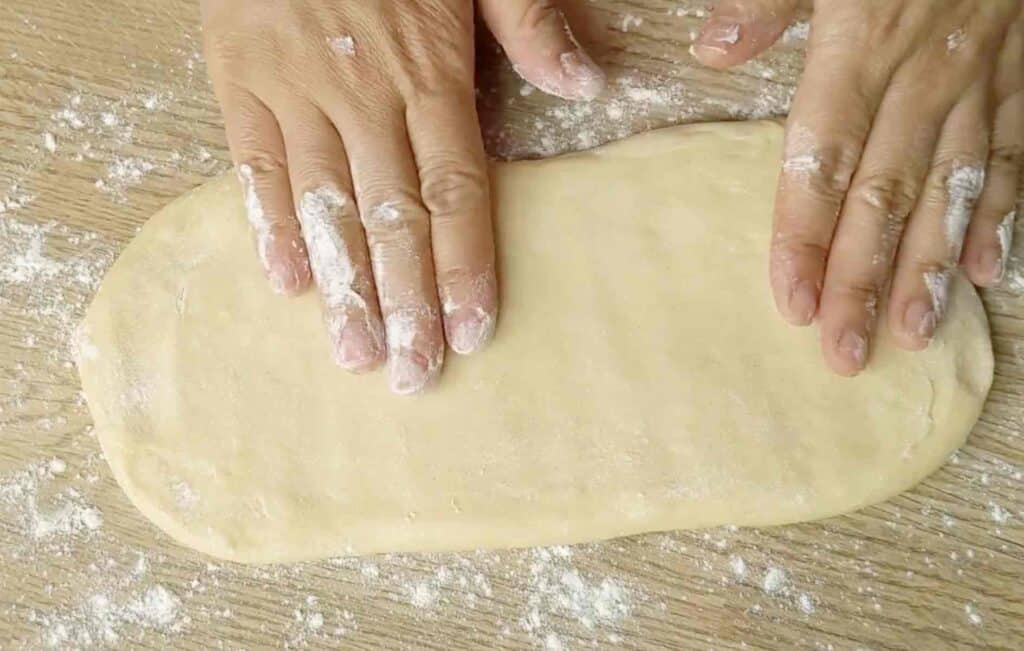
Step 9: Dust the work surface with a little flour. Gently transfer both softened dough balls and flatten each by hand into a rectangle about 10 × 25 cm (4 × 10 inches). Do not knead them again. If the frying pan is smaller than the author’s 30 cm wok, make strips that will stretch to fit safely in it.
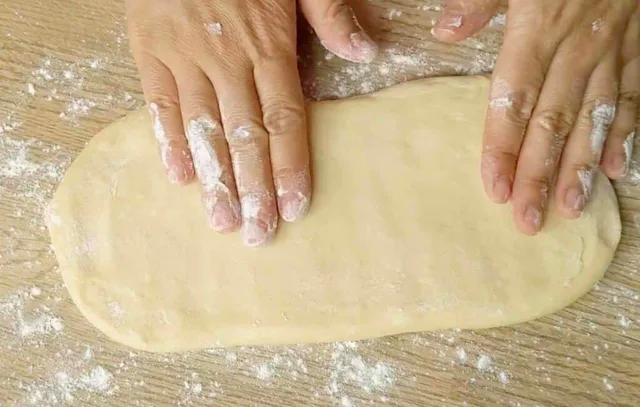
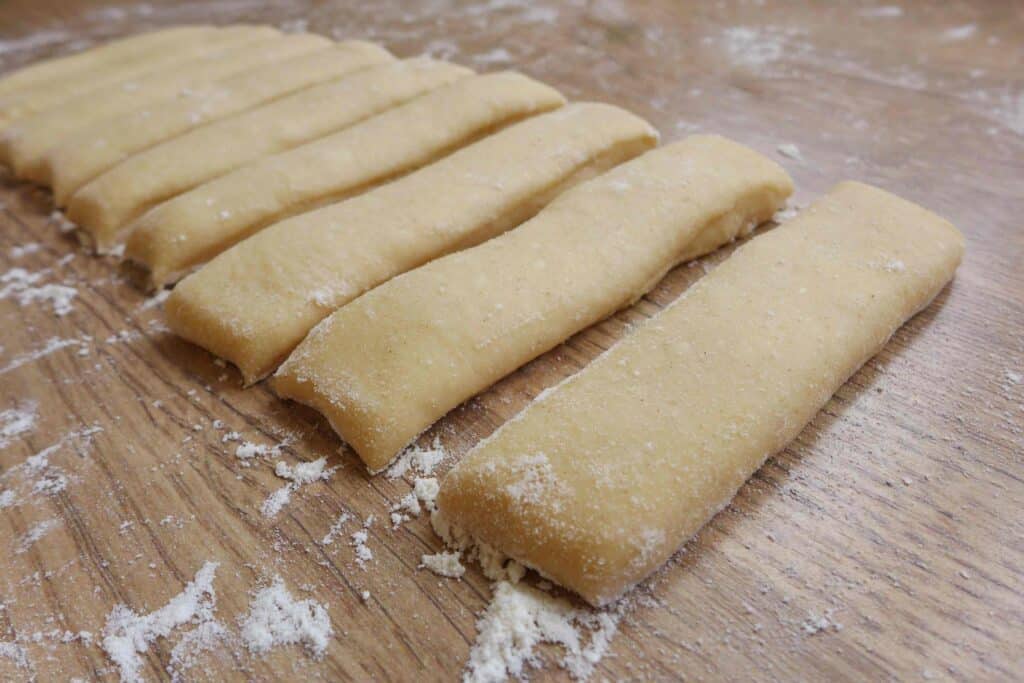
Step 10: Lightly dust the dough with flour. Cut each of the two rectangles crosswise into ten equal strips, giving twenty strips altogether.
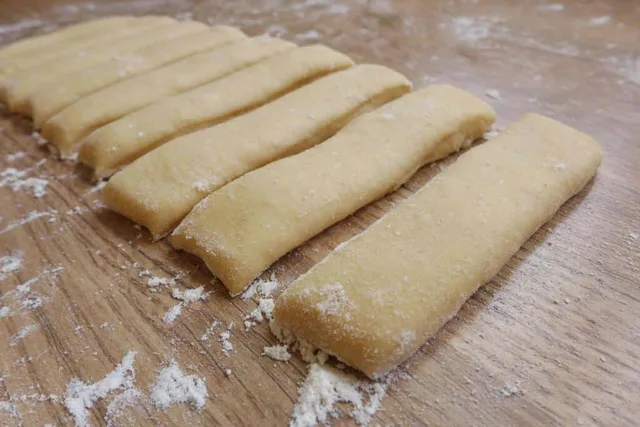
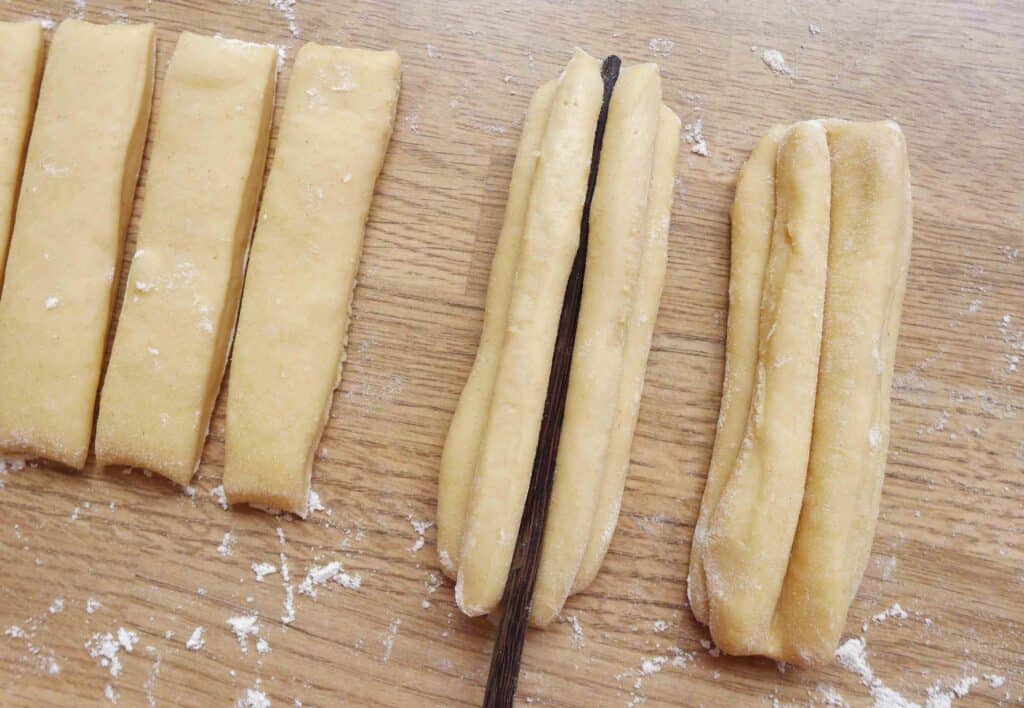
Step 11: Stack one strip on another and press firmly along the centre lengthways with a chopstick to join the pair. Repeat with all twenty strips to make ten paired sticks, dusting only as needed to prevent sticking.
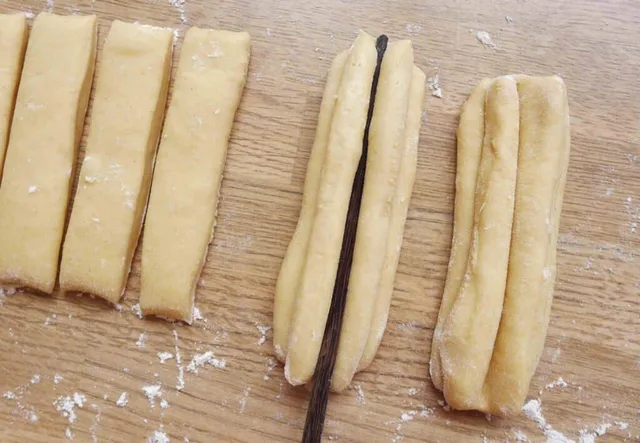
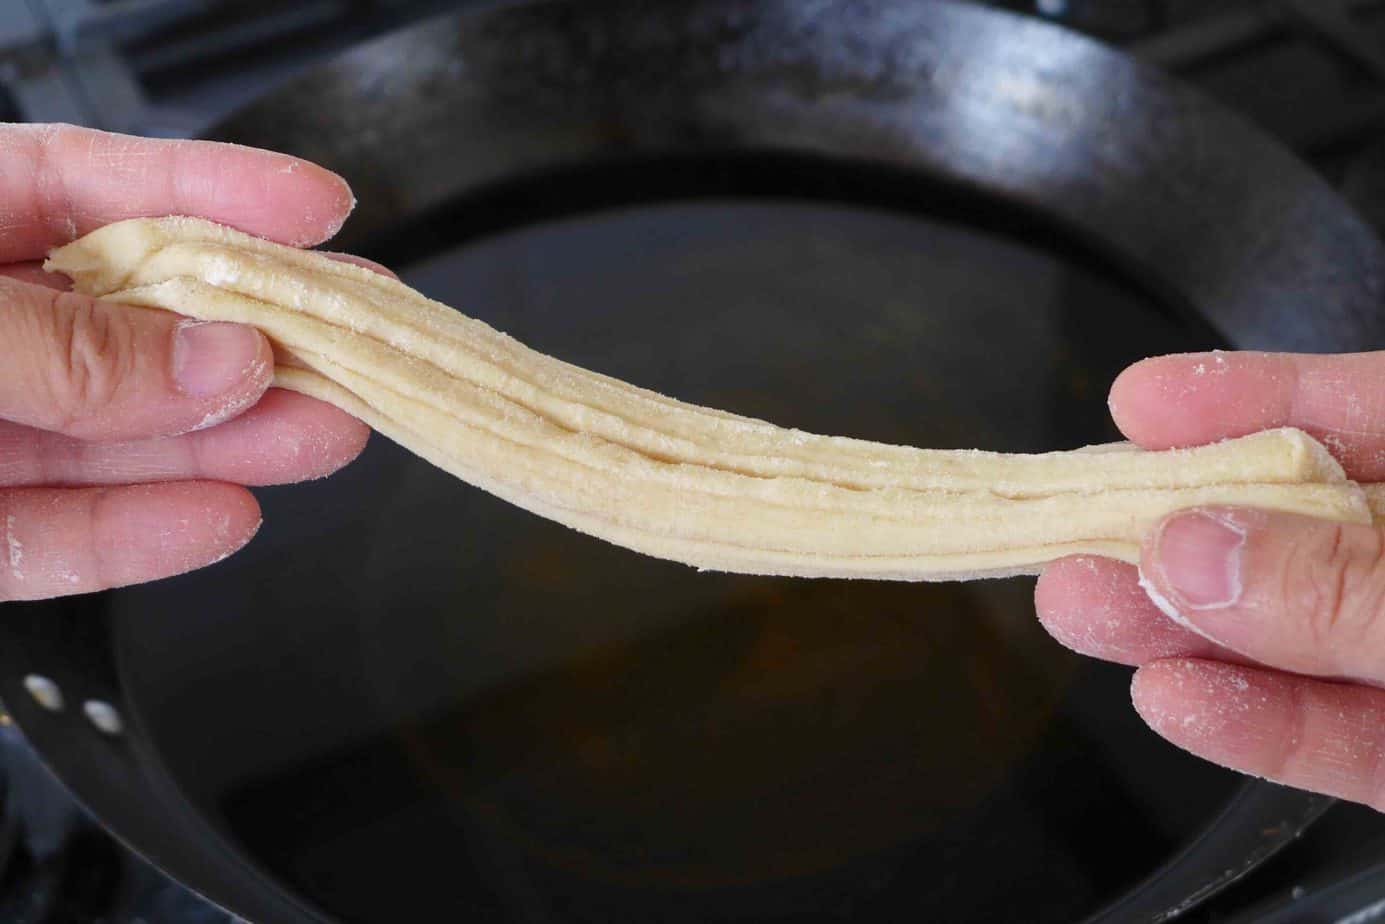
Step 12: Once the oil reaches 190°C (374°F), turn the heat down to low. Gently stretch one paired stick and carefully lower it into the hot oil without splashing. Fry one or two sticks at a time, leaving room for expansion.
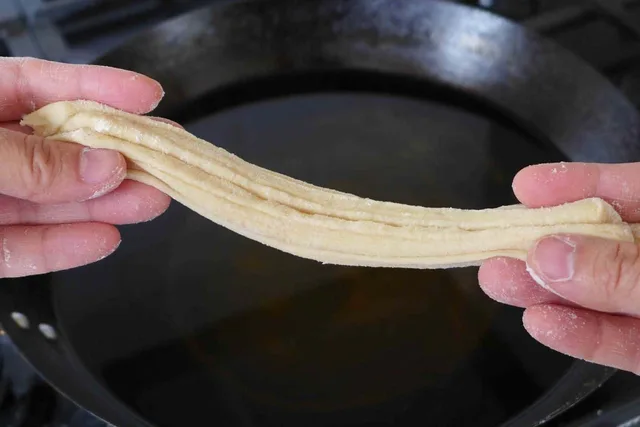
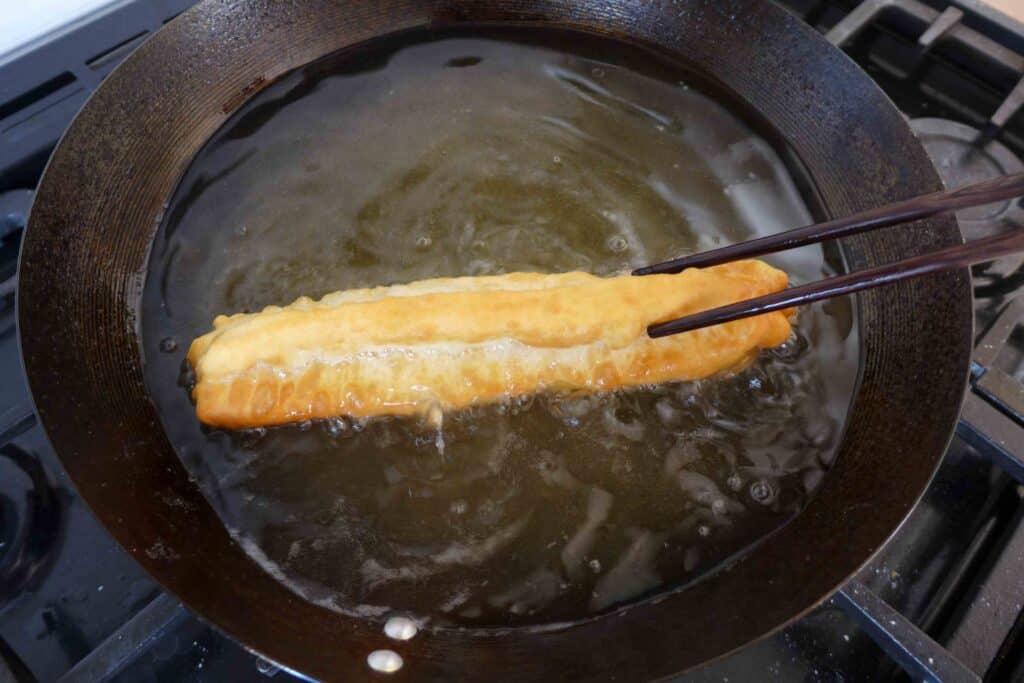
Step 13: As each stick floats, roll it continuously with chopsticks so it expands and colours evenly. Keep the oil around 190–200°C (374–392°F). When expansion stops and the outside is evenly golden, check that the inside is cooked through, then lift it onto kitchen paper to drain.
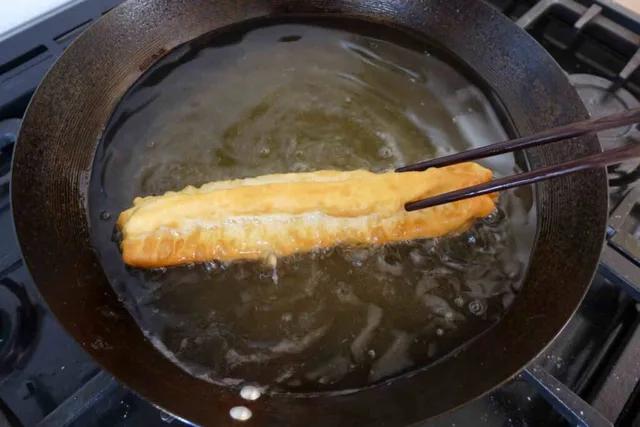
Step 14: Repeat stretching and frying the remaining paired dough sticks, only one or two at a time, keeping the oil at the same temperature. Lift each cooked stick onto kitchen paper. Serve the ten cooked youtiao warm.
Step 15: For leftovers, cool promptly and refrigerate within 2 hours, or within 1 hour above 32°C (90°F). Once cooled, store in an airtight bag at 4°C (40°F) or below for up to three days, or freeze for up to two months. Store only the sticks you are keeping.
Step 16: For chilled leftovers, warm the selected sticks in a frying pan without adding oil, over low heat. Turn several times until heated through. If reheating frozen sticks this way, thaw them in the refrigerator first. Choose this route or the oven route.
Step 17: Oven route for frozen leftovers: preheat to 180°C (356°F). Heat the selected frozen sticks for about 5 minutes without defrosting, then check that they are hot through. Use this route instead of the pan route.
Photos (4)
Comments
0 threadsSign in to join the discussion.
No comments yet. Start the discussion.