
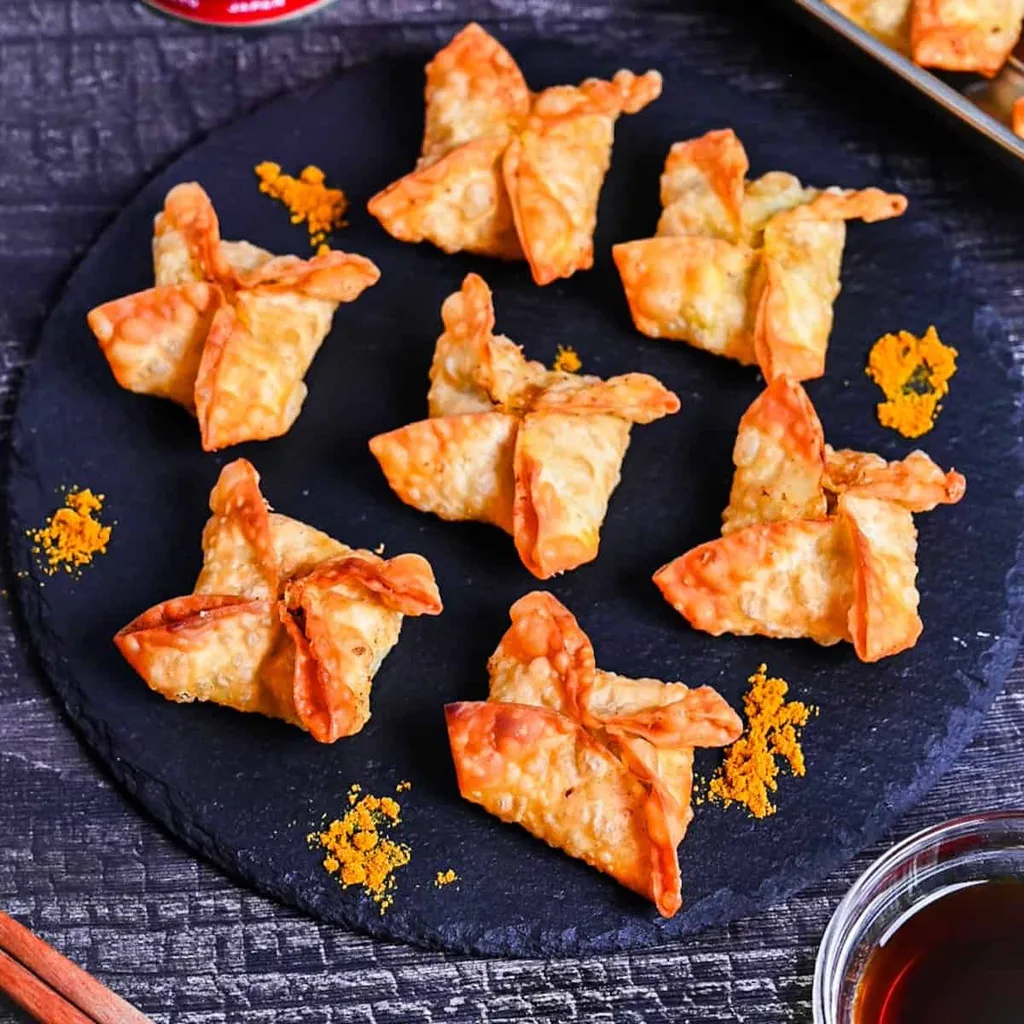
Japanese · Appetizer
Curry Flavor Age Gyoza (Deep-Fried)
From the zcook collection
Windmill-shaped Japanese dumplings filled with pork, vegetables, cheese and curry powder, then fried in batches until crisp and fully cooked. Serve with ready ponzu for dipping.
- Japanese
- Chuka
- Gyoza
- Curry
- Party Snack
- Prep
- 30 min
- Serves
- About 45 gyoza, using 45 wrappers
- Level
- Hard
- Energy
- 80 kcal
Method12 steps
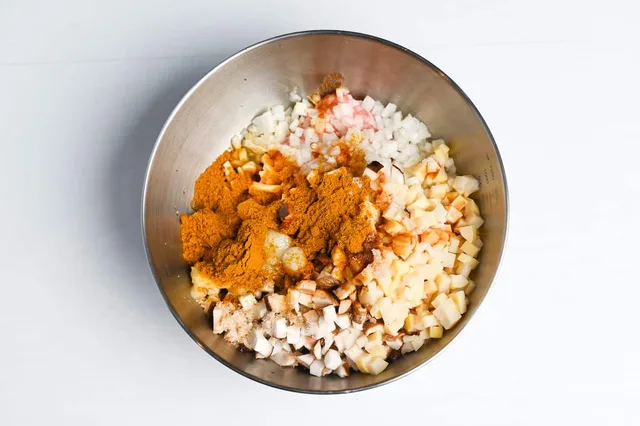
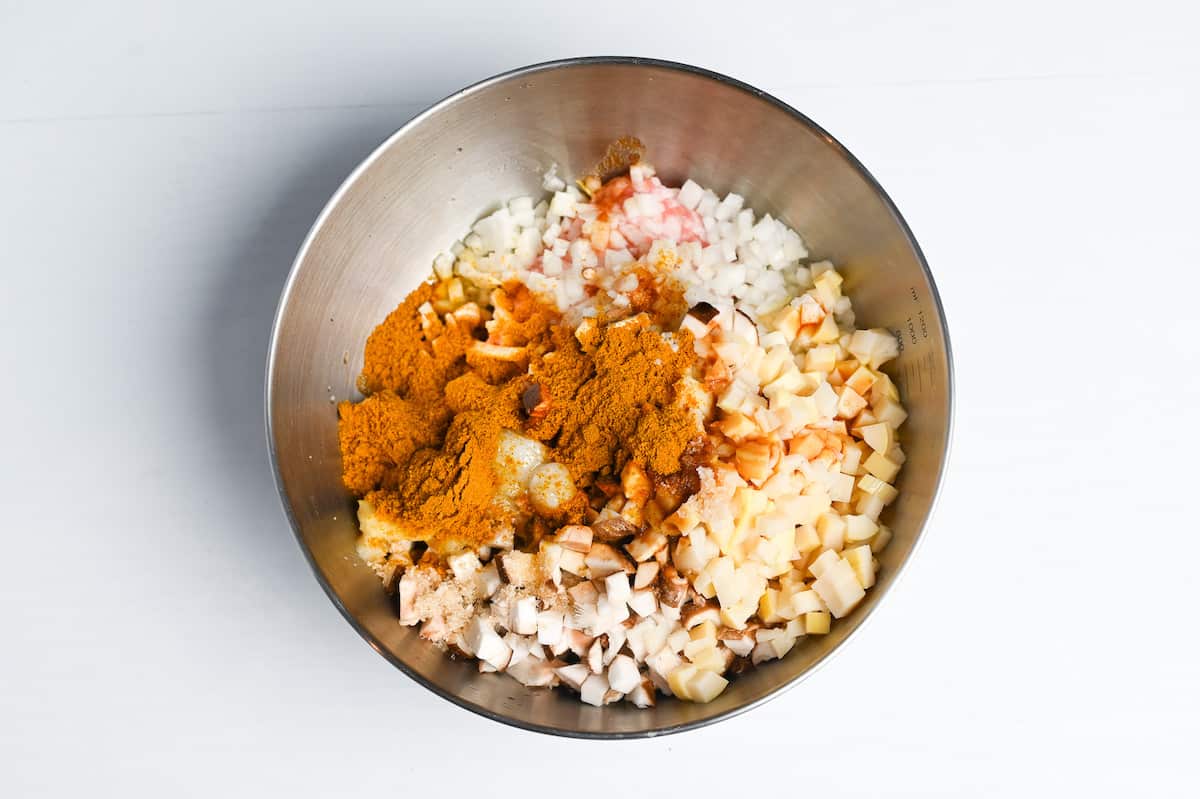
Step 1: Finely dice the 100 g onion, 50 g fresh shiitake mushrooms and 50 g drained canned bamboo shoots. Shred the 30 g melting cheese and prepare the 2 tsp grated garlic and 1 tsp grated ginger. Put these in a mixing bowl with the 200 g ground pork, ½ tsp salt, ½ tsp sugar, 1 tsp koikuchi soy sauce, 1 tsp oyster sauce, 1 tbsp lard, 1 tbsp Japanese curry powder and 1 tbsp sake.
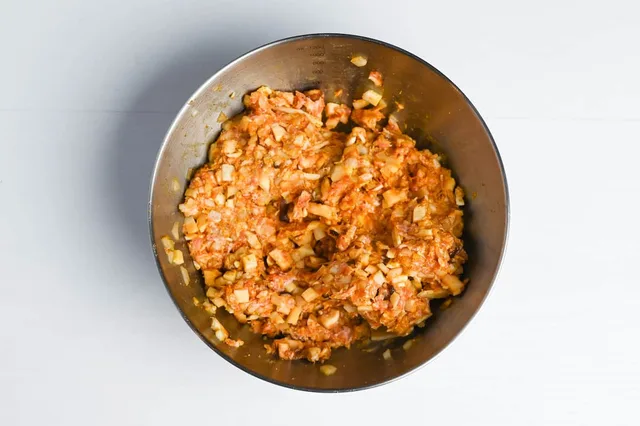
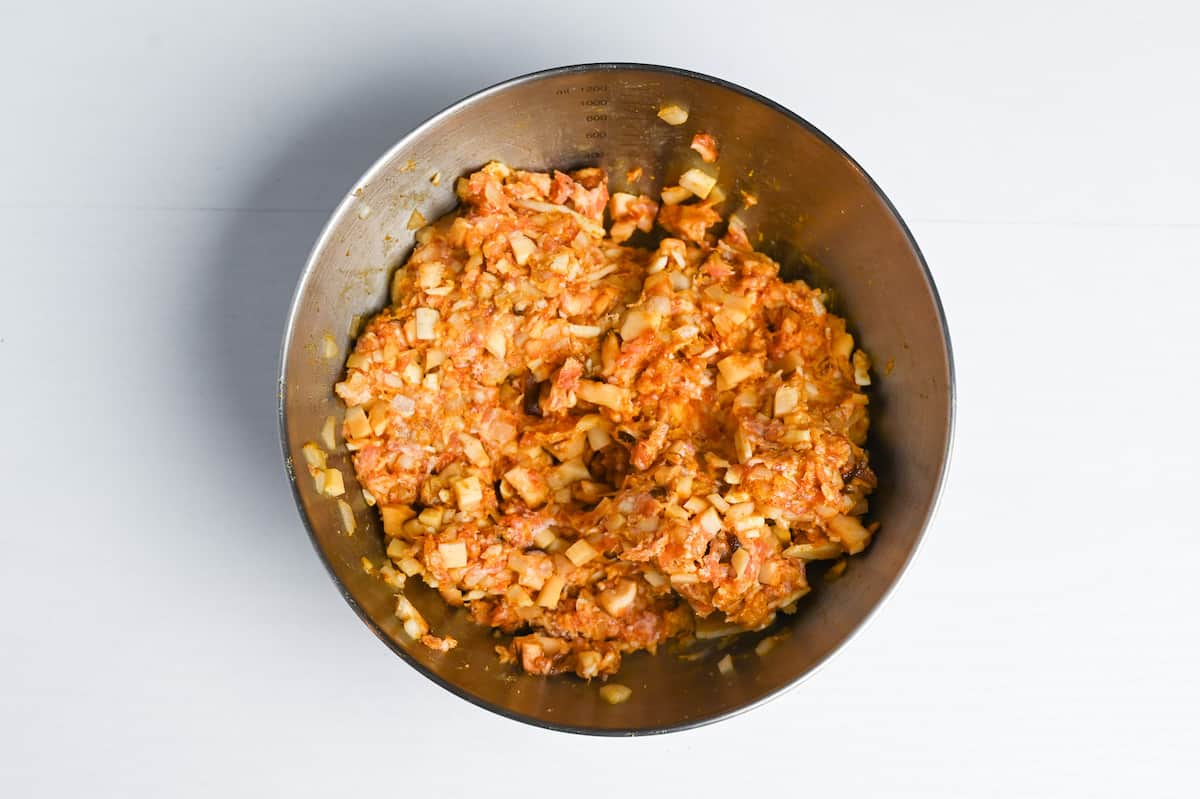
Step 2: Mix the filling from step 1 thoroughly until the meat, vegetables, cheese and seasonings are evenly distributed.
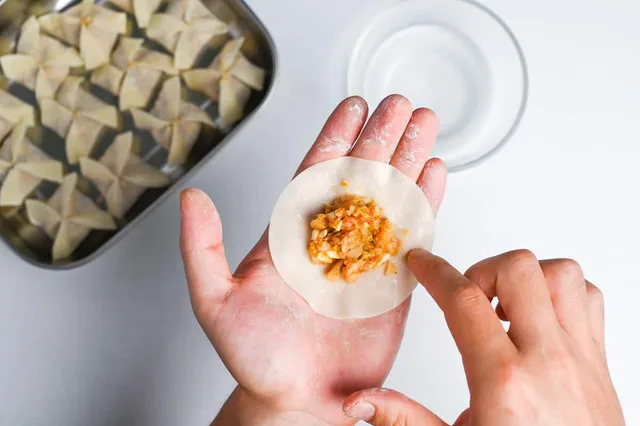
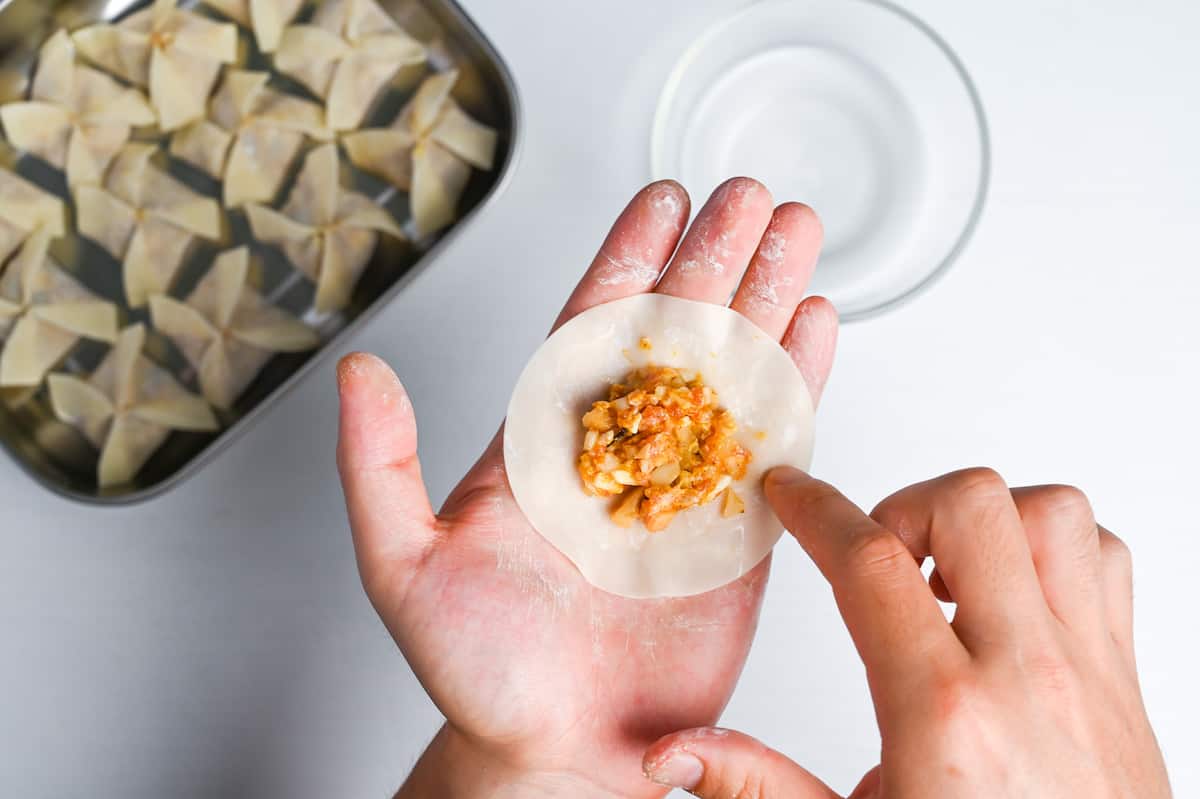
Step 3: Set a small bowl of clean sealing water and a tray next to the filling from step 2. Take one of the 45 wrappers and place about ½–1 tbsp filling in its center, using only as much as fits comfortably with a generous border. Lightly wet the border with the sealing water.
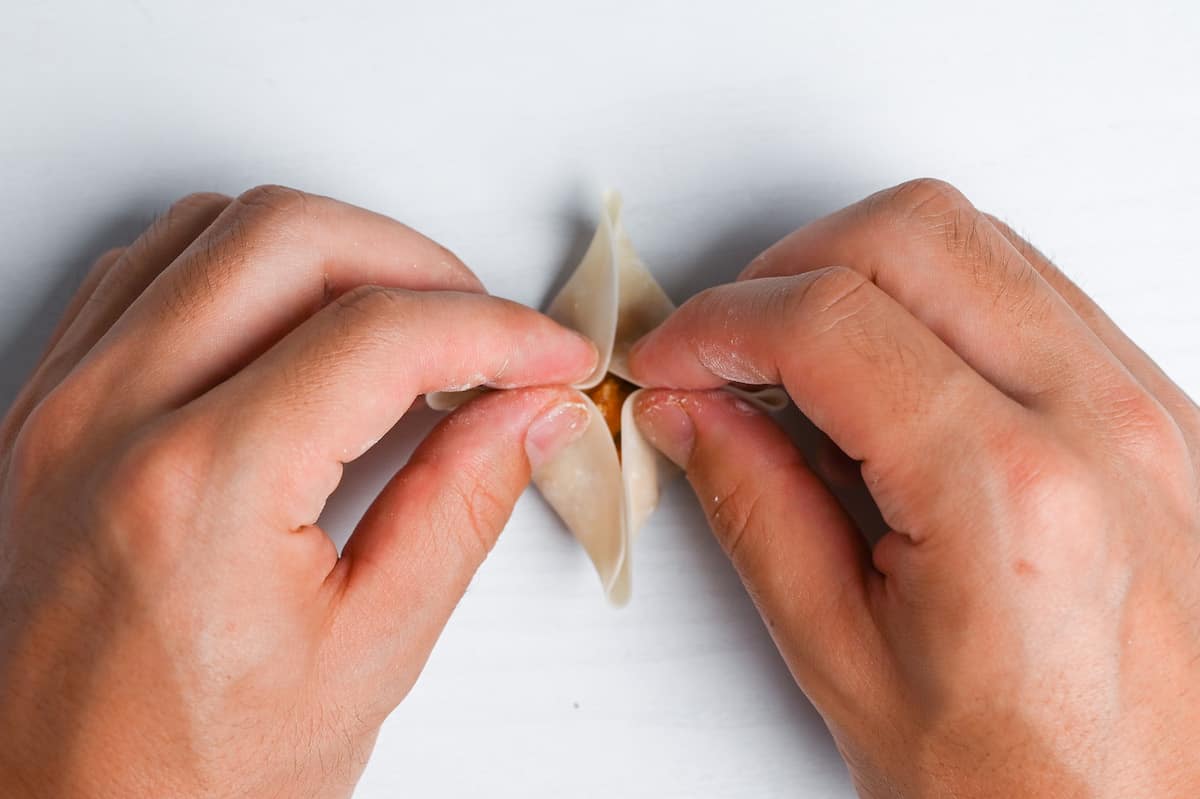
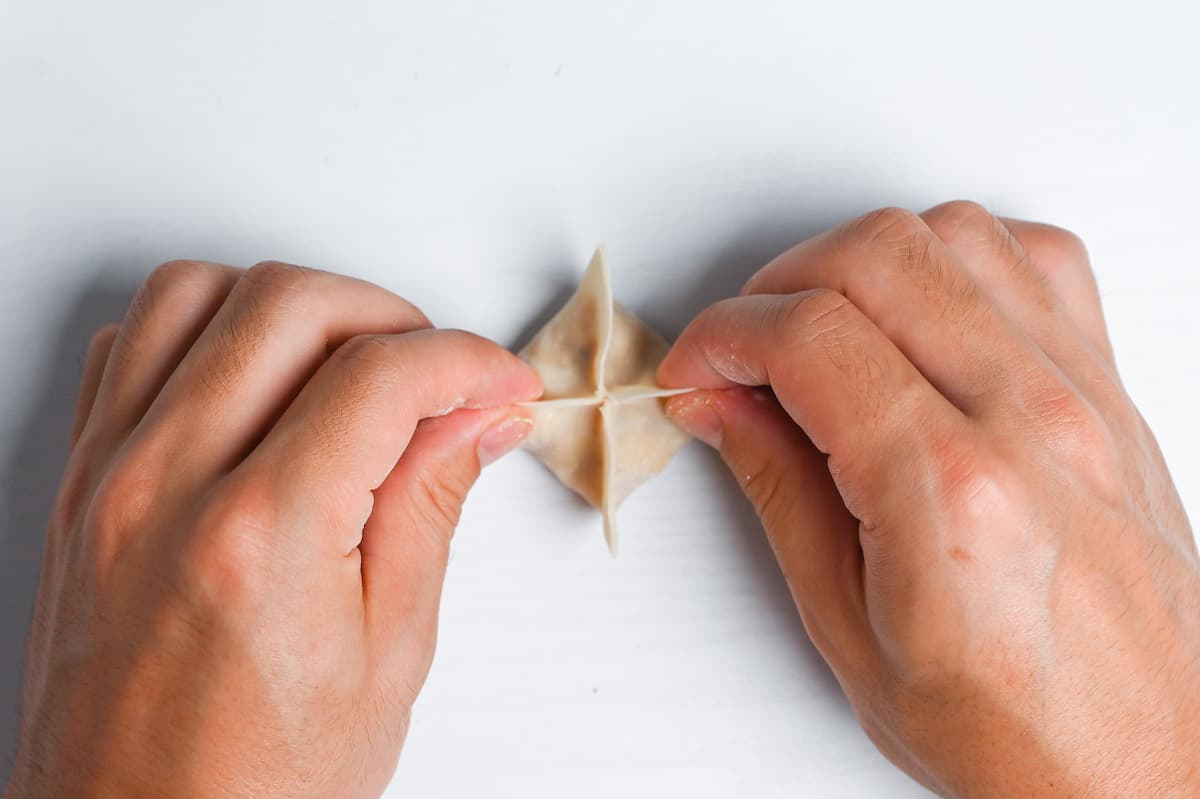
Step 4: For the filled wrapper from step 3, pinch two opposite edges together and push them towards the center so the remaining edges form a cross on top.
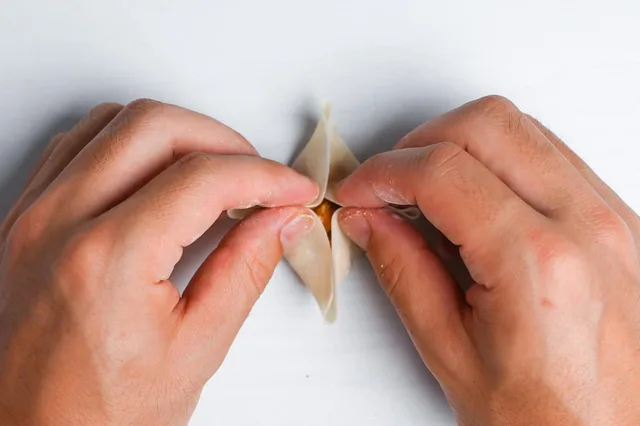
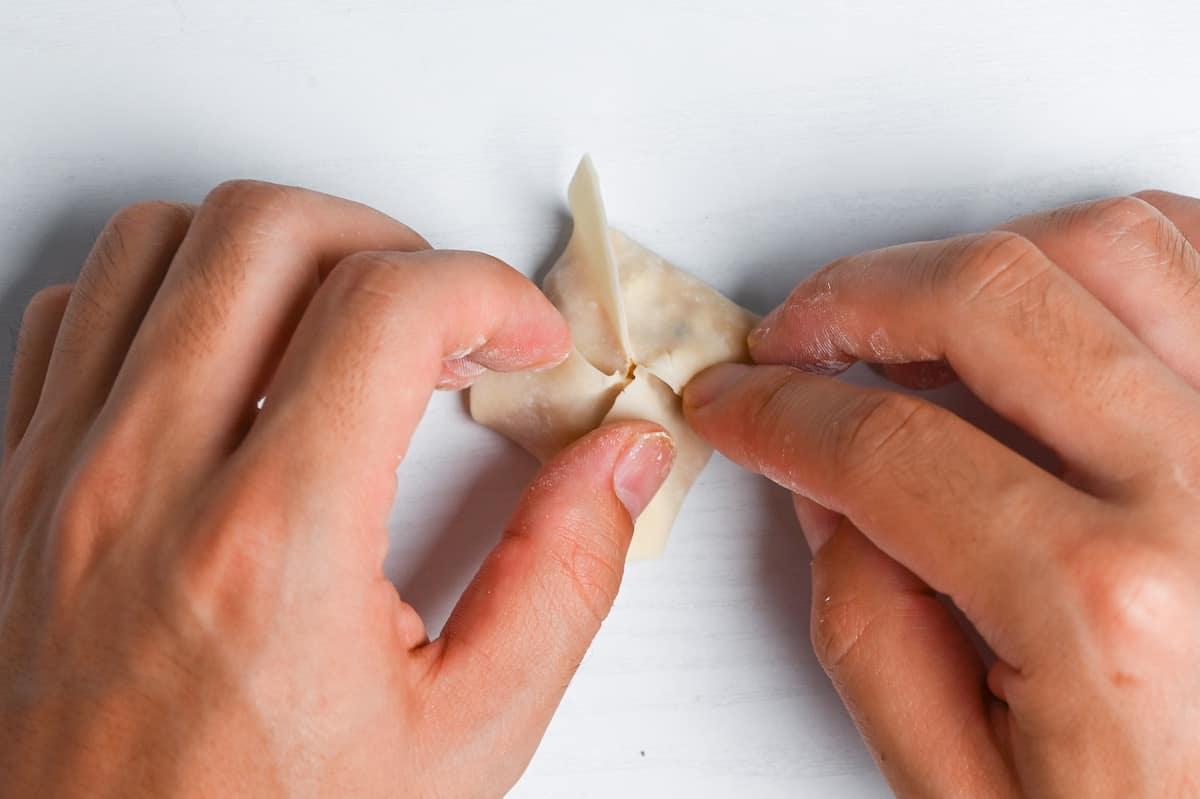
Step 5: Firmly pinch all the edges of the dumpling from step 4 together to seal them.
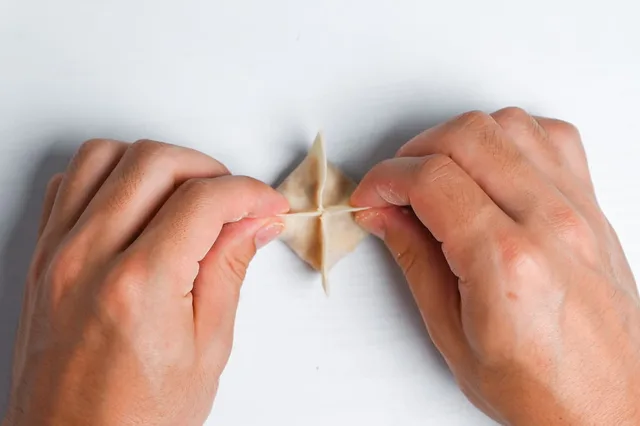
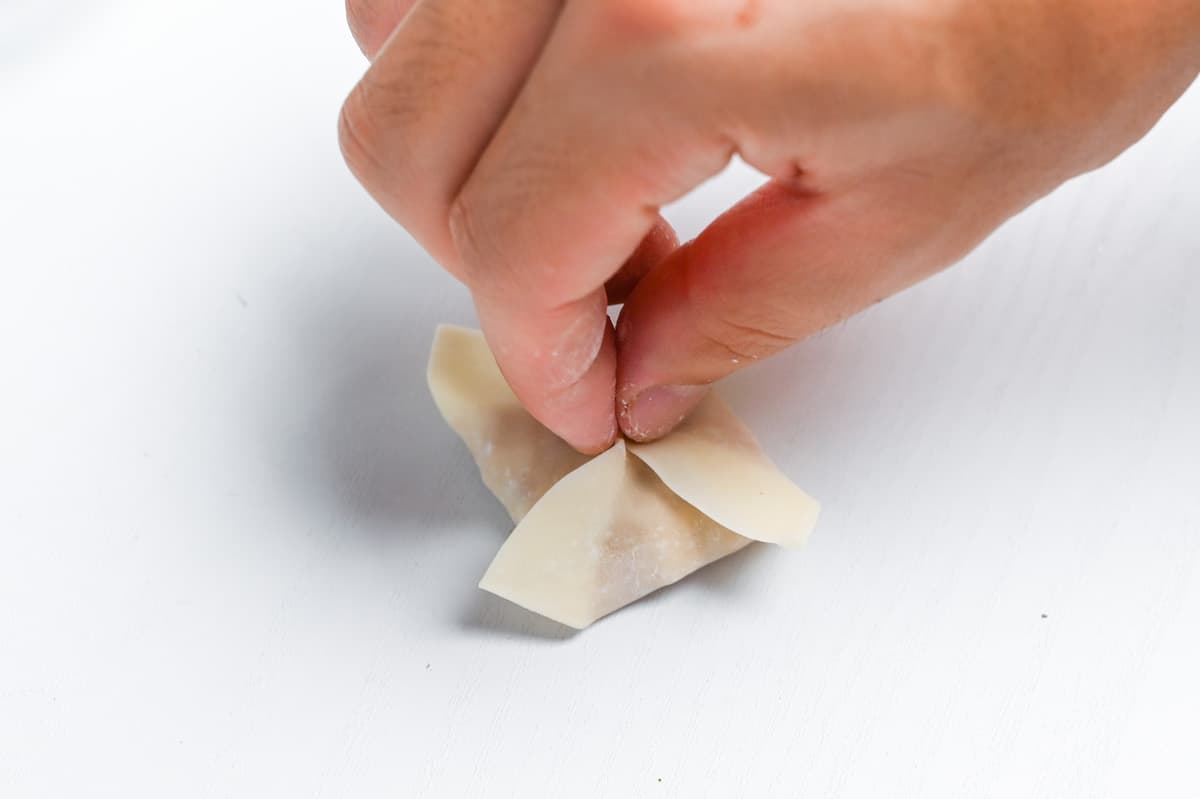
Step 6: Fold each flap of the sealed dumpling from step 5 down in the same direction to make the windmill shape.
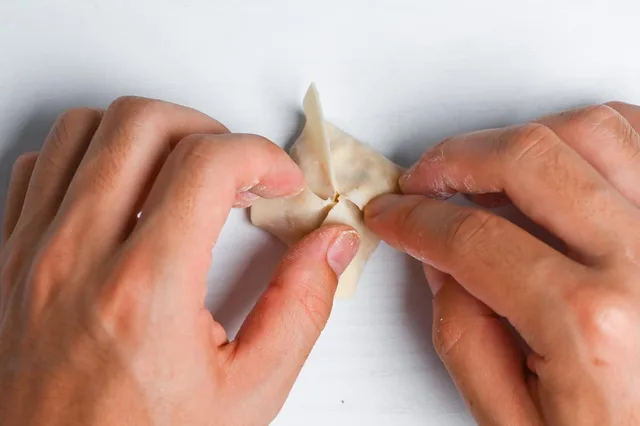
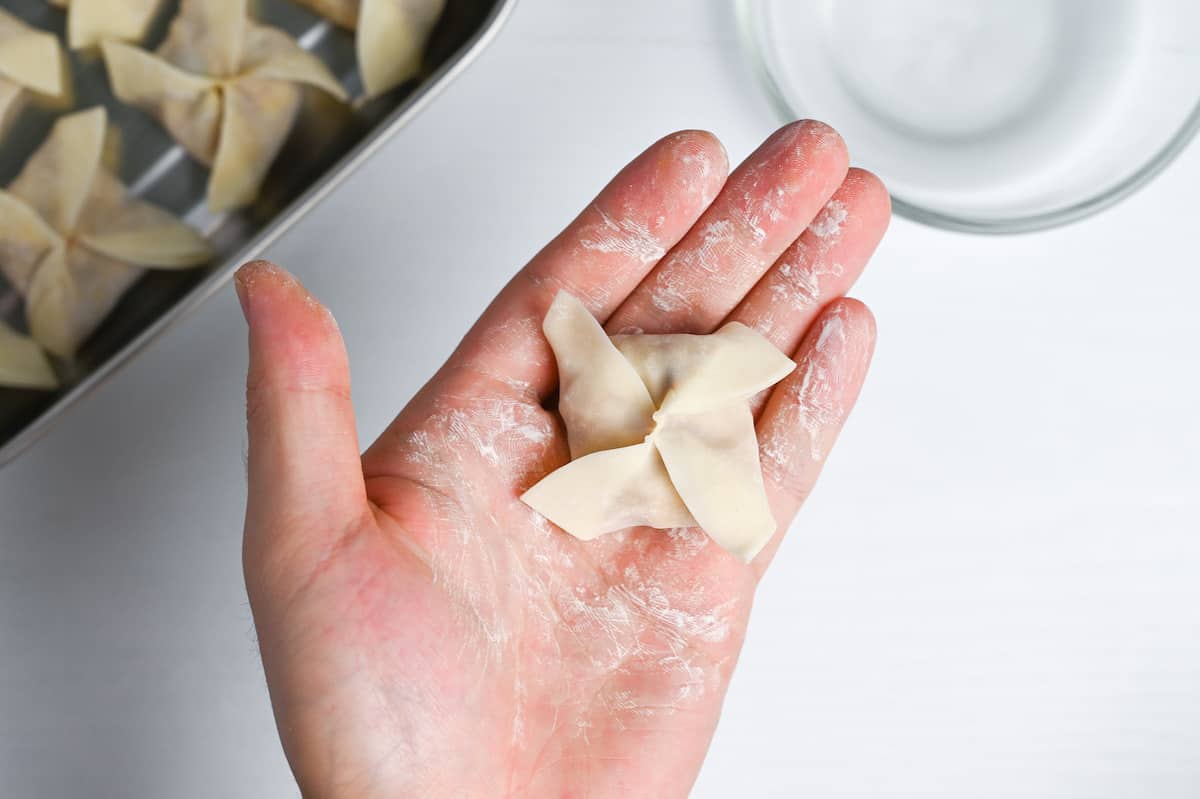
Step 7: Check the center of the windmill dumpling from step 6 and pinch firmly to close any hole.
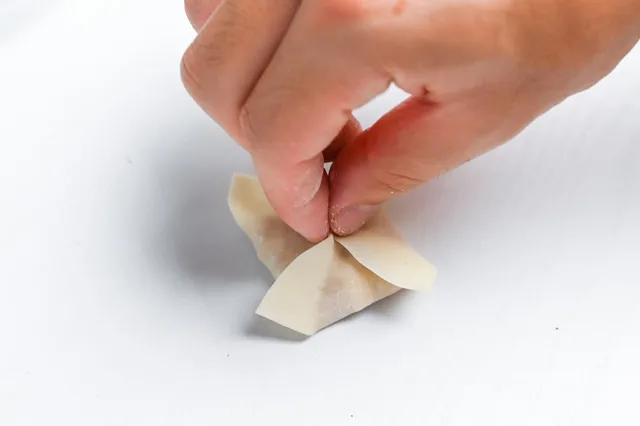
Step 8: Lightly dust the tray with flour and place the sealed dumpling from step 7 on it. Repeat steps 3–7 with the remaining wrappers and filling, one wrapper at a time, until the filling or wrappers run out. Keep any unused supplies refrigerated and keep the formed raw dumplings chilled while you prepare the oil.
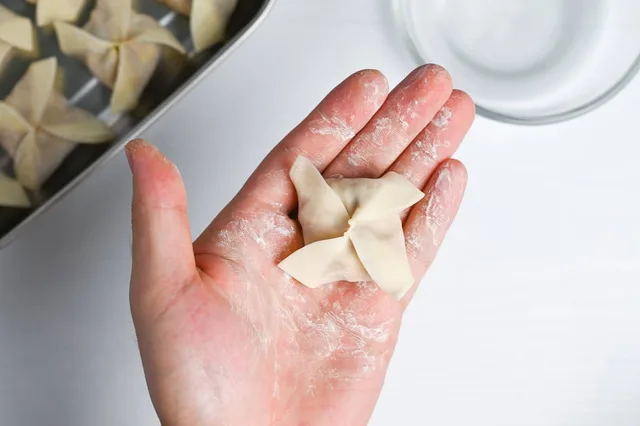
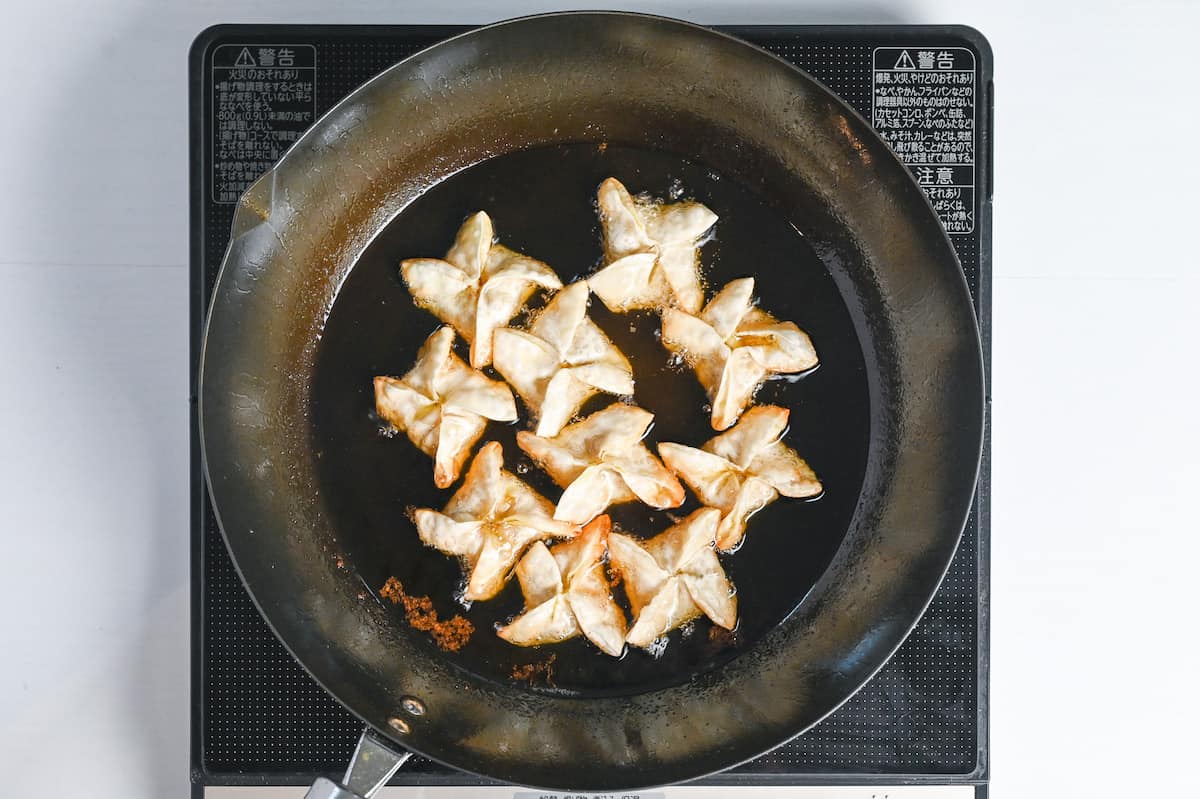
Step 9: Heat enough frying oil in a suitable pot or deep pan to 170 °C (338 °F). Once hot, carefully add an uncrowded batch of fresh chilled gyoza from step 8 and fry the first side for about 2 minutes. Keep the remaining raw dumplings refrigerated.
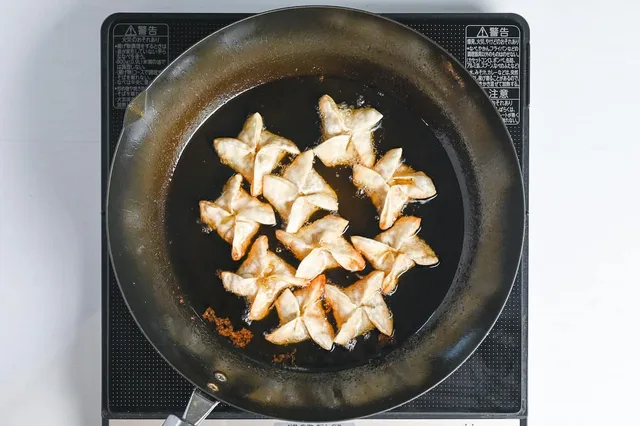
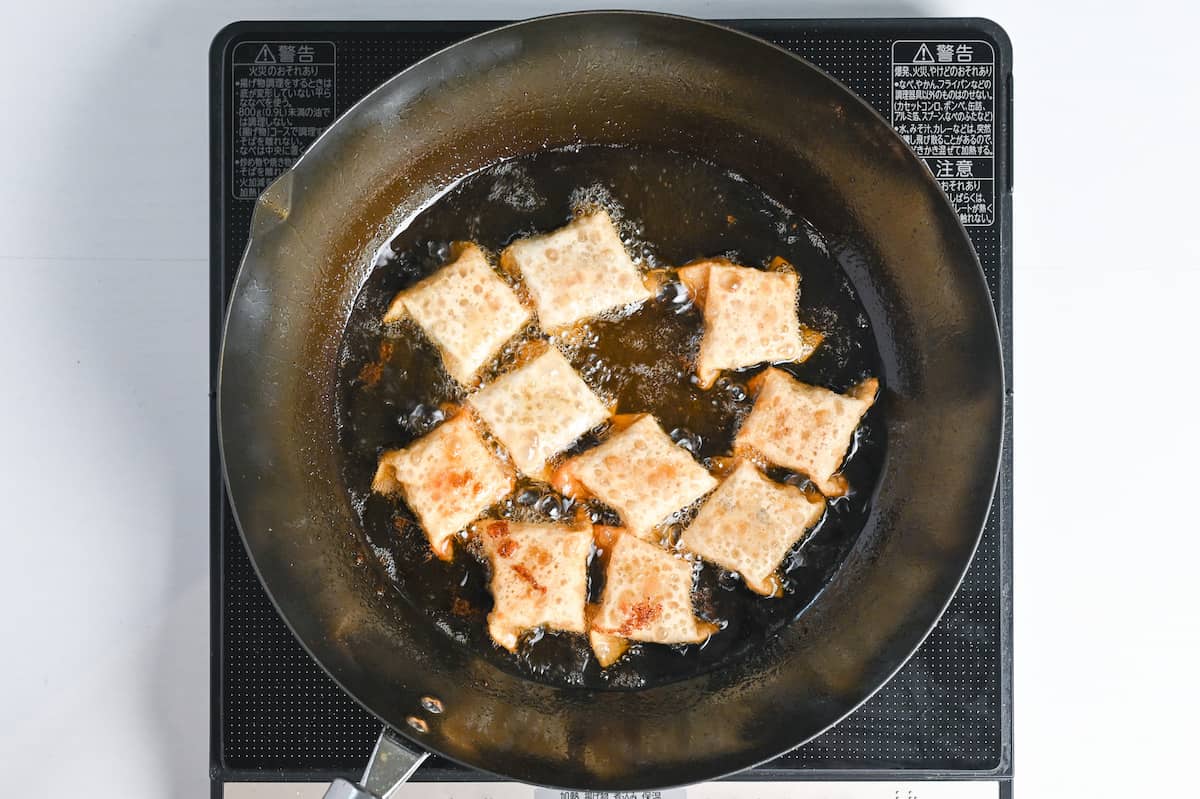
Step 10: Turn the same batch from step 9 and fry the second side for about 2 minutes, until crisp and golden. Continue if needed until the filling is fully cooked and the center reaches 71 °C (160 °F).
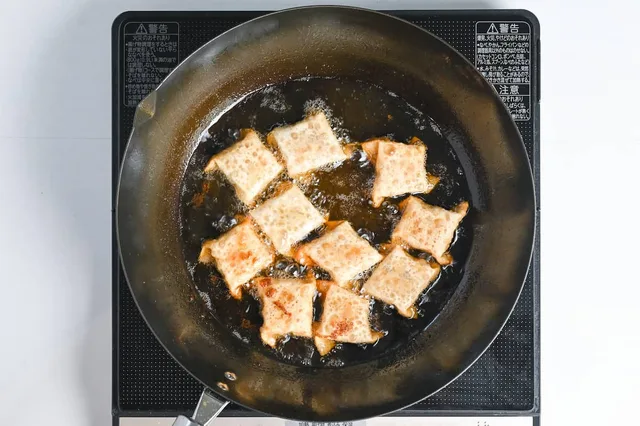
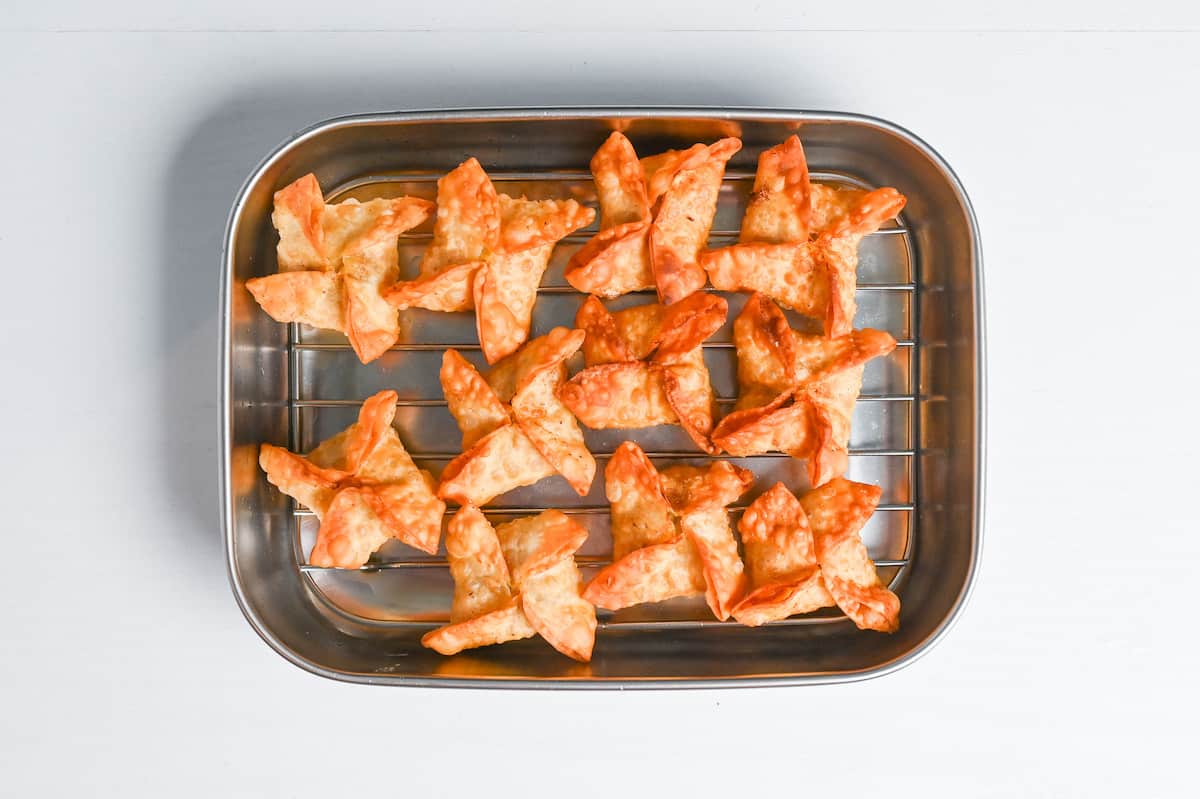
Step 11: Lift the cooked gyoza from step 10 onto a wire rack to drain. Return the oil to 170 °C and repeat steps 9–11 in uncrowded batches with the remaining shaped gyoza from step 8.
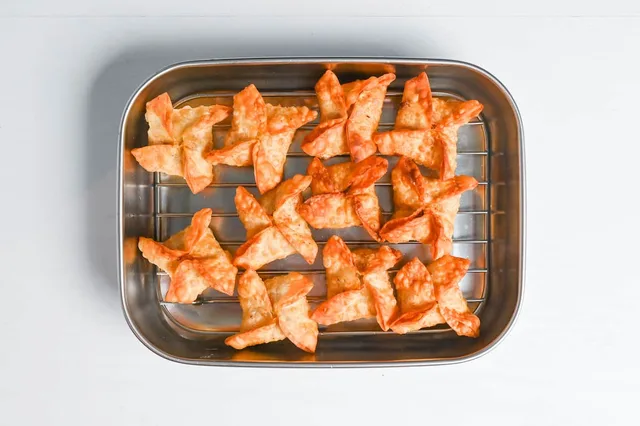
Step 12: Serve the hot, drained gyoza from step 11 with ready ponzu sauce for dipping.
Photos (1)
Comments
0 threadsSign in to join the discussion.


No comments yet. Start the discussion.