
Chinese · Noodles
How to Make Liangpi
From the zcook collection
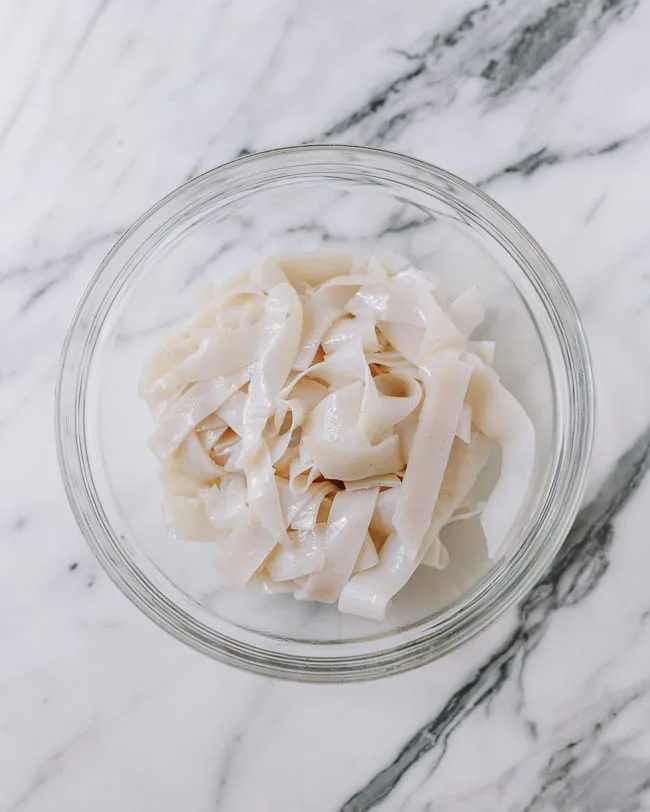
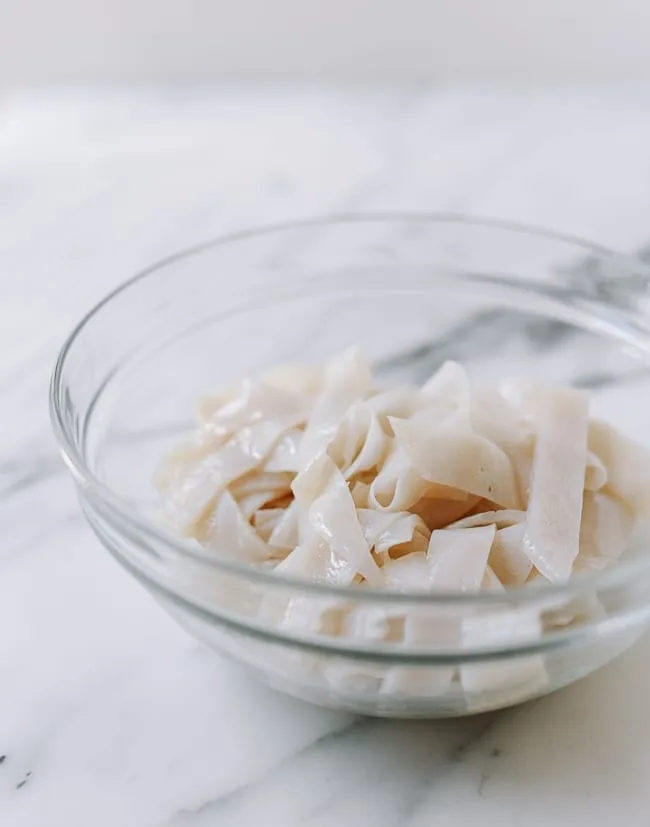
Homemade Shaanxi-style liangpi noodles made by washing a flour dough, settling its starch and steaming thin sheets. The same batch also produces cooked wheat gluten for serving.
- Vegan
- Dairy-free
- Chinese
- Shaanxi
- Liangpi
- Noodles
- Wheat gluten
- Prep
- 1 hr 30 min
- Cook
- 1 hr
- Serves
- Approximately 6 portions of plain noodles and wheat gluten
- Level
- Hard
- Energy
- 273 kcal
Method19 steps
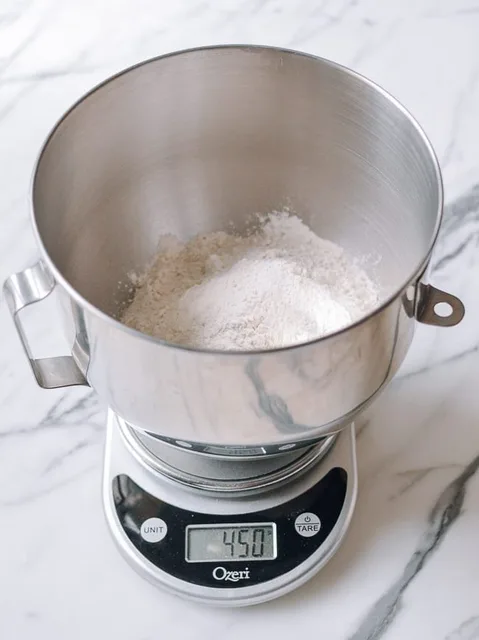
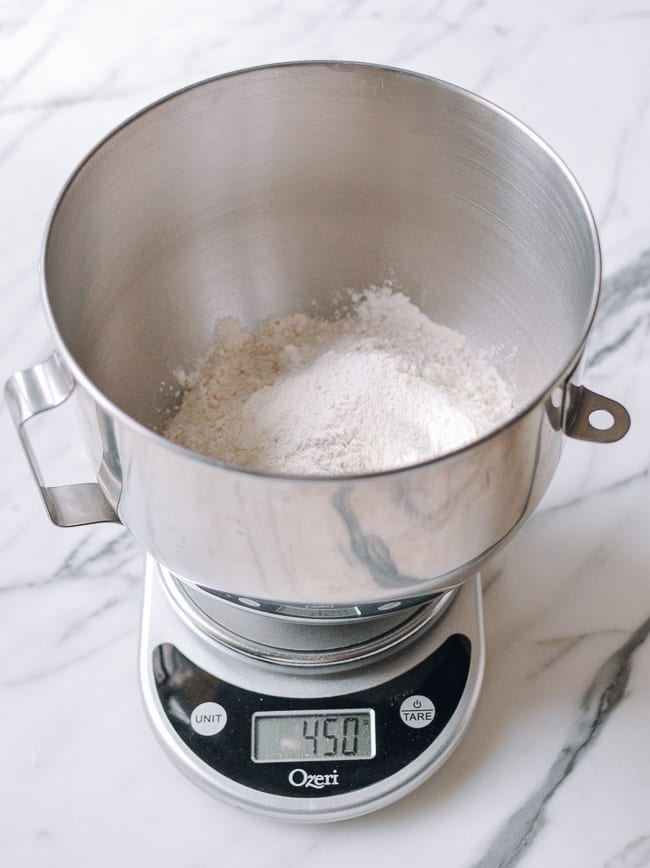
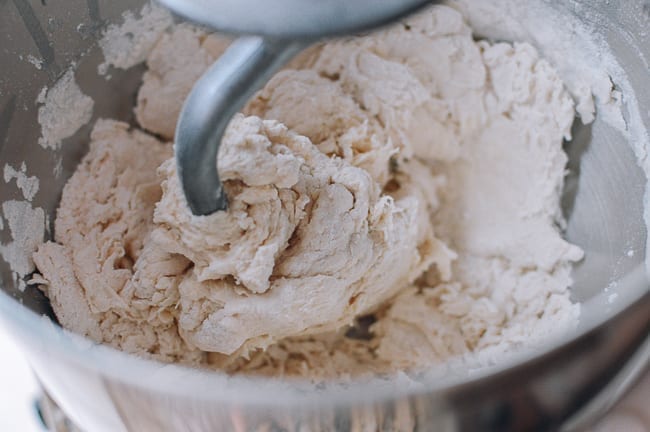
Step 1: Combine the weighed 450 g flour and 4 g dough salt in a large bowl, or a stand-mixer bowl fitted with a dough hook. Gradually add the 250 g dough water, mixing by hand or on the mixer’s lowest setting until a shaggy dough forms.
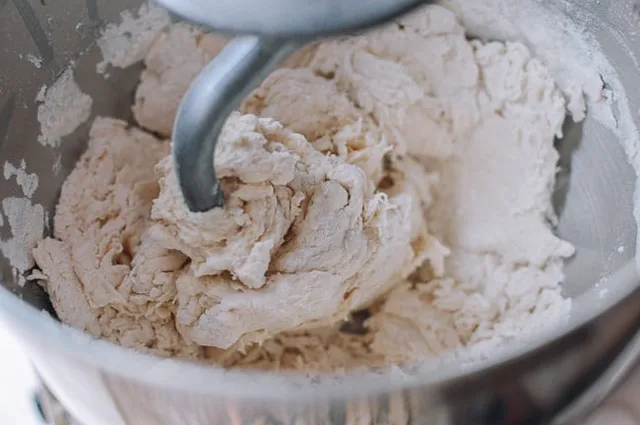
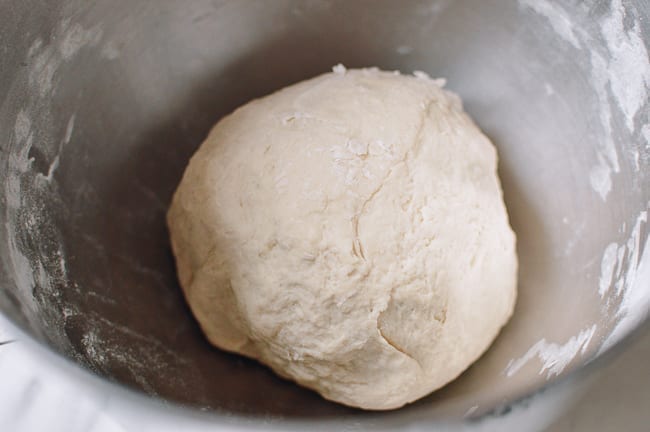
Step 2: Knead the dough for about 3 minutes, until it forms a relatively firm, cohesive ball. Cover and rest for 10 minutes; start the rest timer after kneading.
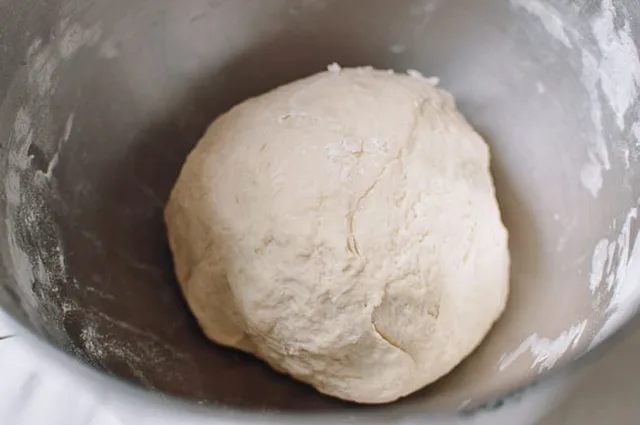
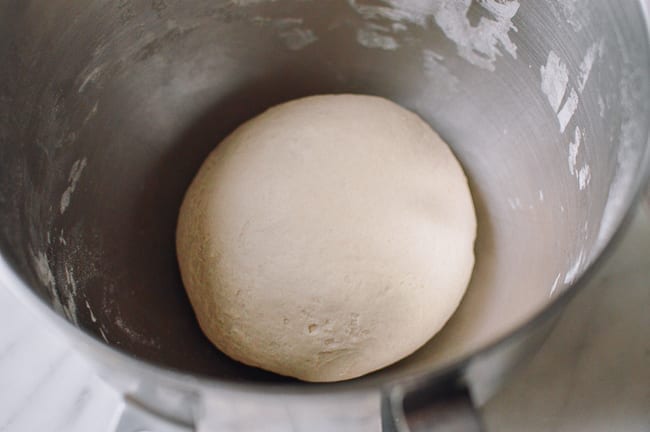
Step 3: Knead the rested dough again by hand for about 1 minute, until it forms a smooth ball.
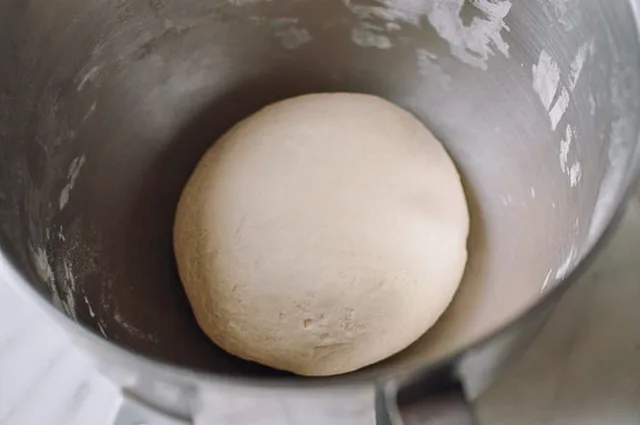
Step 4: Cover the smooth dough and rest for 30 minutes.
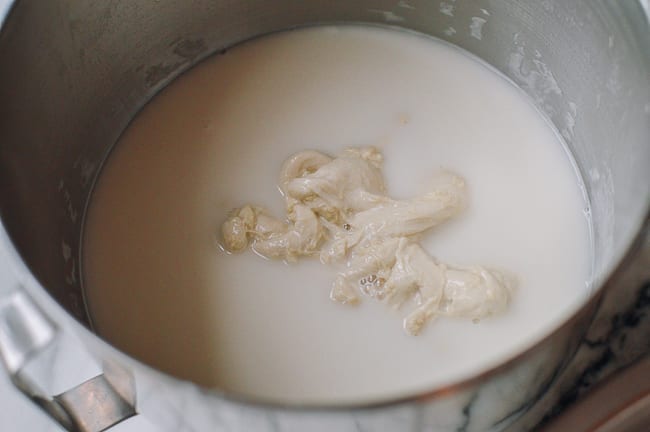
Step 5: Add 3 cups of washing water to the rested dough. Push the dough down until fully submerged and soak for 5 minutes.
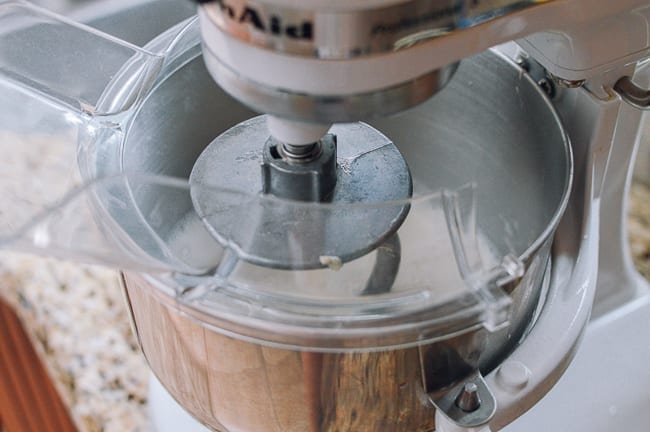
Step 6: Keeping the dough in its soak water, squeeze and stretch it between your fingers until it loses its shape and the water is opaque white, about 2–3 minutes. Alternatively, use the dough hook at the lowest setting for about 2 minutes with the splash guard in place. The first wash can splash, so doing it by hand is a useful option.
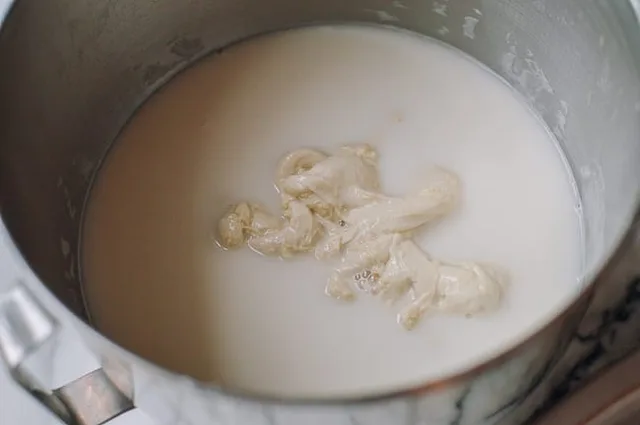
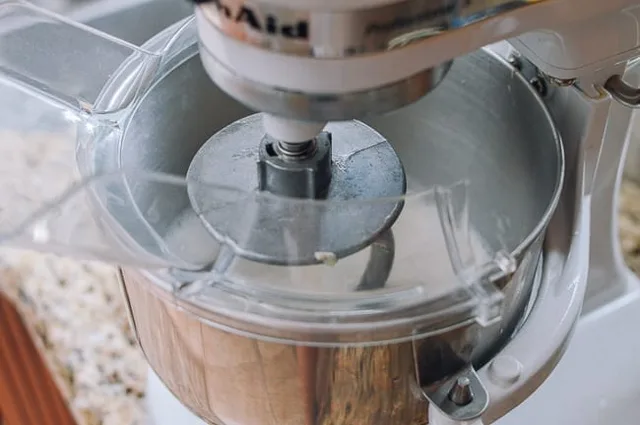
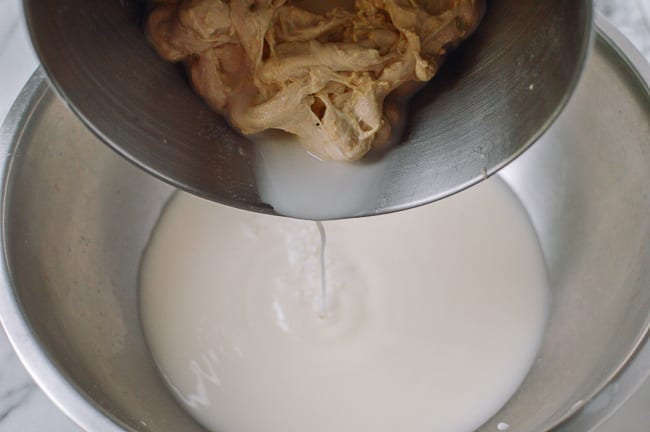
Step 7: Pour the first milky starch liquid into a separate large collection bowl, keeping the dough in the mixing bowl. Add 2 cups fresh washing water and wash for about 3 minutes. Strain the milky liquid into the same collection bowl, retaining the dough pieces. Repeat once with another 2 cups fresh water and another 3-minute wash. You have now completed three washes.
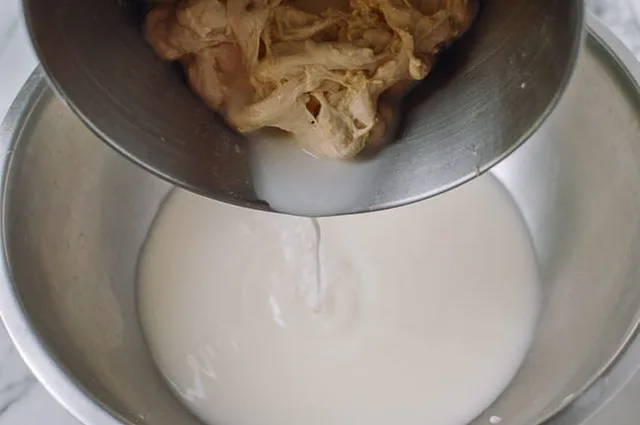
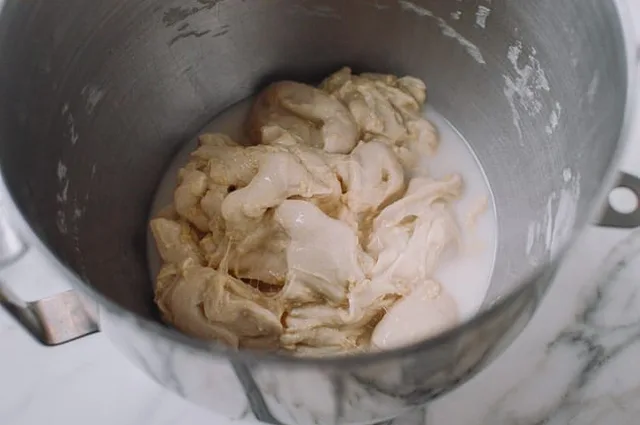
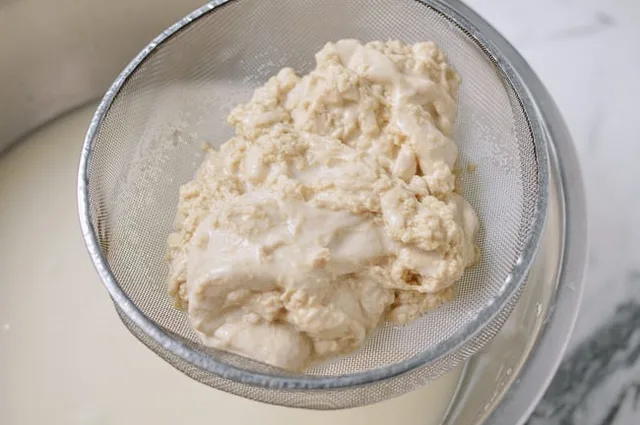
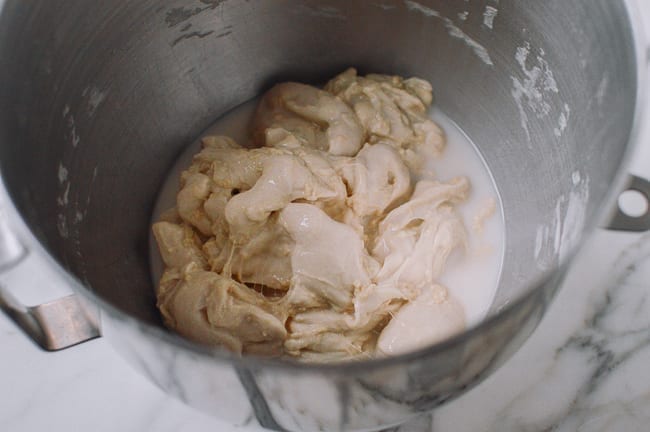
Step 8: Add 1 cup fresh washing water to the retained dough and massage for about 4 minutes. Strain and collect the milky water, retaining the dough. Repeat twice more, each time using 1 cup fresh water and about 4 minutes of washing, for six washes in total. If using a mixer, you may increase its speed one notch now that there is less water; squeeze the dough between your fingers after each wash to release more starch.
Step 9: Add 1 cup fresh washing water and wash by hand for a few minutes to squeeze out the last starch. Repeat this one or two more times with a fresh cup of water each time, until the water is mostly clear and the gluten comes together into a ball. Keep any still-milky liquid with the collected starch; discard the final water when it is mostly clear.
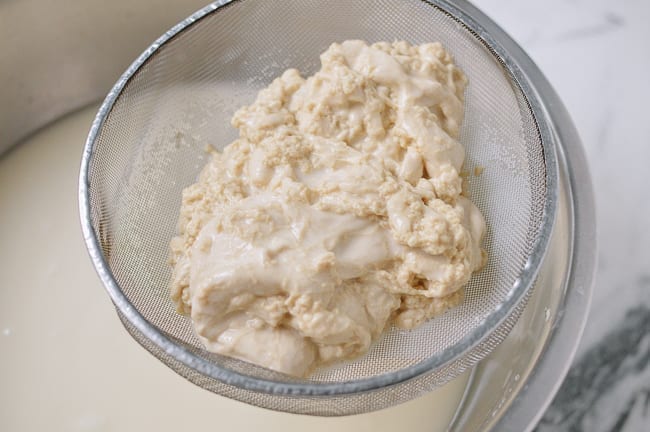
Step 10: Put the gluten ball in a separate covered bowl and refrigerate for at least 2 hours to relax; keep it covered so it does not dry out. Strain all the collected milky starch liquid through a fine-mesh strainer into another large bowl, removing any dough solids.
Step 11: Refrigerate the strained starch liquid for at least 6 hours, or overnight, without disturbing it. Wait for the starch to settle fully at the bottom; the minimum settling time cannot be shortened.
Step 12: After the resting and settling waits, bring the steamer water to a boil. Place the relaxed gluten in the steamer and steam for 30 minutes with steady steam, starting the timer when steaming resumes. Set the cooked gluten aside to cool while making the noodle sheets.
Step 13: While the gluten steams, carefully pour off the clear water above the settled starch, leaving the thick white layer at the bottom. Scrape that hydrated starch up with a spoon or ladle and stir until completely homogeneous, with no lumps. Weigh out 300 g of this mixture into a separate bowl; keep the rest for later batches.
Step 14: Mix the first 300 g hydrated-starch portion with the separate 2 g batter salt and 150 ml fresh batter water until evenly combined.
Step 15: Bring the steamer water to a boil; a lidded wok with water can be used instead. Brush a light metal cake pan that fits inside it with a thin layer of vegetable oil. Stir the batter and pour in only enough to cover the pan’s bottom with a thin layer. Cover and steam for 90 seconds to 2 minutes, checking from 90 seconds and starting when steady steam resumes, until the thin sheet is cooked through.
Step 16: While the sheet steams, prepare a large bowl of cold water, adding the optional few ice cubes if needed to keep it cold. Carefully remove the hot pan and float its outside on the cooling bath without letting water into the pan. Cool until the sheet is safe to touch, about 1 minute. Brush its surface with a thin layer of oil, then carefully peel it from the pan with a rubber spatula and your hands.
Step 17: Continue with the remaining batter from this bowl. Before every pour, scrape up and stir in any starch that has settled so the batter is evenly mixed. Repeat the pan oiling, thin pouring, steaming and external cooling steps. Lightly oil each peeled sheet and stack the sheets so they do not stick together.
Step 18: When this batter bowl is empty, stir the reserved hydrated starch until homogeneous and weigh another 300 g portion. Mix it with 150 ml fresh water and repeat the sheet-making cycle. Continue until all the hydrated starch has been used. For a smaller final portion, weigh it and add water equal to half that weight: for water, the source uses 1 g = 1 ml. Expect about three batches, depending on the measured hydrated-starch yield.
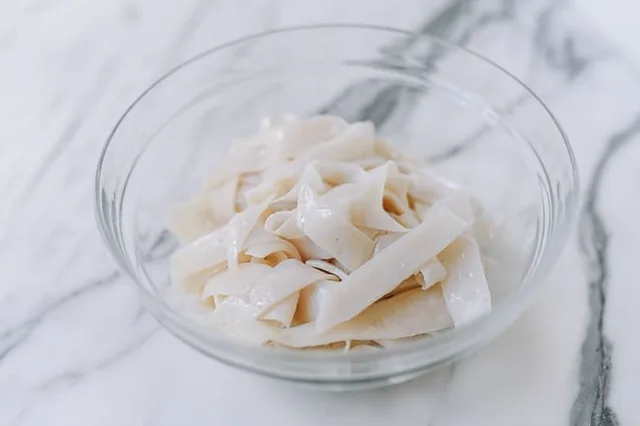
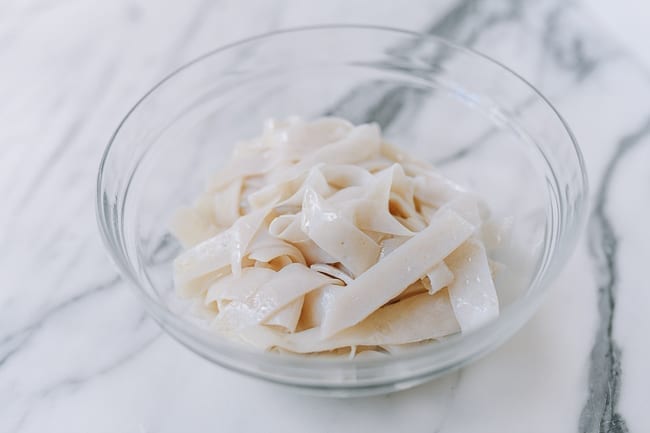
Step 19: Once the sheets and steamed gluten have cooled, slice and separate the noodles and slice the gluten. This makes approximately six portions of plain liangpi noodles and wheat gluten; dress them using a separate recipe if desired. Put leftover plain noodles in a tightly covered airtight container in the refrigerator and use within the author’s 2–3-day limit so they do not dry out.
Photos (2)
Comments
0 threadsSign in to join the discussion.
No comments yet. Start the discussion.