
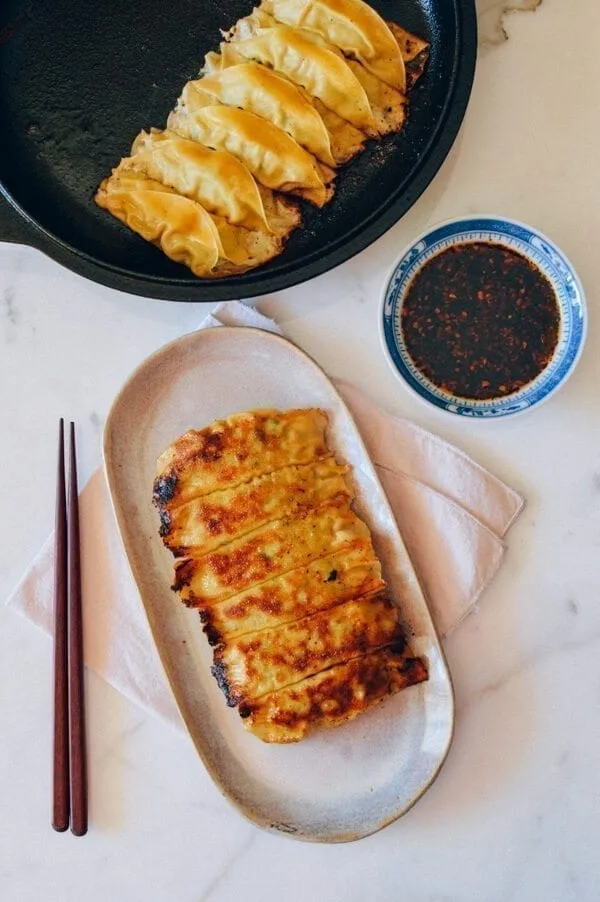
Chinese · Appetizers and Snacks
Pork and Cabbage Potstickers
From the zcook collection
Open-ended egg-wrapper potstickers with finely chopped pork, napa cabbage and leeks, cooked in pan batches until crisp beneath and fully cooked inside.
- Dairy-free
- Chinese
- Appetizers and Snacks
- pork and cabbage potstickers
- Prep
- 25 min
- Serves
- About 6 dozen potstickers; six portions
- Level
- Medium
- Energy
- 401 kcal
Method9 steps
Step 1: Measure all 3 cups shredded napa cabbage and ½ cup chopped leeks. Beat the one egg, then reserve about 1 tbsp in a separate small cup for sealing the potstickers; keep the remaining beaten egg separate for the filling. Keep the egg portions refrigerated until needed and have the ground pork and seasonings ready.
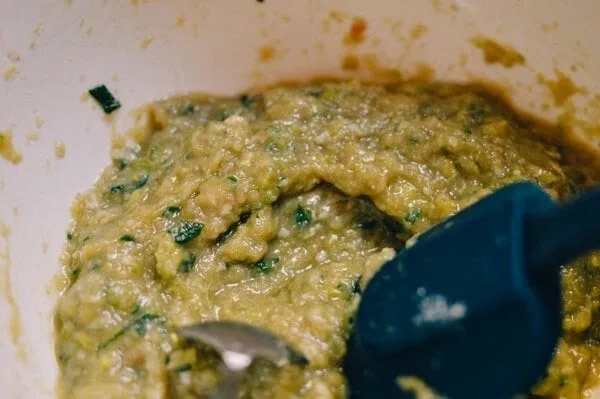
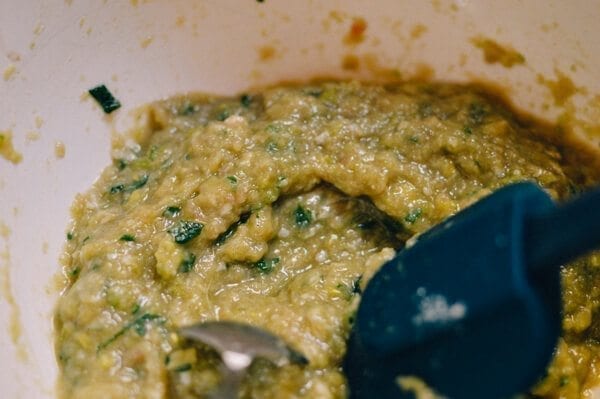
Step 2: Put all the measured napa cabbage and chopped leeks from step 1 and all 8 oz ground pork into a food processor. Pulse just until very finely chopped, stopping to check the texture before it becomes a smooth paste. Transfer to a mixing bowl. Add all the remaining beaten egg from step 1, keeping its separate sealing reserve untouched, then add 1 tbsp sesame oil, 1 tsp soy sauce, ¾ tsp salt, ¼ tsp sugar and ⅛ tsp ground white pepper. Stir until thoroughly combined. Keep the raw filling refrigerated while working with portions.
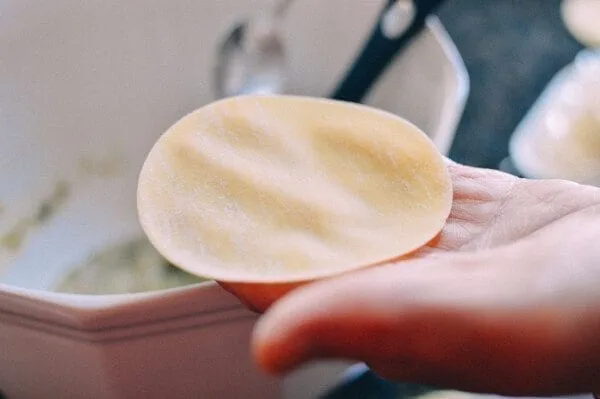
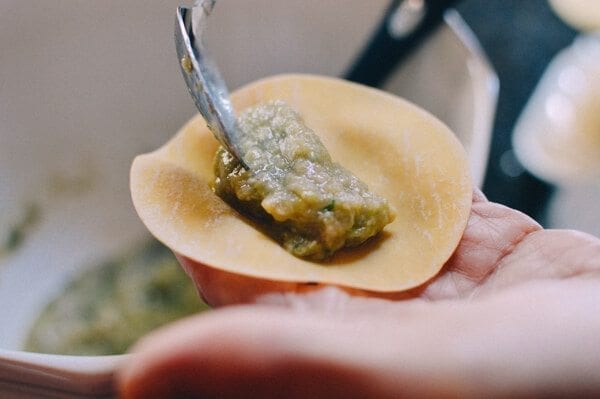
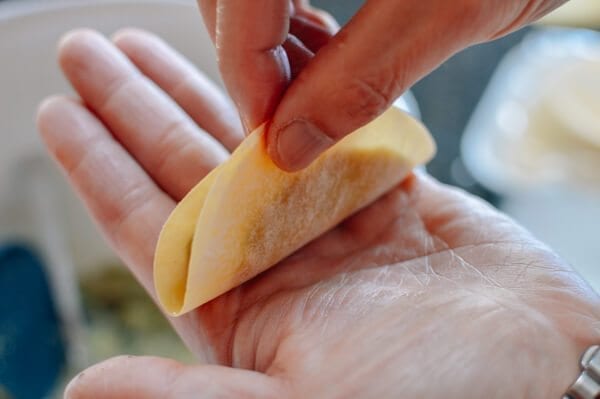
Step 3: Work with one yellow round egg wrapper at a time. Place about 2–3 tsp of the filling from step 2 in its middle. Brush a little of the separate reserved egg from step 1 along the top edge, fold in half and pinch just the top closed, leaving the two side ends open. Keep the formed pieces apart. Make only as many as the wrappers and filling allow; refrigerate any unused raw filling and wrappers in separate covered containers for prompt later use.

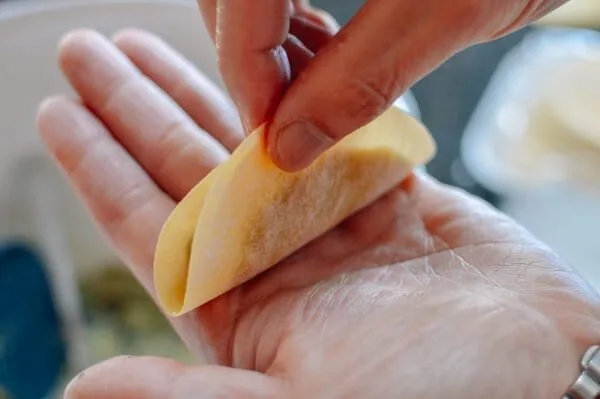

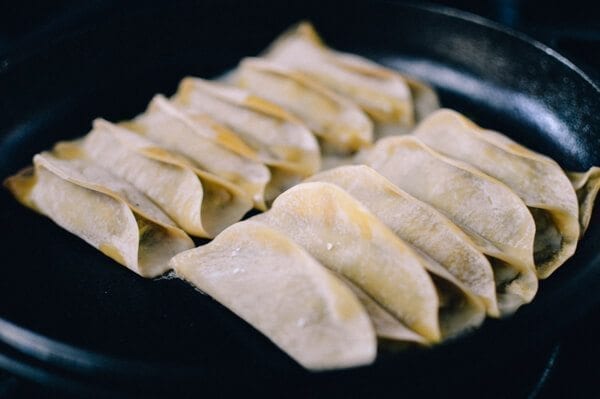
Step 4: Add 2 tbsp vegetable oil to a non-stick or cast-iron pan over medium heat. Place a first batch of the formed potstickers from step 3 in a single layer with a little space between them. Once they sizzle, have the lid ready, carefully pour ¼ cup water down the side of the pan and cover immediately. Cook covered for about 3 minutes, watching that the pan does not burn. If it dries before the filling cooks, carefully add a little more water and continue covered as needed.
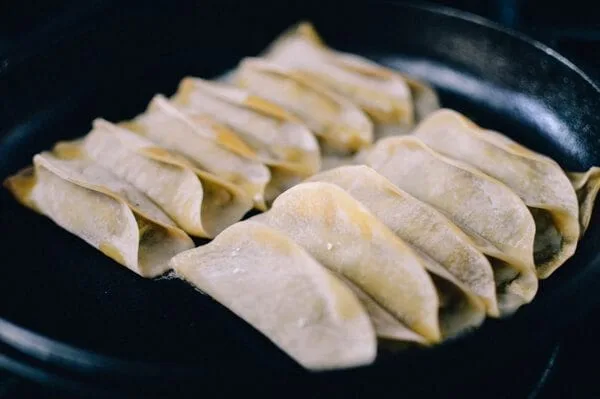
Step 5: Uncover the first pan batch from step 4. Cook over medium heat for about 1–2 minutes, checking from 1 minute, until all water has evaporated and the bottoms are crisp and release from the pan. Check that the pork-and-egg filling reaches at least 71°C; if necessary, add a little water, cover and continue cooking, then uncover again to finish crisping.
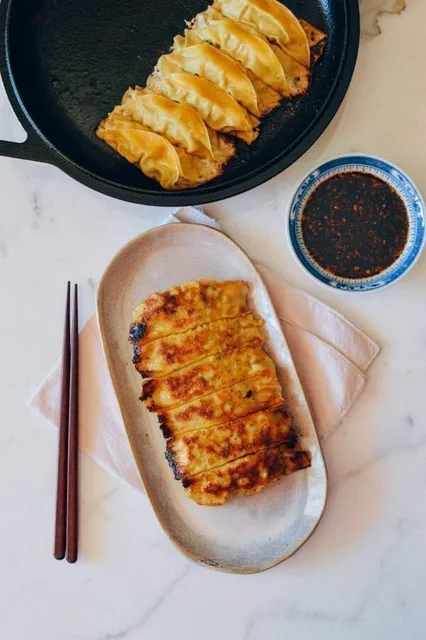
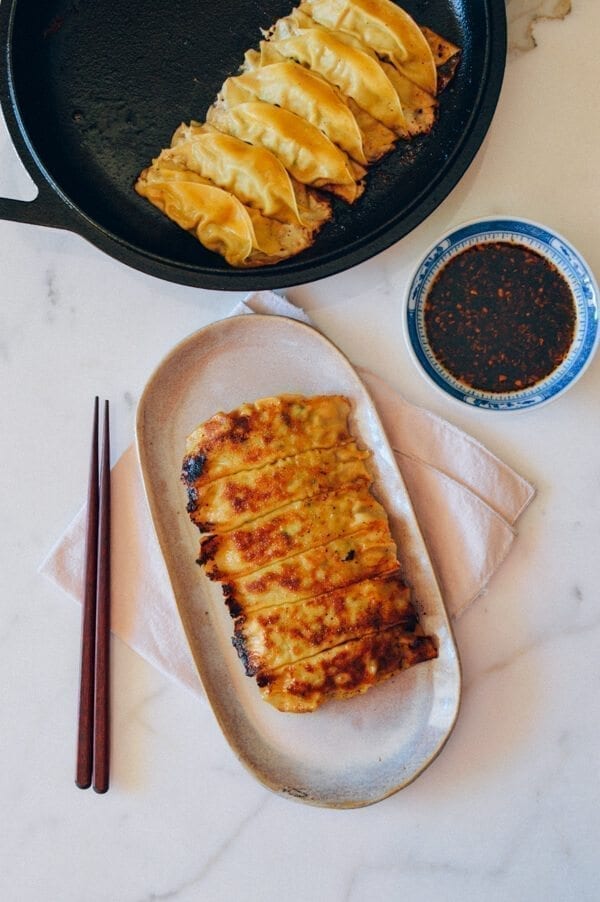
Step 6: Use a spatula to lift the fully cooked first batch from step 5 out of the pan and turn it bottom-side up onto a clean plate, showing its crisp bases. Cook the remaining formed potstickers in the following pan-batch steps.
Step 7: For the next batch, use 2 tbsp vegetable oil in the pan over medium heat and add only as many remaining formed potstickers from step 3 as fit in one spaced layer. Once they sizzle, carefully add ¼ cup water and cover immediately. Cook covered for about 3 minutes, checking the pan and adding a little more water only if it dries before the filling cooks.
Step 8: Uncover the batch from step 7 and cook for about 1–2 minutes, checking from 1 minute, until all water evaporates, the bottoms crisp and release and the filling reaches at least 71°C. Add a little water and continue covered if needed for the center to cook, then finish uncovered. Lift the cooked pieces onto a clean plate. Repeat steps 7–8 for each remaining pan batch, using the same per-pan oil and water doses.
Step 9: Serve the crisp first batch from step 6 and the remaining fully cooked batches from step 8 promptly, with purchased or separately prepared dumpling dipping sauce if desired. The approximate yield is about 6 dozen, depending on wrapper size and the amount of filling per piece.


Photos (1)
Comments
0 threadsSign in to join the discussion.


No comments yet. Start the discussion.