


Japanese · Dessert
Japanese Cheesecake
From the zcook collection
Japanese Cheesecake is unlike any other—light and cottony, with a signature jiggle. This soufflé cheesecake melts on your tongue: It's creamy and rich, yet airy enough to go back for a second slice. In this recipe, I walk you through every step, from beating the egg whites to the right peaks to cooling the cake slowly so it doesn’t crack or collapse.
- Vegetarian
- Japanese
- Dessert
- Just One Cookbook
- Prep
- 40 min
- Cook
- 1 hr 30 min
- Serves
- 1 cake (9 inches / 23 cm)
- Level
- Hard
Method23 steps
Step 1: Allow 1–2 hours for gradual cooling and at least 4–6 hours or overnight for refrigeration. Measure the ingredients accurately. To measure the cake flour (⅔ cup) by volume, fluff it with a spoon, spoon it gently into the measuring cup and level it off.
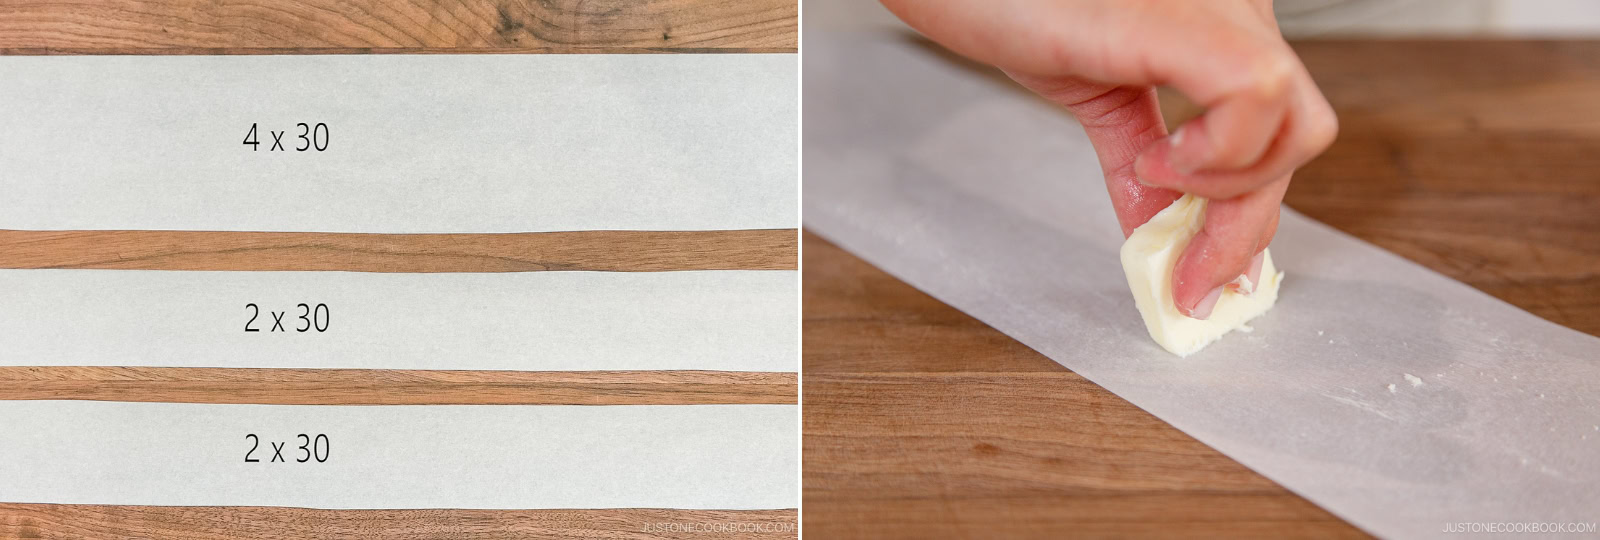
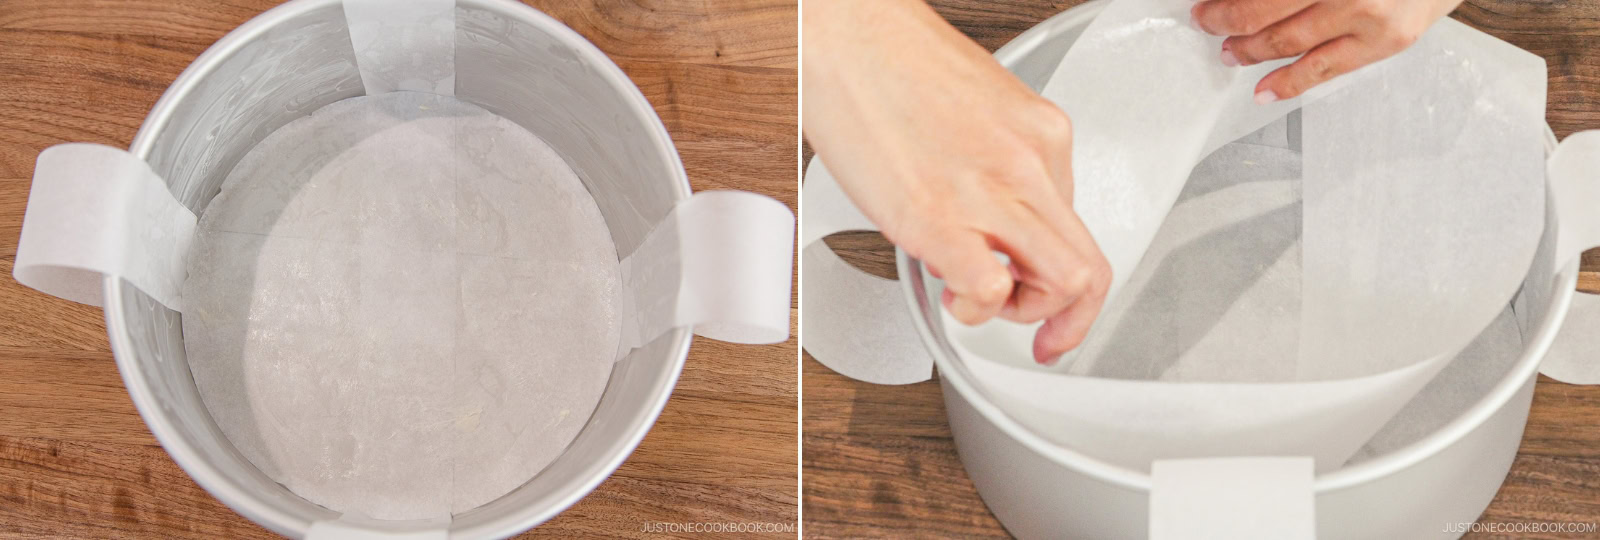
Step 2: Use a 9-inch (23-cm) x 4 inch (10 cm) cake pan. Cut one circle of parchment paper 9 inches (23 cm) in diameter (or use a 9-inch round parchment cake liner) and one rectangular strip 4 x 30 inches (10 x 76 cm). Cut two straps 2 x 30 inches (5 x 76 cm) each to use to lift the baked cake from the pan.

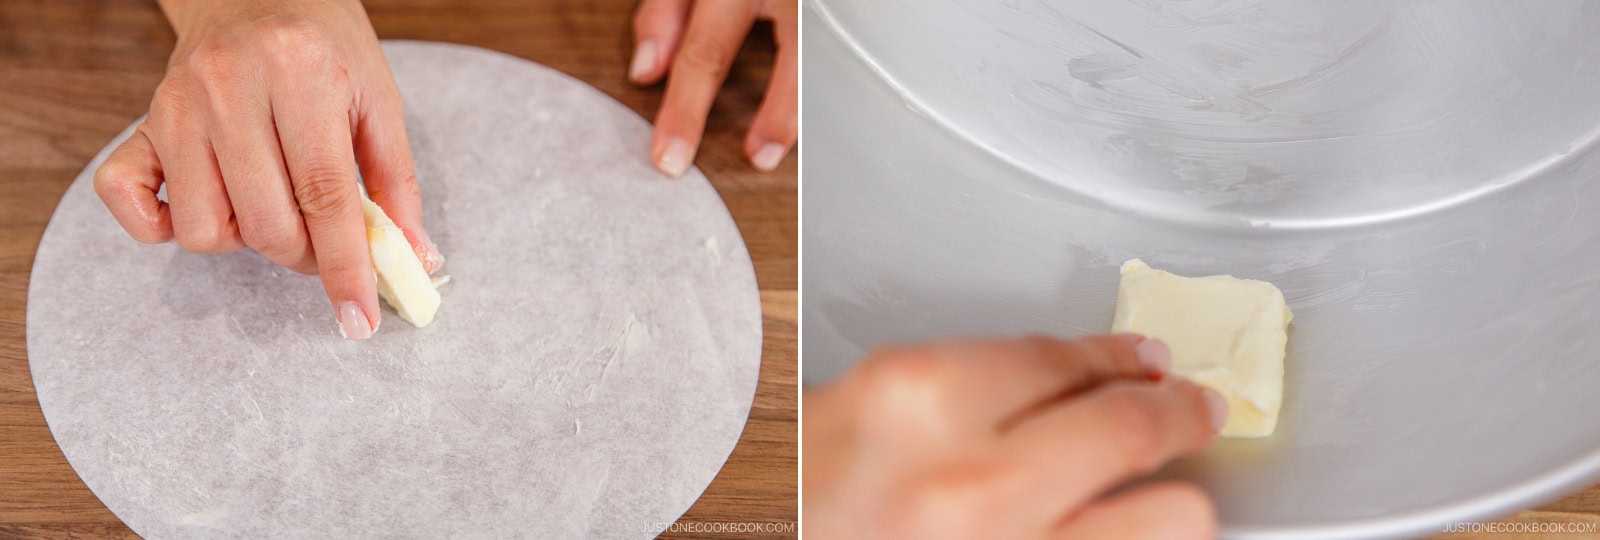
Step 3: Use 1 Tbsp unsalted butter to grease the cake pan and one side of the parchment paper circle and strip. You don‘t need to use all the butter.

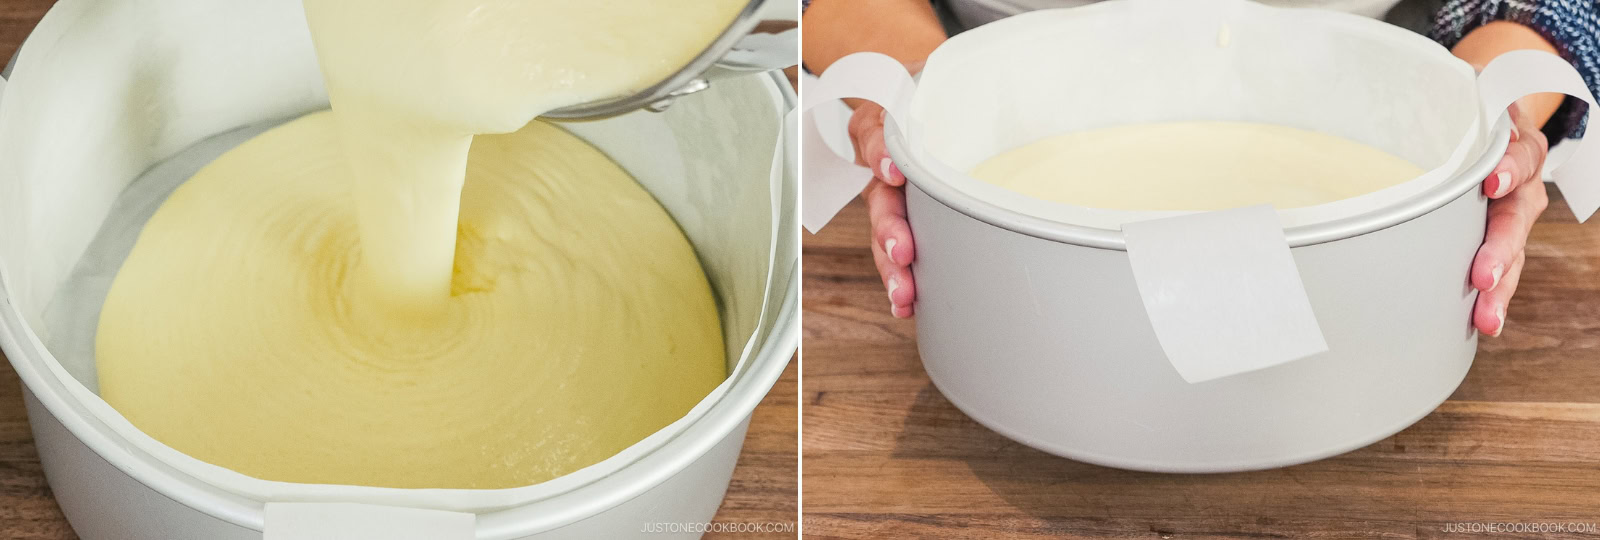
Step 4: Crisscross the two straps on the bottom of the pan to form an “X" and let the excess hang over the edges. Line the paper circle on the bottom and the strip on the sides, keeping the greased side touching the pan.

Step 5: Preheat the oven to 350ºF (180ºC). For a convection oven, reduce the temperature by 25ºF (15ºC). Note: You will be baking at 320ºF (160ºC), but we’ll preheat a bit higher because your oven will lose heat when you open it to place the cake pan inside.
Step 6: Set a medium saucepan with 2 inches (5 cm) of water over high heat for the double boiler. Bring it to a simmer, then cover and reduce the heat to maintain a steady simmer.
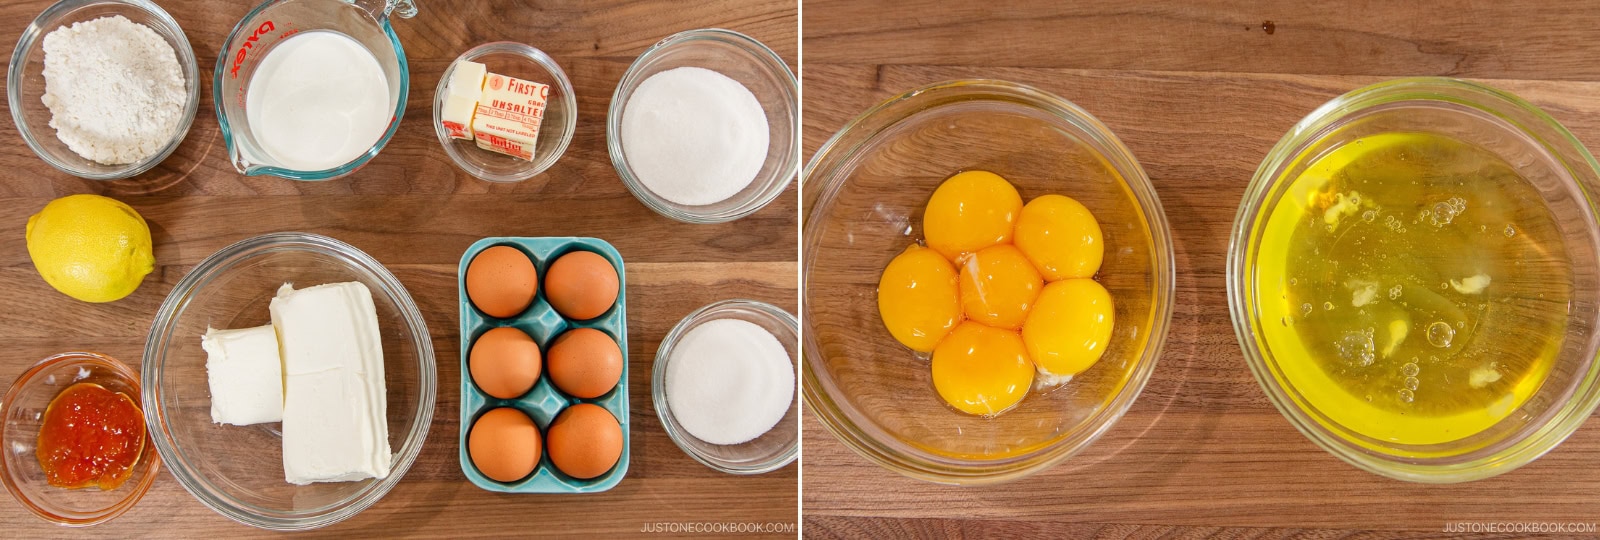
Step 7: Gather all the ingredients. Separate 6 large eggs (50 g each w/o shell) into egg yolks and whites. Place the egg whites in the refrigerator until ready to use. Nami's Tip: I highly recommend chilling a clean, dry stand mixer bowl in the fridge until you're ready to whip the egg whites.

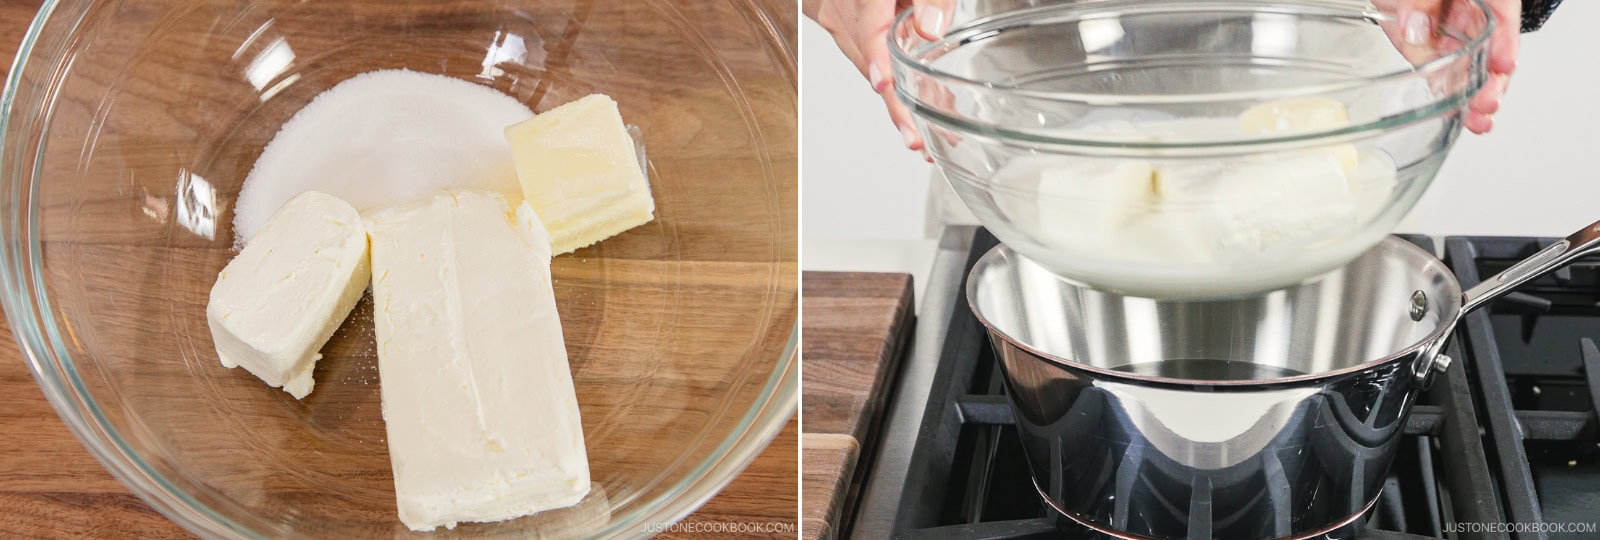
Step 8: Add 10.6 oz cream cheese, 4 Tbsp unsalted butter, 200 ml heavy (whipping) cream (200 ml), and 4½ Tbsp sugar to a large bowl and rest it on the saucepan above the simmering water. Nami's Tip: The double boiler will warm and soften the cream cheese and butter, so you don't need to bring them to room temperature ahead of time.
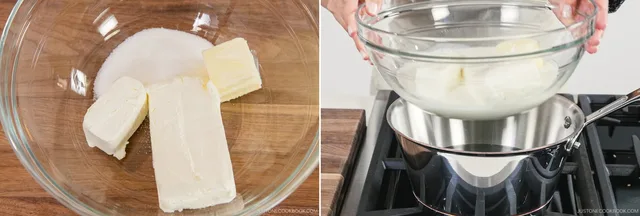
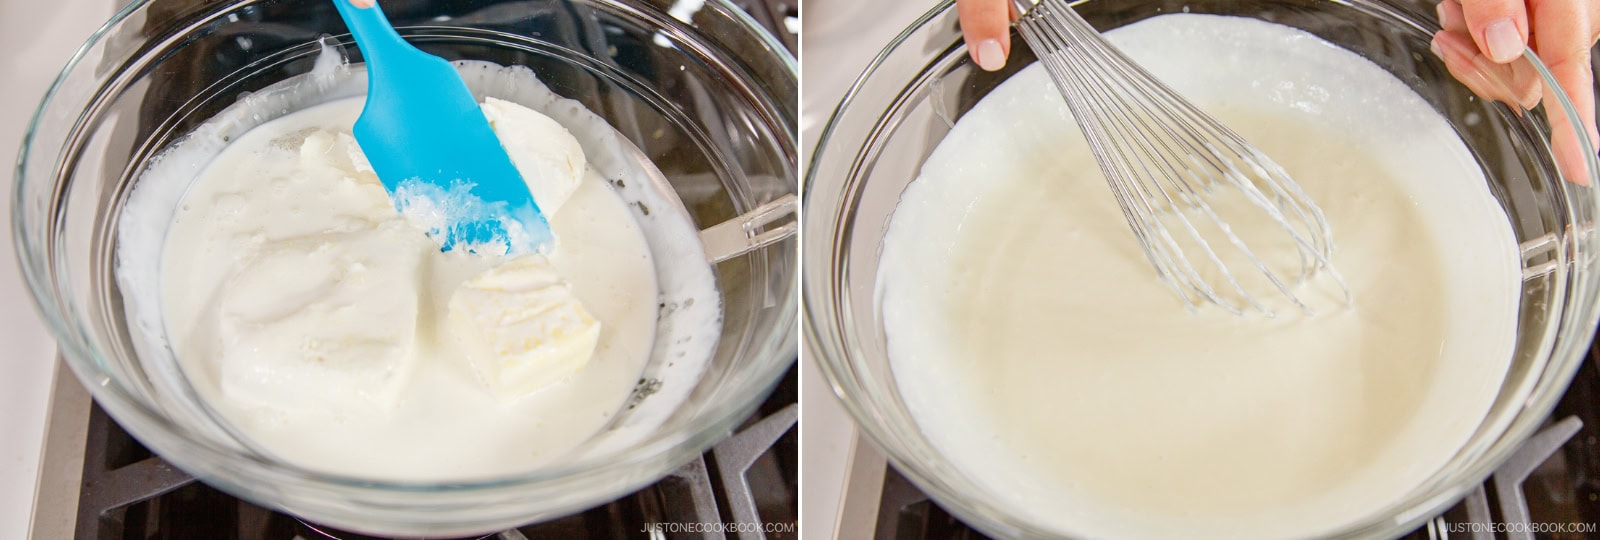
Step 9: Mash the cream cheese and butter with a silicone spatula until soft, then whisk the mixture until smooth and combined. Remove from the heat.

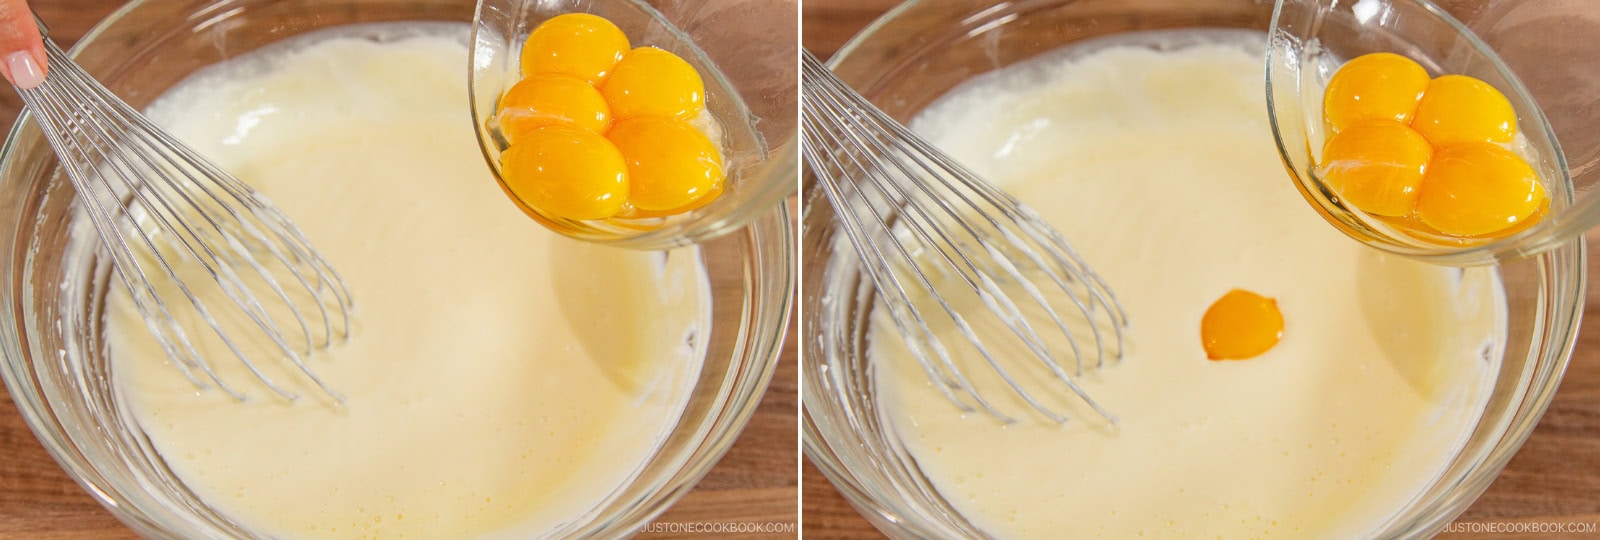
Step 10: Add the egg yolks one at a time, whisking each yolk into the cream cheese mixture until fully incorporated before adding the next.

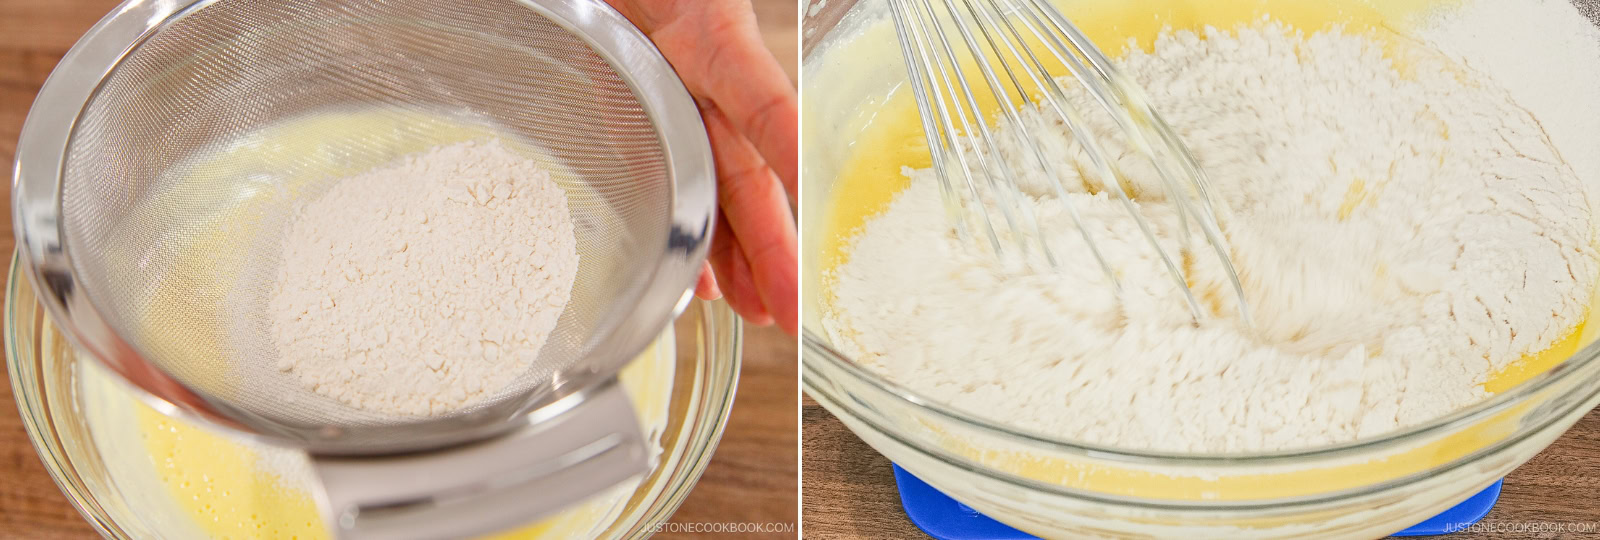
Step 11: Sift ⅔ cup cake flour into the batter with a fine-mesh strainer. Whisk until no dry streaks remain.

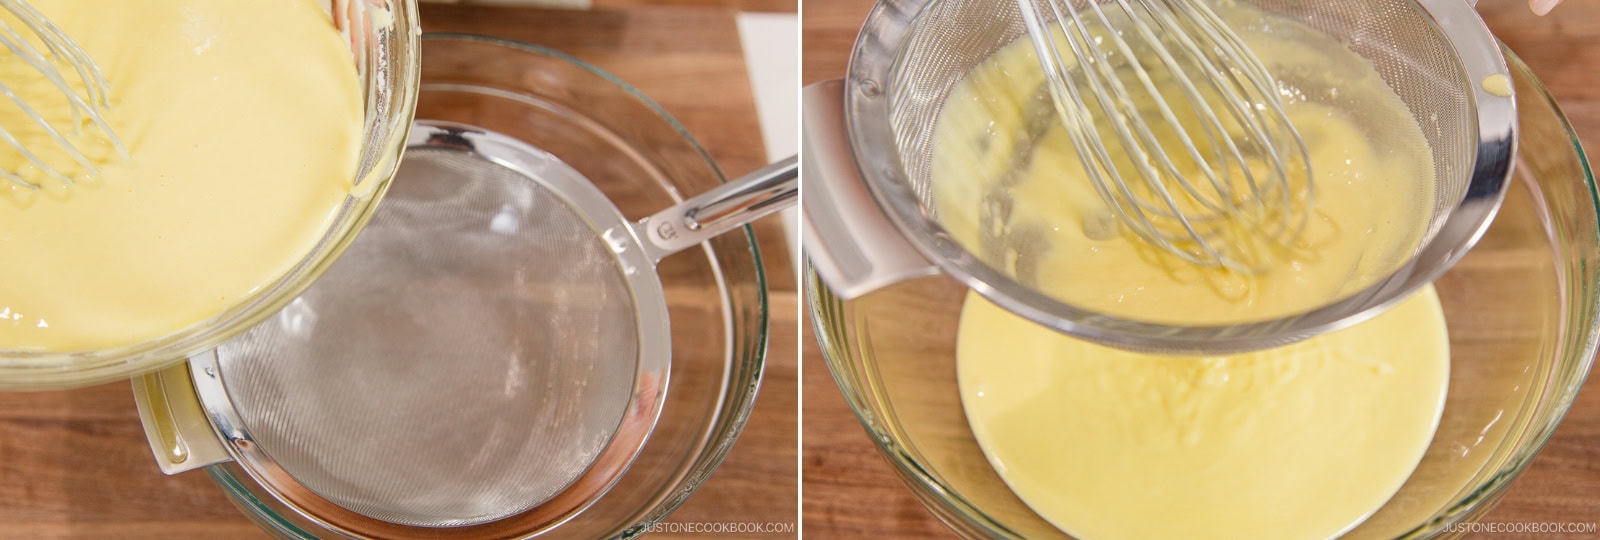
Step 12: Pass the batter through the strainer into a clean large bowl.

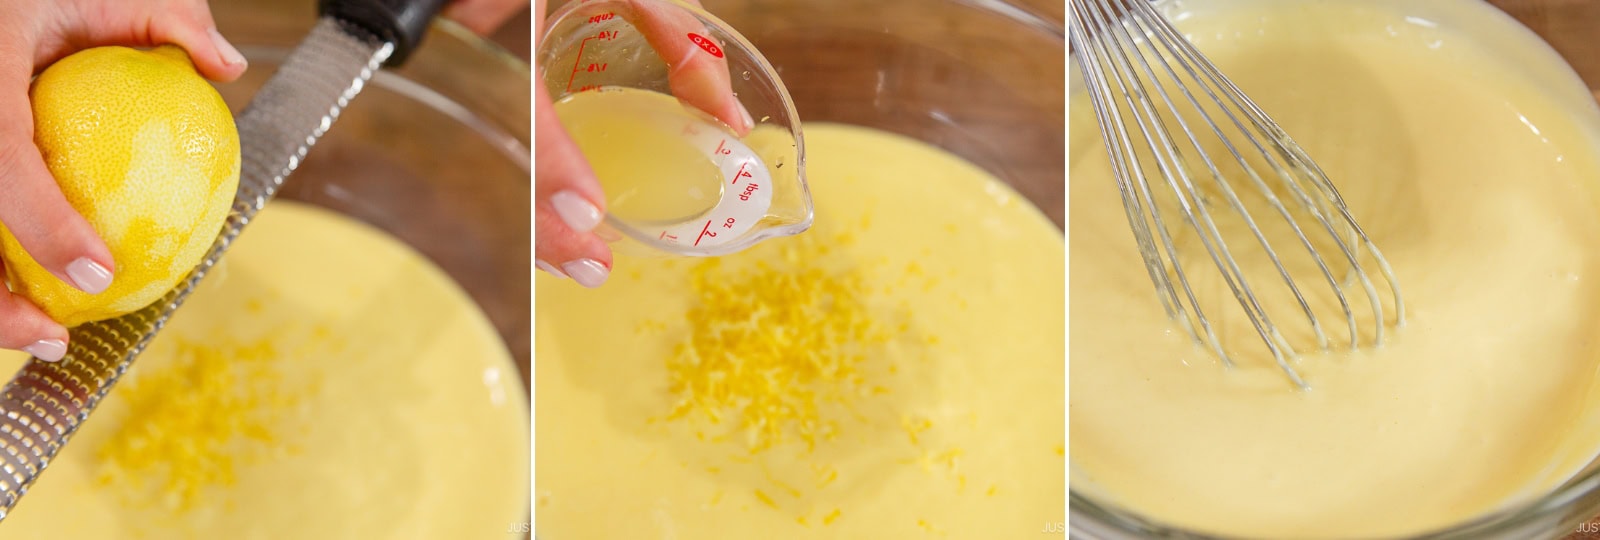
Step 13: Add the zest of ½ large lemon (outer yellow layer only, avoiding the white pith) and 2 Tbsp lemon juice and whisk to combine.

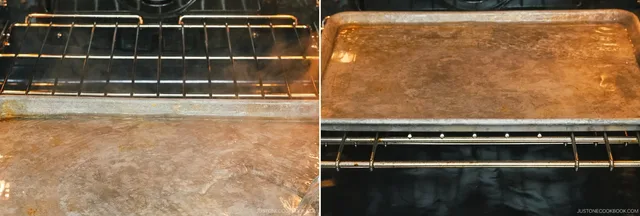
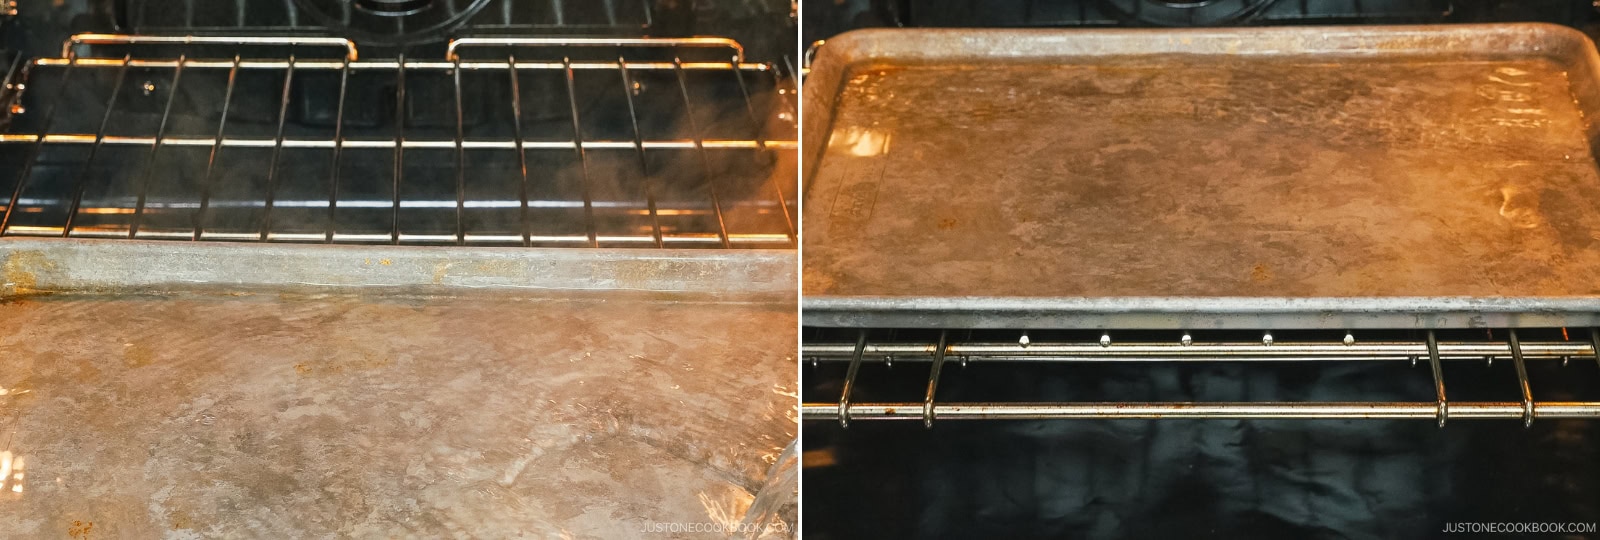
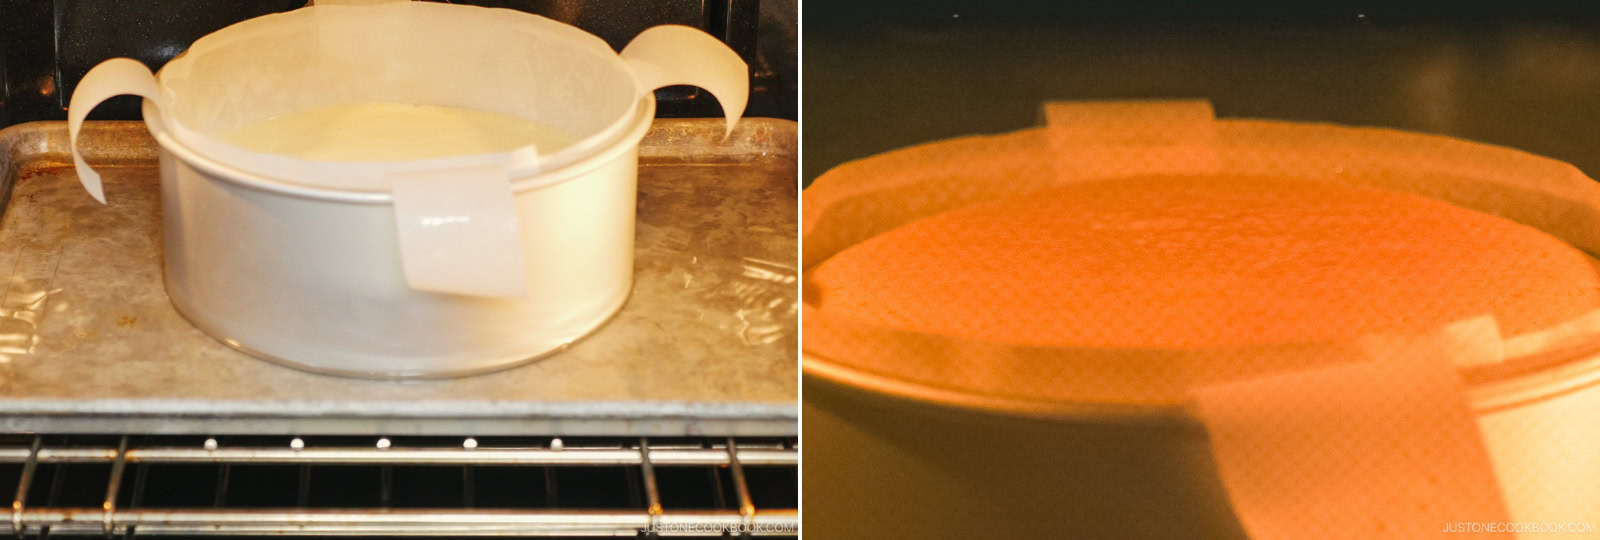
Step 14: Place a large rimmed baking sheet or shallow baking tray inside the preheating oven. Add hot water to a depth of ½ inch, staying below the tray rim, then close the oven door.
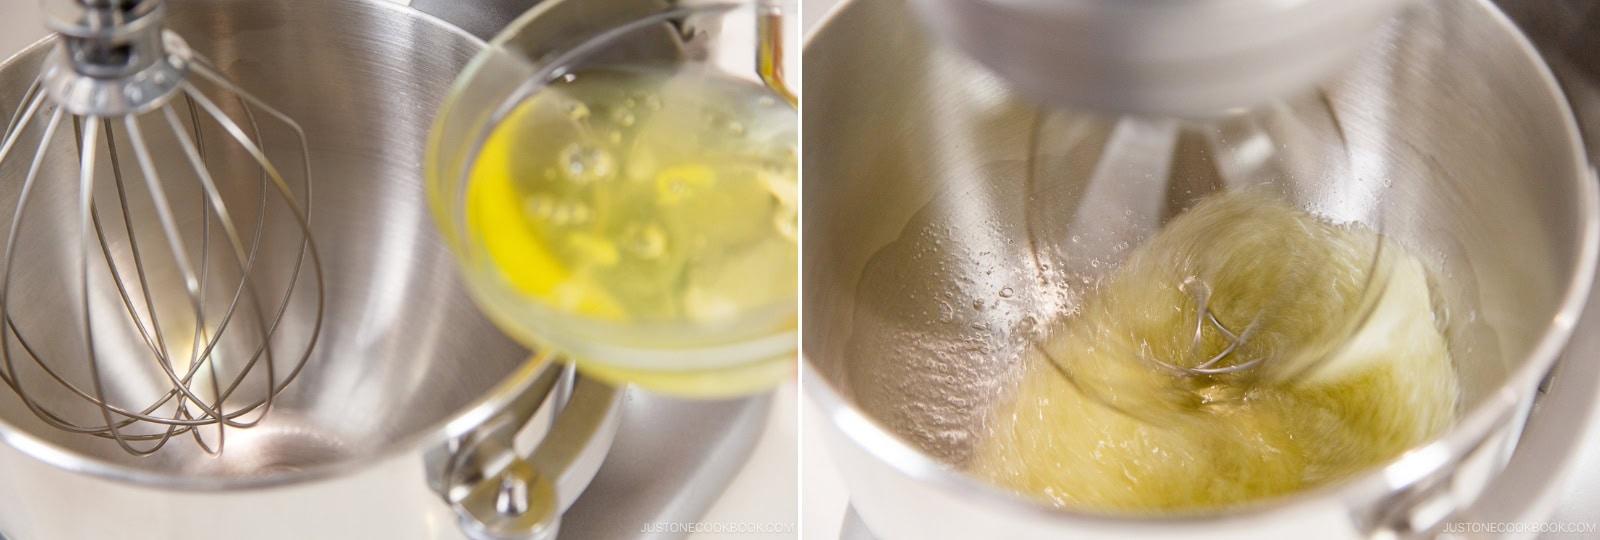
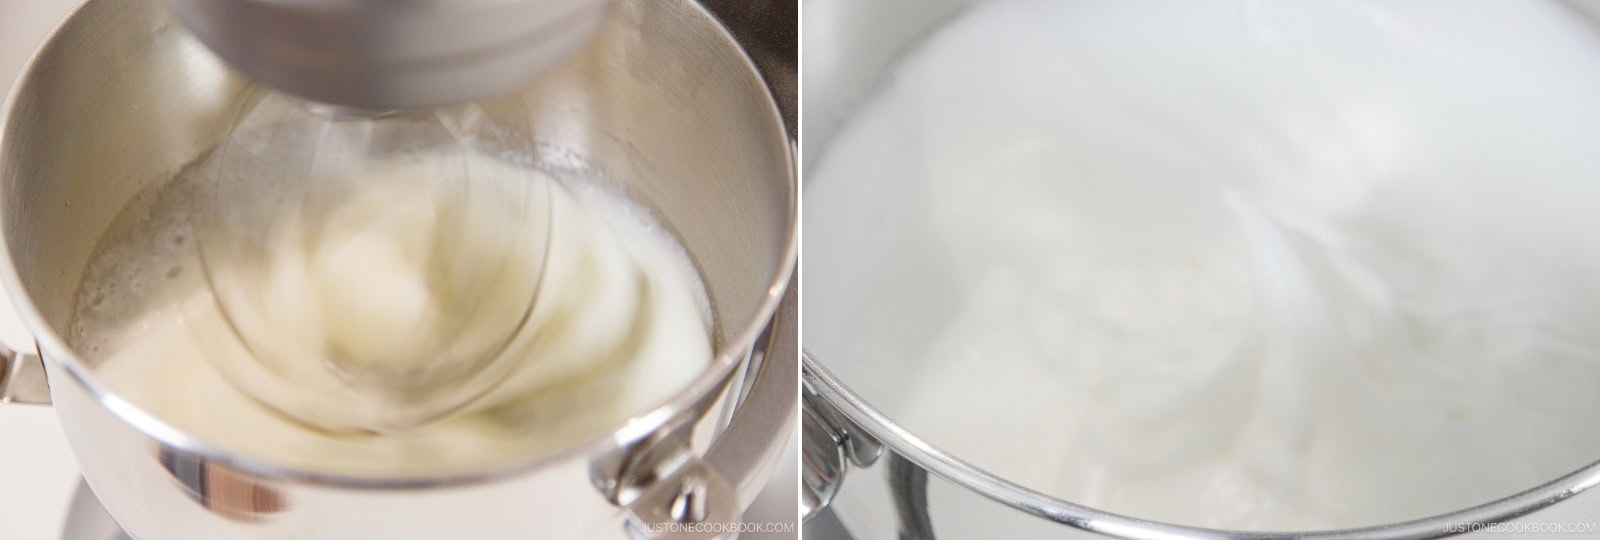
Step 15: Add the cold egg whites to the cold, dry, and clean stand mixer bowl. Start on low (Speed 2) for 30 seconds to break down the egg whites and loosen their structure. Increase to medium (Speed 4) for 2 minutes until they become opaque, foamy, and bubbly. Slowly add ½ cup sugar, one-third at a time, while mixing. Nami's Tip: Use a clean and dry mixing bowl and beaters. A speck of oil, water, or egg yolk can minimize the volume of the beaten whites. Avoid plastic bowls, as they may hold oily residue. Use a bowl that's wide enough to keep the beaters from being buried in the egg whites.

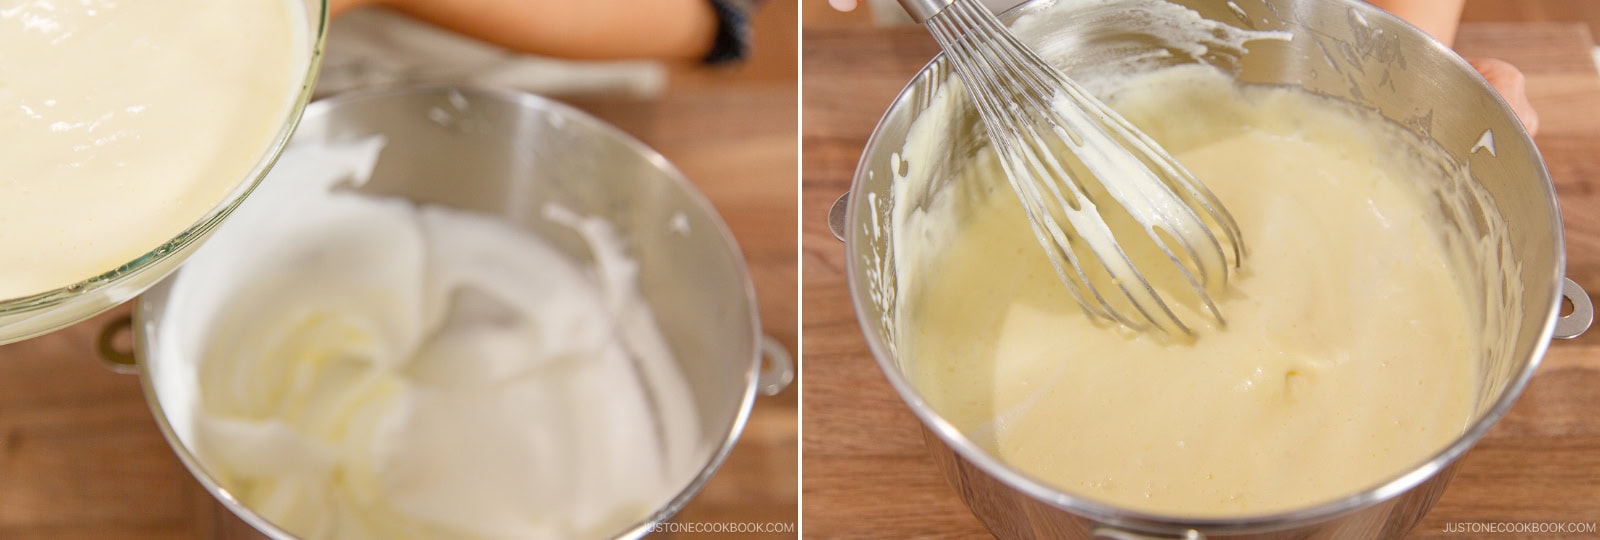
Step 16: Increase the speed to medium high (Speed 6–8) and beat the egg whites to firm peaks. Stop the mixer to check: When you lift the whisk upright, the egg whites should cling and hold their shape with the tip folding back on itself.

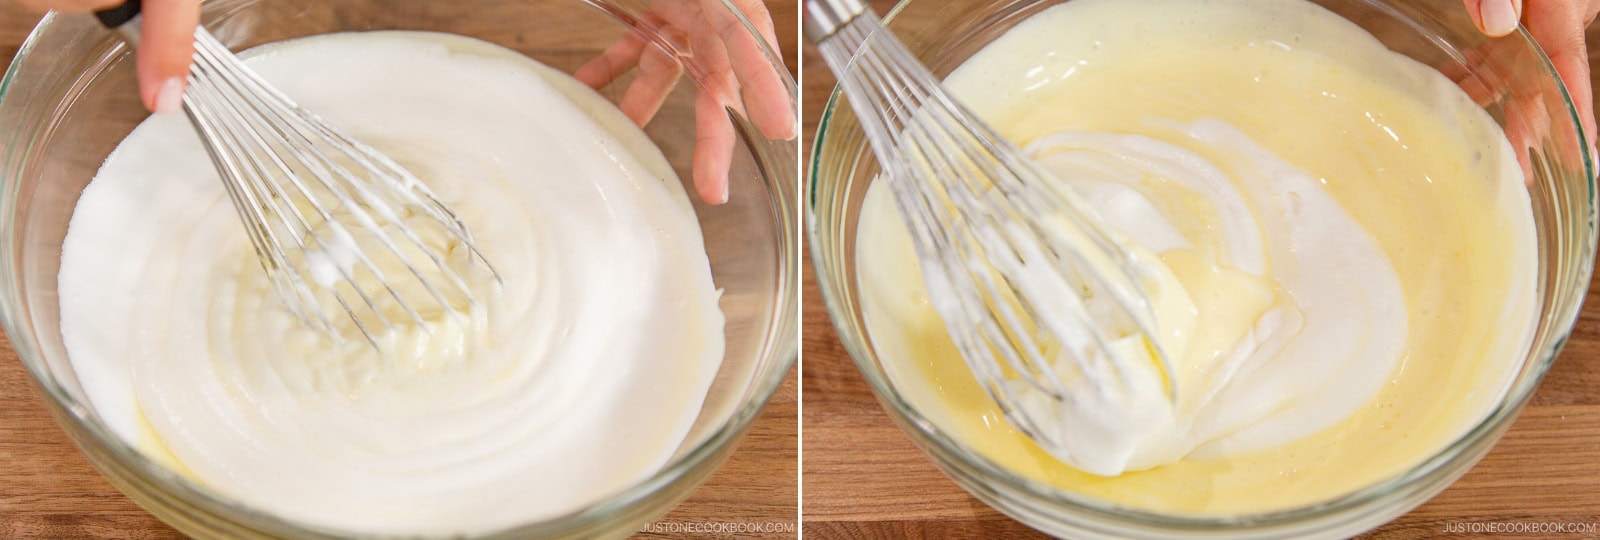
Step 17: Add one-third of this meringue to the cream cheese mixture and whisk until incorporated. Fold in another one-third of the egg whites.

Step 18: Pour the cream cheese mixture into the mixer bowl with the last of the meringue. Fold until just combined.

Step 19: To minimize air pockets, pour the batter into one spot in the cake pan in a steady stream. Tap the pan on the counter a few times to release any trapped air.

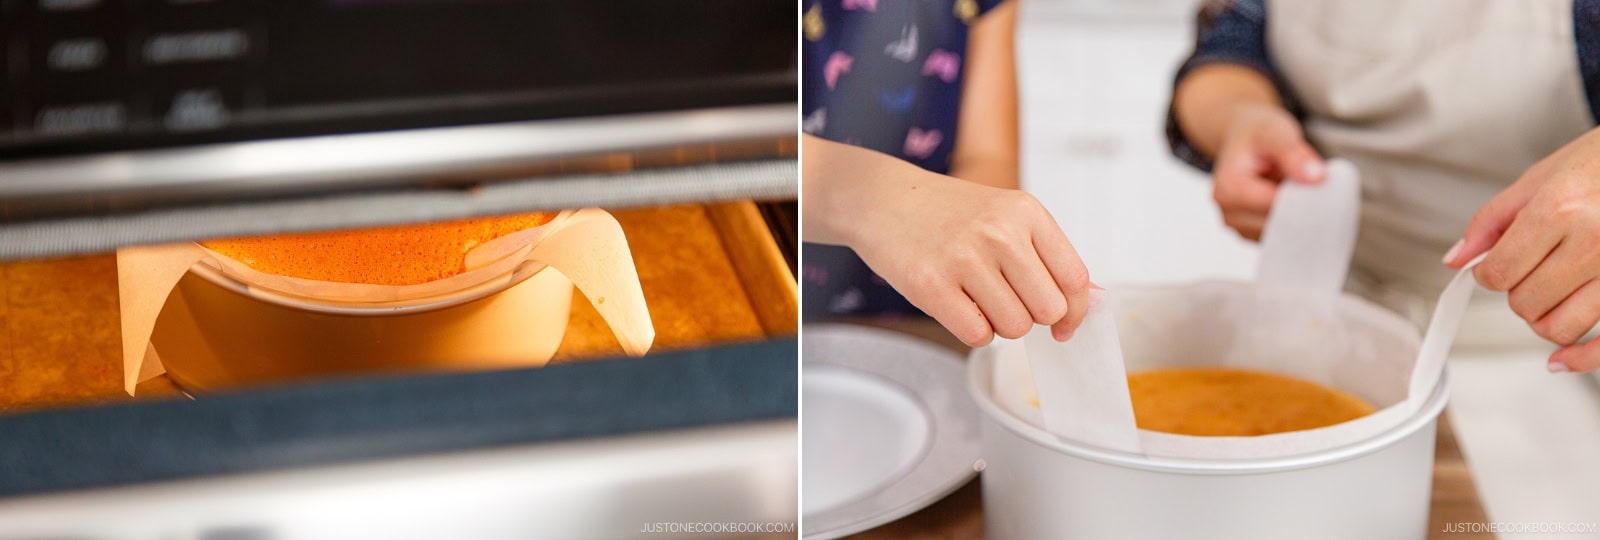
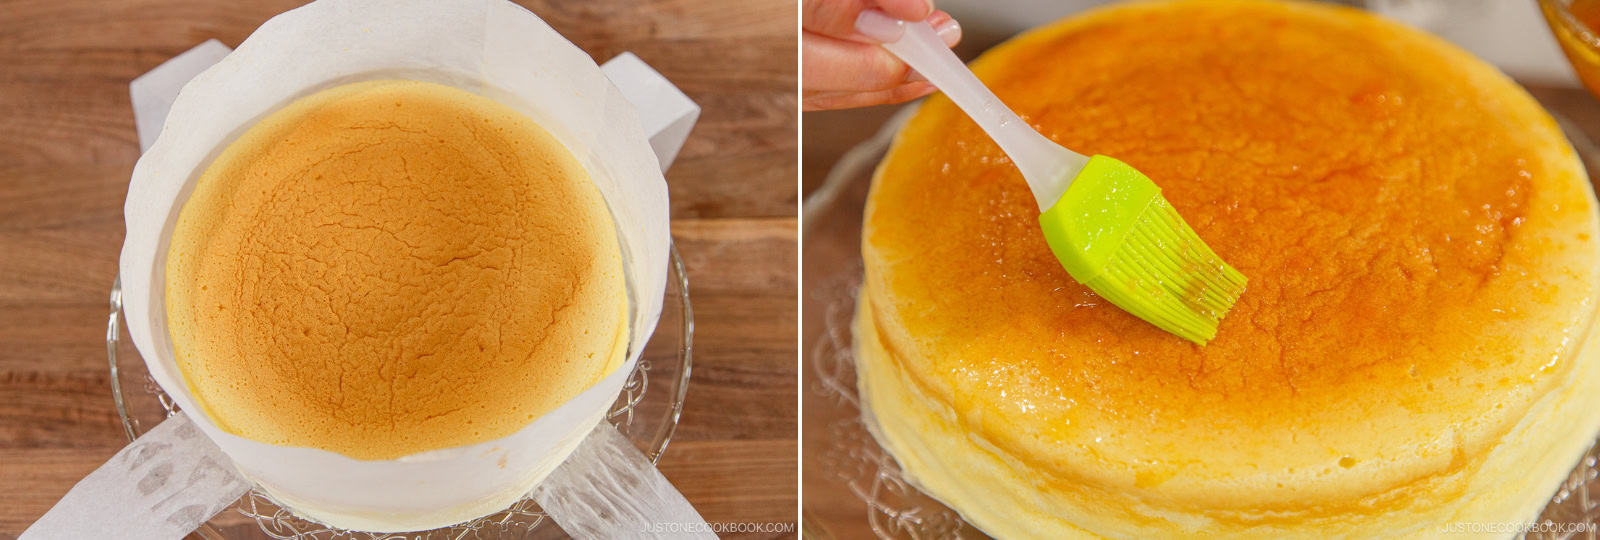
Step 20: Place the filled cake pan in the hot-water bath. Reduce the oven to 320ºF (160ºC), or 25ºF (15ºC) lower for convection, and bake for 70–75 minutes. Reduce to 300ºF (150ºC), with the same convection adjustment, and bake for 10 minutes more, until the top is golden. Open the door slightly to check: an inserted skewer should come out without wet batter. Leave the cake inside for the gradual cooling step.

Step 21: Turn off the heat and leave the cake inside the oven with the door slightly ajar for 15–20 minutes. Remove the cake from the oven. Lift the cheesecake from the cake pan using the two parchment straps—an extra set of hands helps here. Nami's Tip: If you immediately remove the cake from the oven, the soufflé could collapse from the sudden temperature change. While cooling gradually in the oven, the cake's height will slowly shrink from about 4 inches to 2 inches.

Step 22: Place the cake on a platter. Peel away the parchment paper from the sides (leave the bottom paper). Mix 2 Tbsp apricot jam and 2 tsp hot water in a small bowl and gently brush it on top of the cake. Cool to room temperature, then chill in the refrigerator for at least 4–6 hours or overnight. Nami's Tip: Chilled cheesecake has a creamy yet light texture, with a perfectly balanced flavor.

Step 23: Remove the cheesecake from the refrigerator 10–15 minutes before slicing for a softer texture. To make clean cuts, use a sharp knife dipped in warm water, wiping the blade clean between slices.
Photos (2)
Comments
0 threadsSign in to join the discussion.


No comments yet. Start the discussion.