
Japanese · Dessert
Ohagi (Botamochi) Sweet Rice Balls
From the zcook collection
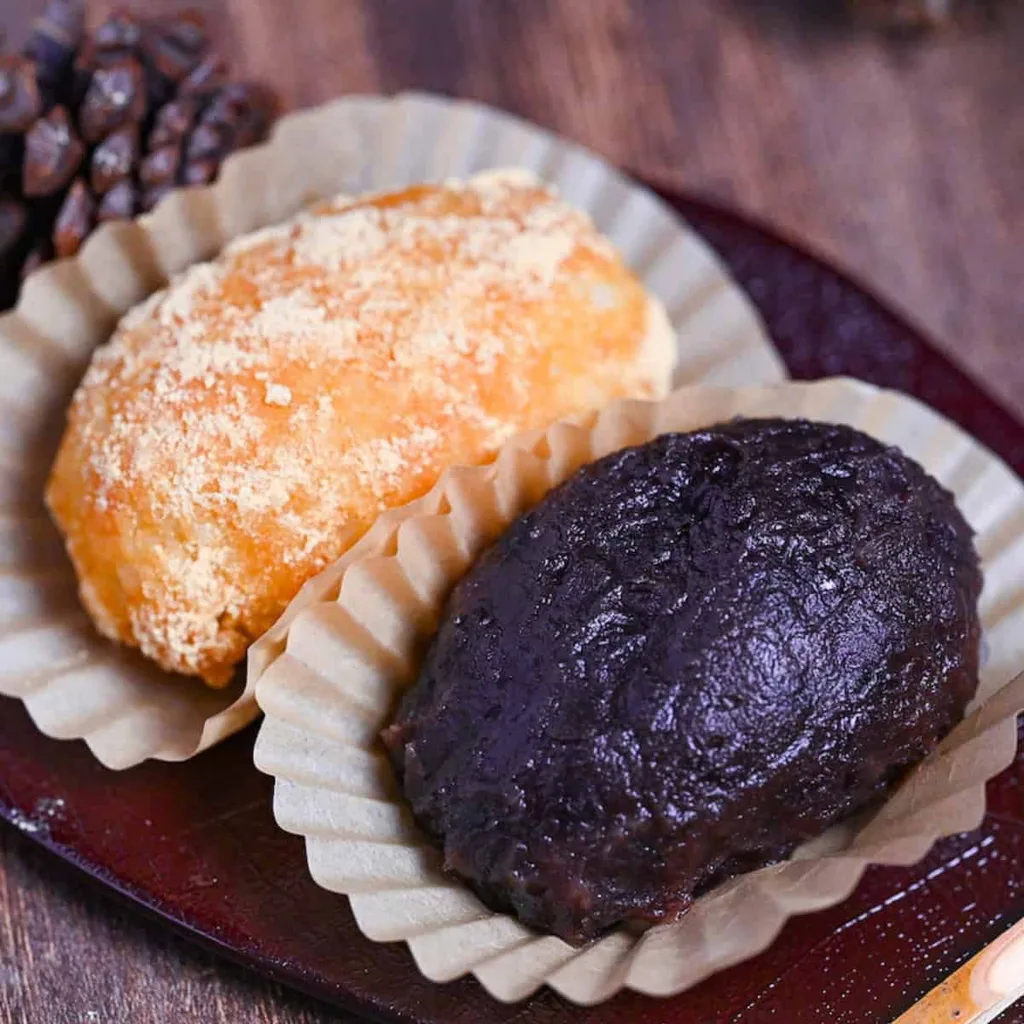
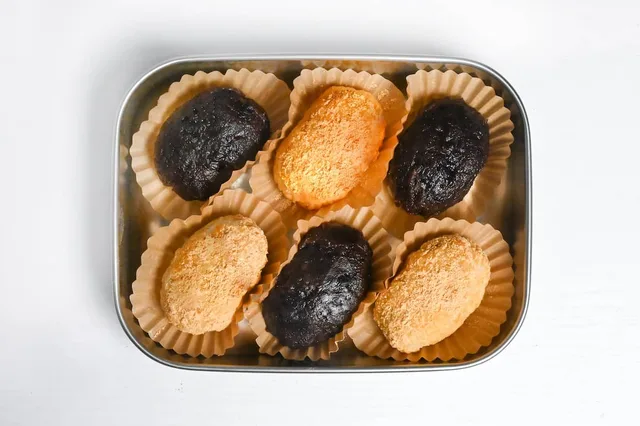
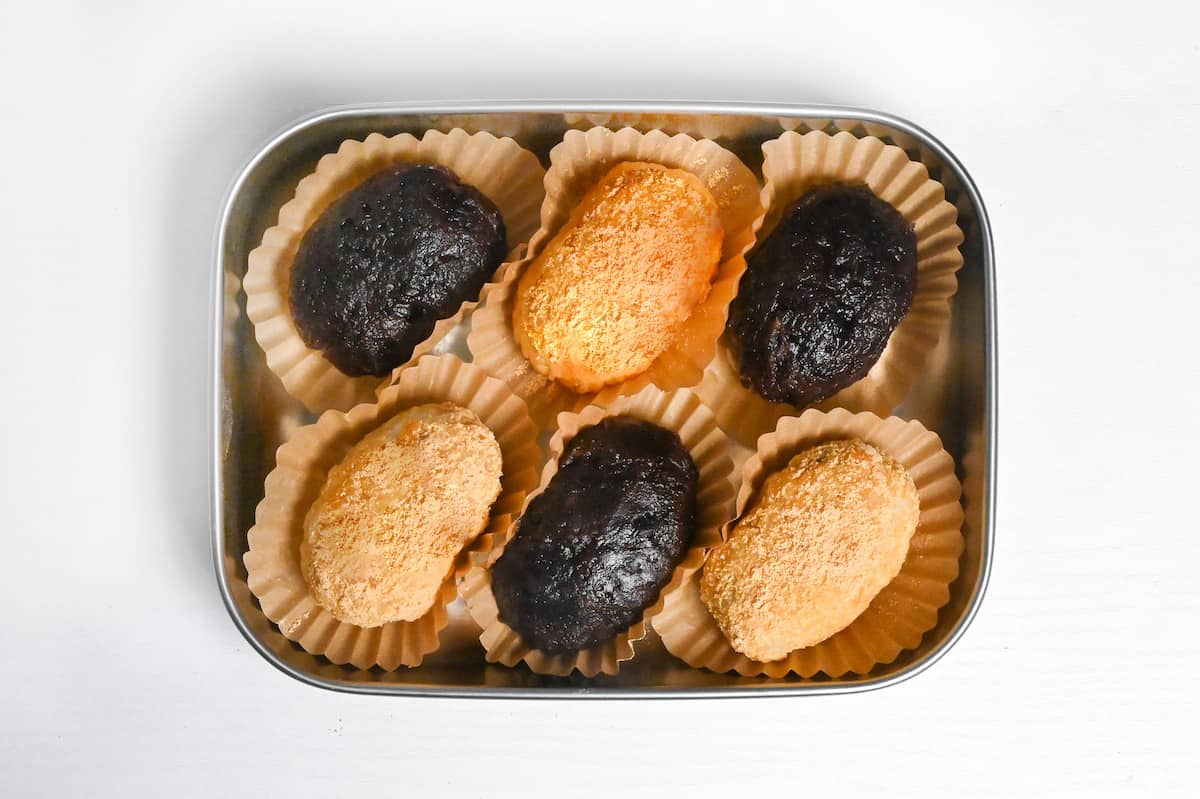
Eight Japanese sweet rice balls: four wrapped in sweet red bean paste and four filled with red bean paste and coated in roasted soybean powder.
- Vegan
- Dairy-free
- Japanese
- Wagashi
- Sweet rice
- Red bean
- Kinako
- Prep
- 30 min
- Cook
- 30 min
- Serves
- 8 ohagi (4 anko-coated and 4 kinako-coated)
- Level
- Medium
- Energy
- 192 kcal
Method18 steps
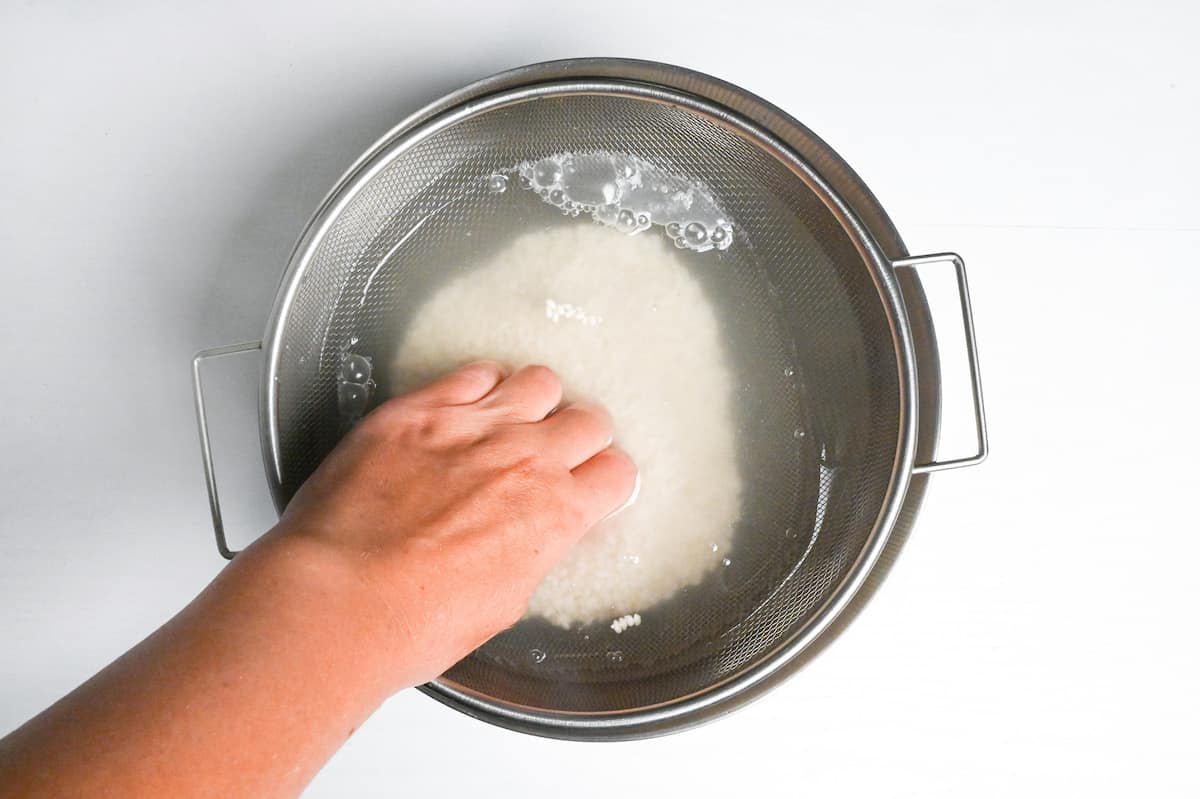
Step 1: Put the 150 g dry mochigome in a sieve set over a bowl. Fill with cold water, gently rub the grains, then drain. Wash and drain three times in total, using fresh water each time.
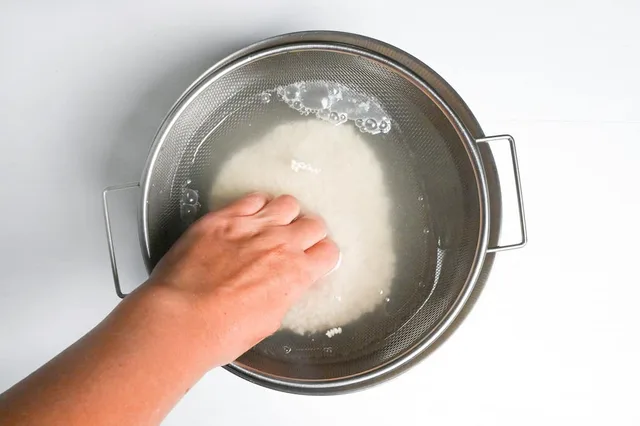
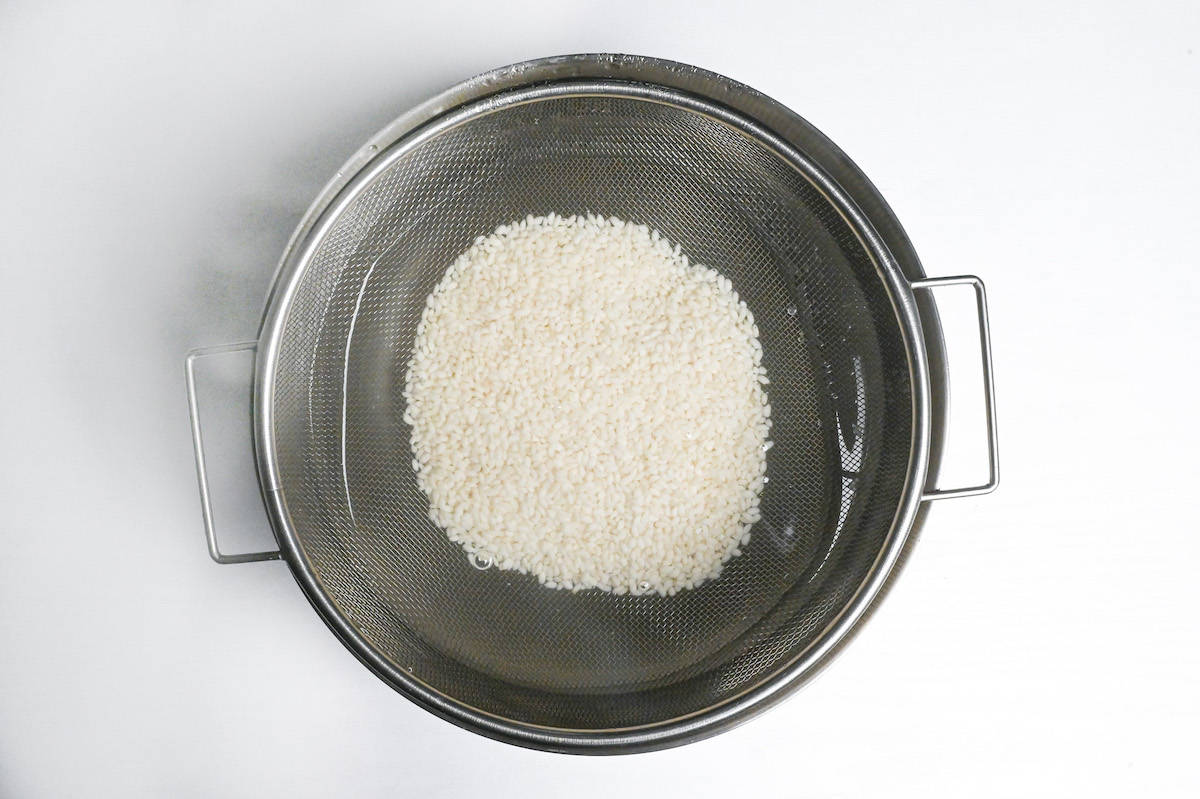
Step 2: Cover the washed rice with fresh cold soaking water and leave for 30 minutes. In winter or a cold kitchen, allow 1 hour instead.
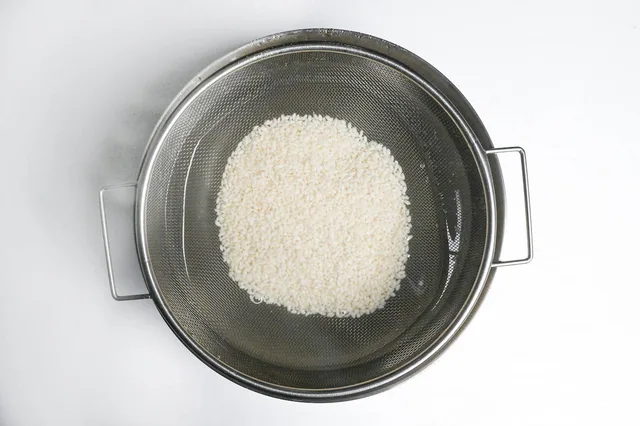
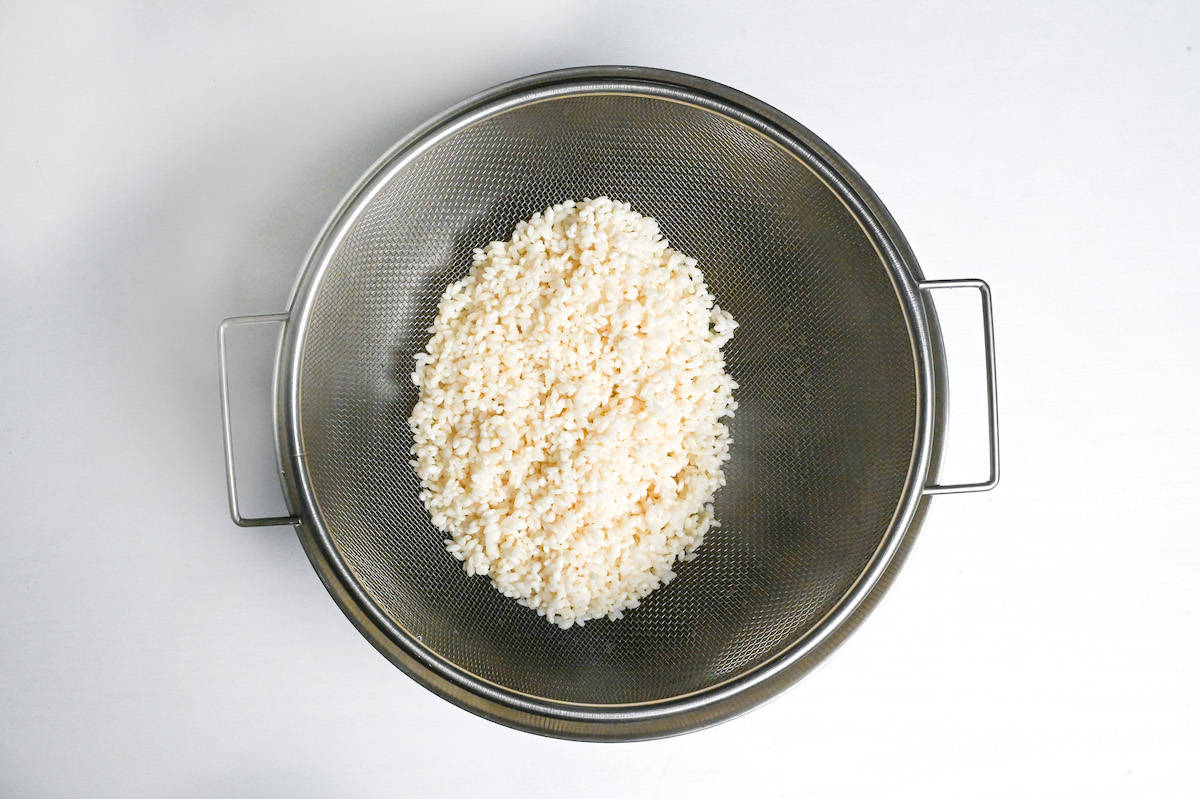
Step 3: Discard the soaking water and leave the rice in the sieve over an empty bowl for 5 minutes to drain.
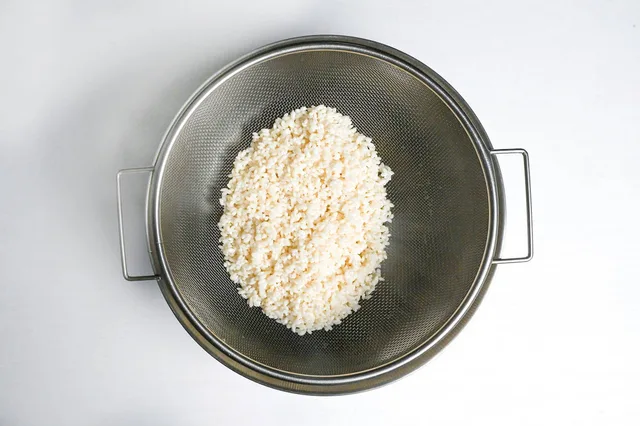
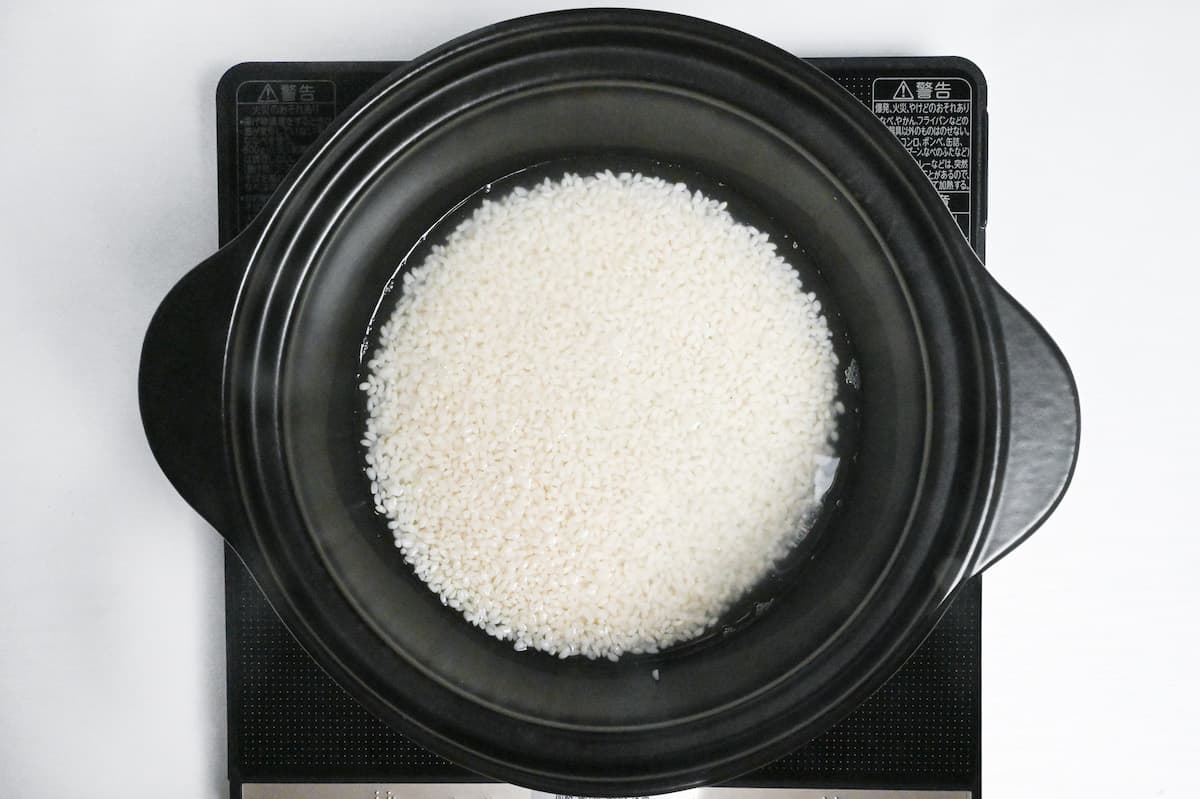
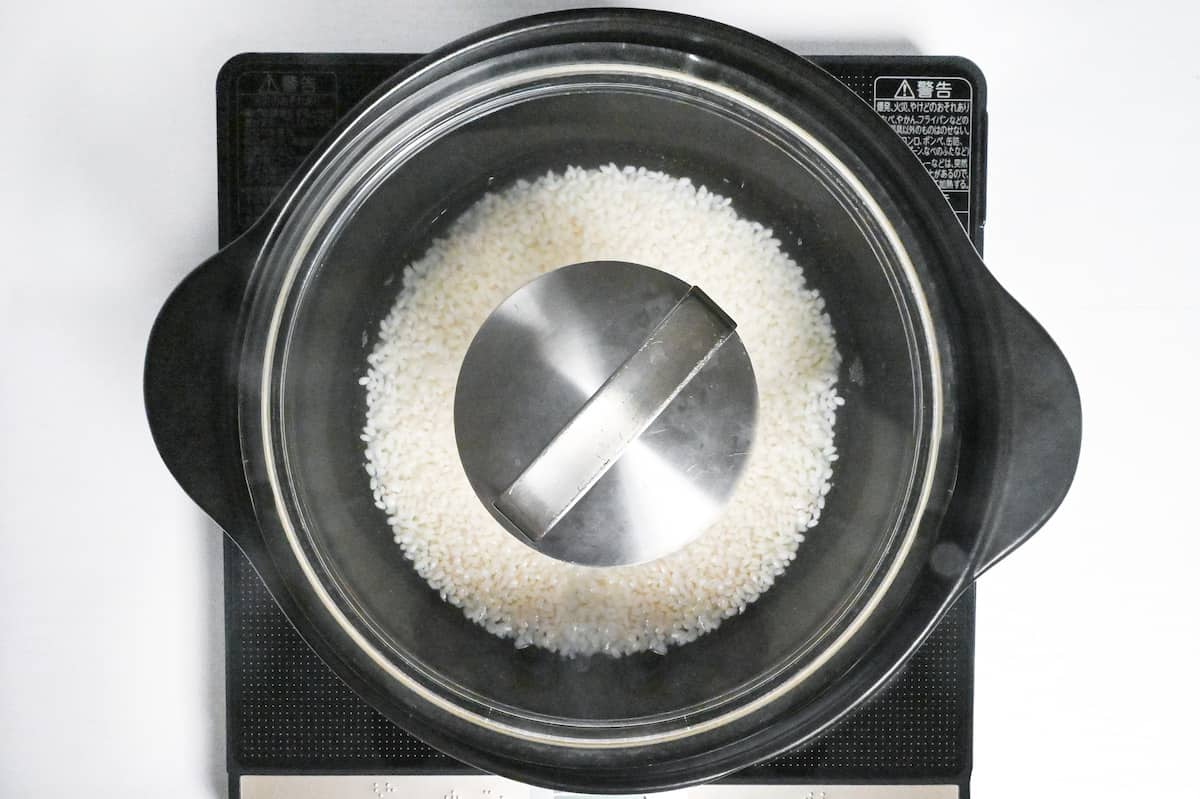
Step 4: Transfer the drained rice to a heavy pot with a close-fitting lid and add the measured 175 ml cold cooking water. Level the rice. Alternatively, put the same rice and measured water in a rice cooker and use its regular rice setting; follow only that cooker route and skip the stovetop heat changes.
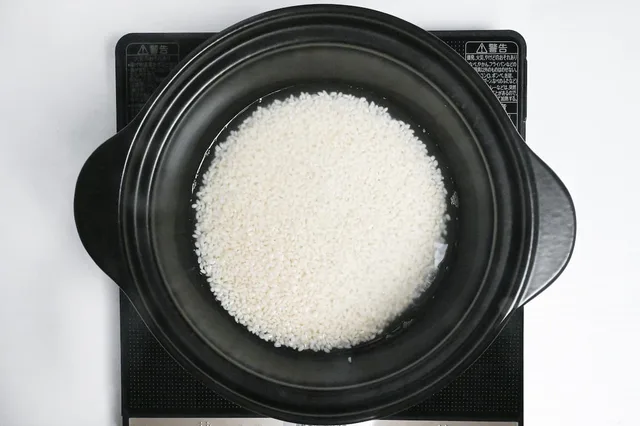
Step 5: For the stovetop route, cover the pot and bring to a boil over medium heat. Once it boils, keep it covered and boil for 30 seconds. For the alternative rice-cooker route, run the regular rice cycle until finished, without applying the following stovetop stages.
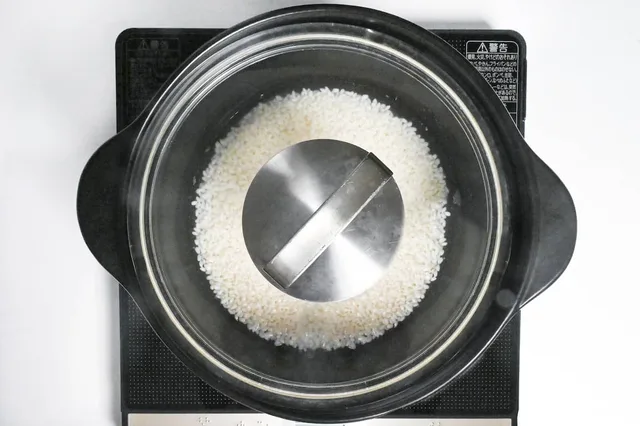
Step 6: Stovetop only: after the 30-second boil, reduce the heat to medium-low and cook, still covered, for 2 minutes.
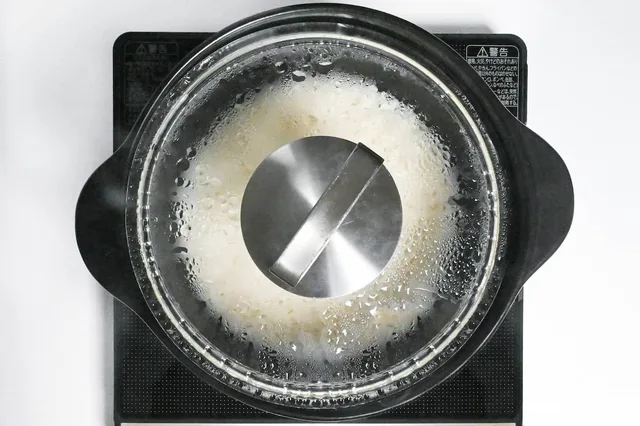
Step 7: Stovetop only: after the 2-minute medium-low phase, reduce the heat to low and simmer for 5 minutes, keeping the lid closed.
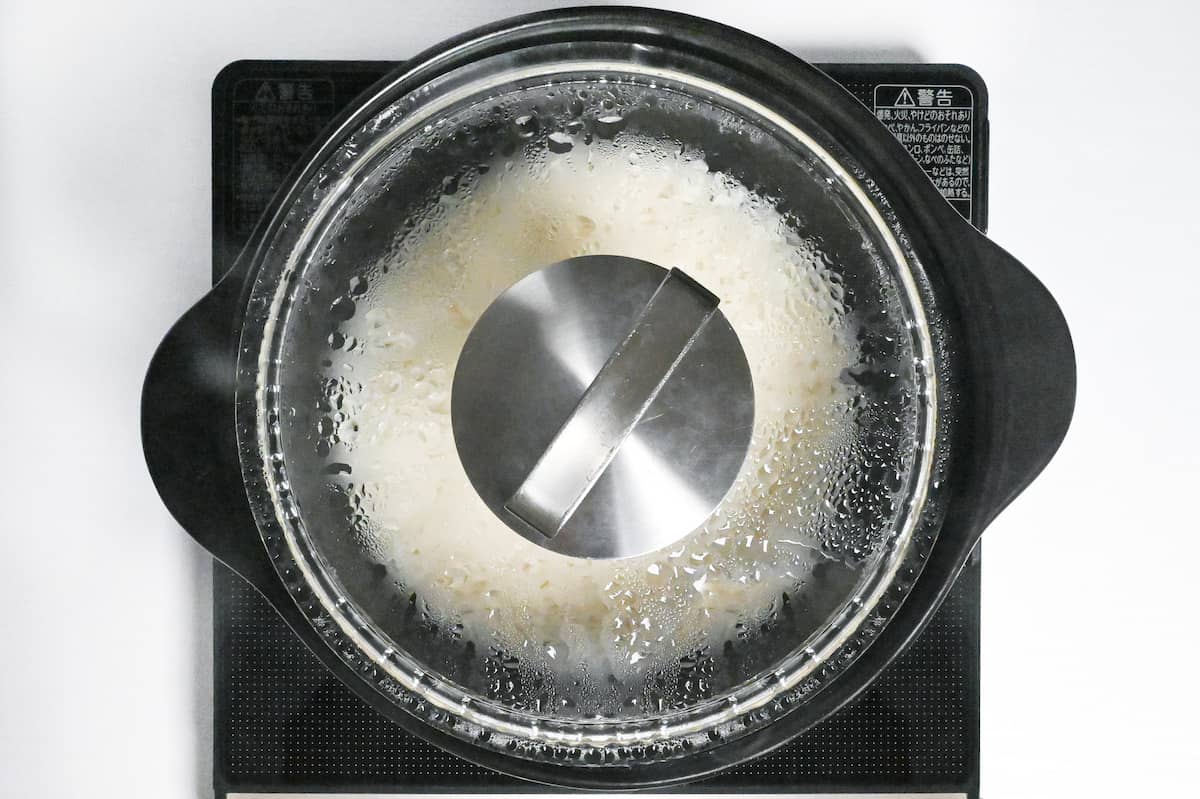
Step 8: Stovetop only: after the 5-minute low simmer, turn the heat to high for 10 seconds, then switch it off. Leave the covered pot on the warm stove for 15 minutes so the rice finishes in residual steam. Do not lift the lid during this wait. For the rice-cooker route, let its regular cycle finish and keep the rice covered until ready for mixing; omit the high-heat burst and separate stovetop steam wait.
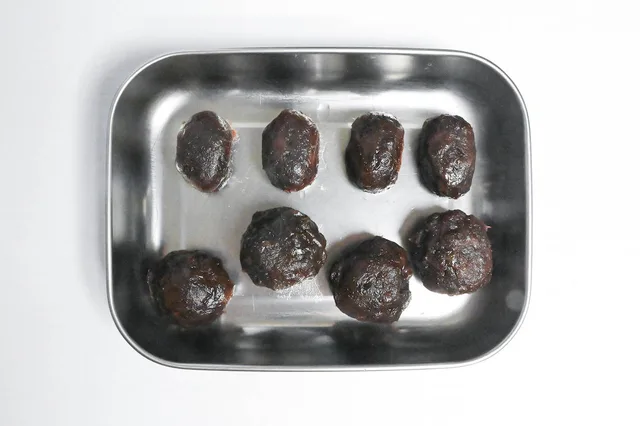
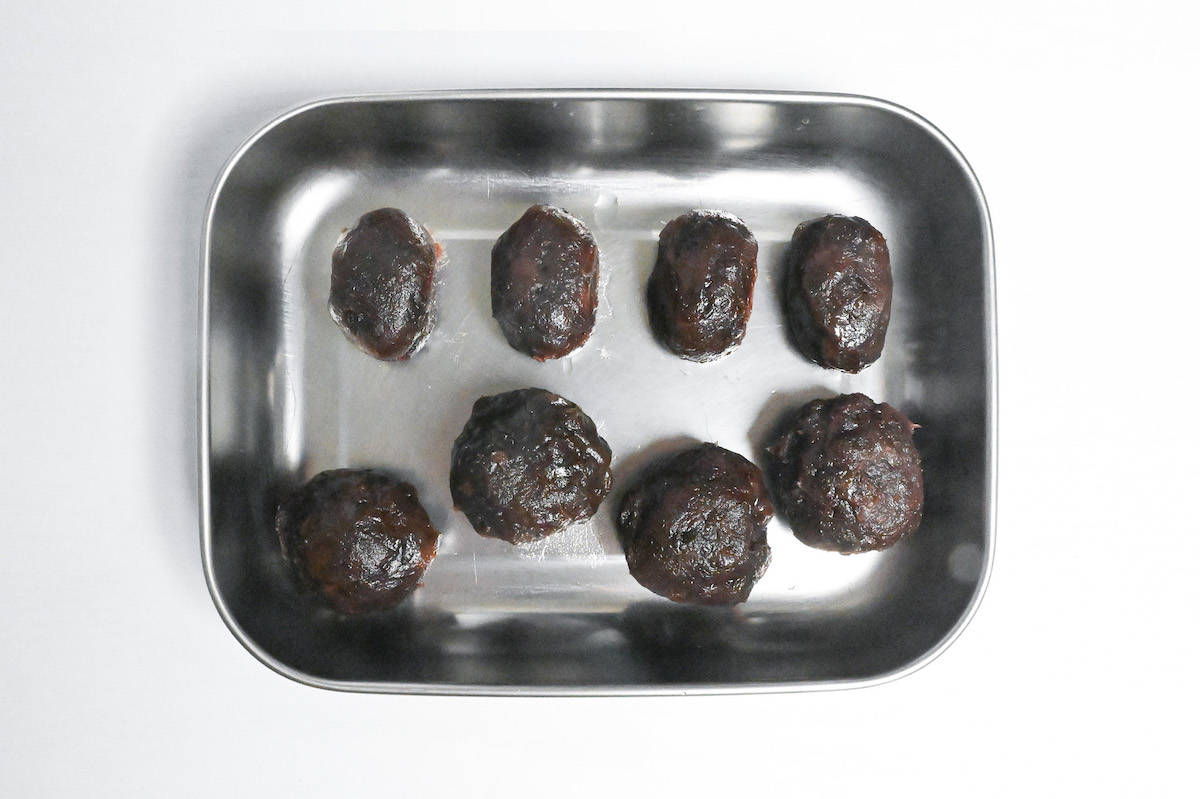
Step 9: While the stovetop rice finishes steaming, or while the rice cooker runs, divide the 320 g ready anko into four 50 g balls for the outside coatings and four 30 g balls for the centres of the kinako ohagi. Use plastic wrap or lightly dampened hands, then cover the portions and refrigerate until assembly.
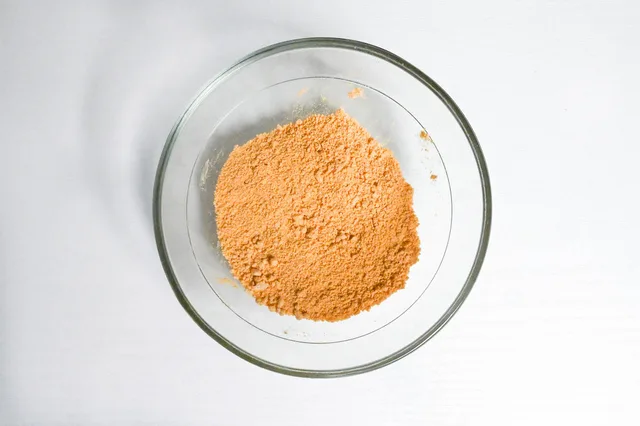
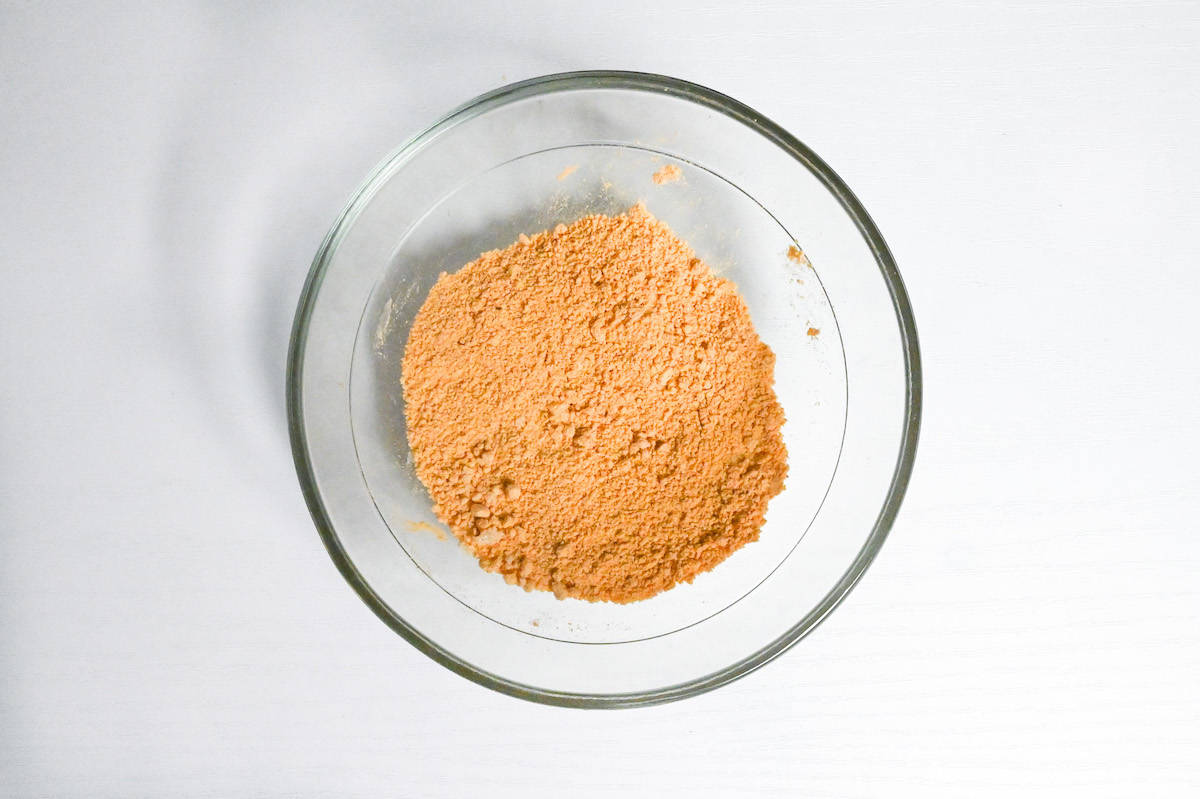
Step 10: Mix the 1 tbsp kinako, 1 tbsp coating sugar and the separate coating pinch of salt (1 pinch) in a bowl. Set aside for coating the four filled rice balls just before serving.
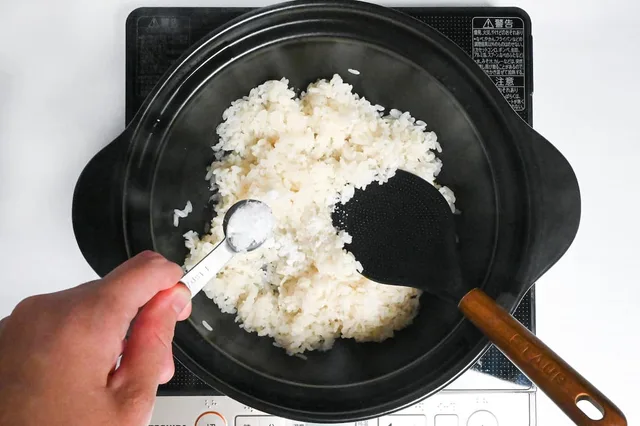
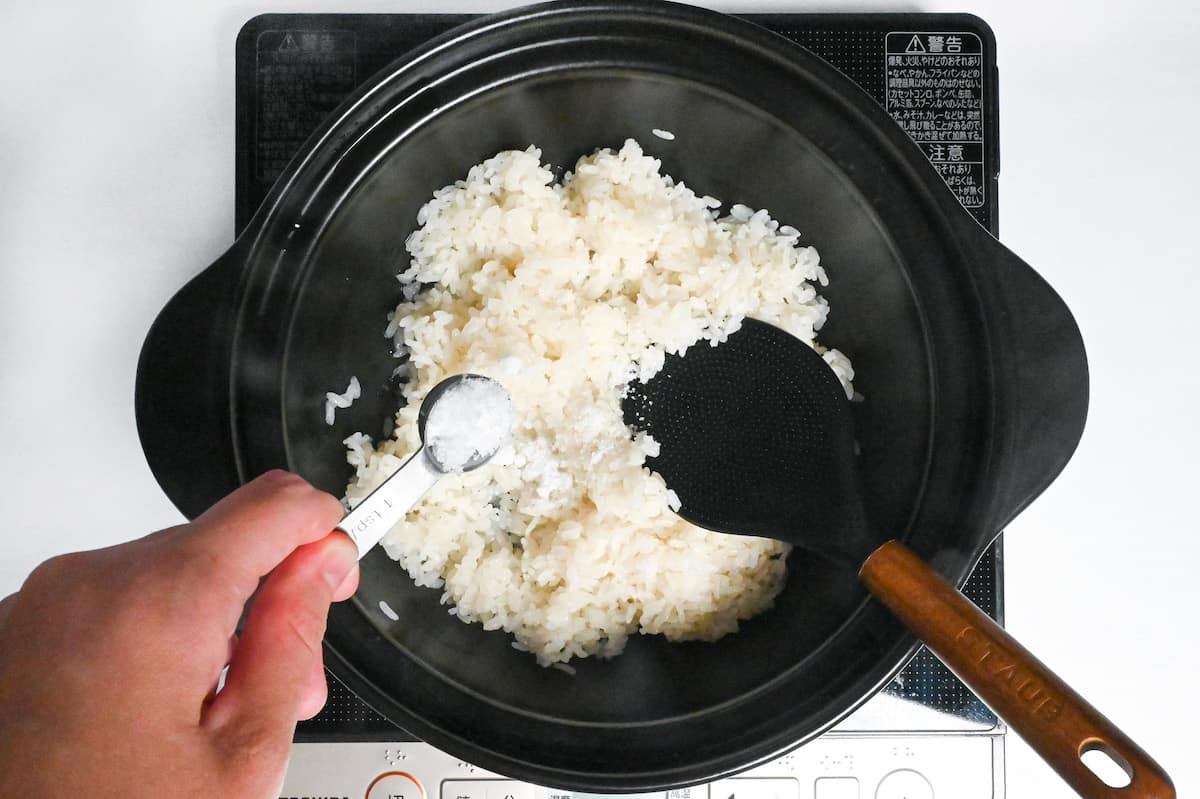
Step 11: Once the stovetop 15-minute residual-steam wait has finished, or the alternative rice-cooker cycle is complete, uncover the rice. Check that the grains are tender. Mix in the 2 tsp caster sugar and the rice pinch of salt (1 pinch), crushing with a rice paddle until about half of the grains are mashed.
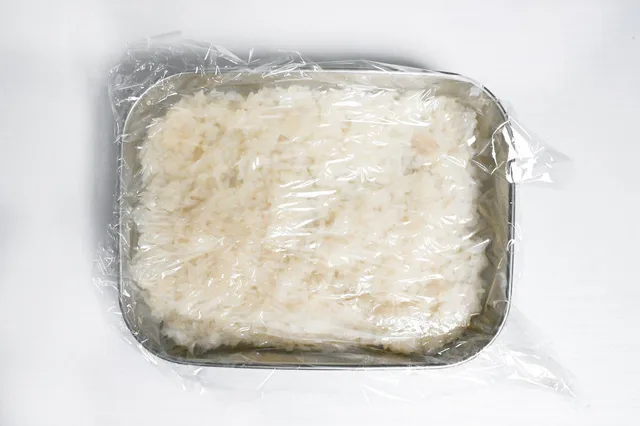
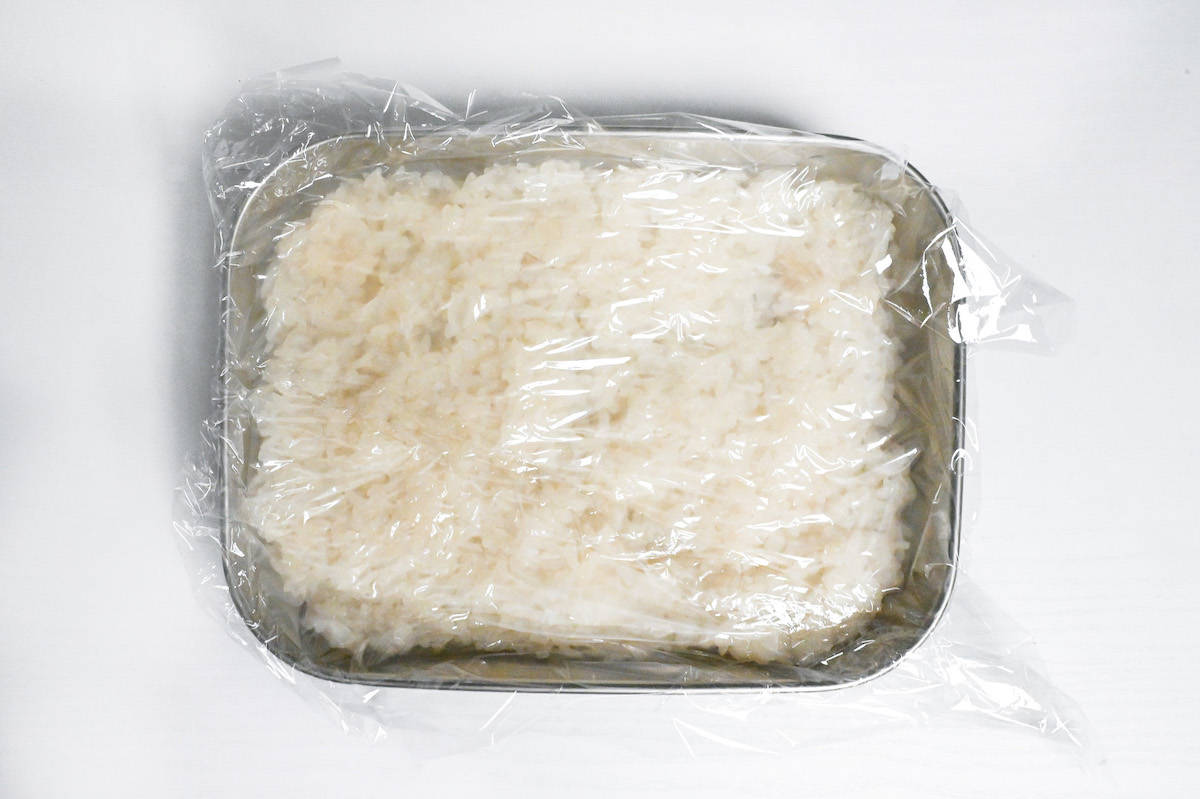
Step 12: Spread the sweetened, half-crushed rice in a wide container. Cover with plastic wrap touching its surface and let it cool until comfortable to handle.
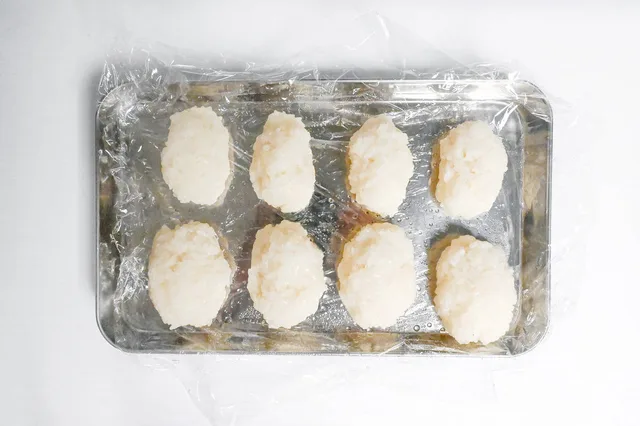
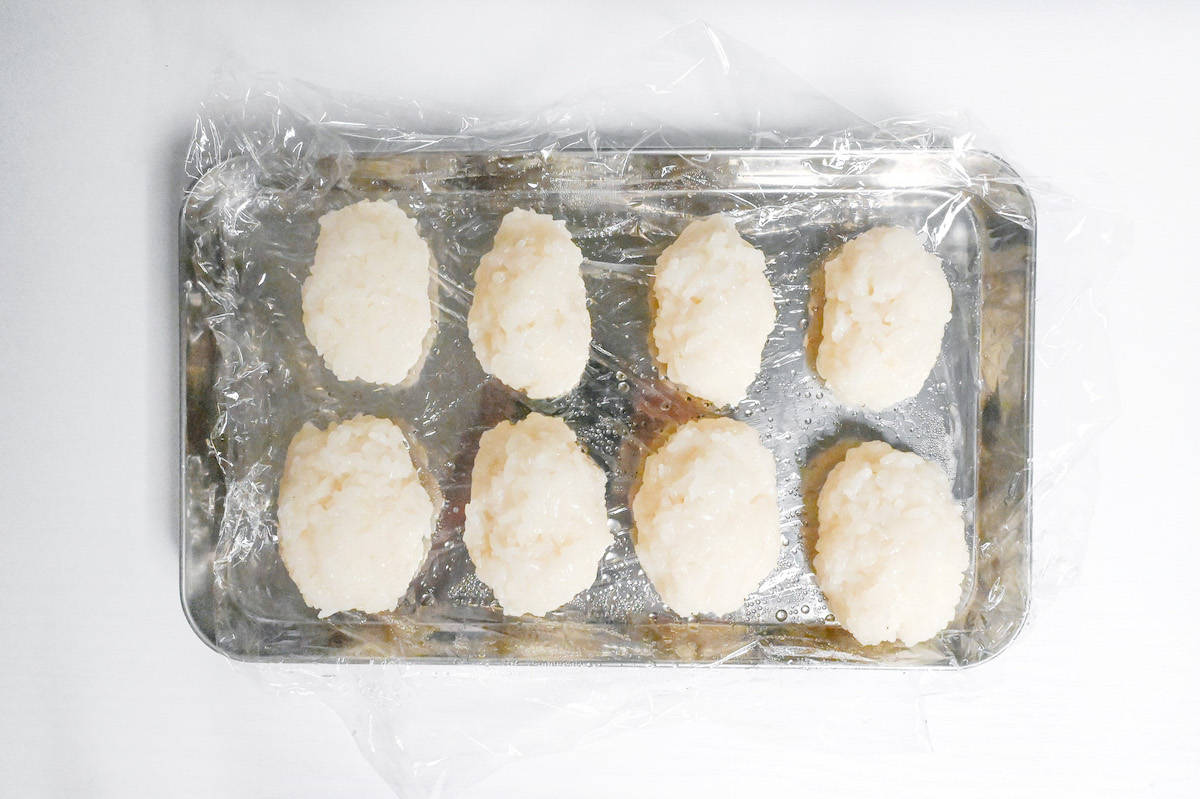
Step 13: Weigh the complete cooled rice batch. Divide it into four smaller portions for anko-coated ohagi and four larger portions for kinako-coated ohagi, keeping the smaller-to-larger size ratio at 3:5. Each smaller portion uses 3/32 of the batch and each larger portion 5/32. Aim for the nominal sizes of about 30 g and 50 g respectively, adjusting to the cooked batch you have. Shape the eight portions into balls.
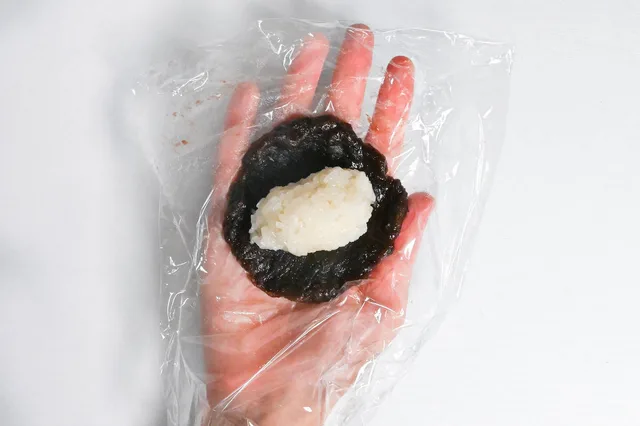
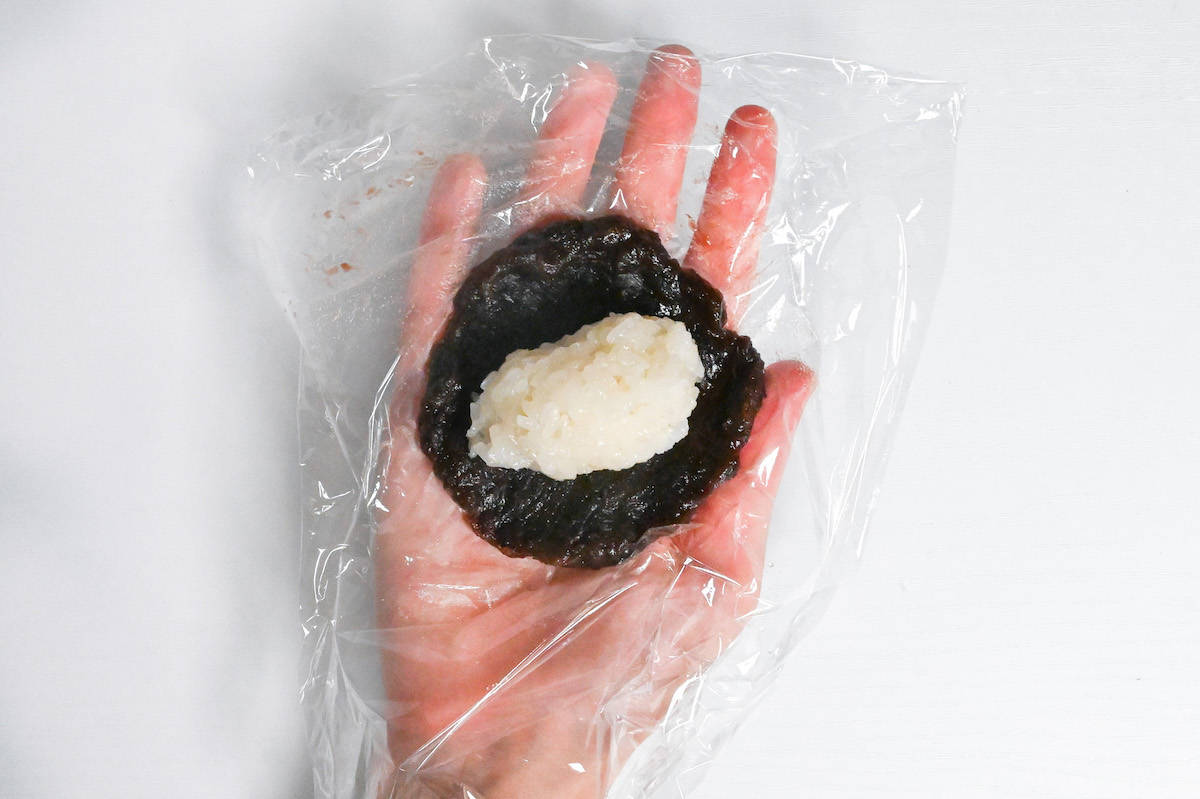
Step 14: Make the four anko-coated ohagi: flatten each prepared 50 g anko portion into a circle with plastic wrap or lightly dampened hands. Put one smaller rice ball, about 30 g, in the centre and wrap the anko around it. A small uncovered patch can sit underneath. Repeat for all four smaller rice balls.
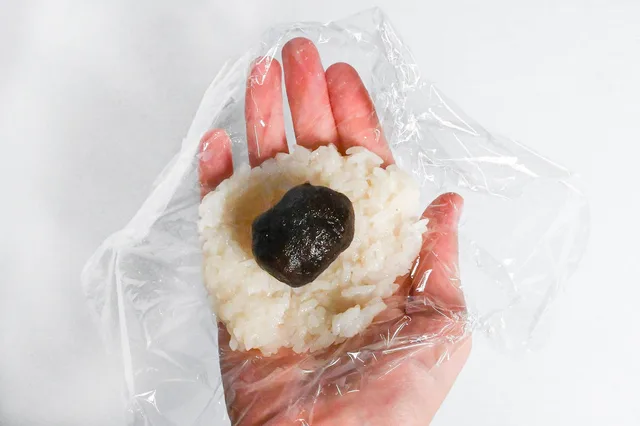
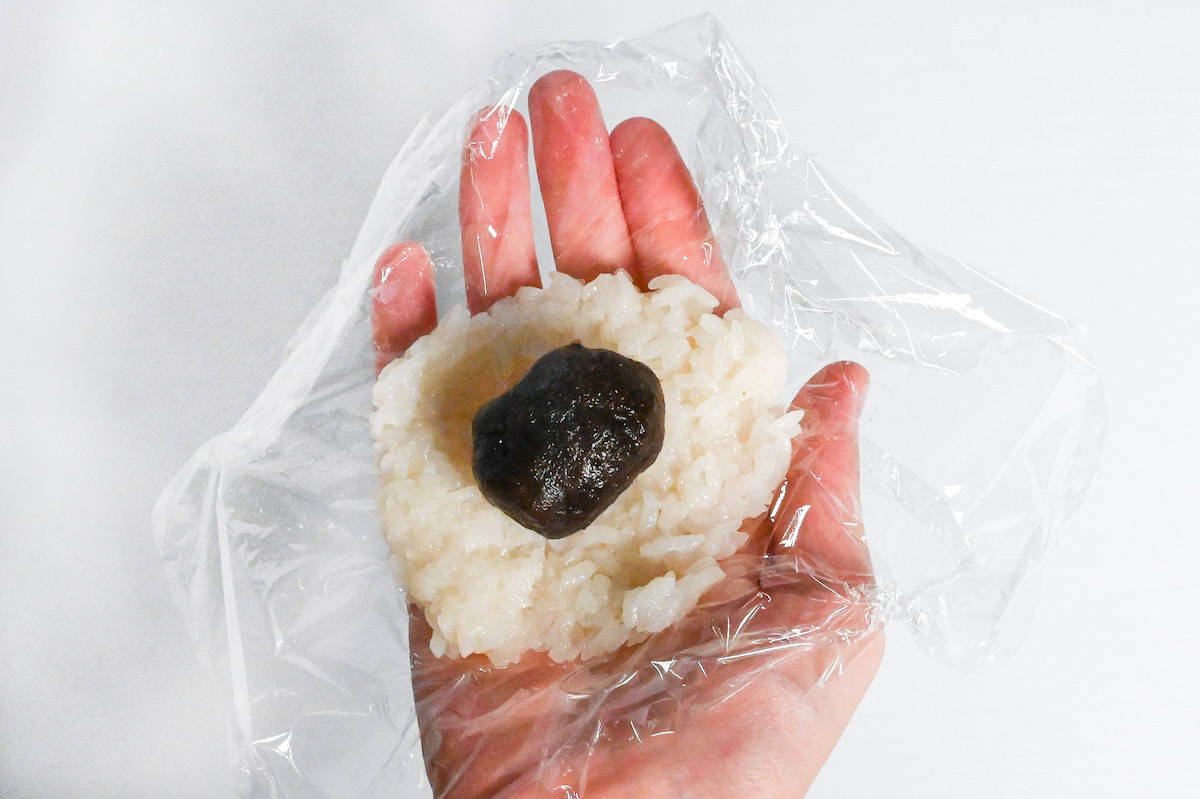
Step 15: Make the four kinako ohagi: flatten each larger rice ball, about 50 g, on plastic wrap or with lightly dampened hands. Put one prepared 30 g anko portion in the centre, then wrap the rice around it and seal completely. Repeat with all four larger rice balls and their anko centres.
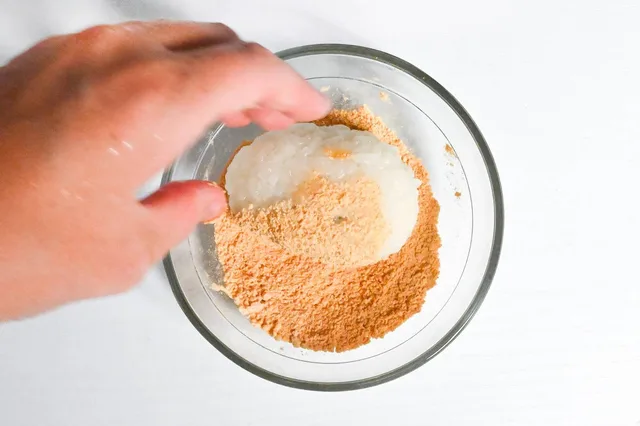
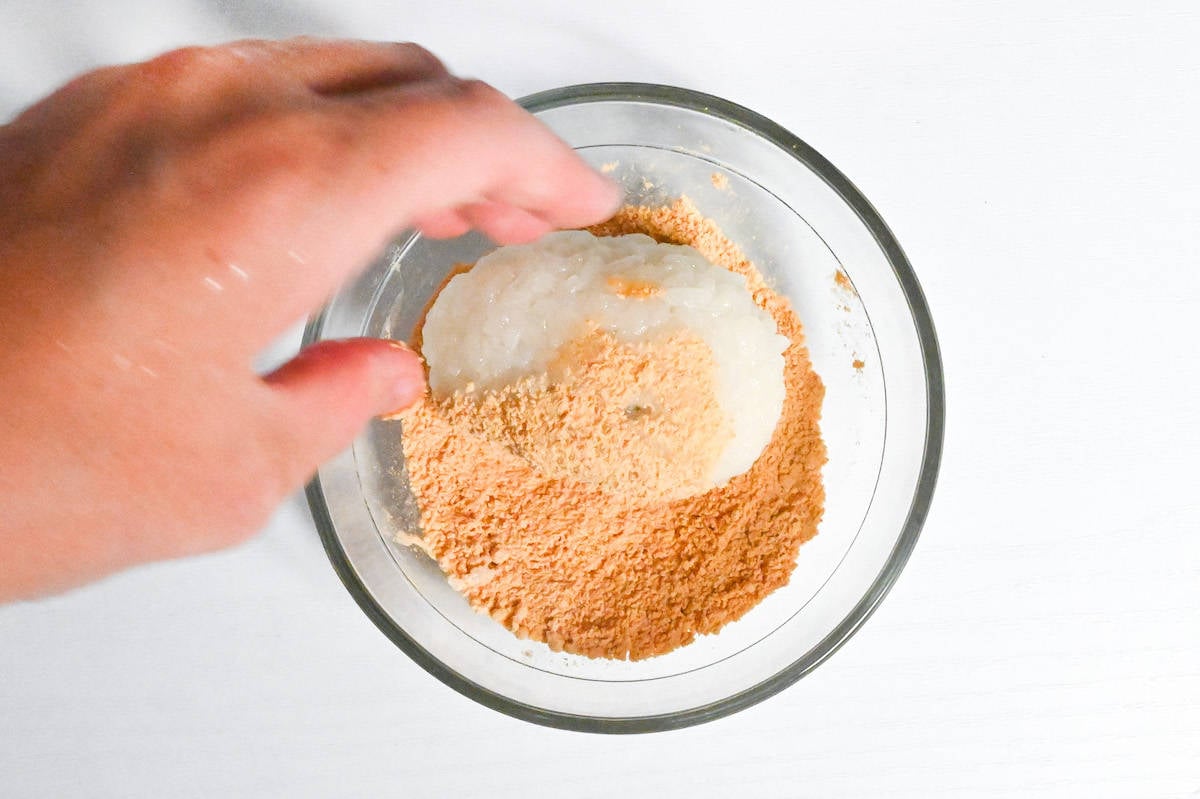
Step 16: Just before serving, roll each of the four sealed anko-filled rice balls in the prepared kinako mixture until evenly coated. Leave any loose coating that does not adhere in the bowl.
Step 17: Arrange the four anko-coated and four kinako-coated ohagi on a plate or in paper cases. All eight anko portions and rice portions are now used; any loose kinako coating can remain in its bowl.
Step 18: Enjoy promptly on the day they are made. To keep for later, let the ohagi cool, wrap them individually and freeze in a freezer bag for up to 1 month. Thaw for about 2 hours at room temperature and eat promptly, or warm gently in a low-power microwave until softened; the author gives about 1–2 minutes at approximately 200 W as a guide.
Photos (1)
Comments
0 threadsSign in to join the discussion.
No comments yet. Start the discussion.