

Shanghainese · Dinner
How to make Xiao Long Bao (小笼包, Soup Dumplings)
From the zcook collection
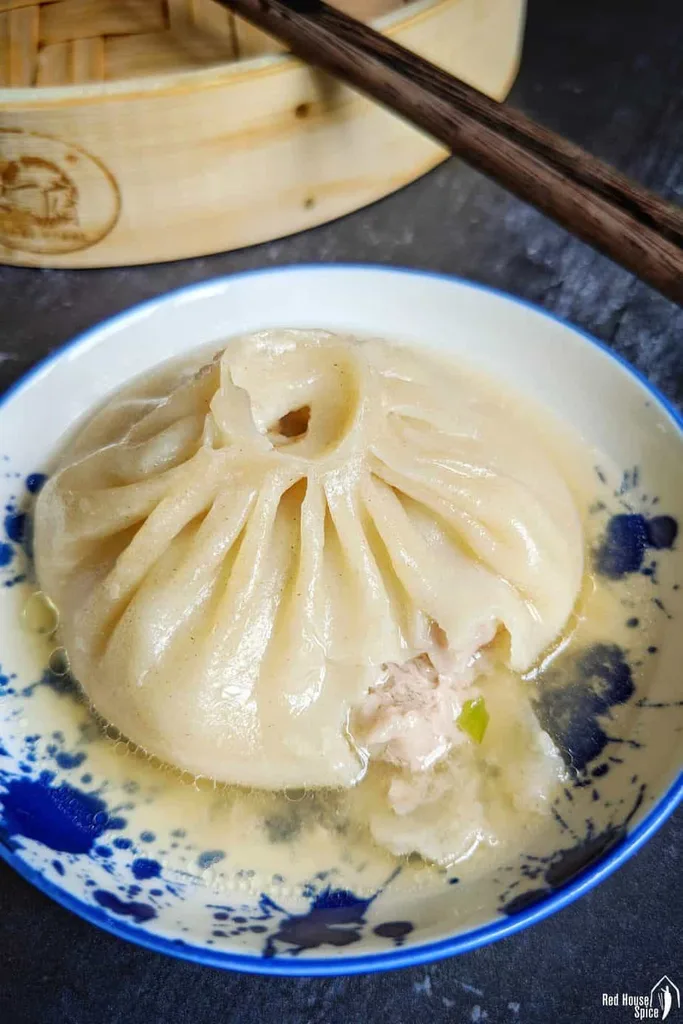
Delicate steamed dumplings filled with seasoned pork and chilled chicken aspic that melts into soup. Make the aspic first and allow at least 4 hours for it to set before preparing, filling and steaming the wrappers.
- Dairy-free
- Chinese
- Main
- Main Course
- Bao & Bread
- Dim Sum
- Dumplings & Wontons
- Prep
- 1 hr
- Cook
- 1 hr 10 min
- Serves
- About 20 soup dumplings
- Level
- Hard
Method21 steps
Step 1: Begin with the aspic, allowing at least 4 hours for it to set in the refrigerator after roasting. Heat the oven to 200°C / 390°F, or 180°C / 360°F fan, Gas 6.
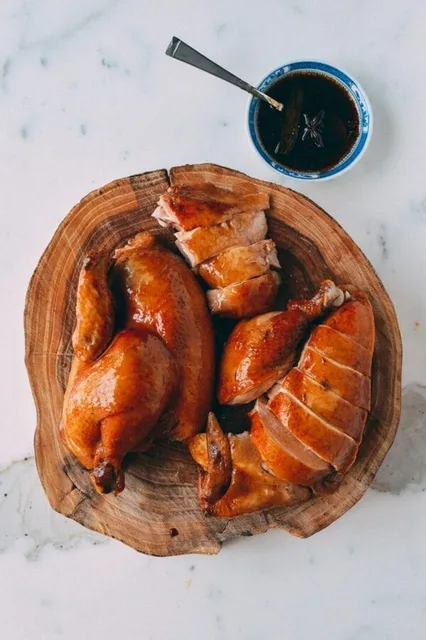
Step 2: Put the whole chicken (1) in an ovenproof pot or roasting dish. Place the 3 halved scallion stalks and 6 ginger slices inside it, then cover the vessel tightly with a lid or foil. The cooking liquid comes from the chicken itself; add no water to this roasting dish.
Step 3: Roast the tightly covered chicken for about 1 hour. Check that its thickest parts reach at least 74°C / 165°F without the thermometer touching bone; continue roasting if needed. Let it cool briefly, then separate the liquid and cooked chicken in the next step and refrigerate promptly.
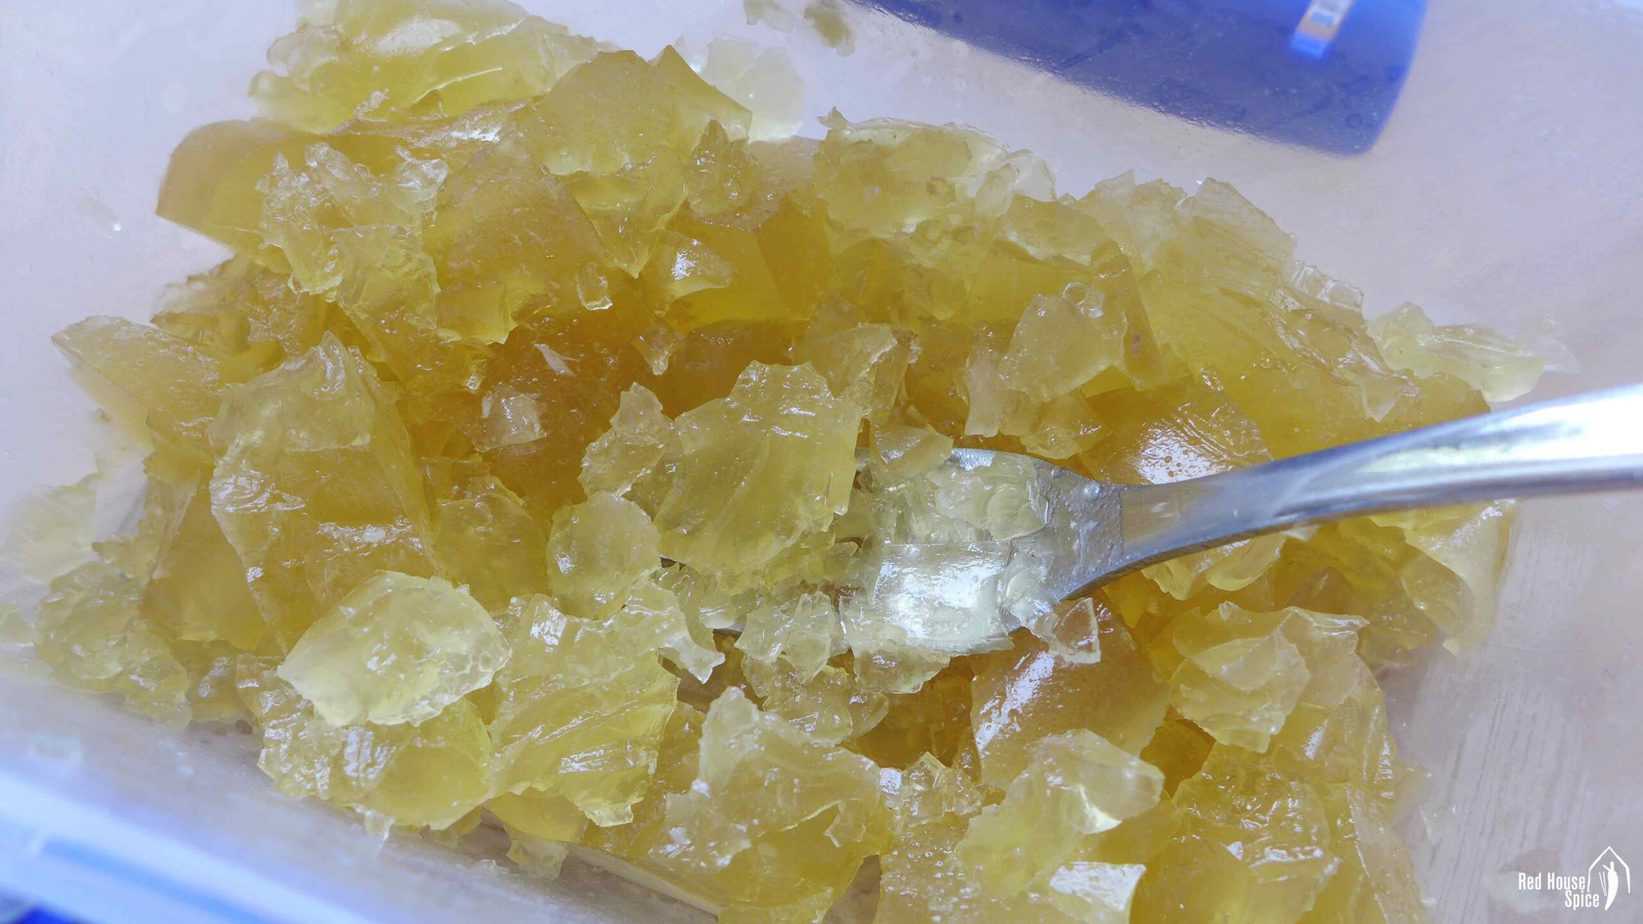
Step 4: Reserve the cooked chicken for another dish and refrigerate it promptly if not using it now. Pour the extracted cooking liquid into a shallow container and refrigerate promptly for at least 4 hours, until fully set into jelly-like aspic. This usually gives about 250 g aspic; keep it cold until making the filling.
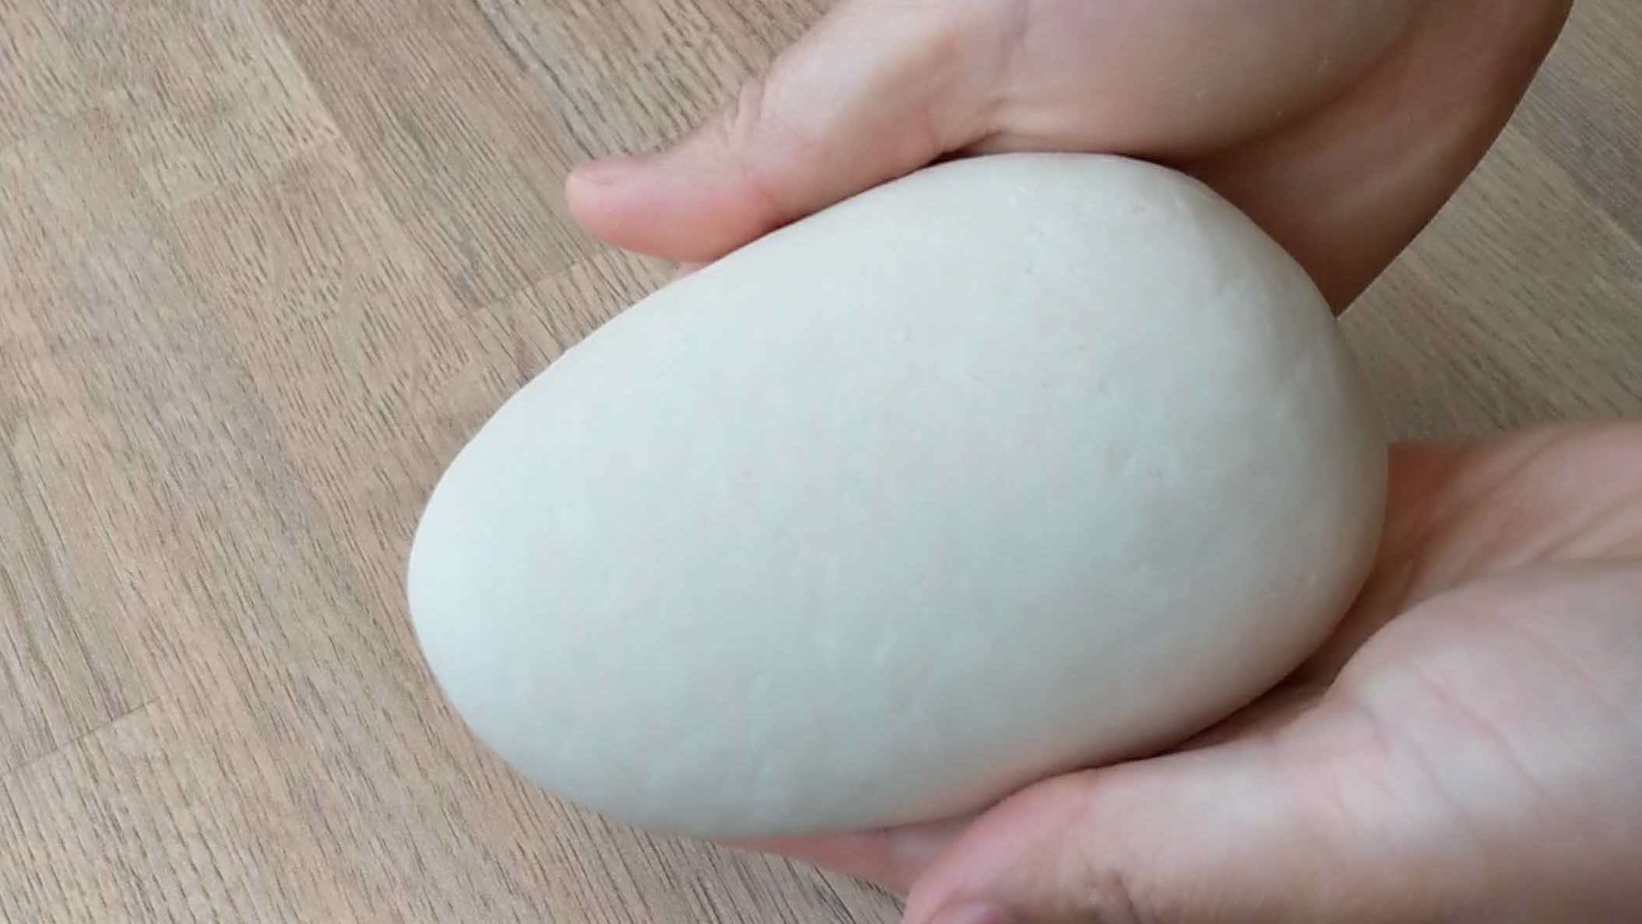
Step 5: When the aspic is ready, mix the 180 g flour with 60 g hot water using chopsticks or a spatula. Measure the 35 g tap water and add it gradually while combining, holding back a little if needed. Aim for a soft dough that is not sticky: depending on the flour, the tap-water amount may need 5–10 g less or more, so use the separate adjustment water only if needed.
Step 6: Knead the dough into a rough ball, cover and rest for 10 minutes, then knead again until very smooth.

Step 7: Cover the smooth dough and rest for a further 30–60 minutes, checking from 30 minutes, until it feels soft and easy to roll.
Step 8: Mix the 450 g raw pork mince with the 3 chopped scallion stalks, 1 tbsp minced ginger, 1 tbsp light soy sauce, 1 tbsp Shaoxing rice wine, ¼ tsp ground white pepper, ¼ tsp salt and ½ tsp sugar until well combined.
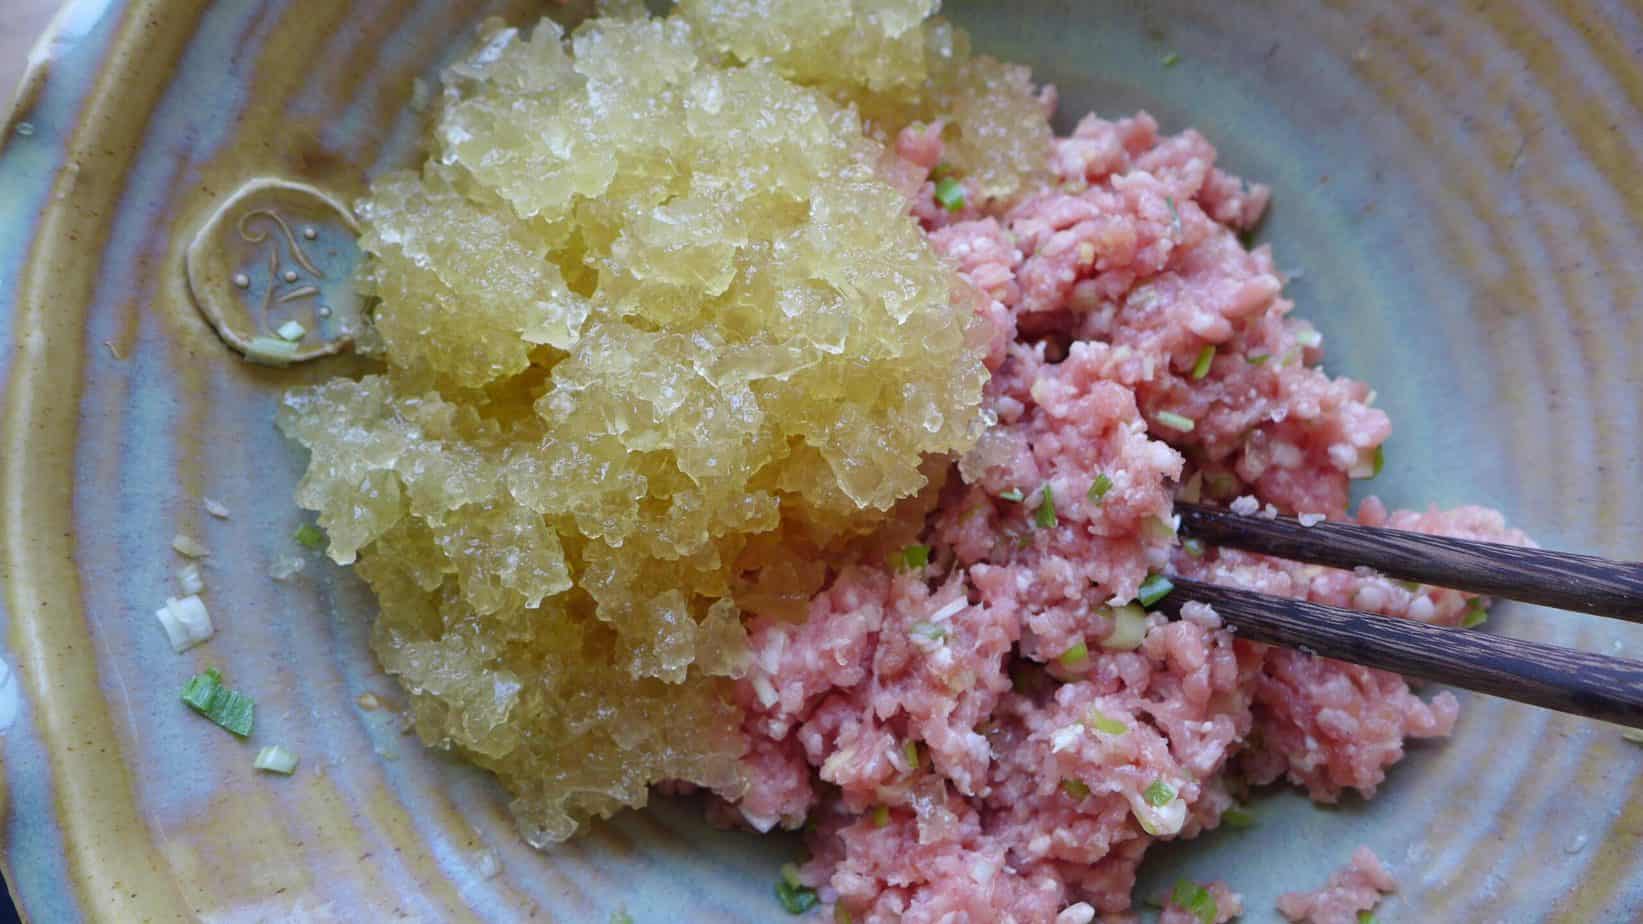
Step 9: Skim off the chicken-fat layer from the cold aspic. Break the jelly into tiny pieces with a fork, then mix it all into the seasoned pork. The cooked chicken reserved in step 4 stays separate.


Step 10: Cover and refrigerate the filling for at least 30 minutes. Keep it in the refrigerator until ready to assemble, bringing out only what you need so the aspic stays firm.
Step 11: Roll the rested dough into a rope, divide it into 20 equal pieces and press each into a disc. Keep unused discs covered with an inverted bowl, cling film or a food bag.
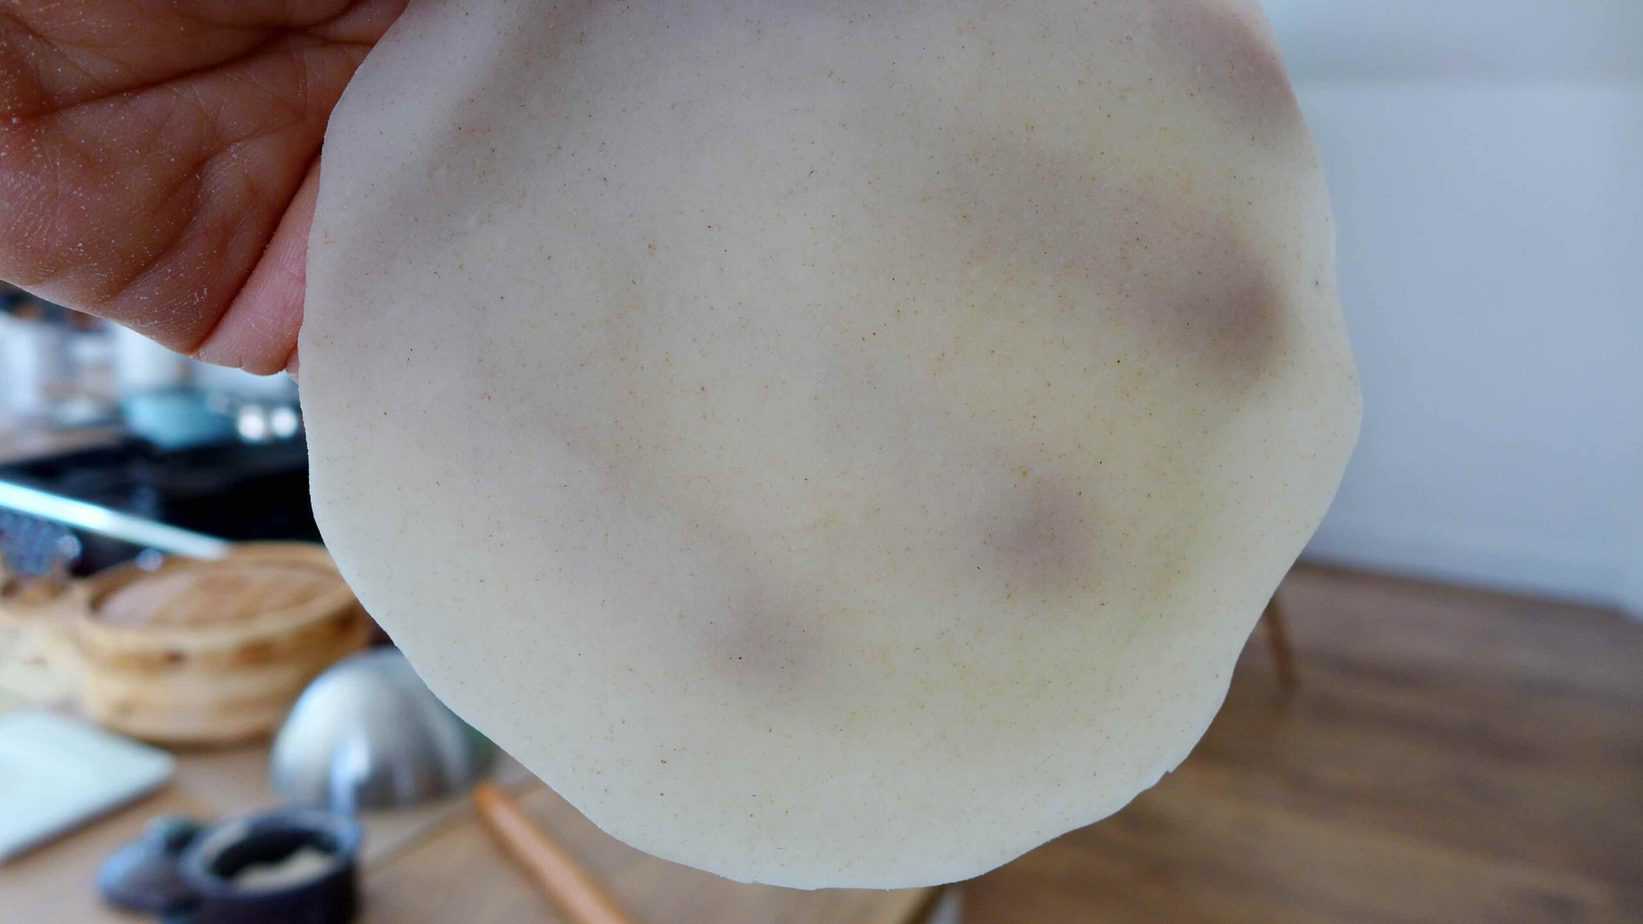
Step 12: Work with one dough disc at a time. Roll from the edge while turning it, leaving the centre slightly thicker than the edges, until it is a very thin disc about 12 cm / 4.7 inches across. Dust the surface and rolling pin lightly with the separate flour only if needed.

Step 13: Fill and pleat this wrapper straight away in steps 14–15 before rolling the next one. Do not stockpile the thin wrappers, as they dry out quickly; keep the remaining dough discs covered.
Step 14: Place a spoonful of cold filling, about 35 g, in the middle of the wrapper. Keep the rest of the filling cold while you work.
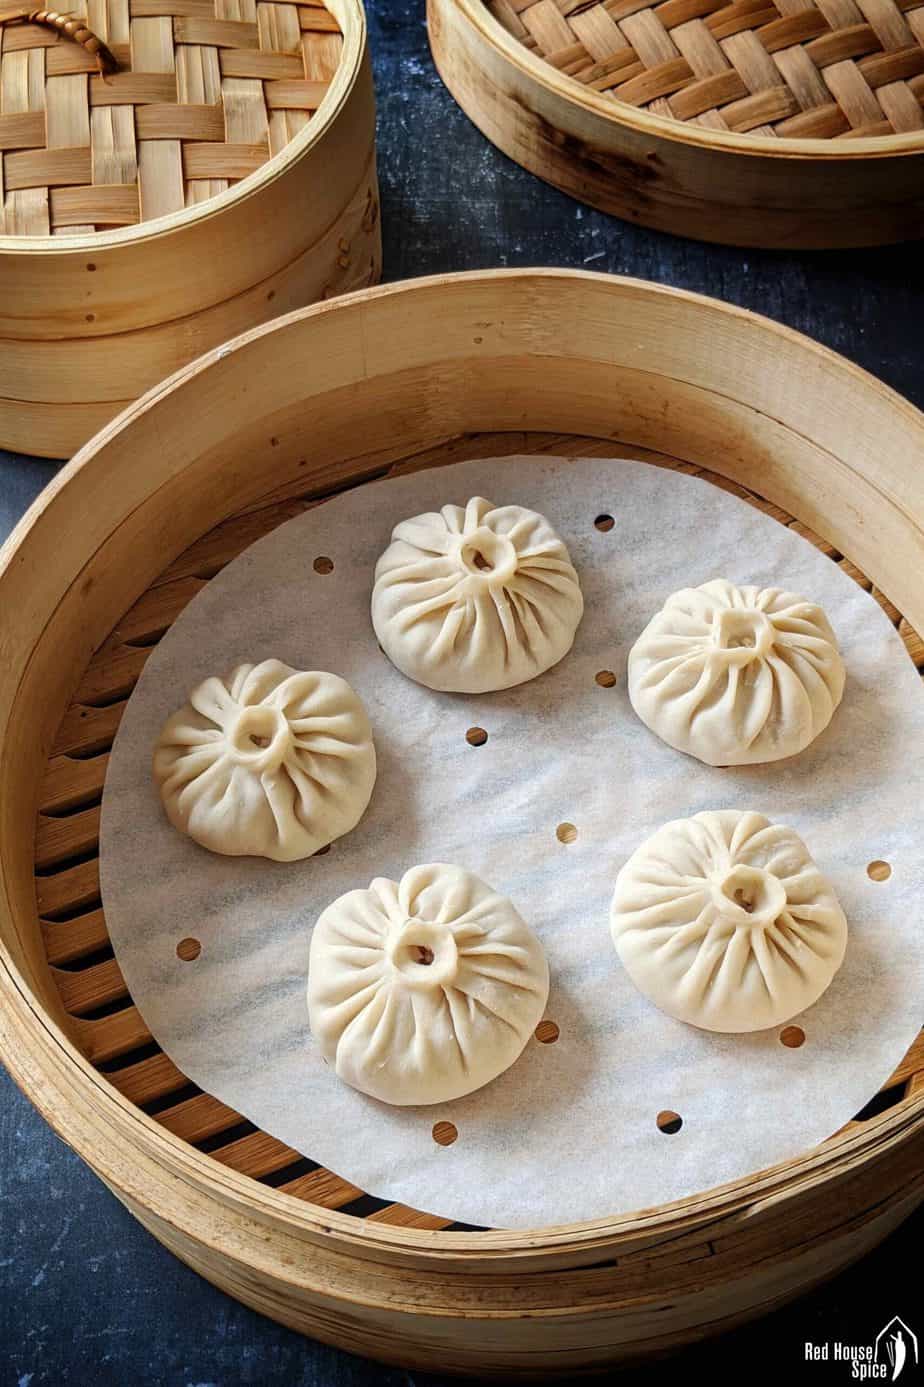
Step 15: Lift and pleat the edge around the filling, making about 15–20 folds to form a round dumpling. Leave a small opening at the top or seal it. Repeat steps 12–15 with the remaining 19 discs and the cold filling as needed to make about 20 dumplings, keeping the filling cold and unused discs covered.
Step 16: Line a bamboo steamer with perforated steamer parchment, or put each dumpling on its own small parchment square. Keep the steam passages open. This method uses the lined bamboo-steamer option.
Step 17: Arrange a batch of dumplings in the lined steamer, leaving at least 3 cm / 1 inch between them. Keep any dumplings waiting for another batch cold.

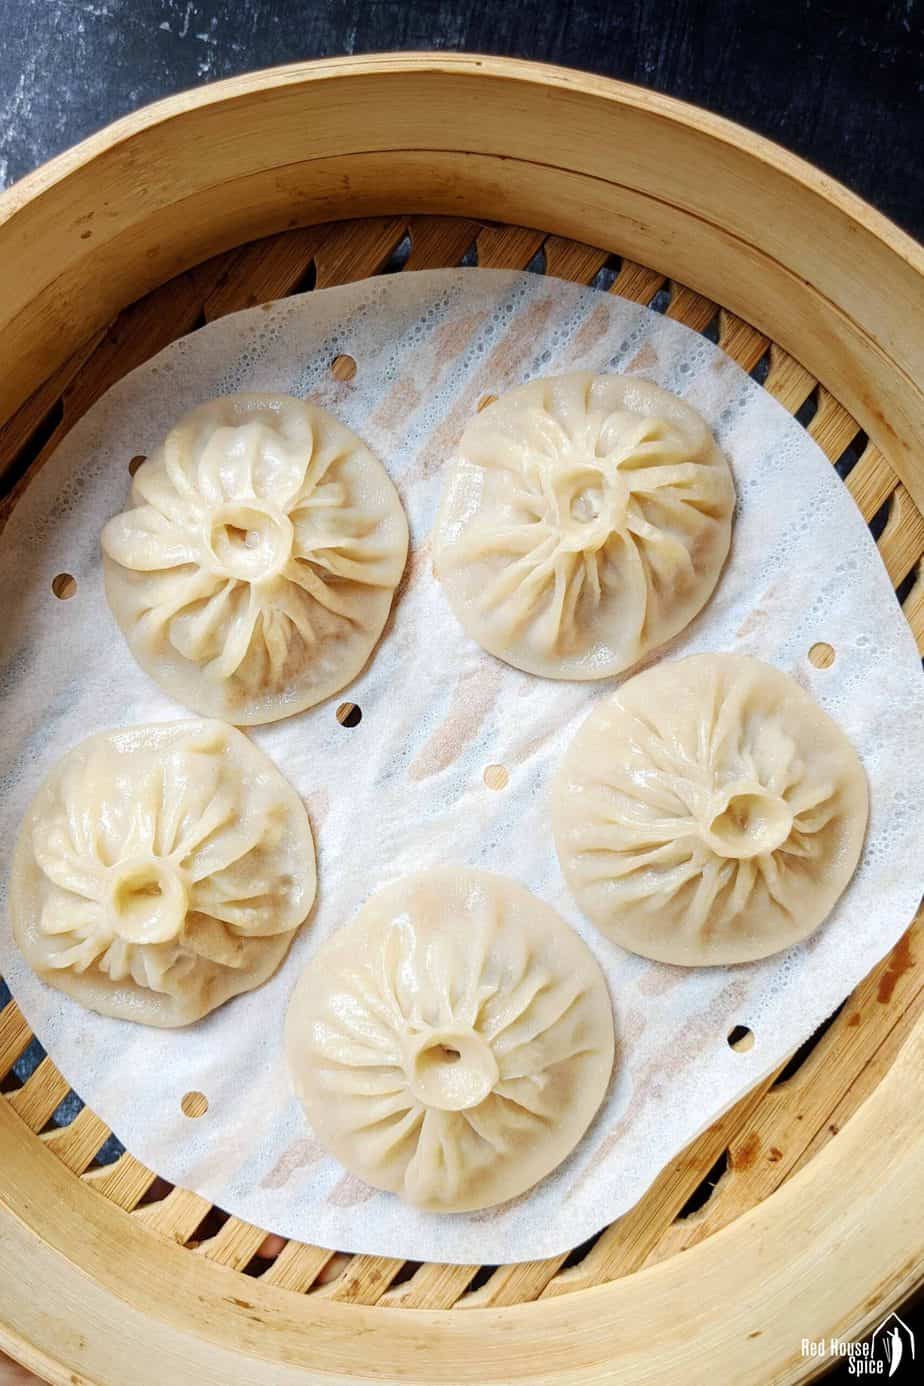
Step 18: Bring water to a full boil in a wok or pot, then set the covered steamer on top and reduce to medium-low while maintaining steam. For a batch of 10 or fewer dumplings, steam for 8 minutes; if steaming more than 10 together, use the 10-minute guide. The filling must be fully cooked, reaching at least 71°C / 160°F in the minced pork. Continue if needed. Repeat for any remaining batch, returning the water to a full boil and topping it up as needed.

Step 19: Bring the steamer basket to the table and serve the dumplings immediately, while their aspic is melted into soup.
Step 20: Lift a dumpling gently by its top with chopsticks and set it on a soup spoon or small saucer. Make a small opening to release the hot broth and let it cool enough to sip before eating.
Step 21: Mix red rice vinegar with julienned ginger to make the dipping sauce, using amounts to your taste. Gently dip the dumpling and eat it in one or two bites.
Good to know
Store
Step 1: Refrigerate leftover cooked dumplings promptly in a covered container and use within 2 days. To reheat, bring the steaming water to a full boil and place the dumplings in a lined covered steamer. Once steady steam resumes, steam for the 3-minute guide, then check that they are hot throughout and reach at least 74°C / 165°F. Continue if needed. The wrappers may absorb the soup during storage, so reheated dumplings may have less broth.
Step 2: Serve freshly assembled soup dumplings for the best texture. Avoid making them far ahead or freezing them, as the thin wrappers and soup-filled structure are delicate.
Photos (2)
Comments
0 threadsSign in to join the discussion.

No comments yet. Start the discussion.