

Moroccan · Snack
Moroccan Meloui (Malawi) Recipe - Round Laminated Moroccan Pancakes
From the zcook collection
Round laminated Moroccan pancakes made with fine semolina, bread flour and whole wheat flour. Hand-knead, rest the dough balls, wrap thin butter-and-semolina-coated squares into two rolls, slice, rest again and pan-cook with repeated turns until cooked through.
- Vegetarian
- Moroccan
- Meloui
- Laminated Pancakes
- Bread
- Snack
- Prep
- 45 min
- Serves
- 16 meloui, approximately 5 inches (12 cm) each
- Level
- Medium
- Energy
- 233 kcal
Method16 steps
Step 1: Combine the 2 cups fine semolina, 1½ cups white bread flour, ½ cup whole wheat flour, 2 tsp sugar and 2 tsp salt. Stir in the ¼ tsp dry yeast, then add about 1½ cups warm water and mix to form a soft, pliable dough that is not sticky. Work in a little extra water or flour only if needed for that texture.
Step 2: Knead all the dough from step 1 by hand for about 10 minutes, continuing until smooth and supple.
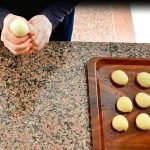
Step 3: Use some of the approximate 1 cup shaping-oil supply to oil a large tray. Divide all the kneaded dough from step 2 into approximately 16 smooth small-plum-sized balls. Space them on the tray, oil their tops with more of the same supply, cover loosely and rest for 20–30 minutes, checking from 20 minutes.

Step 4: Set up a clean work area at least 12 inches (30 cm) square. Keep the rested dough-ball tray from step 3 nearby, with the remaining shaping oil, about ½ cup softened unsalted butter and the separate about ½ cup fine semolina for layering.
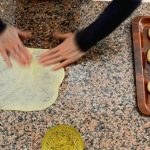
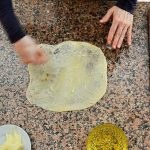
Step 5: Oil the work surface and your hands with a little of the shaping oil. Take one rested ball from step 3, oil its top and flatten and stretch it gently into a paper-thin square, using a sweeping finger motion. Use more of the same oil as needed and avoid tearing the dough.

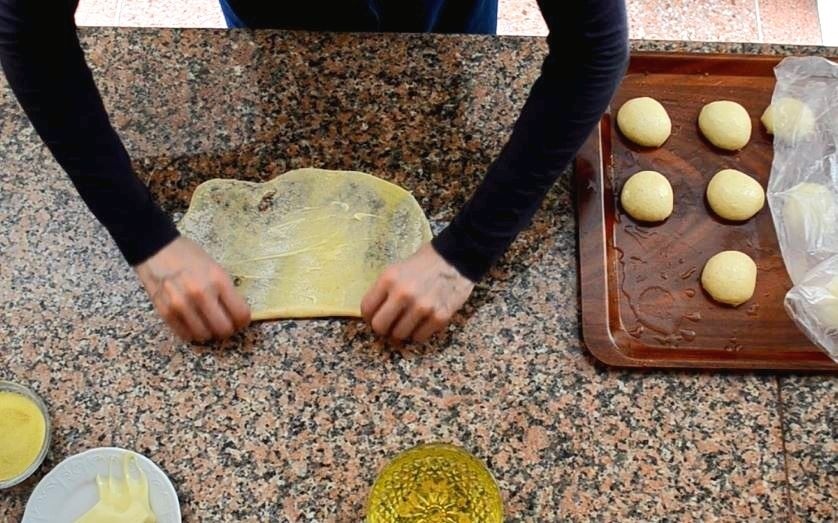
Step 6: Spread a little of the layering butter from step 4 across the thin square from step 5, then sprinkle with some of the separate layering semolina.
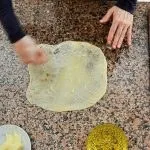
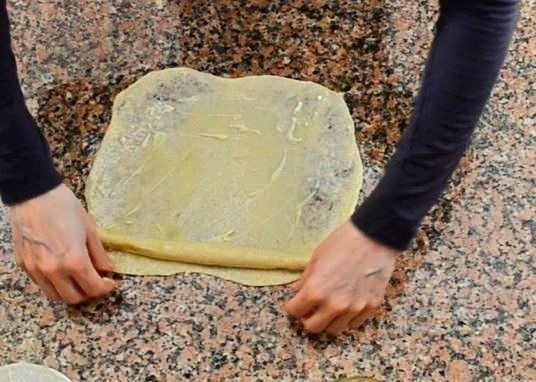
Step 7: Roll the coated square from step 6 snugly from its top edge downward toward you, as for cinnamon rolls. Set this first narrow roll aside.
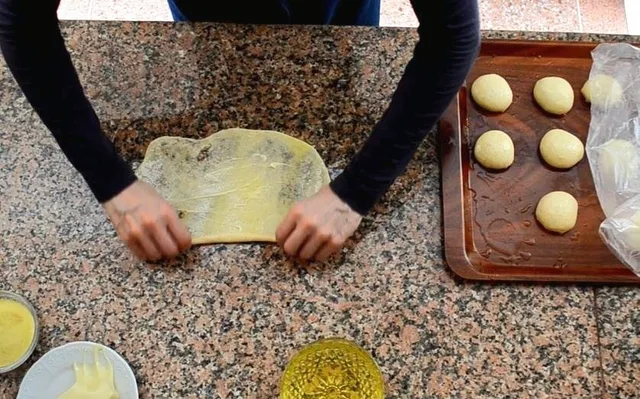
Step 8: Take a second rested ball from step 3 and flatten it into a paper-thin square the same size, using a little of the remaining shaping oil. Dot it with some of the layering butter and sprinkle with layering semolina from step 4.
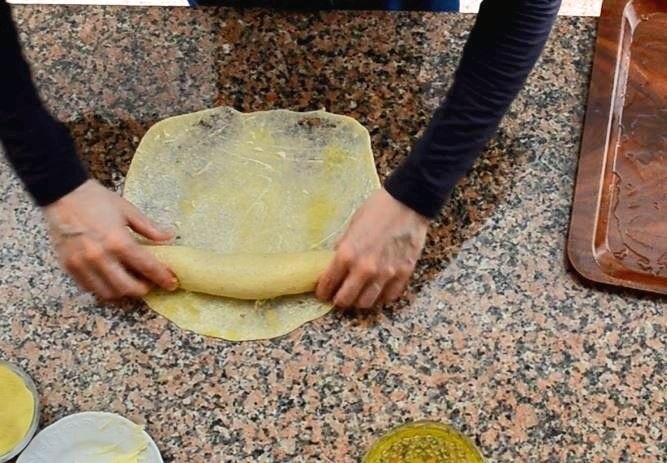
Step 9: Place the first roll from step 7 at the top edge of the second coated square from step 8. Roll downward, wrapping the second square snugly around the first roll. Set this thicker roll aside.
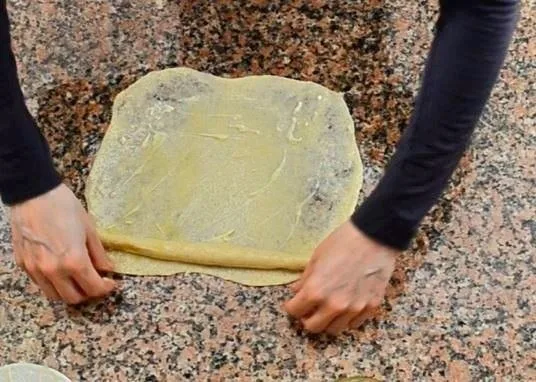
Step 10: Continue with more rested balls from step 3, flattening each with some of the same shaping oil, dotting with layering butter and sprinkling with semolina from step 4, then wrapping it snugly around the growing roll from step 9. Stop when half the dough balls have been used, leaving the other half covered for the second large roll.

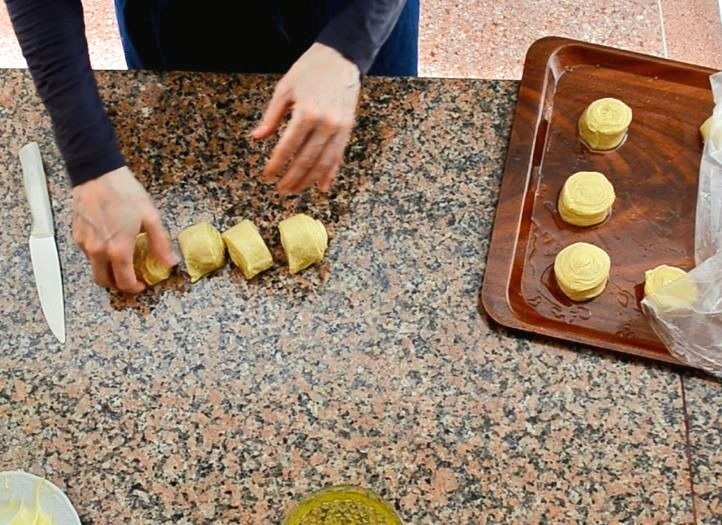
Step 11: Cut the completed first large roll from step 10 into 8 even slices: halve it, halve each piece, then halve again. Put the eight slices cut-side up on the tray and cover loosely.
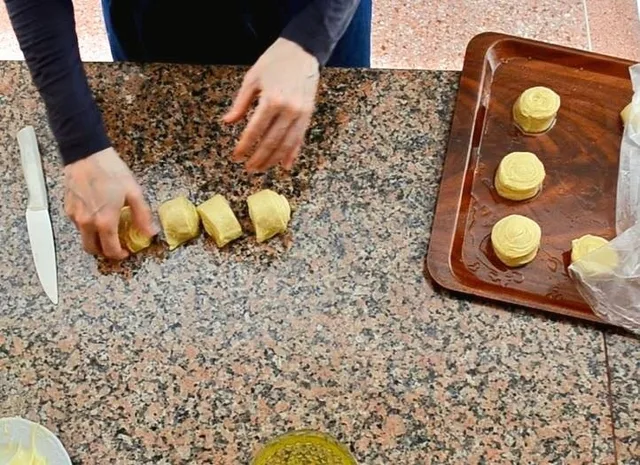
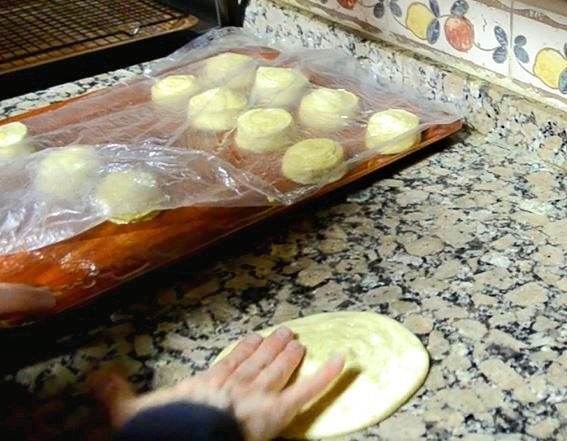
Step 12: Repeat steps 5–10 with the remaining half of the rested dough balls from step 3, using more of the same shaping oil and layering supplies from step 4, to make a second large roll. Cut it into 8 slices as in step 11. Put both sets of slices coil-side up on the tray, cover loosely and rest for 15–20 minutes, checking from 15 minutes.
Step 13: After the sliced rolls have rested, heat a double griddle or two suitable frying pans over medium heat.
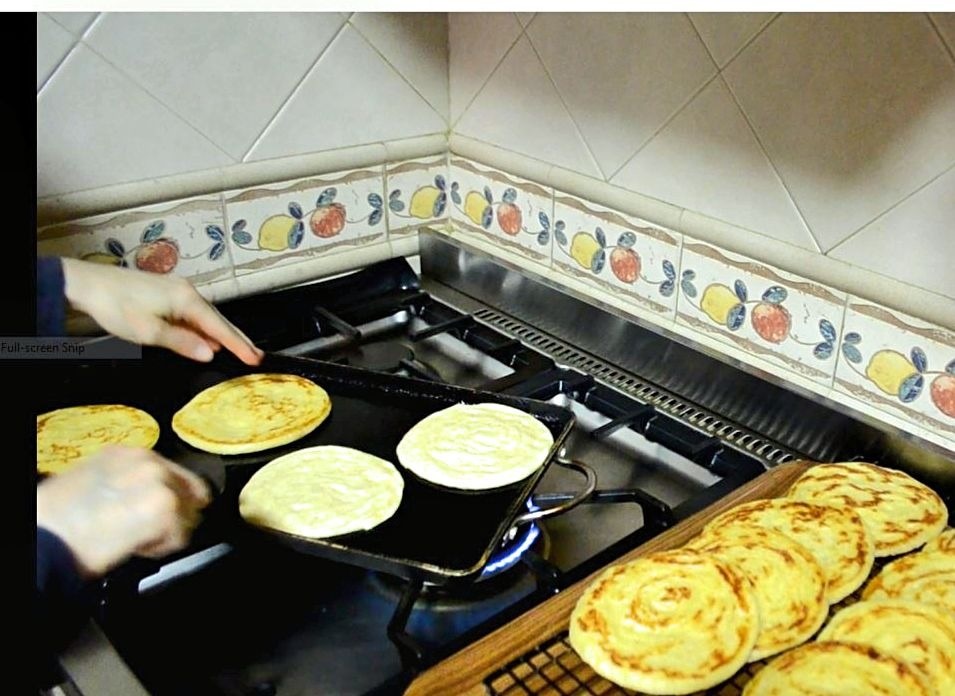
Step 14: Starting with the rolls shaped first in step 12, take two and pat them into rounds about ⅛ inch (3 mm) thick. Put them on the preheated pan or griddle and cook for several minutes, turning several times, until golden and crisp outside and cooked through the center. Move the cooked meloui to a rack to cool.

Step 15: Flatten and cook the remaining rested slices from step 12 in batches that fit the pan, turning several times as in step 14. Keep the heat moderate so each center cooks through before the outside burns. Continue until all 16 meloui are cooked, transferring each batch to the rack and collecting it with the first batch.

Step 16: Serve the cooked meloui collected in step 15 warm, with optional separate serving butter and honey. For storage, cool the plain meloui completely and freeze for up to two months. Reheat thawed or frozen meloui in a pan, or directly on a rack in a preheated 180°C (350°F) oven for a few minutes until warmed through.
Photos (1)
Comments
0 threadsSign in to join the discussion.


No comments yet. Start the discussion.