
Chinese · Side
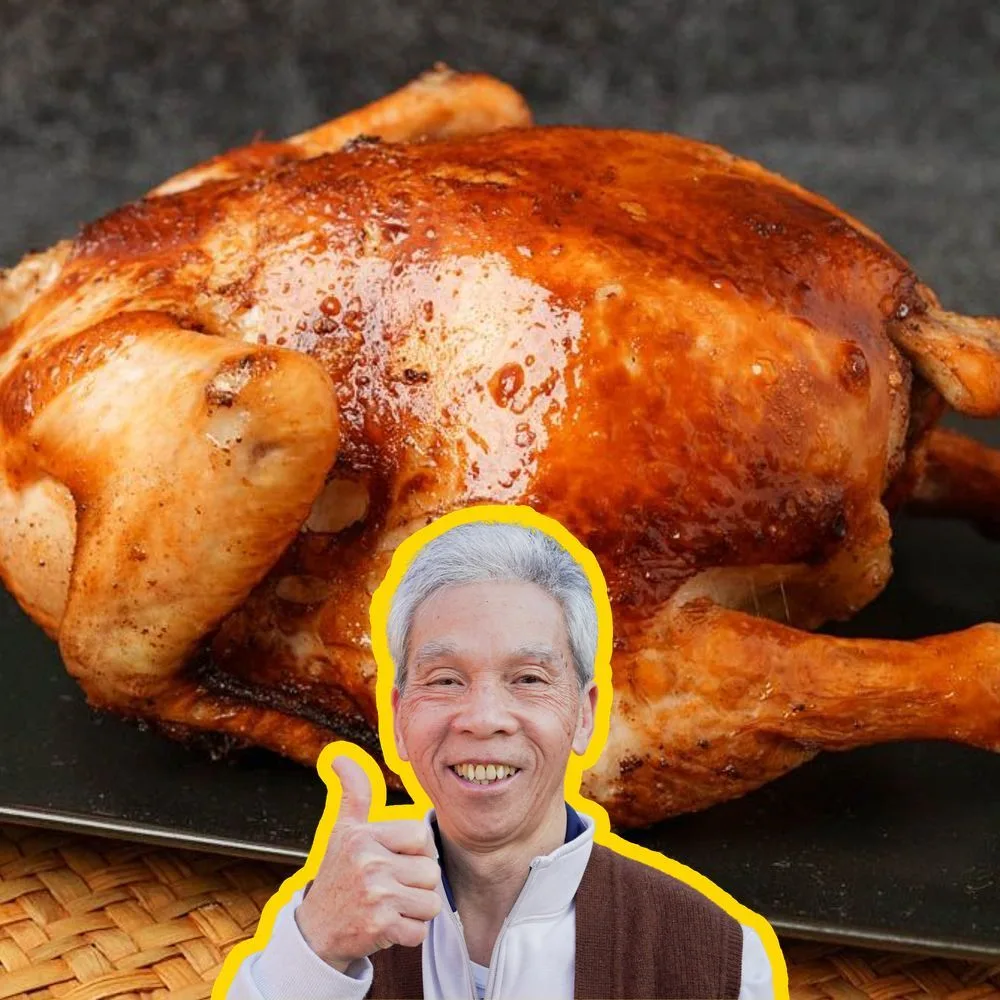
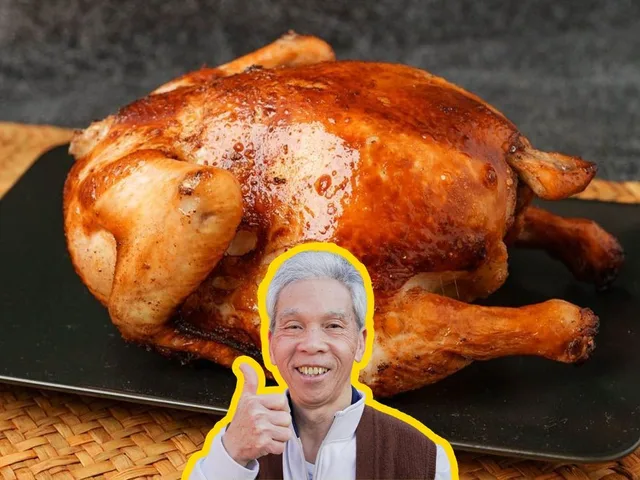
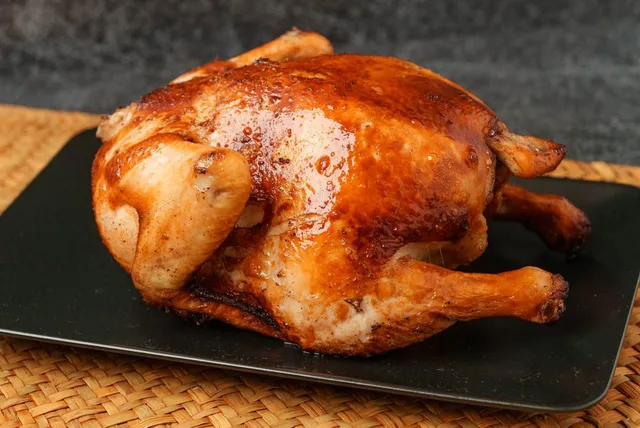
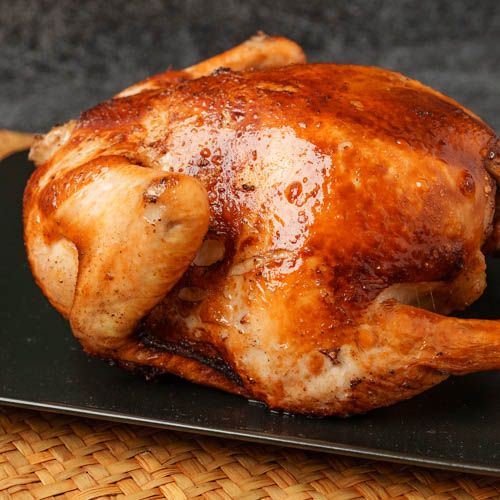
Crispy Skin Chicken
From the zcook collection
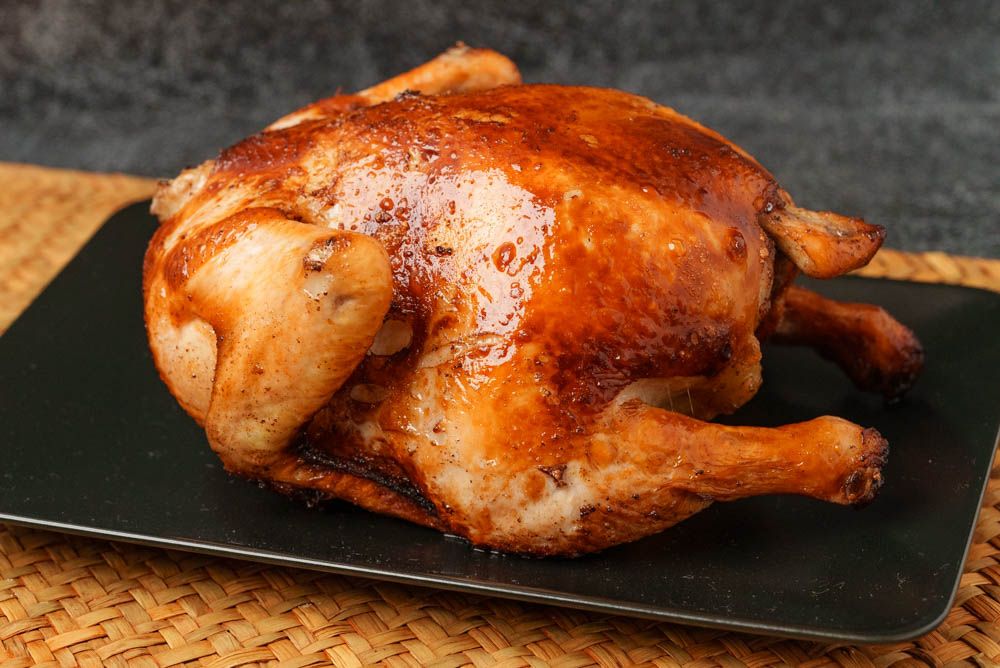
Chinese crispy-skin chicken with a honey-vinegar glaze, two frying stages and seasoned salt for dipping.
- Dairy-free
- Chinese
- Side
- fried chicken
- Chinese cooking
- Chinese banquet
- holiday dish
- Prep
- 4 hr 30 min
- Cook
- 30 min
- Serves
- 4
- Level
- Medium
- Energy
- 680 kcal
Method9 steps
Step 1: If feet remain attached, remove at the joint. Inspect the cavity and surface and remove loose innards or bone fragments with clean paper towels; do not wash raw chicken (3 1/2 lb). Gently ease the legs away from the torso, then pat the inside and outside thoroughly dry. Keep refrigerated while preparing seasoning.
Step 2: Mix the cavity dry rub using its separate 1/2 tbsp salt, 1 tsp five-spice and 1/4 tsp white pepper. If desired, substitute the optional 1 tsp garlic salt for cavity five-spice, using one or the other. Separately mix red vinegar (1 tbsp), white rice vinegar (1 1/2 tbsp) and honey (2 tbsp) for the glaze; microwave 10–20 seconds to help dissolve honey and stir smooth.
Step 3: Rub prepared cavity seasoning thoroughly inside the chicken only, keeping it off the skin. Rub the separate 1 1/2 tbsp skin-treatment salt outside. Refrigerate 20 minutes to season the cavity and draw moisture from skin.
Step 4: Bring the separate 6 cups blanching water to a boil in a wok. Support chicken securely over it with heatproof tools, keeping hands away from steam, and carefully ladle boiling water over the outer skin while avoiding the cavity so the cavity seasoning remains. Include beneath wings and the back; if the head remains attached, dunk it about 20 seconds. Stop when wrinkled skin tightens and plumps. This blanching liquid is discarded and is not frying oil.
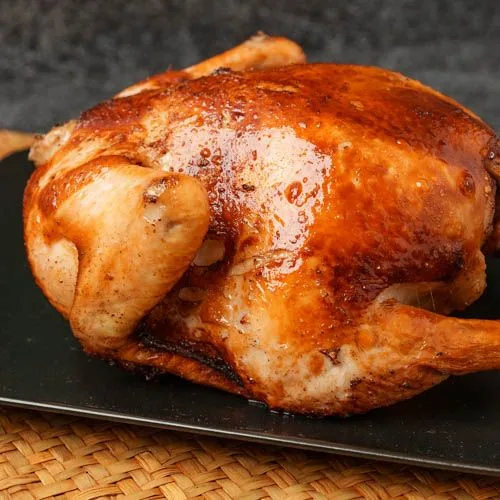
Step 5: Prop blanched chicken securely on a clean sturdy food-safe support and drain about 20 minutes until water no longer drips and skin is dry. Brush the prepared honey-vinegar glaze thoroughly over every part of the skin. Dry on a plate in the refrigerator 2–3 hours or overnight. Optionally use another coat from the same glaze supply, then dry again in the refrigerator. Never add dripping-wet chicken to oil.
Step 6: Heat a dry wok on low. Stir the separate 2 tbsp dipping salt about 45 seconds until slightly yellow. Turn off heat, move salt to a clean bowl, then mix in the separate 1/2 tsp dipping five-spice and 1/2 tsp dipping white pepper. Keep this salt dip separate from the cavity rub and skin salt.
Step 7: Start 1st fry: Use sharp kitchen shears to cut off the neck of the chicken. This will make the chicken easier to fry; we’ll fry this separately later, though you can discard if you wish.; Fill your wok with oil so that it can cover at least half the chicken, and heat it to 300°F (149°C). It took nearly a lb of oil to fill our wok. The same frying oil will be used for the second fry. You can test the temperature of the oil with a thermometer, or by checking for small bubbling when poking a wooden chopstick into the oil.; When the oil is hot enough, lay a metal slotted spatula in the wok and slowly place the chicken into the wok, over the spatula, with the breast side facing down. The slotted spatula will keep the chicken from directly touching the wok, which would cause sticking and burning.; Turn the heat off and use a ladle to scoop and pour the hot oil over the chicken. Keep at it until the bottom of the chicken has turned golden brown, for 8-10 minutes. When the oil drops to 212°F (100°C), or the boiling point of water, turn the heat onto low to bring the oil back up; keep the oil temperature around 212°F (100°C).; Flip the chicken over and cook until the other side turns a golden brown, which will take 5-6 minutes. Continue ladling hot oil over the exposed areas of the chicken.; Turn the chicken on one side to cook the thigh for 1 minute, then turn it onto the other side and cook the other thigh for 1 minute.; Turn the heat off and transfer chicken to a plate for the moment. If there are any burnt bits of chicken in the oil, use a fine-mesh sieve to remove them.; Fry head & continue 1st fry; Keeping the oil temperature at around 212°F (100°C), fry the chicken head for 4 minutes.; Increase heat to raise the oil temperature to 375°F (190°C). This secondary stage of the first fry requires more maneuvering, so get a partner to help if you need to: instead of putting the chicken in the oil, hold the chicken in a large spider strainer over the wok and ladle the very hot oil over it. Spend 1-2 minutes ladling the hot oil over, making sure to evenly cover all the surface of the skin.; Turn the heat off and put the chicken down (finally!) into the oil, again keeping that strainer or slotted spatula between the chicken and the wok to keep the chicken from sticking and burning. Let the chicken cook for another 6-7 minutes, flipping it over from time to time. The goal is to get a consistent golden brown color across the entire chicken.; Before cooling, check the thickest breast and innermost thigh with a thermometer away from bone; the chicken must reach 74°C/165°F throughout during this first fry. If not, continue cooking now until fully cooked. Set fully cooked chicken on a clean wire rack to cool for at least 30 minutes. If you want extra crispy skin, let it cool and dry for even longer.; However, the longer you wait for crispier skin, the more moisture the inside of the chicken loses, so you’ll be choosing between the most succulent meat and the crispiest skin. If delaying longer, cool promptly and refrigerate fully cooked chicken; never refrigerate partially cooked chicken for later finishing. Keep any optional fried head/neck subject to the same fully cooked endpoint before cooling.
Step 8: 2nd fry: When you’re ready for the second fry, heat up the oil to 375-400°F (190-204° C) and maintain the temperature there. Place the chicken with the breast side down onto a spider strainer.; Hold the chicken over the wok and ladle oil over its entirety. Tilt the chicken to get oil into the nooks and crannies, such as under the wings. Spend about 4 minutes ladling the hot oil over the chicken until the skin crisps up to your liking.; Dip the chicken, breast side down, in the hot oil a few times to fry the breast side.; Check that the thickest breast and innermost thigh reach 74°C/165°F after the second fry. Turn off the heat, and let the chicken sit on a plate or wire rack so the excess oil can drain. Rest for 30 minutes, then chop it up for serving. We don’t recommend waiting much longer before digging in, as the juices inside the chicken will start to soften the crispy skin.
Step 9: After the authored 30-minute post-fry rest, carve with a stable board and suitable sharp knife. Remove rear end, halve lengthwise, then separate wing and thigh/drumstick at joints. Split each breast half lengthwise and cut into roughly 1-inch-wide pieces; separate drumstick and thigh and cut serving pieces. Remove wing tip and optionally halve wing. Repeat the other side, then arrange the pieces to resemble the whole bird. Any retained fried head may be plated for presentation. Serve the prepared salt dip alongside, using only to taste; reserve clean unused dip.
Photos (1)
Comments
0 threadsSign in to join the discussion.


No comments yet. Start the discussion.