

Japanese · Dessert
Cigarette Butter Cookie (Yoku Moku Cigare)
From the zcook collection
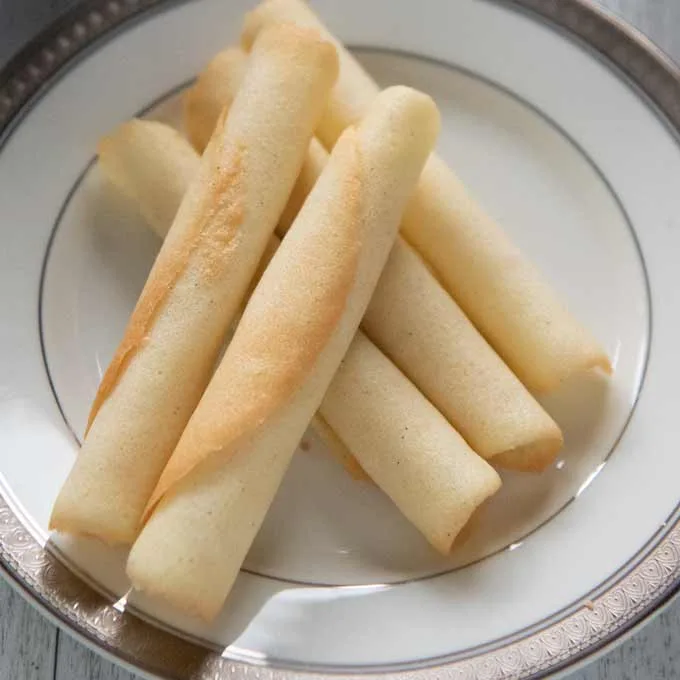
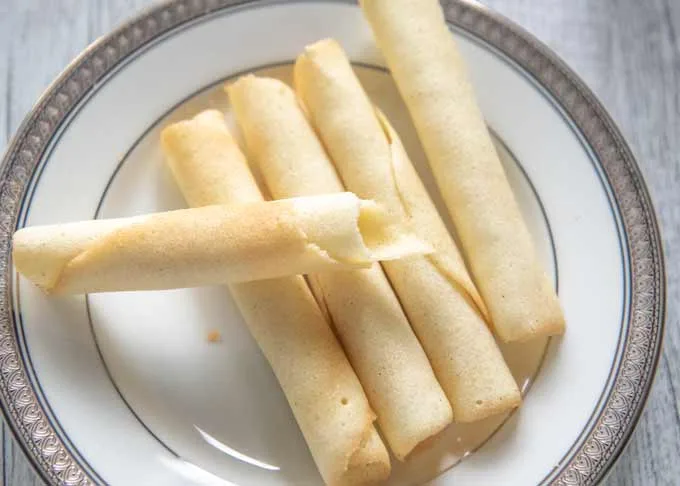
Thin butter and almond cookies rolled into crisp tubes while warm. Choose a spoon or stencil to shape each tray; the timing estimate covers three batches.
- Vegetarian
- Japanese
- Dessert
- Total
- 33 min
- Prep
- 15 min
- Cook
- 18 min
- Serves
- About 10 cookies
- Level
- Medium
- Energy
- 58 kcal
Method20 steps · about 33 min
Step 1: Heat the oven to 170°C / 338°F. Weigh one egg white of 33–36 g, then weigh the same amount of butter and melt it completely. Choose either the spoon method (steps 6–9) or the stencil method (steps 10–14) for each tray.
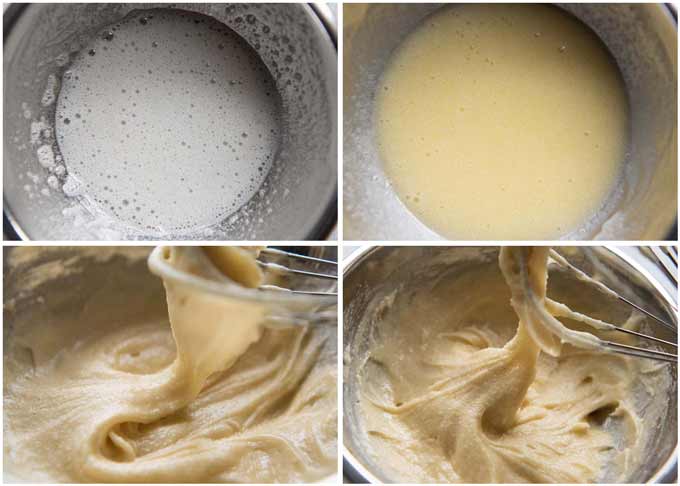
Step 2: Mix the weighed egg white and caster sugar (40 g) with a whisk until the sugar mostly dissolves. Stir to combine without whipping the mixture into foam.
Step 3: Mix the melted butter into the egg white and sugar mixture.
Step 4: Mix in one third of the sifted flour (10 g), then mix in the remaining 20 g flour and all 10 g almond meal until combined.
Step 5: Stir in the optional vanilla bean paste (⅛ tsp). The batter should form a soft peak that bends immediately when the whisk is lifted. If the batter becomes firm in a cold kitchen, set its bowl over a bowl containing a little warm water and stir until it softens; keep the water out of the batter.

Step 6: Spoon method only: skip steps 10–14. Cut baking paper to fit a large baking tray.
Step 7: Spoon method only: draw 3–4 circles about 11 cm / 4¼ inches across on the back of the paper, leaving 2–3 cm / 1 inch between them. Put the paper on the tray with the drawn side down.
Step 8: Spoon method only: put a little more than 1 tbsp batter in the centre of each circle. Keep the remaining batter for later trays.
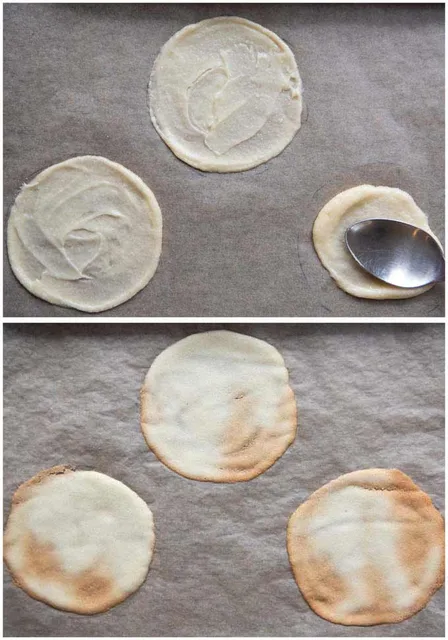
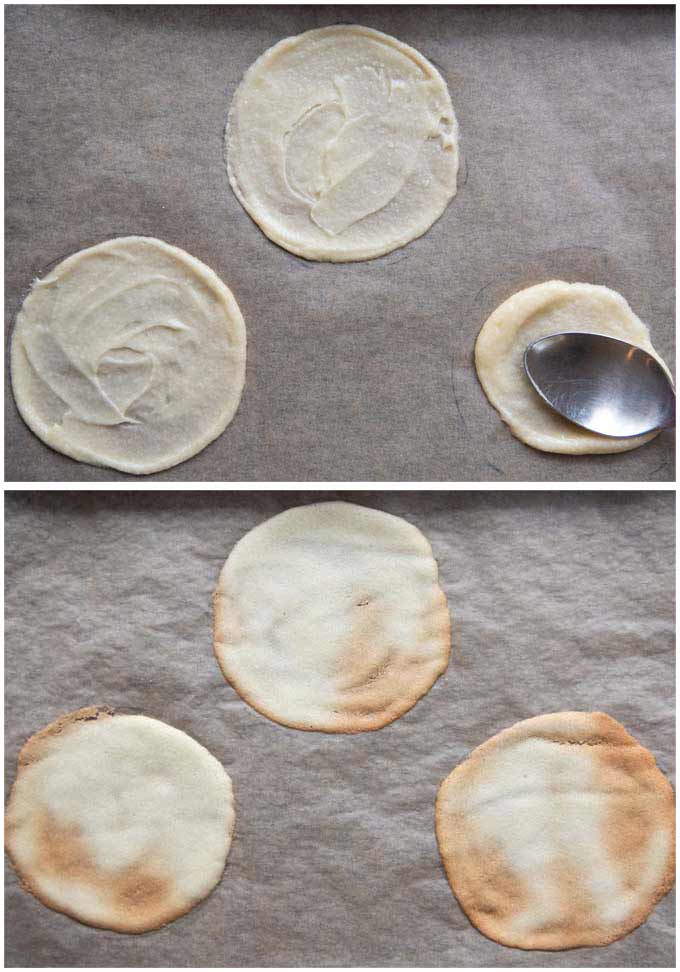
Step 9: Spoon method only: spread the batter with the back of a spoon to fill each circle evenly, about 1 mm / 3/64 inch thick. Avoid a very thin centre. Continue at step 15.
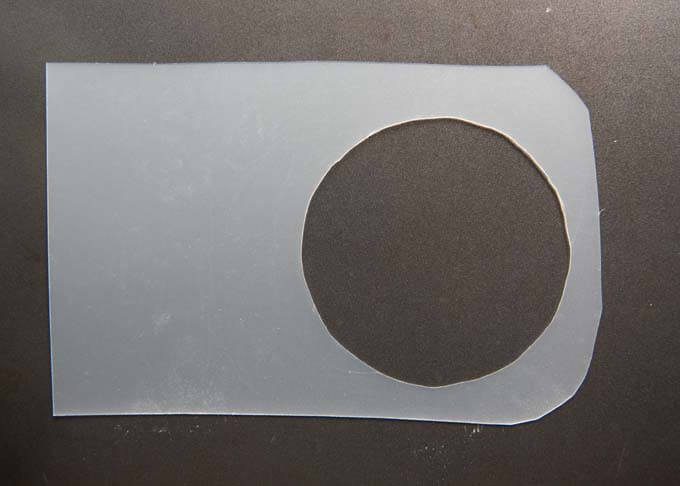
Step 10: Stencil method only: skip steps 6–9. Make an 11 cm / 4¼ inch circular opening in a food-safe sheet about 1 mm thick, leaving a 2–3 cm / 1 inch margin on three sides and a larger margin on the fourth.

Step 11: Stencil method only: line a baking tray with paper cut to fit.
Step 12: Stencil method only: place the stencil near a corner of the lined tray and put a little more than 1 tbsp batter at one end of its opening. Keep the rest for the other circles and later trays.
Step 13: Stencil method only: use an icing spatula to spread the batter across the opening in an even layer about 1 mm / 3/64 inch thick. Use the excess to fill any gaps.
Step 14: Stencil method only: lift off the stencil and repeat for the remaining circles, leaving 2–3 cm / 1 inch between them. Remove the stencil from the tray before baking.
Step 15: Bake one tray prepared by your chosen method on the middle oven shelf for about 5½–6 minutes, until the cookie edges turn light brown. Baking time varies with thickness and oven strength.
Step 16: Remove the tray and promptly peel off one cookie while it is hot and floppy. Work on the warm tray; thin cotton gloves can help protect your hands.
Step 17: Roll the warm cookie away from you on the tray, starting at its near edge. You can roll it around a chopstick to form the tube.
Step 18: Finish the roll and hold the end in place for about 5 seconds to secure it.
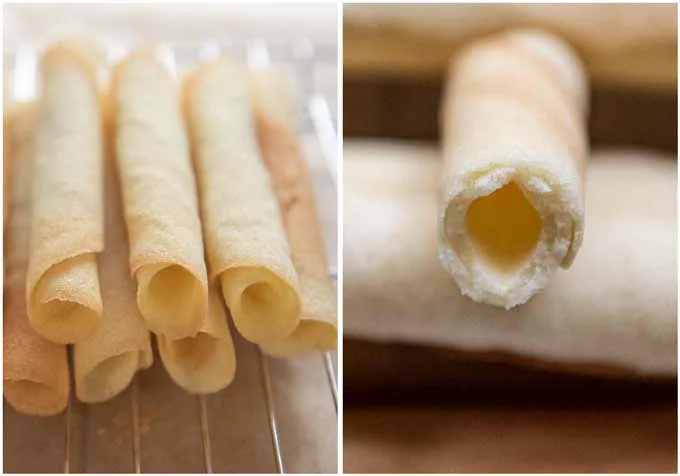
Step 19: Roll the other cookies from this tray in the same way before they harden. Put the rolled cookies on a rack to cool and become crisp.
Step 20: Repeat your chosen shaping method, baking and hot rolling with the remaining batter until it is used up. For later trays, spread batter on cool paper on the worktop before transferring it to a hot tray. The batch makes about 10 cookies; let all of them cool on the rack.
Photos (5)
Comments
0 threadsSign in to join the discussion.


No comments yet. Start the discussion.