
Japanese · Appetizer
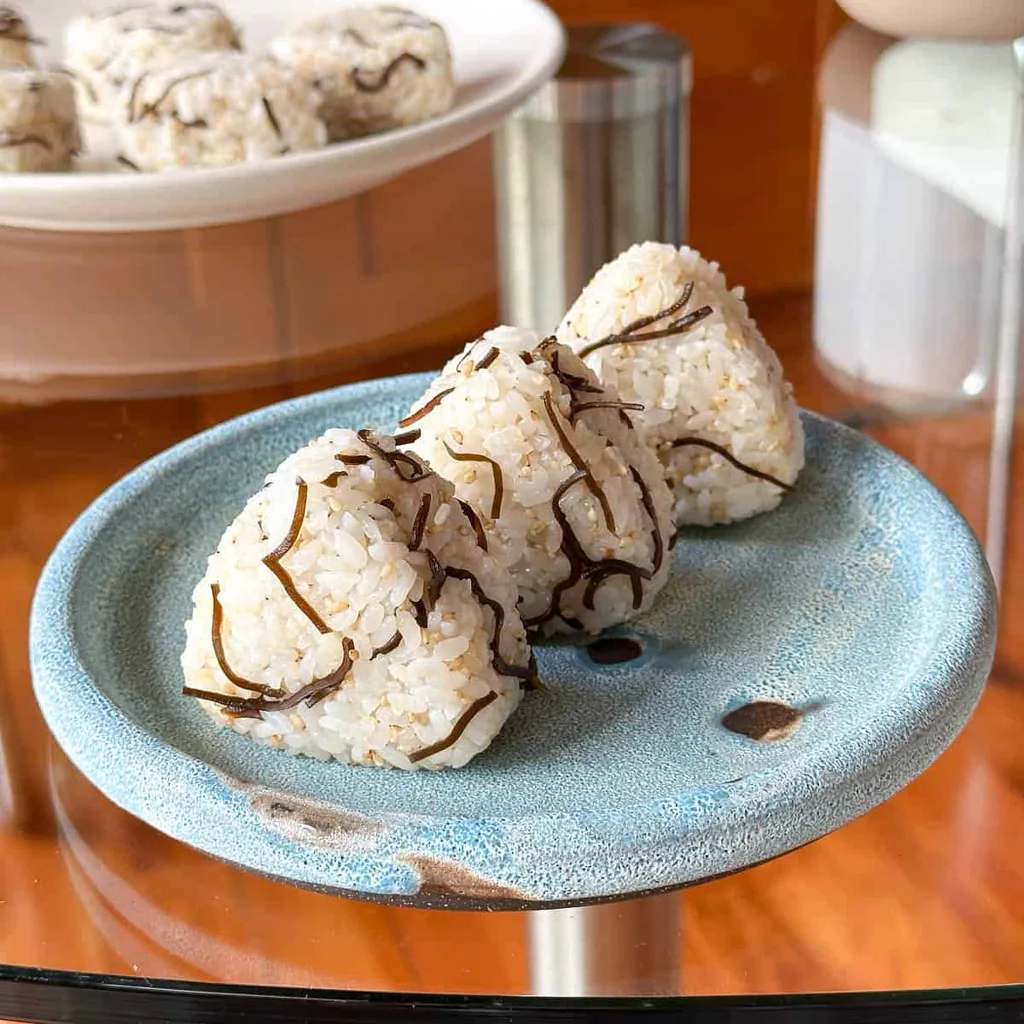
Kombu Onigiri / Musubi
From the zcook collection
Warm Japanese short-grain rice mixed with ready-seasoned shio kombu and roasted sesame seeds, then gently shaped in a damp, lightly salted mold. One batch makes about six standard onigiri or twelve mini pieces.
- Japanese
- Onigiri
- Mixed rice musubi
- Total
- 10 min
- Prep
- 10 min
- Serves
- About 6 standard onigiri or 12 mini onigiri
- Level
- Easy
Method9 steps · about 10 min
Step 1: Fluff the six cups of freshly cooked Japanese short-grain rice and transfer the one warm cooked-rice batch to a large bowl.
Step 2: Gently fold the three tablespoons each of roasted white sesame seeds (3 tbsp) and shio kombu (3 tbsp) into the one warm rice batch until evenly distributed. Shio kombu softens in the warm rice without pre-soaking. If refreshing older roasted sesame seeds, dry-toast them just until fragrant before this mixing stage; do not burn them.
Step 3: Wash the onigiri mold and set it on a clean plate or board. Put the one teaspoon of sea salt in a small dish beside the mold, along with the mold-wetting water. Keep these supplies for the whole batch.
Step 4: For the first piece, lightly wet the mold with an actual small splash of water, shake out the excess, and sprinkle a little salt from the prepared dish inside. Keep the remaining salt and water for later pieces.
Step 5: Draw the actual amount of prepared sesame-and-kombu rice needed to fill the damp, lightly salted mold. Pat it in gently with a rice paddle; do not crush the grains. Keep the remaining seasoned rice for the other pieces.
Step 6: Use the mold’s lid to press the first filled mold gently into a cohesive onigiri.
Step 7: Invert the closed mold and press its back gently to release the first formed onigiri onto a clean plate.
Step 8: Repeat the wetting, light salting, filling, gentle pressing and release with the actual remaining seasoned rice and molding supplies. Use the one batch to make about six standard onigiri OR twelve mini onigiri, depending on your mold size. Do not make both complete yields from the same batch.
Step 9: Serve the first formed onigiri and the remaining pieces from the same completed batch while warm.
Photos (1)
Comments
0 threadsSign in to join the discussion.
No comments yet. Start the discussion.