
Punjabi · Dinner
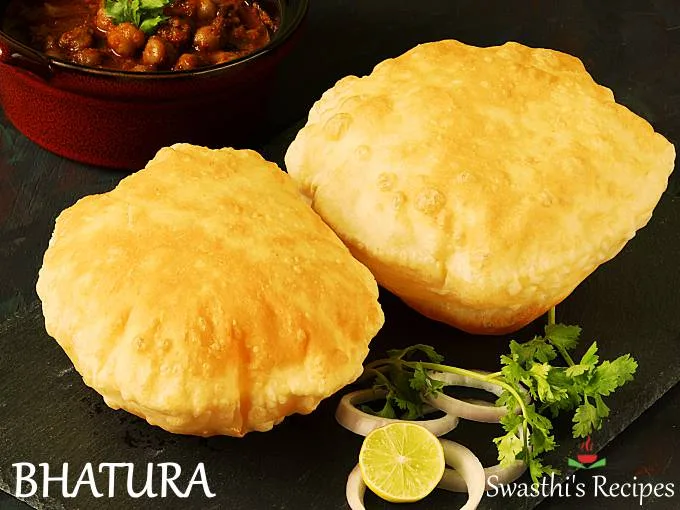
Bhatura Recipe, How to Make Bhature
From the zcook collection
Puffed, deep-fried Indian breads made with flour, yogurt and a leavener. The Eno route is shaped and fried immediately; the alternate baking powder/soda dough rests 2–4 hours. Serve with prepared chole.
- Vegetarian
- Indian
- Main
- bhatura
- how to make bhatura
- Total
- 35 min
- Prep
- 20 min
- Cook
- 15 min
- Serves
- 8 medium bhaturas (or 5 large)
- Level
- Hard
- Energy
- 181 kcal
Method29 steps · about 35 min
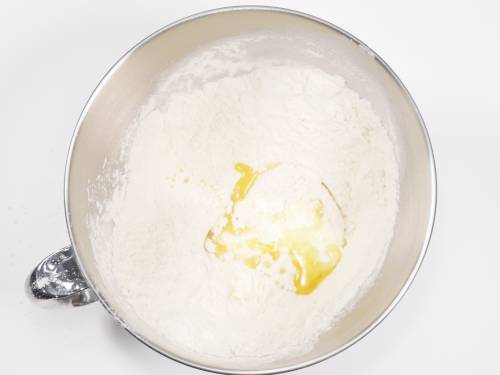
Step 1: In a large mixing bowl, mix together all-purpose flour (2 cup), semolina (1½–2 tbsp) and salt (0.25 tsp).
Step 2: Next add curd and oil (1 tbsp).
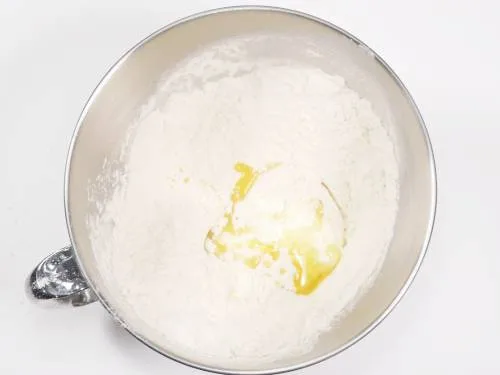
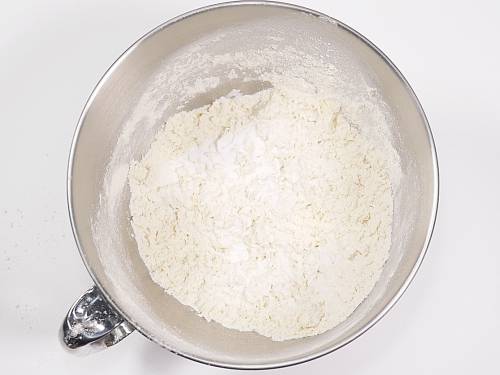
Step 3: Mix all of these until the oil and yogurt incorporates well into the flour.
Step 4: Mix in ONE leavening option: 1 tsp Eno fruit salt, OR ½ tsp baking powder together with ⅛ tsp baking soda.
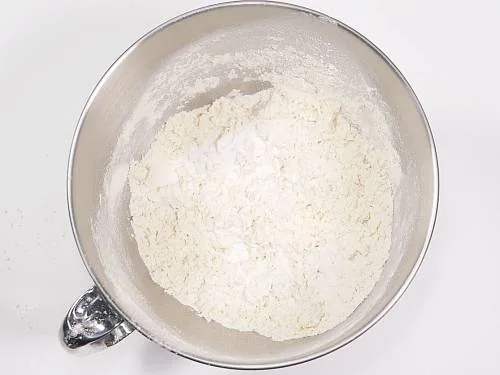
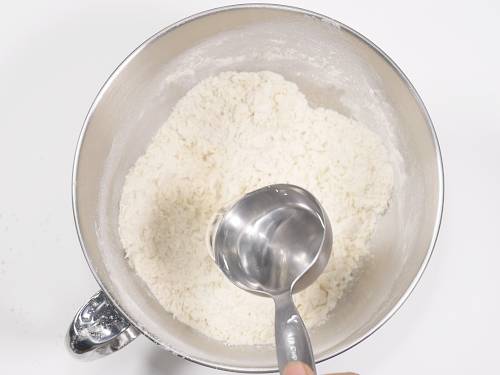
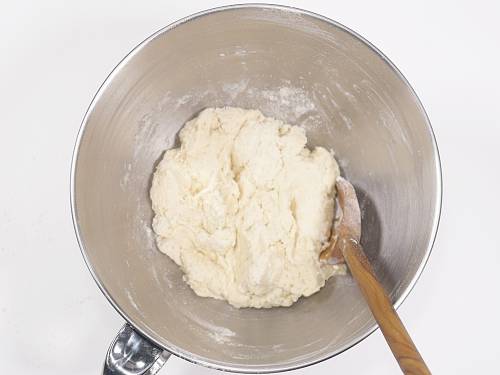
Step 5: Add ¼ cup warm water, half of the listed starting half cup, and begin forming a dough.
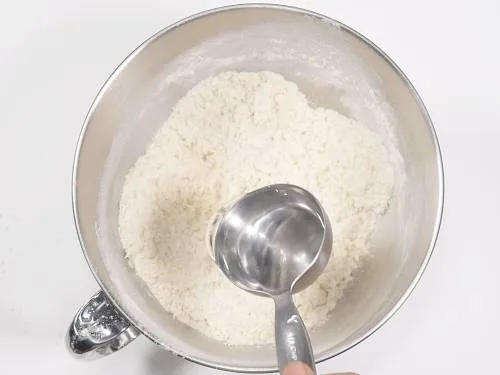
Step 6: Add some or all of the remaining ¼ cup warm water, then a little extra only if needed for a soft dough.

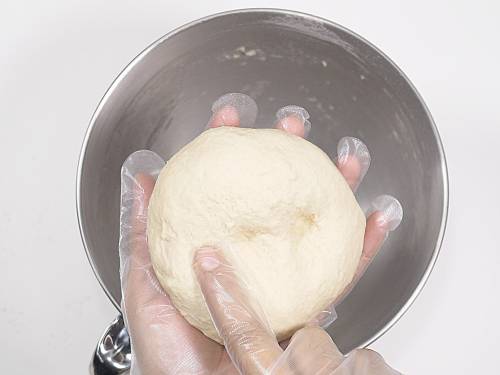
Step 7: Knead the dough very well until soft. If using a stand mixer, then knead it on a medium speed for 5 minutes.
Step 8: When you press down the dough, it should dent meaning it is soft. If you pull the dough, it should be elastic and stretchy. This is what gives the bhatura it's chewy texture. If the dough hasn't got this texture, knead it a little longer.
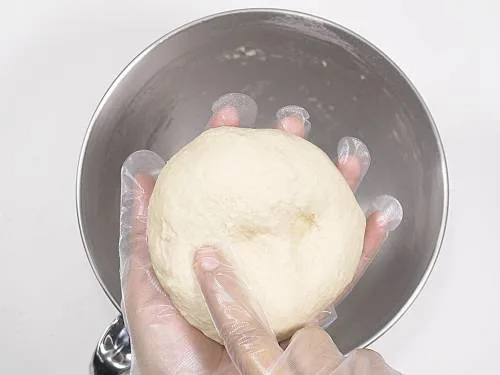
Step 9: Smear the kneaded dough with a few extra drops of coating oil. For Eno, do NOT rest: shape and fry immediately. For the alternate baking powder/soda route, cover and rest 2–4 hours in a warm place before shaping.
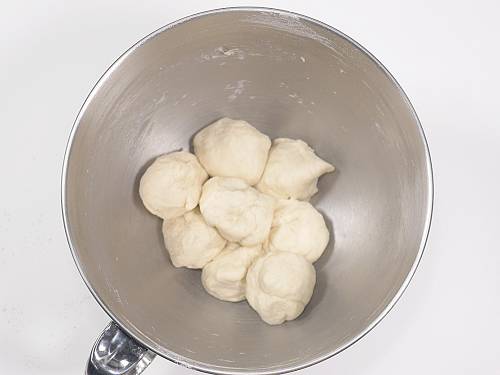
Step 10: Divide the chosen-route dough into 8 portions for medium bhaturas, or 5 for large ones; use one size for the whole batch.
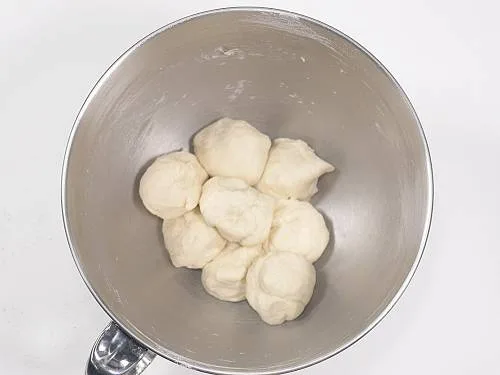
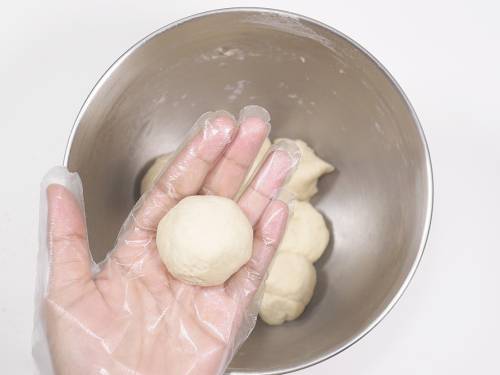
Step 11: Smoothen the balls to make them crack free. If you find cracks just join them and smoothen the dough balls.
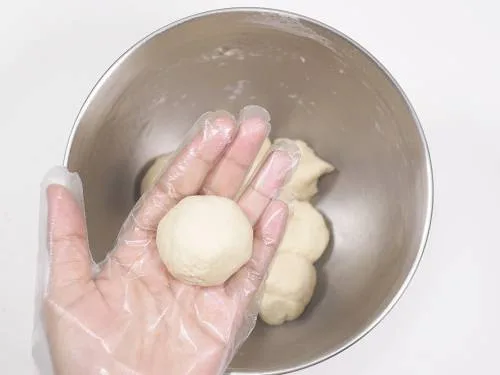
Step 12: Smear oil over the balls and keep them covered.
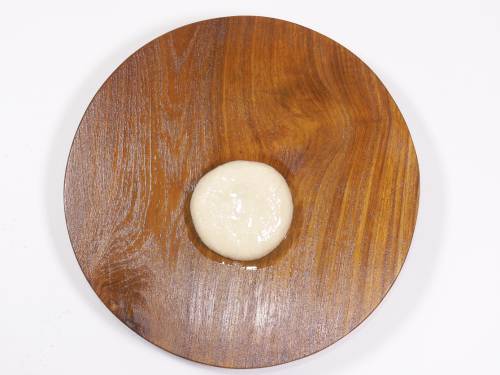
Step 13: Grease your rolling surface well and place a dough ball.
Step 14: Pour few drops of oil and flatten it slightly.

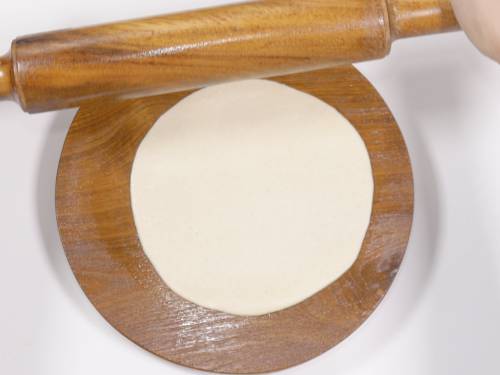
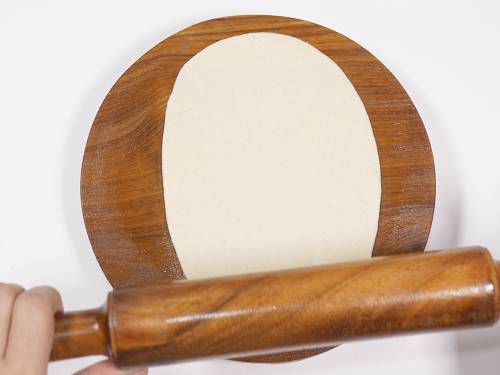
Step 15: Begin to roll the bhatura to a oval or round shape as you desire.

Step 16: Do not remove the bhatura from the rolling surface. Instead turn your rolling board and roll the bhaturas. (check the video)
Step 17: You will see the bhatura keeps bouncing back. So you need to keep rolling them slightly bigger.
Step 18: Roll them big or small depending on the size of your kadai.
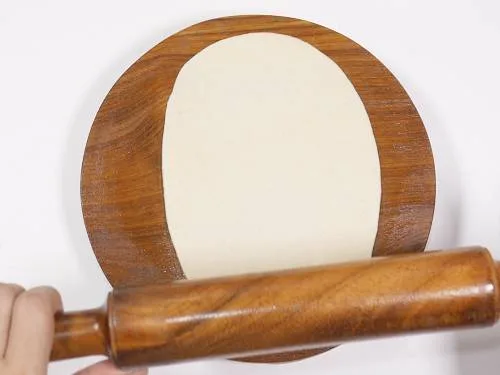
Step 19: If you chose the large size, you can roll all five breads before frying. Otherwise roll the selected medium portions, keeping their dough covered until needed.
Step 20: Heat the separate 1½ cups frying oil, or enough for the pan, in a deep wide kadai that fits the rolled breads. Dough oil is already incorporated and is not the frying bath.
Step 21: Test the heated frying bath with a tiny piece from the same prepared dough.
Step 22: The dough has to rise well. This is the right temperature for frying.
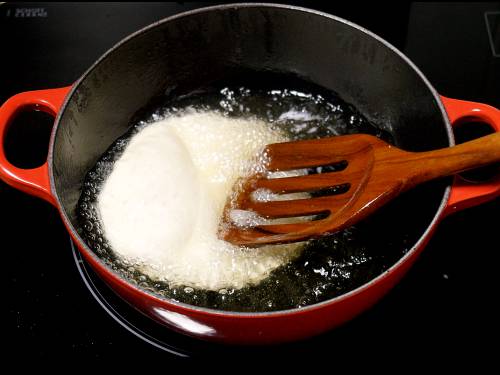
Step 23: Gently slide in the bhatura from the sides of the kadai.
Step 24: When it comes half way to the surface, press down gently with a spatula to help it puff up completely.
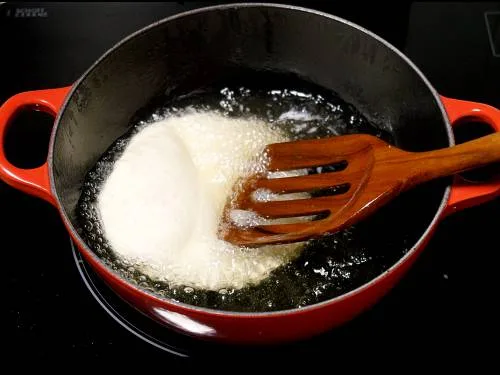
Step 25: Then check if the bottom part is cooked, crisp and golden then flip it.
Step 26: Flip it again and fry until crisp and golden.
Step 27: Remove the fully cooked golden bhatura from the frying oil. Serve promptly with optional prepared chole, sliced onion and lemon wedges.
Step 28: Continue to fry the rest while you make the rest of the bhaturas.
Step 29: Keep the same frying oil hot enough between breads. Retest with a tiny dough piece if needed; do not add raw leavening powder to the oil.
Photos (1)
Comments
0 threadsSign in to join the discussion.


No comments yet. Start the discussion.