
Kenyan · Breakfast, Dinner, Lunch
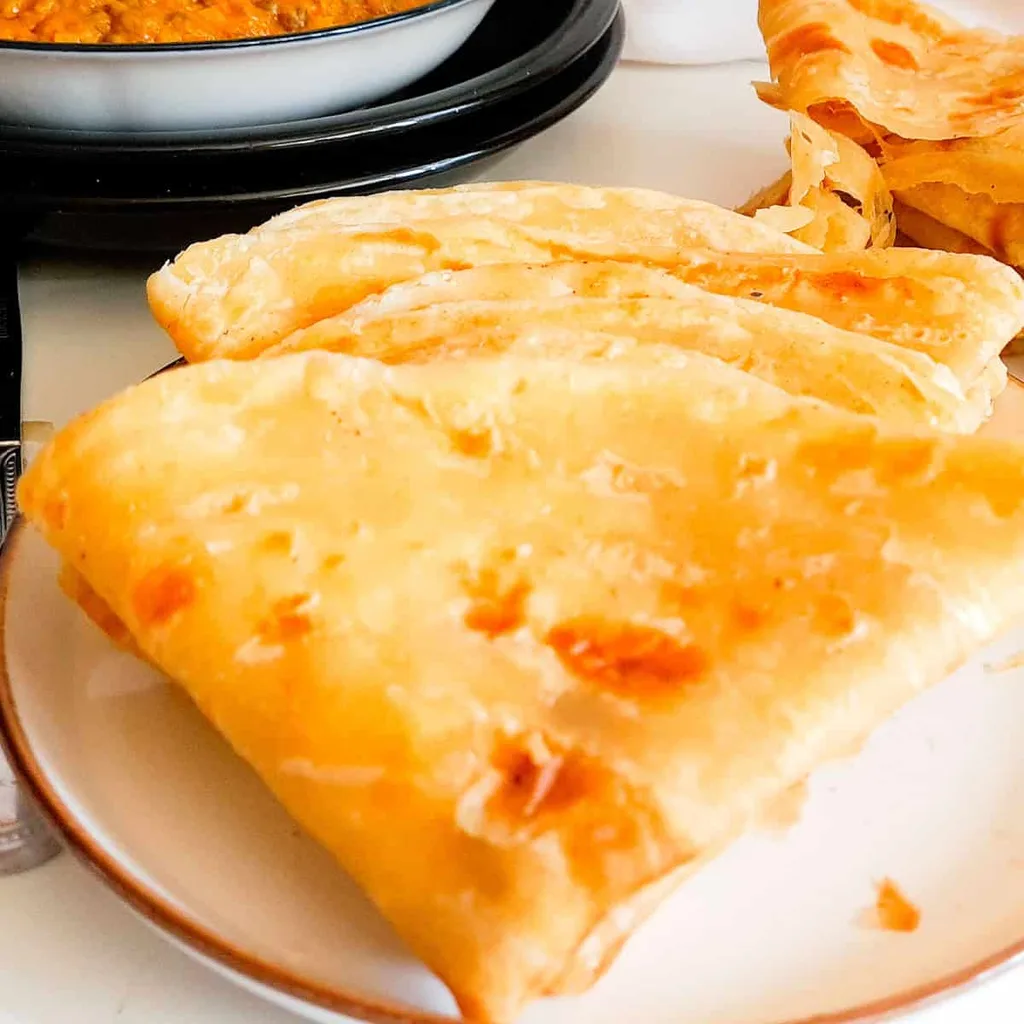
Garlic Butter Chapati
From the zcook collection
These flaky, soft, and delicious butter chapati are perfect to enjoy with your curries, stews, and so much more!
- Vegetarian
- Kenyan
- Prep
- 15 min
- Serves
- 12 servings
- Level
- Medium
- Energy
- 200 kcal
Method11 steps
Step 1: Mix all-purpose (or whole wheat) flour and salt (½ tsp) in a large bowl.
Step 2: In a small separate bowl, add minced garlic (2 cloves) to the butter (4 tbsp), combine and set aside.
Step 3: Next, add the garlic butter and mix to combine. Slowly add the water (1¼ cups) to the flour mixture.
Step 4: Knead until you obtain a soft, smooth, and pliable dough. Add flour in small handfuls, if the dough feels too sticky.
Step 5: Cover the dough with a clean and damp kitchen cloth or plastic wrap and allow it to rest for at least 30 minutes at room temperature.
Step 6: Divide the dough into equally-sized balls. Dust a wooden pastry board or your kitchen counter with flour, lightly sprinkle some flour on top of each ball of dough, and use a rolling pin to roll each into a circle of 20cm in diameter (about 8 inches).
Step 7: If the dough resists stretching, let it relax for a while and then roll again. Dust with more flour or top with some cooking oil, if the dough sticks to the rolling board.
Step 8: Heat a roti tawa or heavy-bottomed pan using high heat. Once hot, reduce the heat to a medium and place the rolled chapati dough on top.
Step 9: Cook each side alternating between medium and low heat, until brown spots form and the chapati starts to puff up then use a spoon to flip.
Step 10: Lightly brush both surfaces with small shares of the cooking oil and cook for about one minute per side, turning, until brown spots cover the chapati. Use the same five-tablespoon oil allowance across the full batch; the garlic butter is already inside the dough.
Step 11: Transfer each finished chapati to a paper-lined tray or container and cover to keep warm. Repeat rolling and cooking with the remaining dough, sharing the same working-flour and oil allowances. Serve the finished batch with your chosen accompaniment.
Photos (1)
Comments
0 threadsSign in to join the discussion.
No comments yet. Start the discussion.