

Korean · Side
Chonggak Kimchi (Ponytail Radish Kimchi)
From the zcook collection
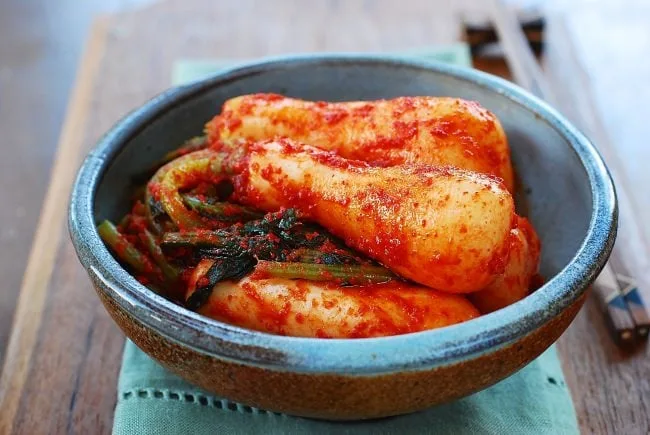
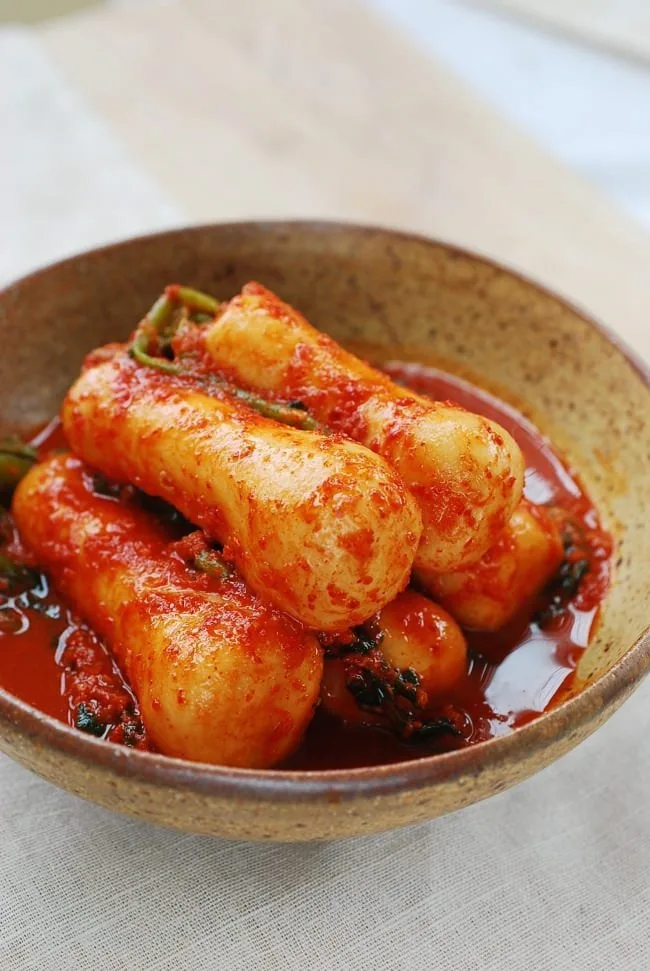
Chonggak kimchi is made with a small variety of white radish with long leafy stems, which is firmer and crunchier than the large varieties. With normal kimchi seasoning ingredients, you too can make chonggak kimchi at home with this easy-to-follow recipe!
- Dairy-free
- Korean
- Side
- Prep
- 30 min
- Serves
- 12
- Level
- Easy
- Energy
- 40 kcal
Method6 steps
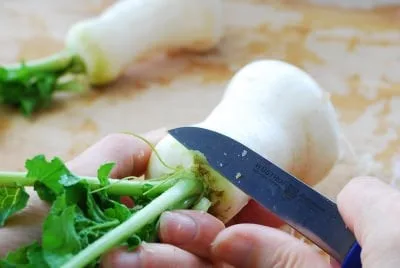
Step 1: Wash the radishes a couple of times to remove excess dirt. You will wash them again after salting. Cut off the root end of each radish. Trim off the darkish skin on the top end that is connected to the stem. Scratch off the stubborn impurities with a small knife. Do NOT peel the skin. Remove any bad leafy stems.
Step 2: In a large bowl, place a few radishes and generously sprinkle with some salt. Add another layer of radishes and sprinkle with salt. Repeat as necessary until all the radishes and salt have been used. Let sit for 2 to 4 hours until the radishes become slightly flexible. Flip them over 2 to 3 times while salting.
Step 3: While the radishes salt, whisk 1 tbsp sweet rice flour with 1/2 cup water in a small pan. Simmer, stirring, until thickened, then cool. Measure 4 tbsp of the cooled paste for the seasoning; reserve any excess for another use. Mix the measured paste with the gochugaru (1/2 cup), salted shrimp, anchovy fish sauce, minced garlic (2 tablespoons) and grated ginger (1 teaspoon). Set aside briefly until the pepper flakes soften and the mixture becomes pasty.
Step 4: Rinse the radishes in cold water 2 times, and drain.
Step 5: Place the radishes back in the large bowl. Add the seasoning. Mix everything well by hand (use kitchen gloves), until the radishes and stems are evenly coated with the seasoning. The radishes will be a little dry at this point, but they will release water during the fermentation process.
Step 6: Pack the seasoned radishes firmly into a clean half-gallon airtight container or jar and close it. Leave at room temperature for two days, then refrigerate. It will be ready after a few days in the fridge, with flavors developing further over about two weeks.
Photos (3)
Comments
0 threadsSign in to join the discussion.


No comments yet. Start the discussion.