

Thai · Snack
Chinese Chive Dumplings
From the zcook collection
Rice-flour dumplings filled with lightly wilted Chinese chives are steamed, then pan-fried until crisp outside and soft inside. Serve with a separately prepared hot chili soy dipping sauce.
- Vegan
- Dairy-free
- Thai
- Chive Dumplings
- Snack
- Pan-fried
- Total
- 1 hr
- Serves
- 2 snack portions; dumpling count varies
- Level
- Medium
Method23 steps · about 1 hr
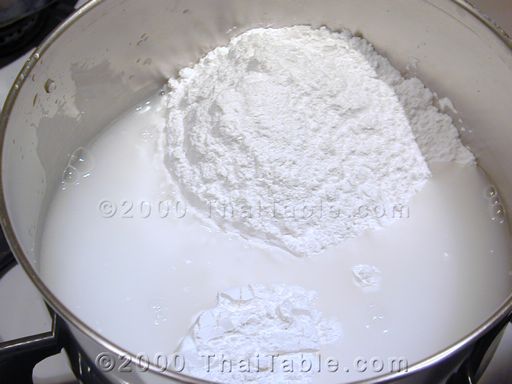
Step 1: Put the 1 cup rice flour, ¼ cup sticky rice flour and ½ cup dough water into a pot over medium heat.

Step 2: Stir the flour-and-water mixture from step 1 constantly so it does not stick to the pot.
Step 3: If the mixture from step 2 becomes difficult to stir, lower the heat and keep stirring.
Step 4: Continue stirring the mixture from step 3 until it turns gluey.
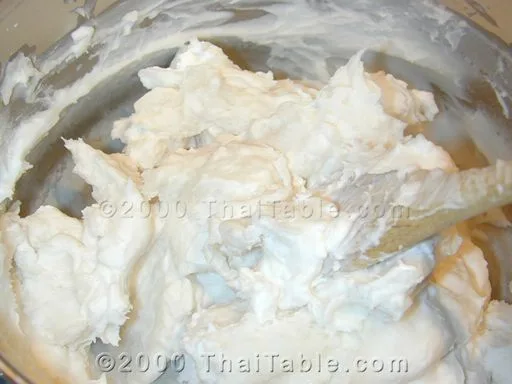
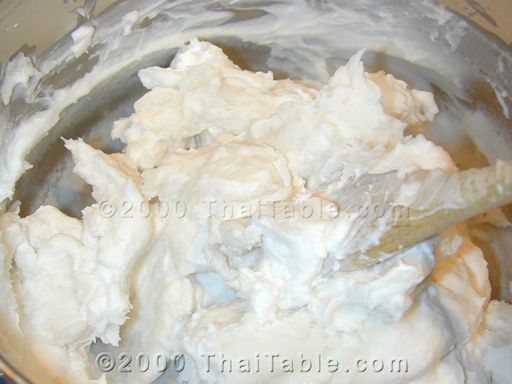
Step 5: Take the gluey mixture from step 4 off the heat and mix in the ¼ cup tapioca flour.
Step 6: Set the dough from step 5 aside until cool enough to handle.
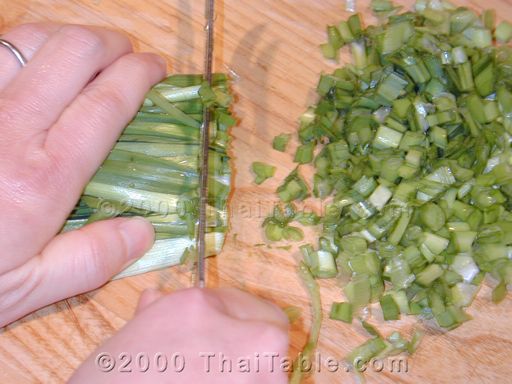
Step 7: While the dough cools, slice the green Chinese chives (2 cups) into ½-inch pieces, measuring the 2 cups for the filling.
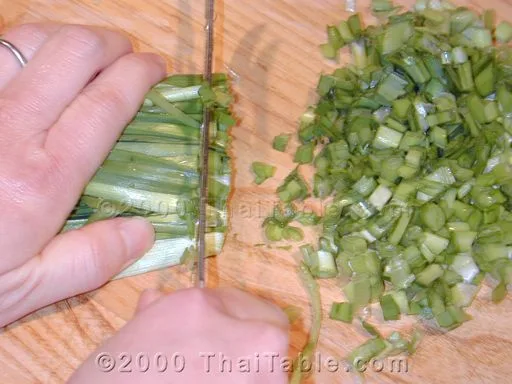
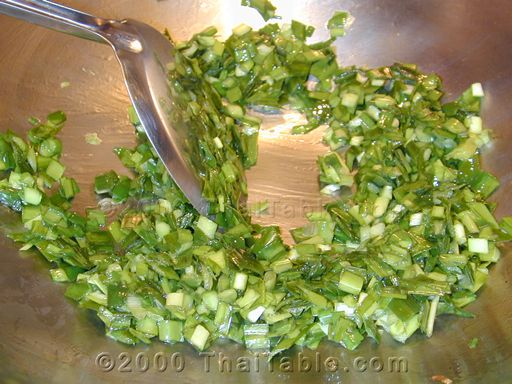
Step 8: Have the sliced chives ready, then heat 2 tsp from the vegetable-oil supply in a wok or pan over high heat.
Step 9: Add all the sliced chives from step 7 and the 1 tbsp soy sauce to the hot oil from step 8.
Step 10: Stir the chives from step 9 quickly, then remove the pan from the heat as soon as they wilt slightly.

Step 11: Keep the filling from step 10 only lightly wilted; it should not be cooked down until it releases lots of water.
Step 12: Let the chive filling from step 11 cool before stuffing the dumplings.
Step 13: Check the cooled dough from step 6 to see whether it is too sticky to handle.
Step 14: Try a small piece of the dough from step 13. If it sticks excessively to your fingers, adjust it in the next step.
Step 15: If needed, work a little additional tapioca flour into the dough from step 14 until it can be handled.
Step 16: Pinch off a small portion of dough from step 15 and roll it between your palms into a ball about 1 inch across.
Step 17: Flatten and thin the dough ball from step 16 with your thumb and index finger to make one wrapper.
Step 18: Put 1 tbsp of the cooled chive filling from step 12 into the wrapper from step 17. Gather and pinch the edges closed. Repeat steps 16–18 while dough and filling remain; keep any unused filling and dough separate.
Step 19: Add water to the steamer below its rack and bring it to a boil with steady steam. Steam the assembled dumplings from step 18 in batches for about 5–7 minutes per batch, checking from 5 minutes and continuing until the wrappers are cooked through.
Step 20: Lift the cooked dumplings from step 19 out of the steamer. Continue with the pan-fried finish below.
Step 21: Heat enough oil from the remaining vegetable-oil supply to pan-fry the steamed dumplings from step 20.
Step 22: Pan-fry the dumplings from step 21, turning as needed, until they are somewhat browned and crisp outside while remaining soft inside.
Step 23: Lift the pan-fried dumplings from step 22 onto a serving plate and serve with the ready hot chili soy sauce. Refrigerate any unused filling and dough promptly.
Photos (1)
Comments
0 threadsSign in to join the discussion.
No comments yet. Start the discussion.