
Vietnamese · Dessert
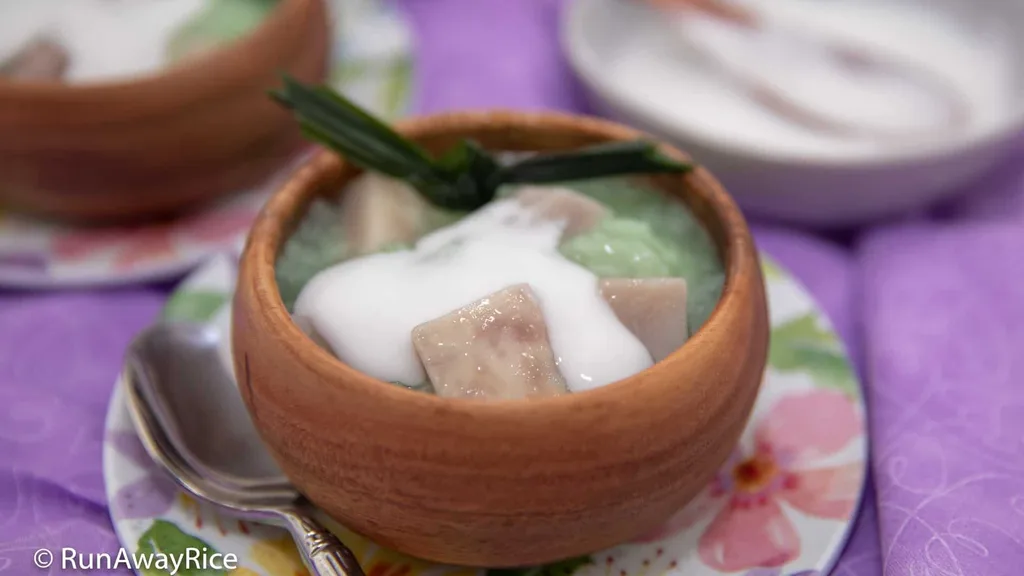
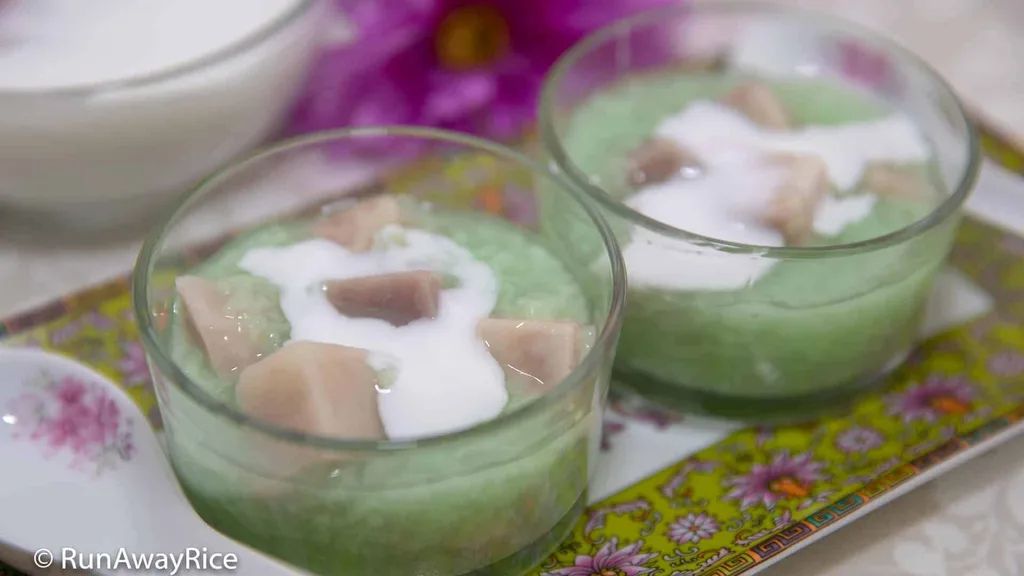
Taro Pudding / Che Khoai Mon
From the zcook collection
Vietnamese sweet taro and glutinous-rice pudding with a separate homemade coconut sauce. The taro and rice cook in separate pressure stages, then combine gently to keep their shape.
- Dairy-free
- Vietnamese
- Dessert
- instant pot che khoai mon
- instant pot rice pudding
- instant pot taro pudding
- rice pudding with taro root
- Prep
- 5 min
- Serves
- About 6 cups pudding; 4–6 dessert servings
- Level
- Hard
- Energy
- 334 kcal
Method17 steps
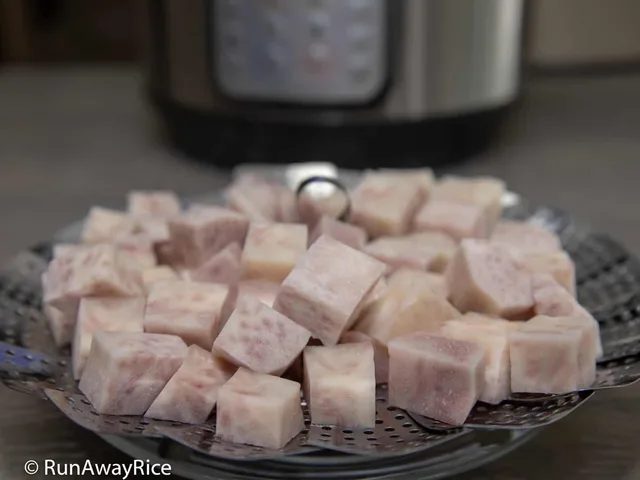
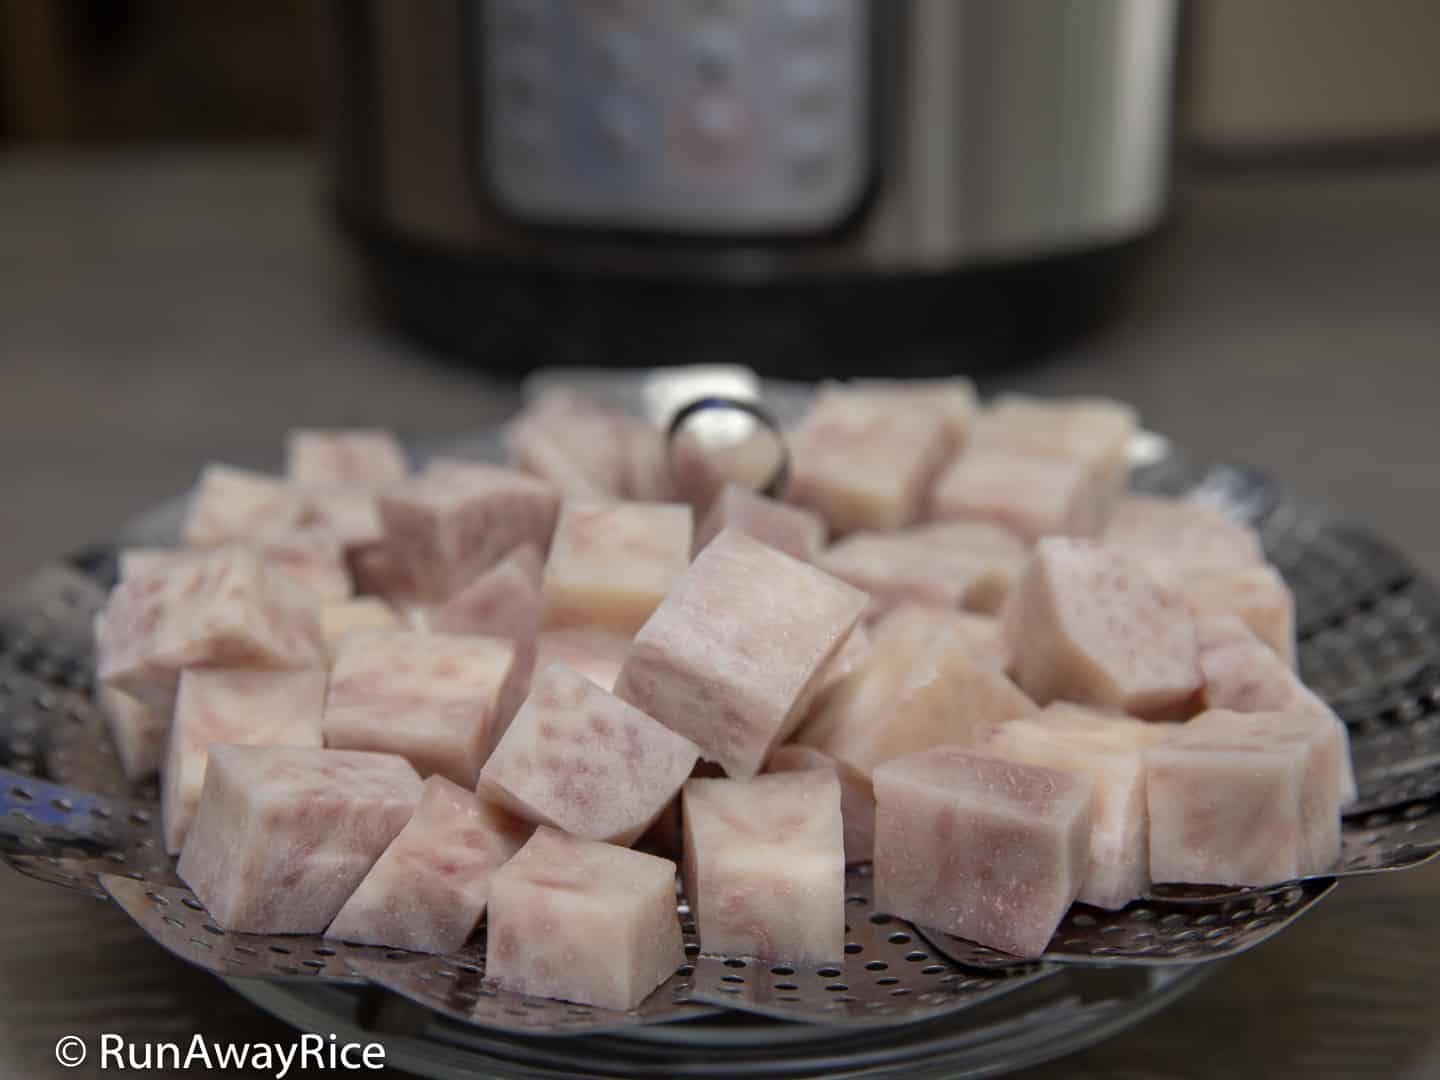
Step 1: Before starting, check that your actual 6-quart cooker’s instructions permit the basket-steamed root setup with 1 cup water and its release method. This route requires that model permission. Keep the peeled, thawed taro refrigerated until preparation, rinse with clean cold water, pat dry and cut into cubes about 3/4 inch thick.
Step 2: Put the cut taro into a suitable steamer basket, keeping it above the steaming water.
Step 3: For the permitted basket setup, put the separate 1 cup hot steaming water into the inner pot and place the taro basket inside. Fit the pressure lid and set the release control to Sealing. Select Pressure Cook on HIGH for 1 minute using the cooker’s own pressure-cycle control.
Step 4: After that pressure cycle, use the author’s quick release only if your actual model instructions permit it for these basket-steamed root cubes. Keep clear of escaping steam, wait until all pressure is gone and the lid unlocks, then open away from you. Lift out the basket and check that the taro is fully tender but still holds its shape; if not tender, continue cooking according to the model instructions before proceeding. Set the cooked taro aside for the rice stage.
Step 5: Discard the external taro-steaming water. Once safe to handle, wash and dry the inner pot and return it to the cooker, keeping the cooked taro separately for step 11.
Step 6: Wash the glutinous (3/4 cup) rice by swirling in clean cold water for about 30 seconds and pouring off the rinse. Repeat once or twice more, until the water is mostly clear, then drain.
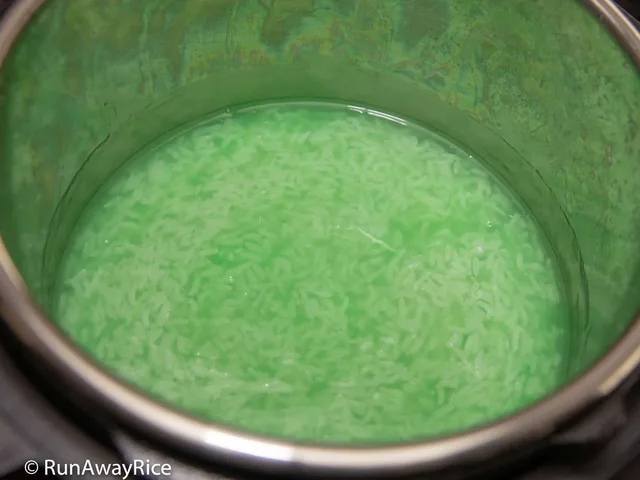
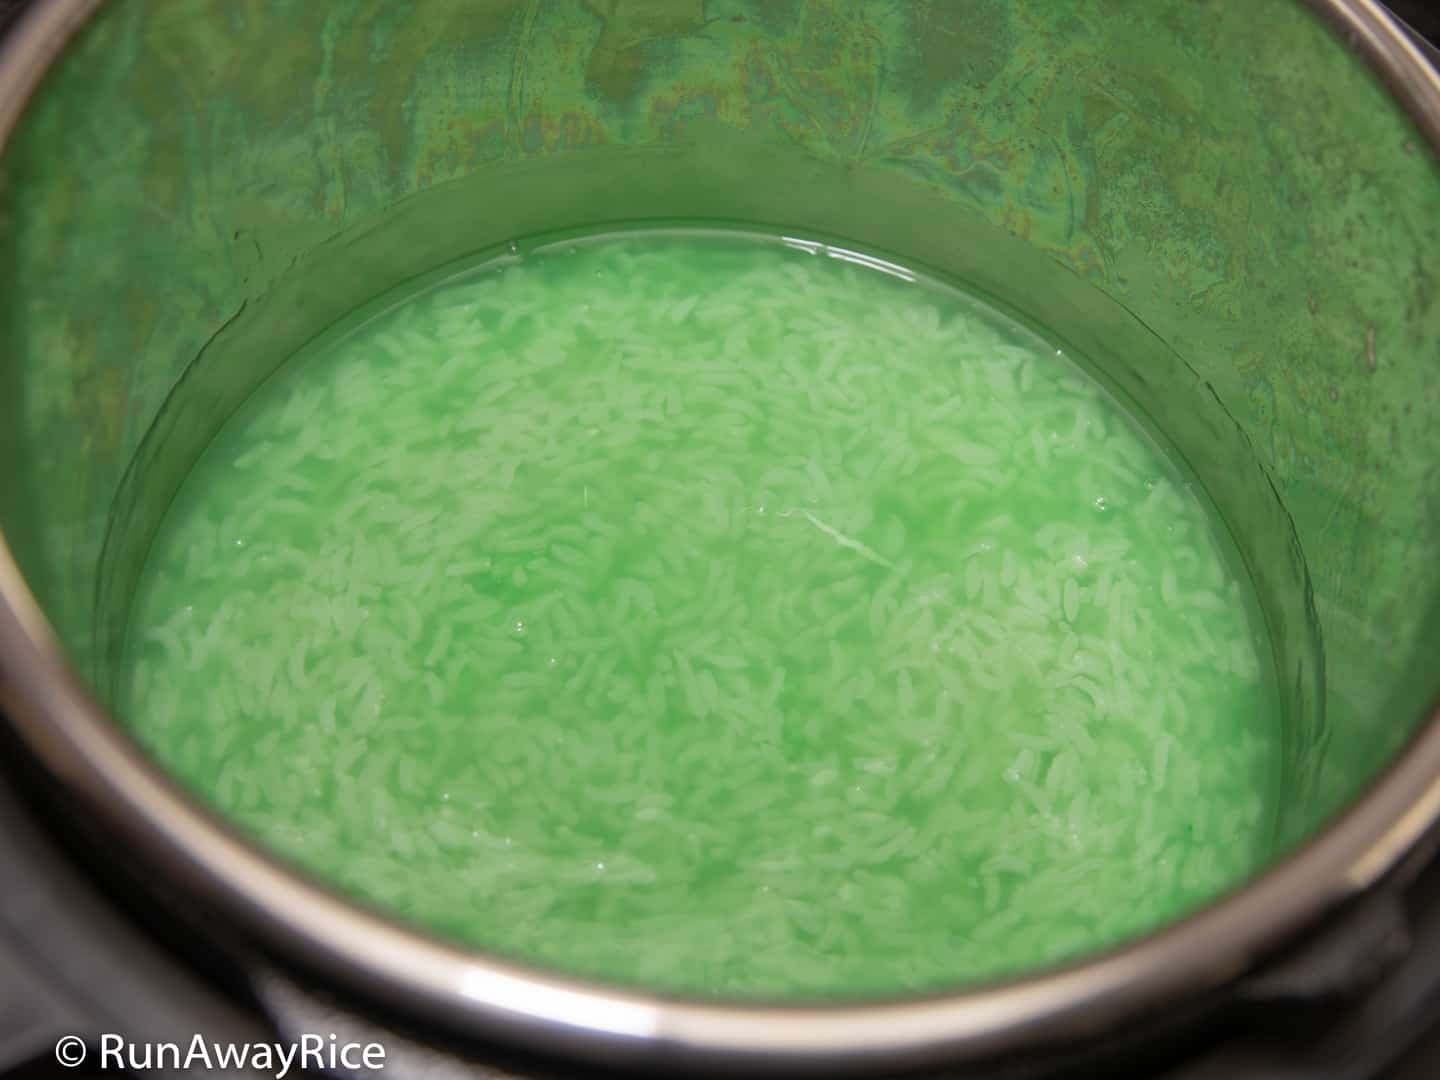
Step 7: Put the drained rice into the clean inner pot with the pudding salt (1/4 tsp) and its separate 4 cups water. Level the rice gently. Check that the total contents stay at or below your cooker’s half-full limit for expanding rice and meet its applicable rice-cooking requirements before closing the lid.
Step 8: Fold the 2–3 washed pandan leaves into a bundle and tie the leaves together. Add the bundle to the rice and water.
Step 9: Fit the pressure lid, set the release control to Sealing and select Pressure Cook on HIGH for 5 minutes using the cooker’s own pressure-cycle control.
Step 10: After the rice cycle, turn off Keep Warm and leave the release control in Sealing for a full natural release. Wait until all pressure has gone and the lid unlocks before opening; do not quick-release the starchy rice liquid. Remove and discard the pandan leaves.
Step 11: Gently stir the pudding sugar (2/3 cup) into the cooked rice. Add either 2 tsp vanilla sugar or 1/2 tsp vanilla extract, then stir in the pandan paste (1/8 tsp). Fold in the fully cooked taro from step 4 without crushing the grains or cubes.
Step 12: Whisk the pudding’s separate 1 tbsp tapioca starch with its 2 tbsp thickener water until smooth. Gently stir that slurry into the taro-and-rice pudding.
Step 13: Use Sauté on Less or the lowest heat setting, with the pressure lid off, and gently warm the pudding until it just begins bubbling, about 2–3 minutes. Cancel Sauté as soon as it reaches that point; avoid vigorous stirring.
Step 14: In a small saucepan, whisk together the sauce’s 3/4 cup coconut milk, separate 3/4 cup sauce water, 1 tbsp sauce sugar, 1 tbsp sauce tapioca starch and 1/4 tsp sauce salt.
Step 15: Heat the sauce over medium heat, stirring to prevent scorching. When it starts to boil, about 3–4 minutes, turn off the heat. Continue stirring off the heat for about 1 minute as it thickens, then transfer to a small bowl.
Step 16: Spoon the pudding into dessert bowls and drizzle with the prepared coconut sauce as desired. Enjoy hot, or cool briefly and refrigerate promptly if serving cold.
Step 17: Refrigerate remaining pudding and coconut sauce promptly in covered shallow containers and enjoy within 3–4 days. Reheat cooked leftovers until hot throughout, reaching 74 °C (165 °F), or serve safely chilled portions cold.
Photos (2)
Comments
0 threadsSign in to join the discussion.


No comments yet. Start the discussion.