
Italian · Dinner
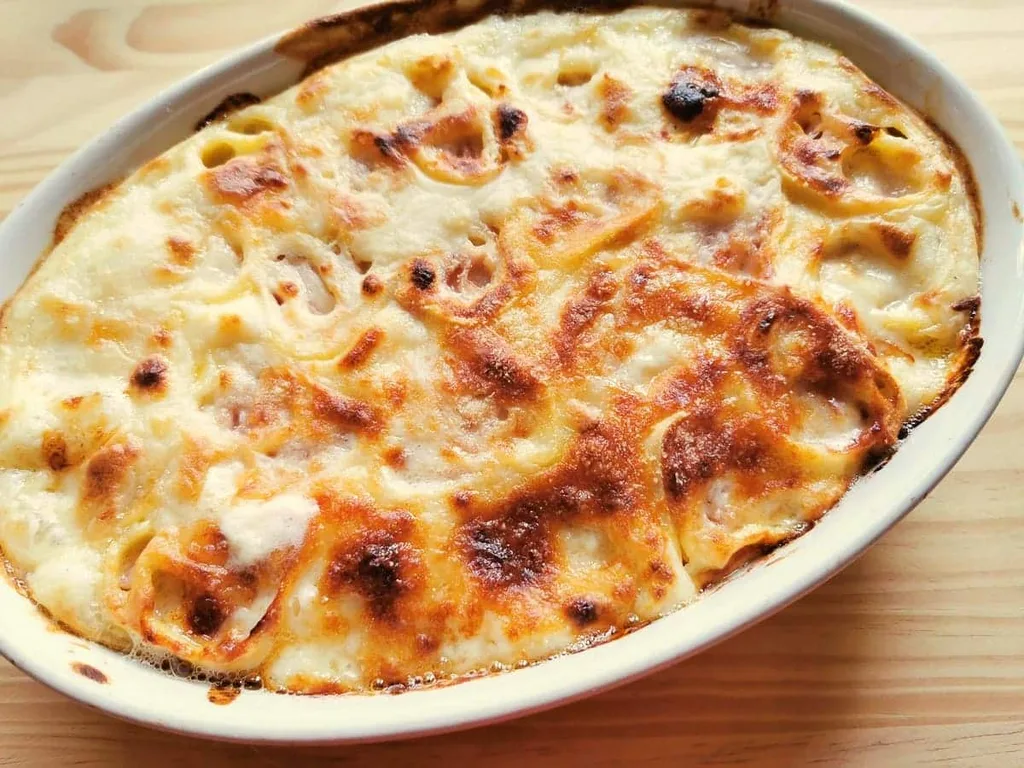
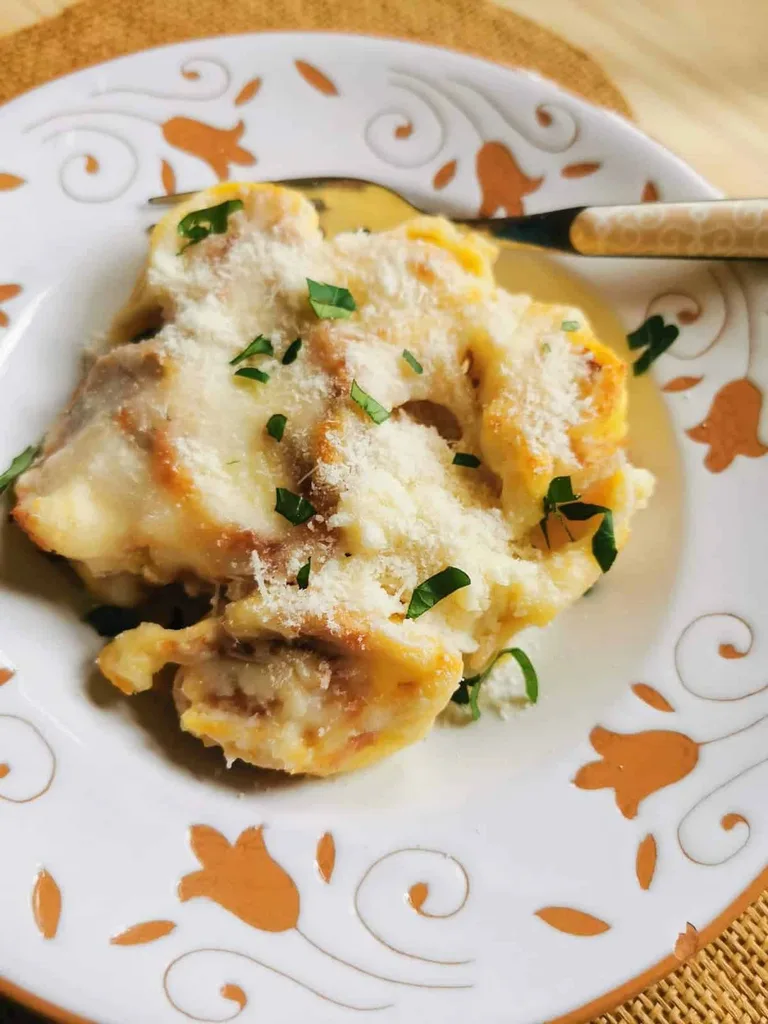
Baked Pasta Roses (pasta rosettes)
From the zcook collection
Baked pasta roses is a traditional dish from Emilia-Romagna in Italy. This is a unique, tasty and attractive way to serve baked pasta that family and friends are sure to love! Easy to make and perfect for family Sunday lunches, Mothers Day and Easter.
- Emilia-Romagna
- Italian
- Northern Italy
- Main Course
- lasagne
- pasta bake
- Cook
- 35 min
- Serves
- 6
- Level
- Hard
Method19 steps
Step 1: Choose one pasta route. For homemade sheets, sift the 400 g flour into a bowl and mix in 4 beaten eggs and the large pinch of dough salt, then continue through steps 2–8. To substitute the 5–6 ready-made sheets, skip the dough-making steps: briefly blanch fresh sheets for about 10 seconds or dried sheets for about 1 minute in boiling salted water, cool on a damp tea towel, then continue at step 9.
Step 2: Mix the eggs and flour together using a fork until the eggs are well incorporated in the flour.
Step 3: Continue mixing the flour and eggs together using your hands until you have the start of a dough that doesn't stick to the sides of the bowl.
Step 4: Turn the dough out onto a floured work surface and knead using the heel of your hands for about 7-10 minutes until you have a relatively smooth elastic dough.
Step 5: Roll the dough into a ball and seal it in cling film. Leave it to rest for 30 minutes.
Step 6: After 30 minutes. Cut 1/5 of the dough off and reseal the rest. Use a rolling pin or the heel of your hand to flatten the piece of dough enough to pass it through a pasta rolling machine. You can also just continue using a rolling pin to roll the dough out to the required thickness and size.
Step 7: If using a pasta machine, pass the dough 2-3 times through the widest setting, folding it into thirds each time. Then pass it through the next 2-3 settings depending on what size you want it. The pasta sheets need to be quite thin. (3mm or 1/10 in).
Step 8: Finish rolling the first sheet on a floured work surface to the width needed for a pasta roll. Repeat steps 6–8 with the remaining four-fifths of the rested dough so the whole batch becomes thin sheets; keep unused dough covered while rolling. If unsure the homemade sheets are thin enough to cook in the sauce, blanch them for about 10 seconds in boiling water and cool on a damp tea towel.
Step 9: Melt the butter (70 g) in a non-stick saucepan over a low heat. Add the flour (70 g) and stir until you have a smooth paste.
Step 10: Gradually whisk the 700 ml milk into the roux and cook, stirring constantly, until thickened. Season with salt, black pepper and nutmeg to taste. If desired, add a little of the measured 70 g Parmigiano, reserving the rest for the filling and topping.
Step 11: Remove from the heat and allow to cool covered with cling film. If your bechamel seems lumpy whisk with an immersion blender!
Step 12: Put a fresh pasta sheet onto a floured piece of baking paper. Cover the pasta with a thin layer of stracchino cheese and sprinkle grated Parmigiano on top of the stracchino. Then cover with thin ham slices.
Step 13: If you aren't using a soft creamy cheese, cover one edge of the pasta sheet with a spoonful of béchamel to prevent the pasta rolls from opening. The béchamel acts like a glue.
Step 14: Roll the filled sheet into a Swiss-roll shape. If very long, cut the roll in half.
Step 15: Repeat the filling and rolling process with the remaining prepared pasta sheets and the rest of the ham and filling cheese, saving some Parmigiano for the topping. If time allows, wrap all the filled rolls in baking paper and refrigerate for an hour or more to make slicing easier; this chilling is optional.
Step 16: Coat the bottom of an oven dish with bechamel. Cut the pasta rolls using a very sharp knife into 3cm pieces (1.2in) and place side by side in the oven dish.
Step 17: Pour the rest of the bechamel over the pasta roses and sprinkle with parmigiano.
Step 18: Cover with aluminium foil and cook at 180° in a preheated oven for 15 minutes. Remove the aluminium foil and cook for another 10-15 minutes until the top becomes golden and crispy.
Step 19: Serve with extra grated parmigiano and chopped parsley if desired
Photos (2)
Comments
0 threadsSign in to join the discussion.


No comments yet. Start the discussion.