

Chinese · Snack
Chinese Garlic Chive “Boxes”
From the zcook collection
These Chinese Garlic Chive Boxes are a crispy, delicious appetizer or dim sum. You can pre-make the filling, but all other steps should be done the day you plan to serve them. This recipe makes a dozen chive boxes.
- Dairy-free
- Chinese
- Snack
- garlic chive boxes
- dim sum
- Total
- 1 hr 15 min
- Prep
- 45 min
- Cook
- 30 min
- Serves
- About 12 chive boxes
- Level
- Medium
- Energy
- 262 kcal
Method10 steps · about 1 hr 15 min
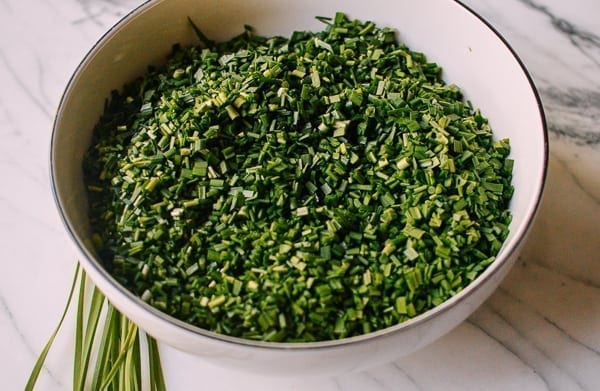
Step 1: Thaw the spring roll wrappers according to their package before assembling. Wash the garlic chives, pat them thoroughly dry with a clean towel and cut into ¼-inch pieces; keep them aside. Mix the teaspoon cornstarch (1 teaspoon) with the tablespoon water in a separate small bowl for sealing. Beat the five eggs with the Shaoxing wine (1 tablespoon), ½ teaspoon salt and 1 teaspoon sesame oil. Keep the beaten egg mixture, chopped chives, wrappers and sealing slurry separate.

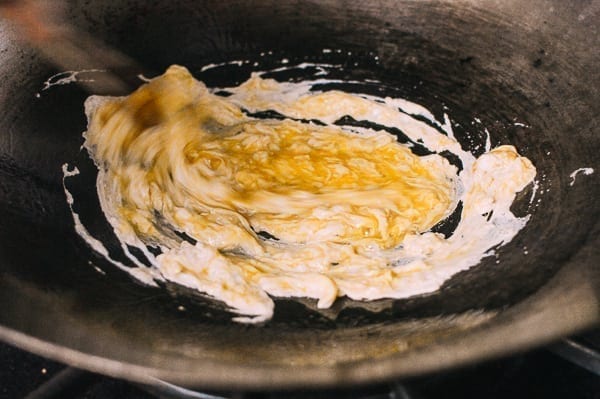
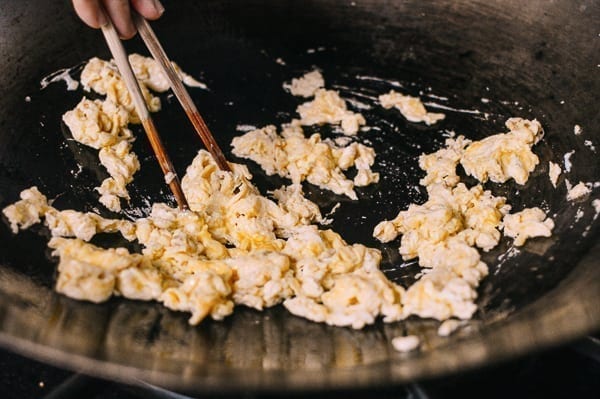
Step 2: Heat the wok over high heat until it just begins to smoke. Add 3 tablespoons vegetable oil and swirl to coat. Pour in the beaten egg mixture from step 1 and scramble in a circular motion for 15–20 seconds, checking from 15 seconds. When the eggs begin to solidify, turn off the heat and keep moving them in the residual heat, breaking up large pieces, until fully set. Return to gentle heat if necessary to finish cooking. Transfer the cooked eggs to a plate and let them cool briefly; keep any pan oil in the wok.


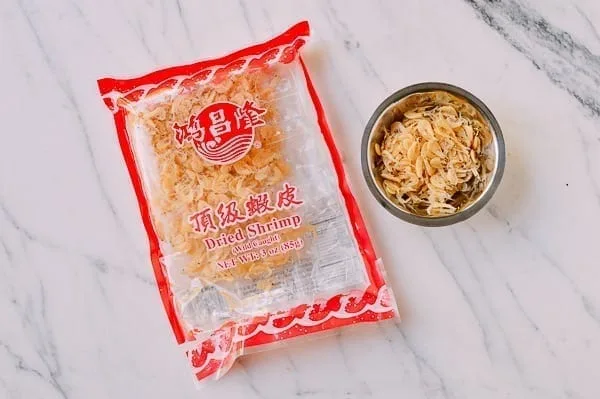
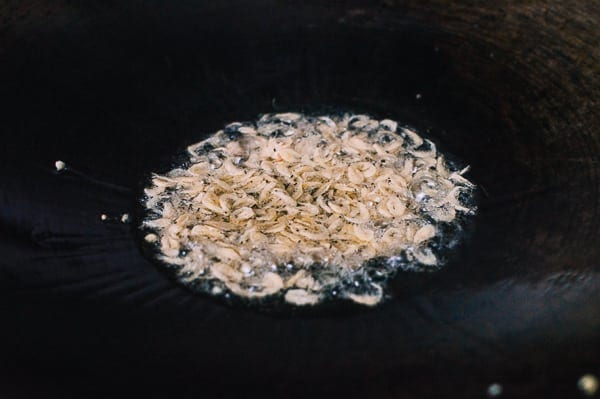
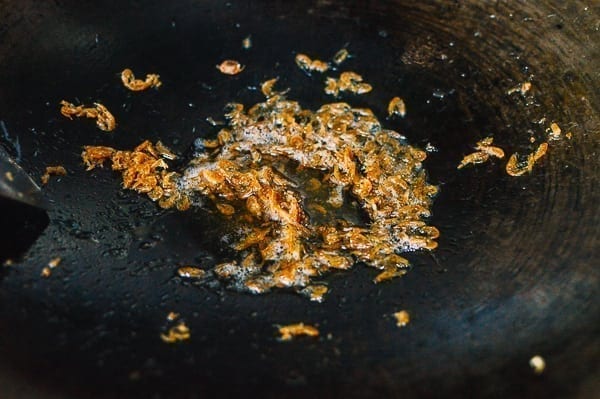
Step 3: Heat another 2 tablespoons vegetable oil in the wok over medium heat. Add the dried mini shrimp (⅓–½ cup) and fry until lightly golden. Turn off the heat and transfer the shrimp with their coating oil to a large bowl; let them cool briefly.


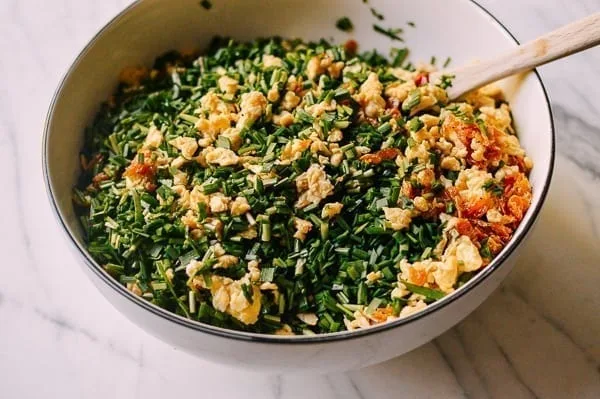
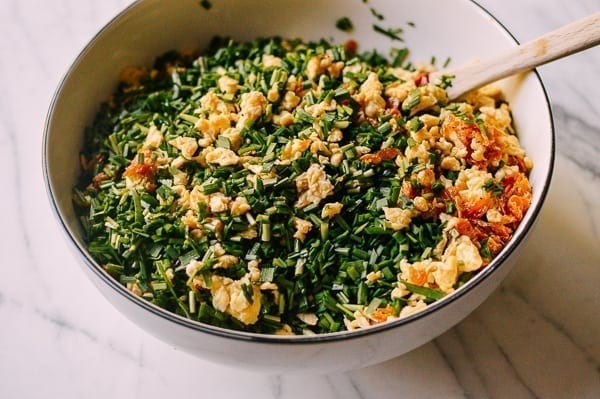
Step 4: Mix the prepared chives from step 1 with the cooled cooked eggs from step 2 and fried dried shrimp from step 3. Add the sugar (½ teaspoon), white pepper (½ teaspoon) and remaining 2 teaspoons sesame oil, then mix well. Taste the cooked-egg filling and add up to the remaining ½ teaspoon salt, using less if the shrimp are especially salty. If making it ahead, refrigerate promptly within 2 hours; assemble and fry the boxes on the day you will serve them.
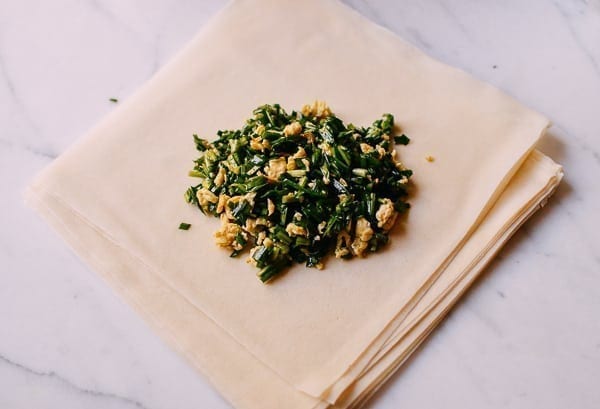
Step 5: Stack two thawed spring roll wrappers. Put a heaping ¼ cup of filling from step 4 in the middle and fold the sides in like a parcel. Seal the last fold with a little of the cornstarch slurry from step 1. Place seam-side down on a tray and repeat to assemble about a dozen boxes. Keep any unused filling refrigerated, and reserve unused wrappers according to their package directions.

Step 6: Heat a frying pan over medium heat and brush it generously with oil from the remaining allowance. Add a batch of boxes seam-side down, without crowding. Cover and cook the first face for 2–3 minutes, checking from 2 minutes.
Step 7: Turn the first batch of boxes over, cover again and cook the second face for 2–3 minutes, checking from 2 minutes. The filling should be hot through.
Step 8: Remove the lid. Turn the first batch back onto its first face and crisp uncovered for about 1 minute, until golden and crisp.
Step 9: Turn the first batch once more and crisp the second face uncovered for about 1 minute, until golden and crisp to the touch. Lift the finished boxes from the pan.
Step 10: Repeat steps 6–9 with the remaining assembled boxes, brushing the pan as needed from the same oil allowance. Keep the covered 2–3-minute guide for each face and the uncovered 1-minute crisping guide for each face; continue until every box is crisp and hot through. Serve hot. Assemble and cook on the day of serving for the best texture.
Photos (2)
Comments
0 threadsSign in to join the discussion.
No comments yet. Start the discussion.