

Chinese · Appetizer
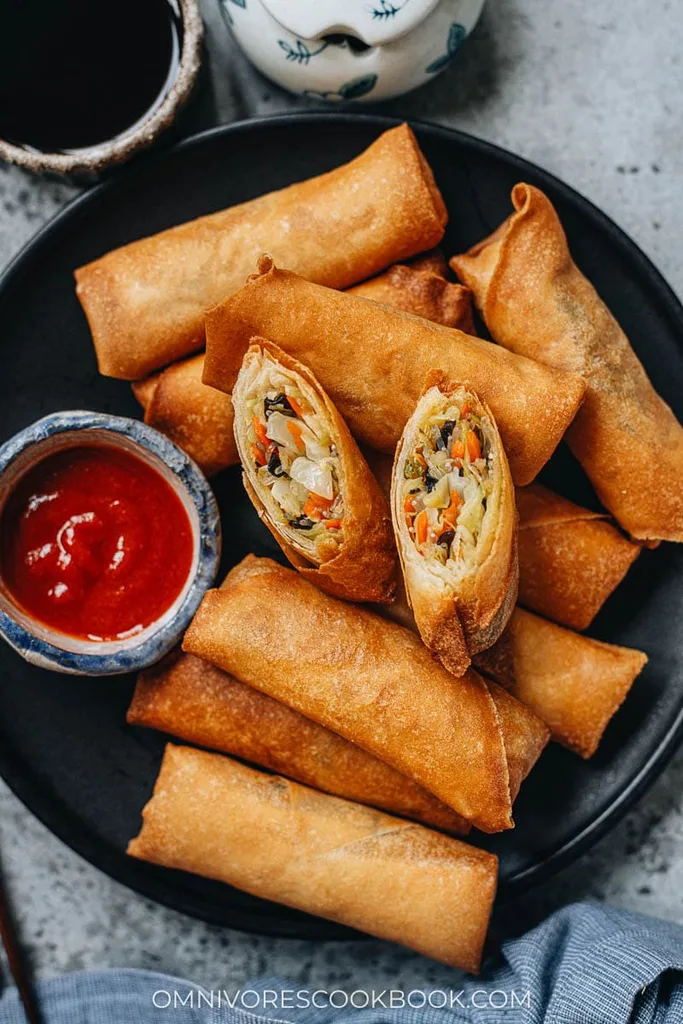
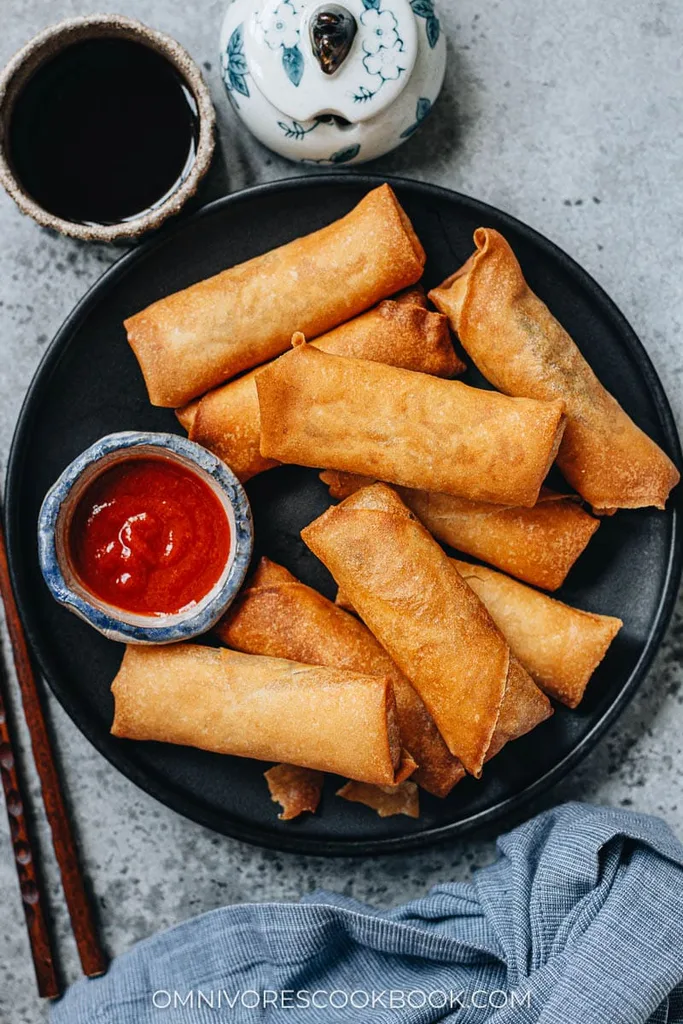
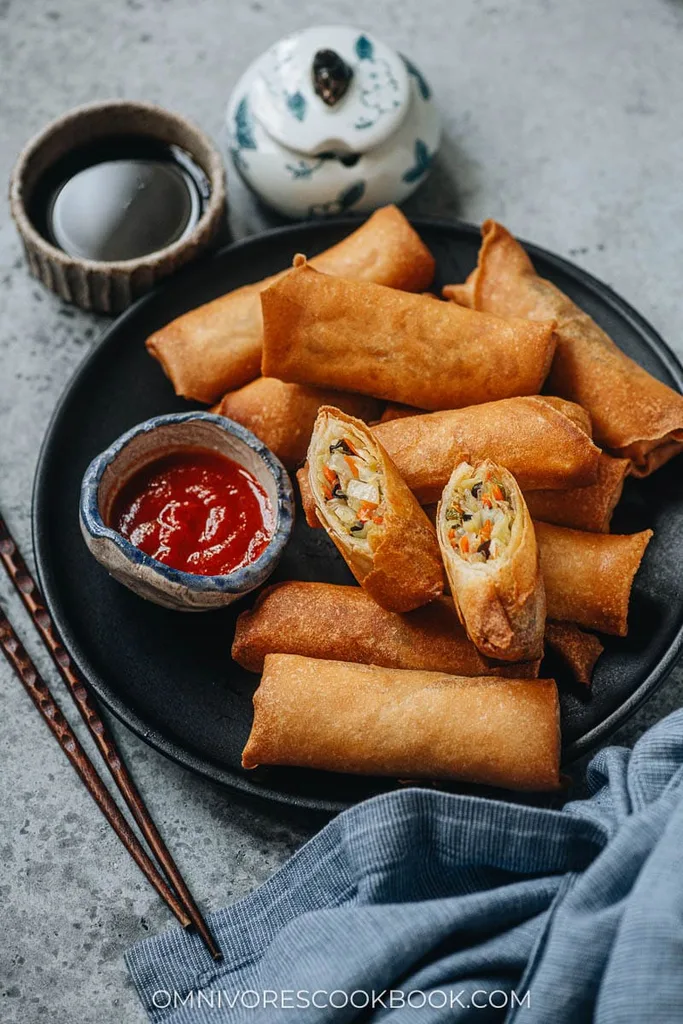
Vegetable Egg Rolls (素春卷)
From the zcook collection
Crisp wheat-wrapper rolls filled with seasoned cabbage, carrot, wood ear mushrooms and mung bean vermicelli, served with a vegetarian oyster-sauce dip.
- Vegetarian
- Chinese
- Appetizer
- chinese new year
- Total
- 1 hr 5 min
- Prep
- 45 min
- Cook
- 20 min
- Serves
- About 18 rolls; 4–6 appetizer portions
- Level
- Medium
- Energy
- 227 kcal
Method13 steps · about 1 hr 5 min
Step 1: Cover all the dried wood ear mushrooms (2 tbsp) with hot soaking water in a small bowl. Rehydrate about 15 minutes, or until fully softened. Drain and slice thinly; the sliced hydrated mushrooms should be around ½ cup, a guide rather than a measured guaranteed yield.
Step 2: Prepare all the 50 g mung bean vermicelli by one soaking or cooking route appropriate to its package. Drain thoroughly and cut into 1-inch (about 2.5 cm) pieces. Reserve separately from the wrappers.
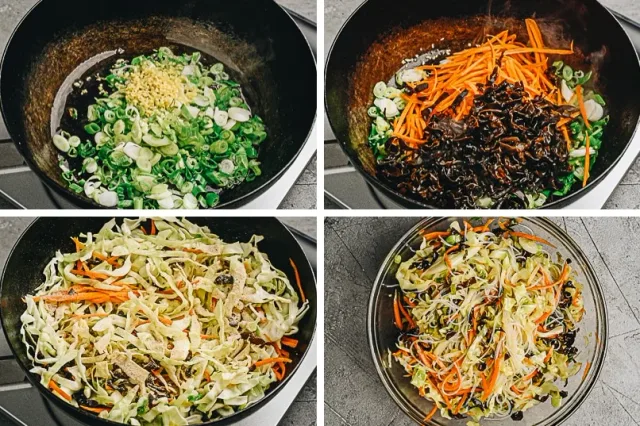
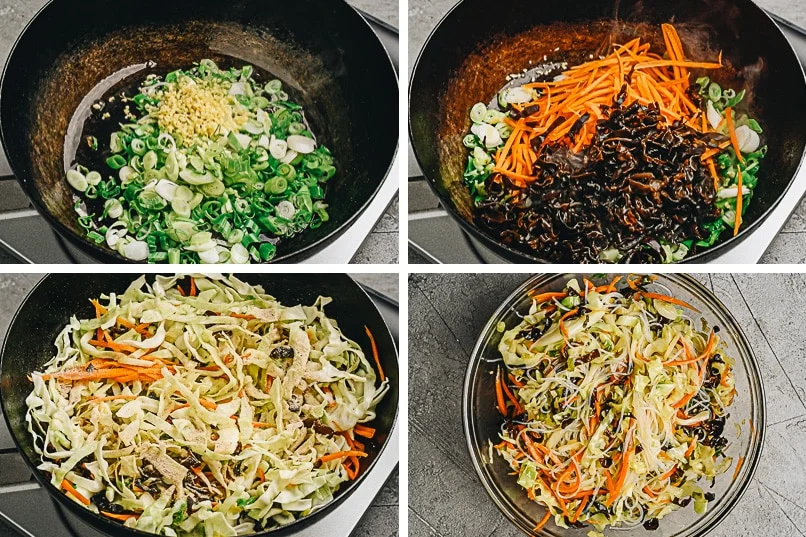
Step 3: Heat all the separate 2 tbsp filling peanut oil in a large frying pan over medium-high heat. Add all the minced thumb-size ginger (1) and sliced scallions (4) and stir a few times until fragrant.
Step 4: Add all the hydrated, sliced wood ear mushrooms from step 1 and all the shredded cabbage and carrot (1 cup) to the fragrant scallions, ginger and oil from step 3. Cook and stir until the vegetables just start to soften.
Step 5: Add all the separate filling salt (¾ tsp), ½ tsp filling sugar and white pepper (½ tsp) to the vegetables from step 4. Mix well and transfer all the filling vegetables and seasonings to a large bowl.
Step 6: Add all the drained, cut vermicelli from step 2 and all the separate 1 tbsp sesame oil to the seasoned vegetables from step 5. Mix well. Let the complete filling stop steaming while preparing the sauce and wrappers, before wrapping.
Step 7: Mix all five dipping-sauce ingredients: vegetarian oyster sauce (2 tbsp), Chinkiang vinegar (1 tsp), separate dipping soy sauce (½ tsp), separate 2 tsp dipping sugar and separate 2 tbsp dipping water. Reserve this complete dipping sauce for serving.
Step 8: Lay out the thawed square wheat-based spring roll wrappers (1 package), keeping the stack covered with damp paper towels so it does not dry out. Put a small bowl of separate sealing water nearby. Keep unused wrappers covered as you work.
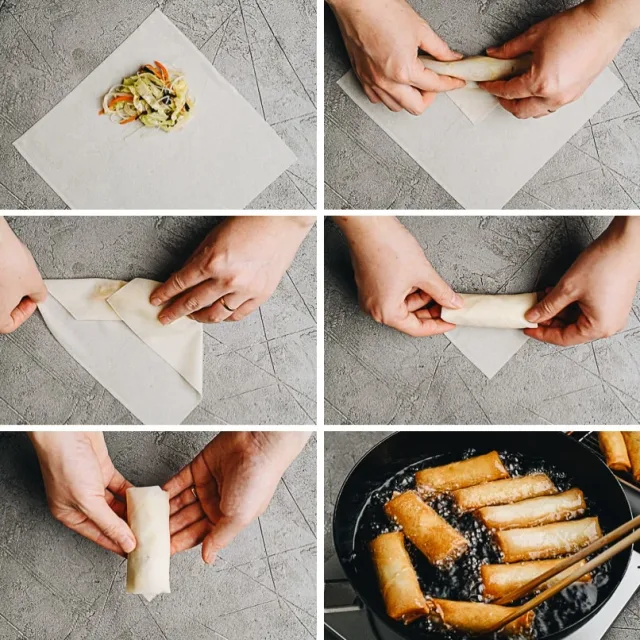
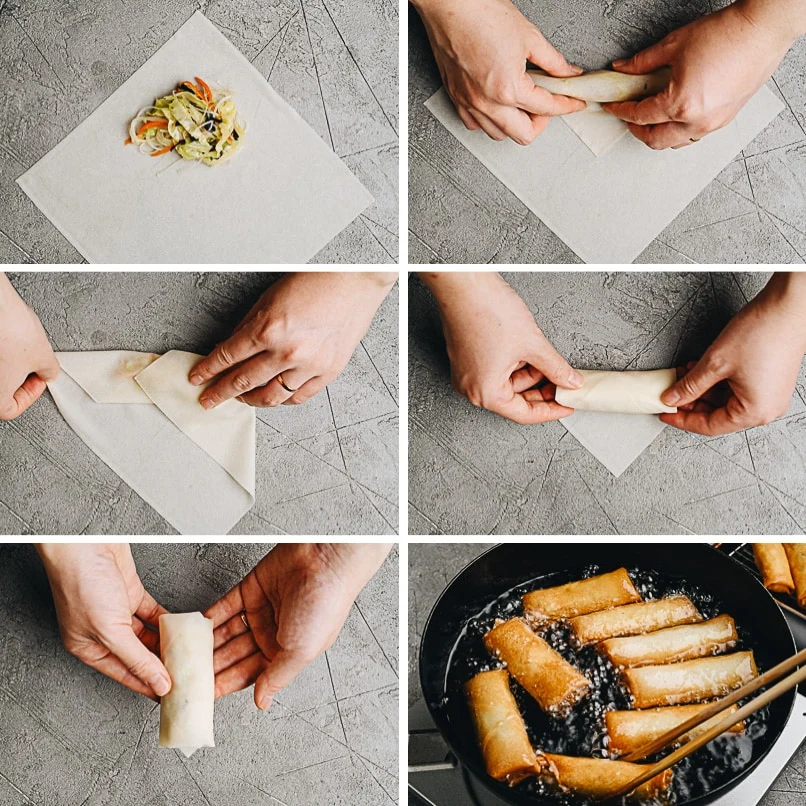
Step 9: Working one roll at a time for the first half of the rolls, peel one wrapper from the prepared stack in step 8 and place it with a corner pointing toward you. Put 2 tbsp of the cooled filling from step 6 on the lower third. Fold the bottom corner over the filling, tuck and roll upward halfway, fold both sides inward like an envelope, then roll toward the top. Wet the top point with sealing water and press to seal. Place each finished roll seam-side down on a tray.
Step 10: Once approximately half the rolls are assembled in step 9, cover those completed rolls with plastic wrap so they do not dry out. Continue the same wrapping and sealing method with remaining filling and wrappers, keeping completed rolls covered. Aim for about 18 rolls; actual count depends on wrapper size and portioning. Reserve unused wrappers separately.
Step 11: Add enough separate vegetable oil to a deep, heavy pan for the rolls to float. Heat over medium-high heat to 350°F (about 177°C). Put a cooling rack over a baking tray near the stove. Keep all assembled rolls from step 10 covered until frying.
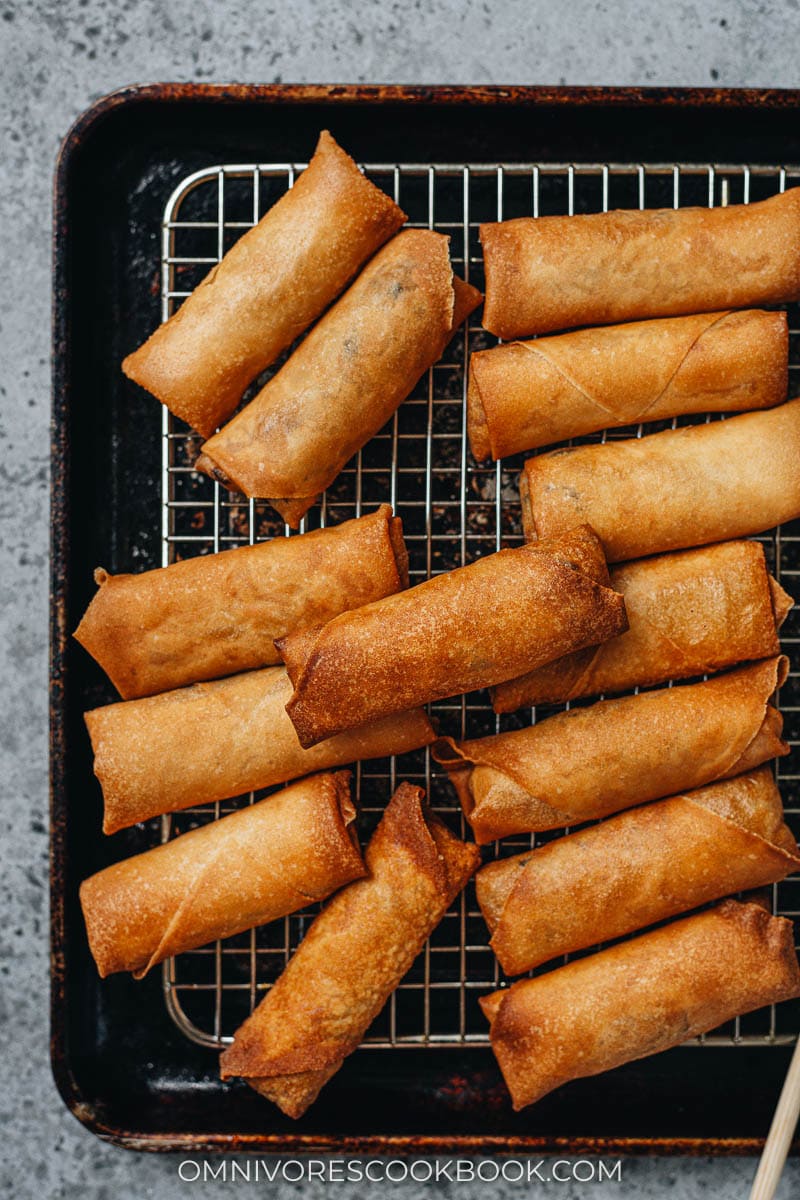
Step 12: Fry the assembled rolls from step 10 in small batches in the heated oil from step 11, leaving space so they do not stick or sharply cool the oil. When the underside is pale golden, flip and continue until both sides are golden and crisp. Lower to medium heat if colouring too quickly. Lift each cooked batch into a strainer to drain, then move it onto the rack or a plate as the next batch finishes. Repeat until all assembled rolls are cooked; actual frying time depends on the wrappers and batch size.
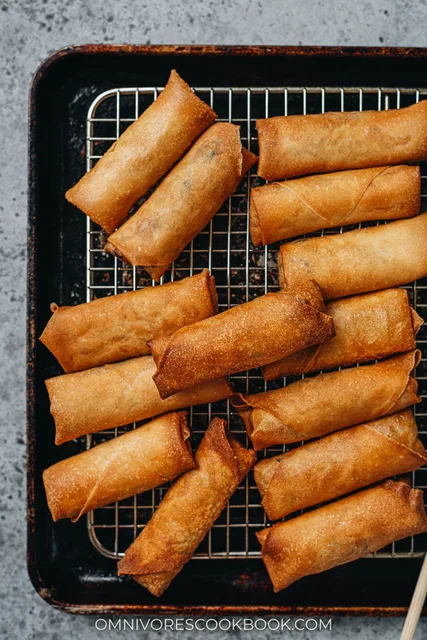
Step 13: Serve the cooked rolls from step 12 hot as 4–6 appetizer portions, with the complete dipping sauce reserved in step 7 and optional hot sauce to taste. Refrigerate cooked leftovers within 2 hours and use within 3 days. Reheat in a 350°F (about 177°C) oven until hot throughout and crisp, checking to prevent excessive browning.
Photos (4)
Comments
0 threadsSign in to join the discussion.


No comments yet. Start the discussion.