
Japanese · Main
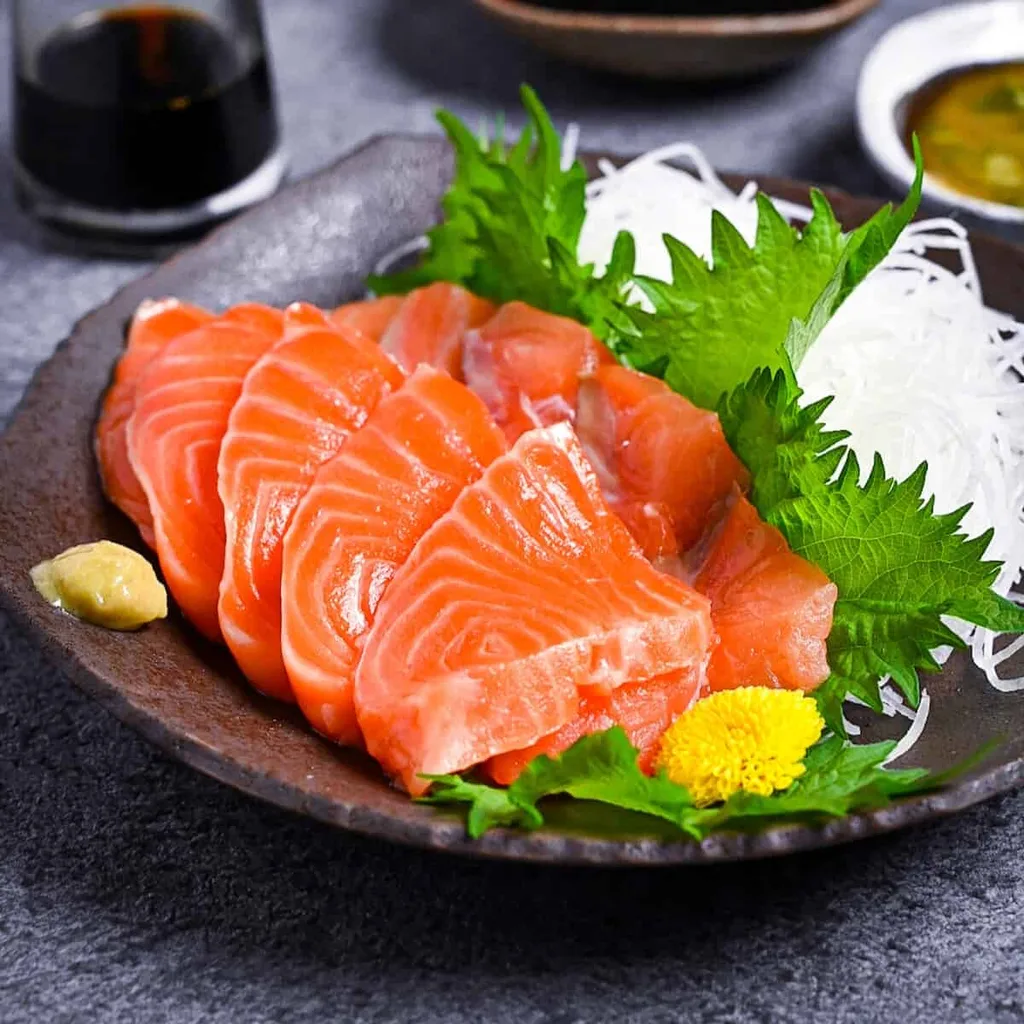
Salmon Sashimi (with 3 kinds of dipping sauce)
From the zcook collection
Two portions of chilled salmon sashimi with a choice of simple soy and wasabi, sweetened soy, or sesame dipping sauce. Each sauce is an alternative formula for the same two-person salmon batch.
- Dairy-free
- Japanese
- Sashimi
- Salmon
- Prep
- 30 min
- Serves
- 2 sashimi portions with one chosen sauce
- Level
- Medium
Method13 steps
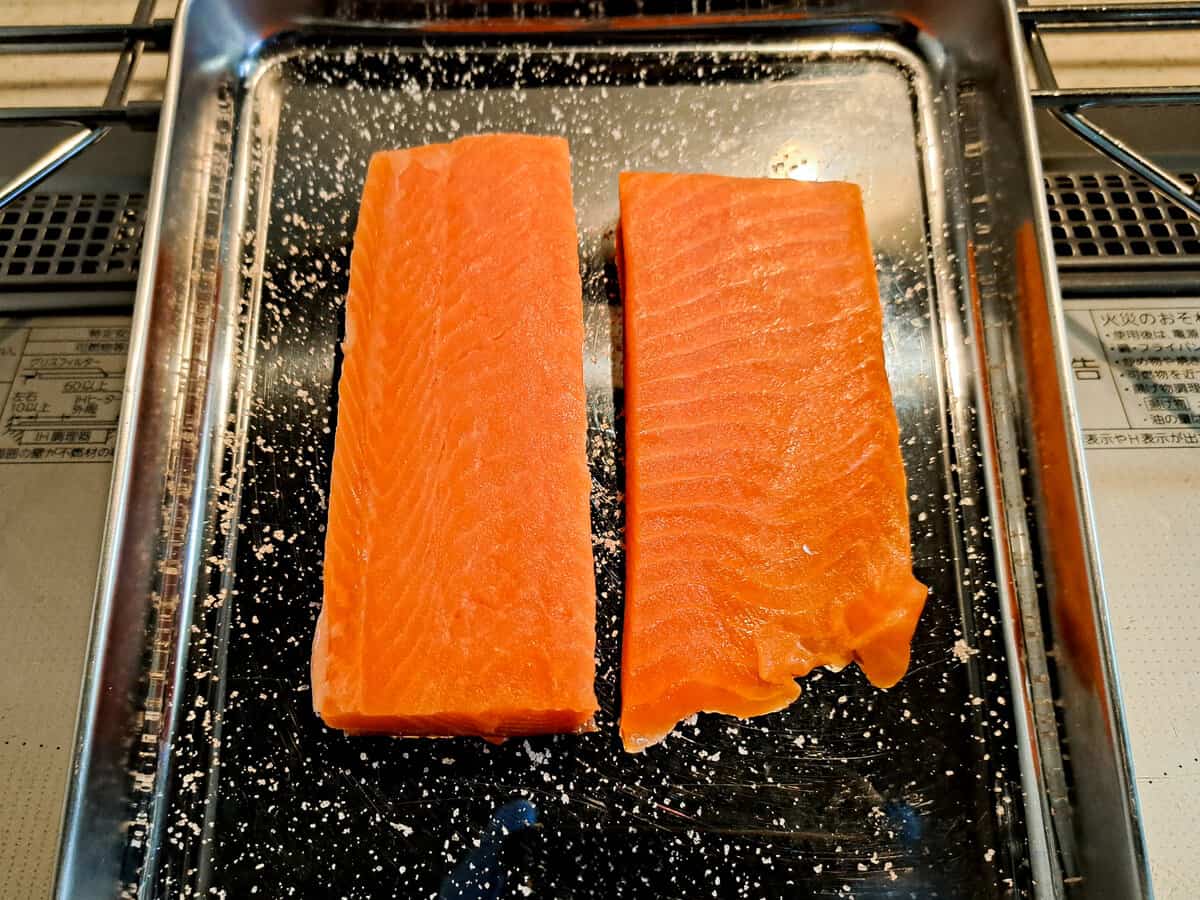
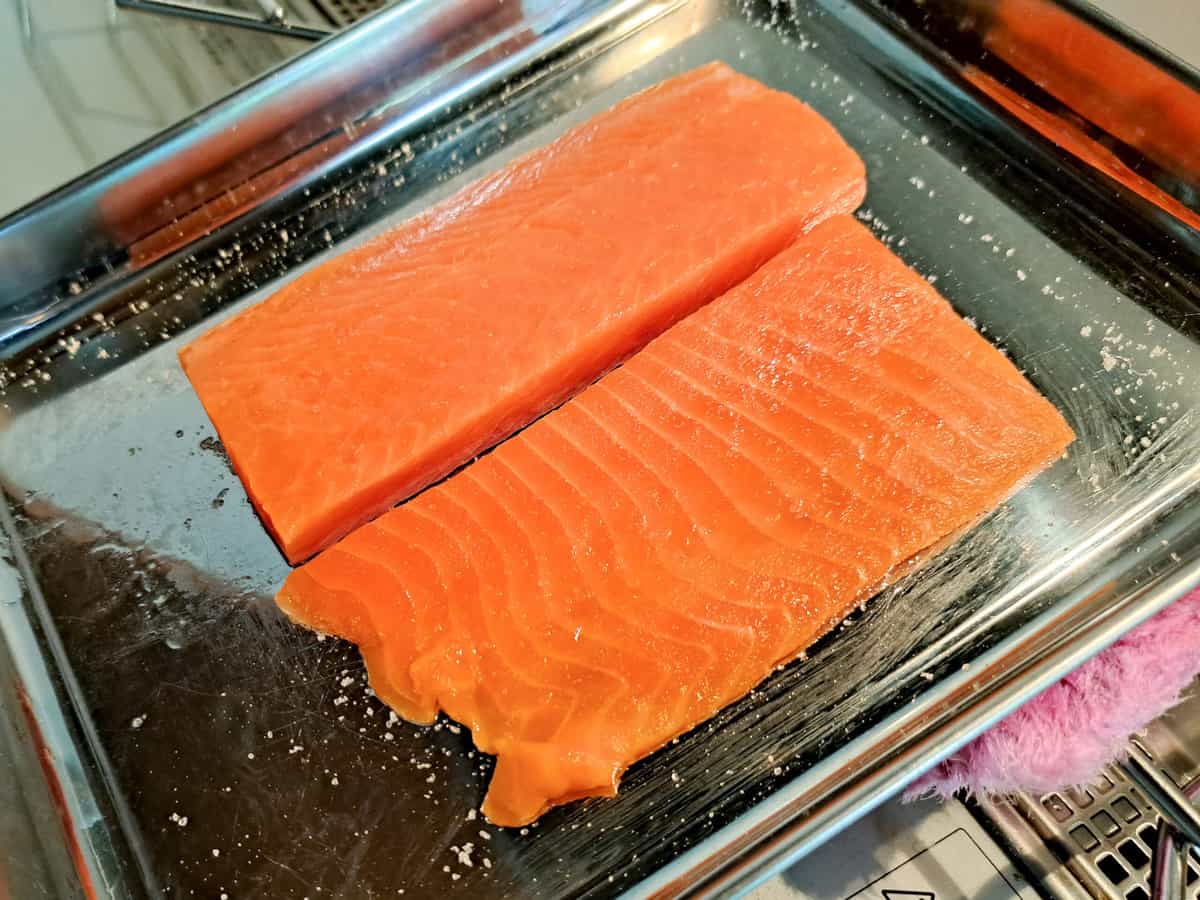
Step 1: Start with the 200 g skinless, boneless farm-raised salmon block explicitly sold for raw sashimi, with supplier-confirmed parasite-control status. Keep it chilled within the supplier’s raw-use limits. Using clean utensils, pat dry with kitchen paper. Sprinkle salt over a clean tray, lay the block with its former skin side down and sprinkle its top and sides. Choose one of the three dipping-sauce options below; each sauce formula serves two.
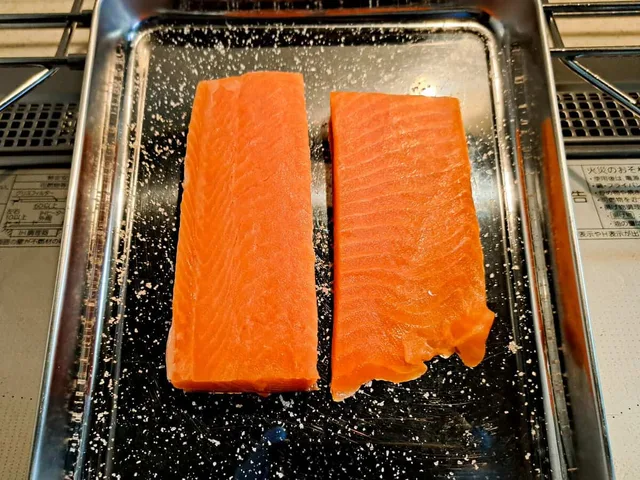
Step 2: Refrigerate the salted salmon at 4°C / 40°F or below for 15–20 minutes. Prop one end of the tray slightly higher so the expelled liquid runs away from the fish. This salt rest is for texture; it does not make ordinary cooking salmon suitable for raw use.
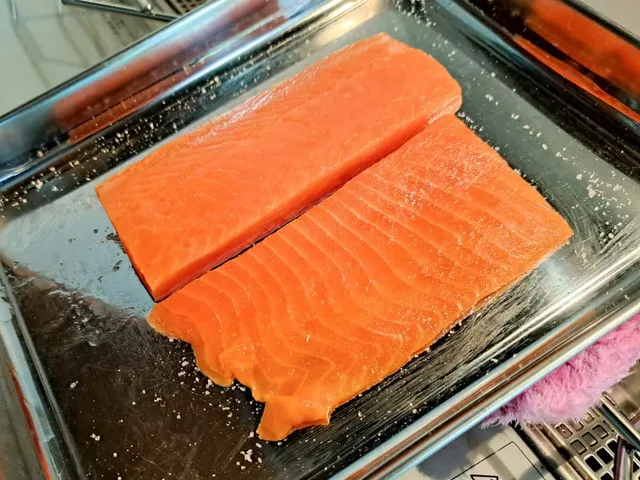
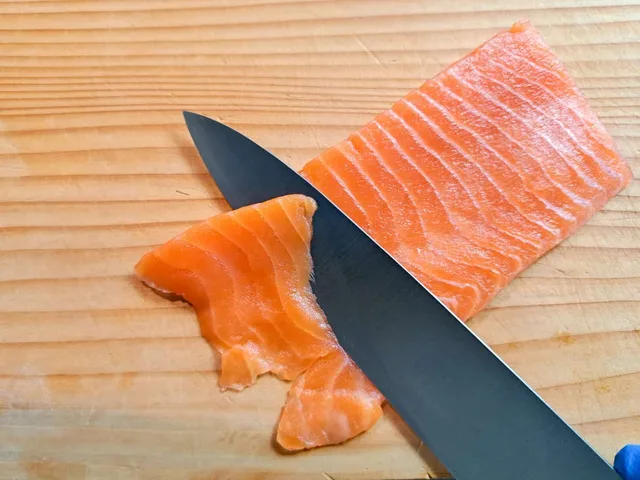
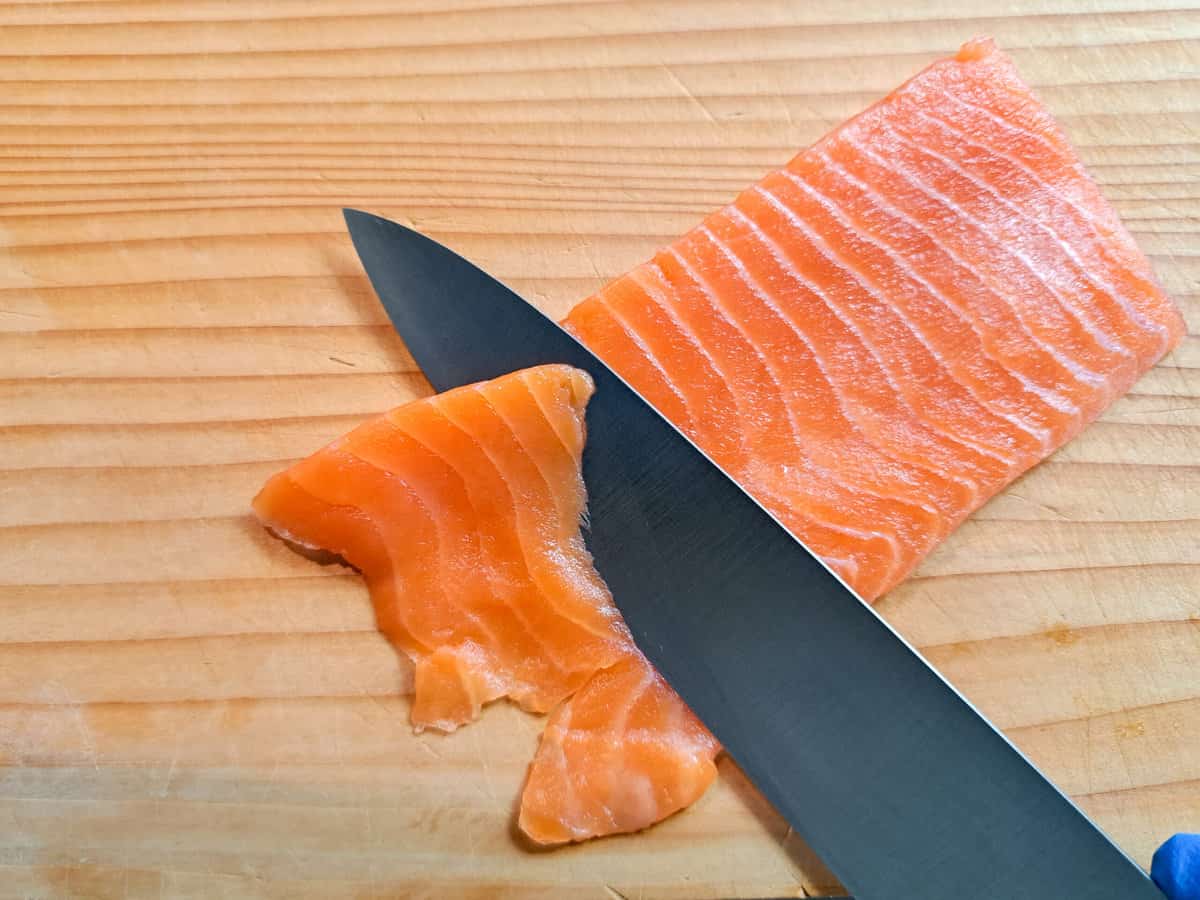
Step 3: Wipe off the surface salt and expelled moisture with fresh kitchen paper. On a clean board, slice with a sharp knife in a single smooth drawing motion: flat slices across a thick block, or shallow angled slices across a thinner belly block. Arrange the slices for two portions and keep refrigerated while preparing the chosen sauce.
Step 4: Simple soy-and-wasabi option only: put its 1 tbsp dark soy sauce in a dipping bowl and its 1 tsp wasabi paste separately on the side.
Step 5: For the simple option, take a little of the prepared wasabi with chopsticks and put it on a sashimi slice, using as much as you prefer.
Step 6: For the simple option, pick up the sashimi slice and dip it in the prepared soy sauce just before eating.
Step 7: Serve the simple option promptly. Keep any remaining sashimi refrigerated within its supplier’s raw-use limits; do not leave the plate standing warm while making another sauce. Skip the other sauce branches when this is your selected option.
Step 8: Sweetened soy option only: put its 1 tsp sake and 1 tsp mirin in a large microwave-safe bowl. Microwave for 40 seconds at 600 W, then handle carefully. Brief heating does not guarantee that all alcohol has evaporated.
Step 9: Transfer the heated sake-and-mirin mixture to a smaller bowl. Add this option’s 25 ml dark soy sauce and 1 tsp water, plus its pinch of dashi granules if desired. Mix and refrigerate until chilled before serving.
Step 10: Serve the two sashimi portions with the chilled sweetened soy dip, dipping pieces as desired. Keep unused sashimi refrigerated within its supplier’s raw-use limits. Skip the simple and sesame sauce branches when this is your selected option.
Step 11: Sesame option only: put its 1 tbsp sake in a microwave-safe bowl and microwave for 50 seconds at 600 W. Handle carefully; this short heating is not a guarantee of complete alcohol removal.
Step 12: Mix the heated sake with the ½ tbsp toasted sesame oil, ½ tsp garlic paste, ⅛ tsp rice vinegar and one pinch each of black pepper (1 pinch), toasted white sesame seeds (1 pinch) and sugar (1 pinch). Stir until the sugar dissolves and the ingredients are well dispersed. Add the 1 tsp chopped green onions if desired, then refrigerate until chilled.
Step 13: Serve the two sashimi portions with the chilled sesame dip, dipping pieces as desired. Keep unused sashimi refrigerated within its supplier’s raw-use limits. Skip the other dipping-sauce branches when this is your selected option.
Photos (1)
Comments
0 threadsSign in to join the discussion.


No comments yet. Start the discussion.