

Japanese · Dinner
Omurice (Japanese Omelette Rice)
From the zcook collection
Learn to make a classic-style Japanese rice omelette called Omurice. It‘s a home-cooking staple in Japan adored by people of all ages. In my recipe, I‘ll teach you how to make a perfectly creamy and custardy omelette to wrap around savory chicken rice.
- Japanese
- Dinner
- Just One Cookbook
- Total
- 35 min
- Prep
- 15 min
- Cook
- 20 min
- Serves
- 2 omurice, plus 1 extra portion of chicken rice
- Level
- Hard
- Energy
- 530 kcal
Method23 steps · about 35 min
Step 1: Have 330 g (1¾ cups) cooked Japanese short-grain rice ready and warm; reheated previously cooked rice may be used.
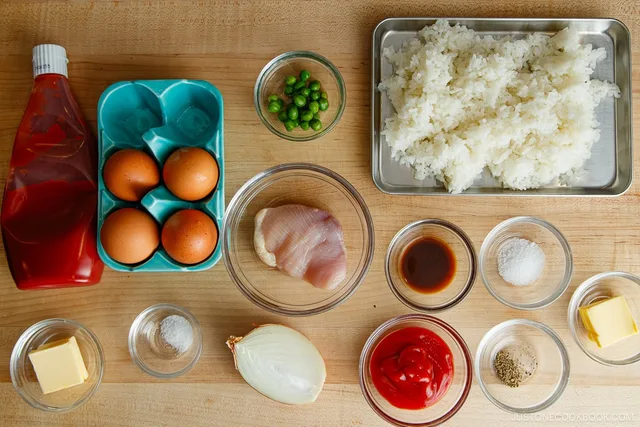
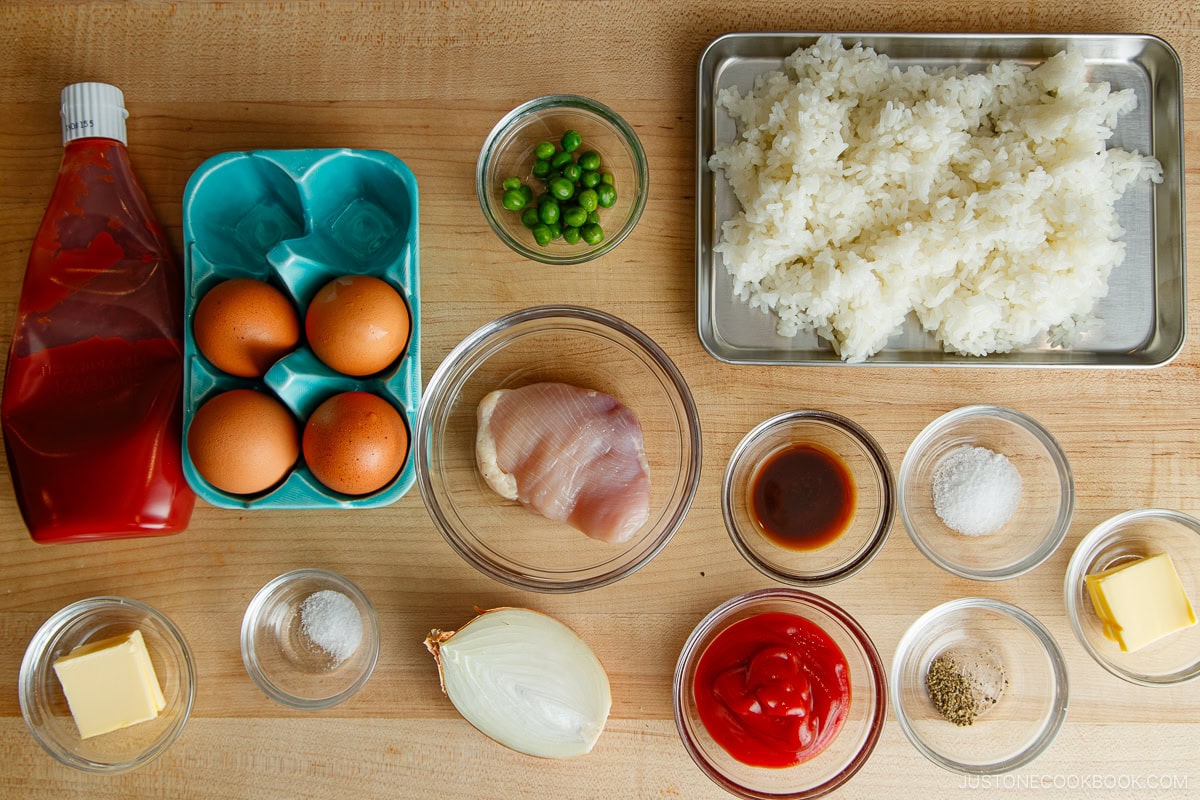
Step 2: Gather all the ingredients.
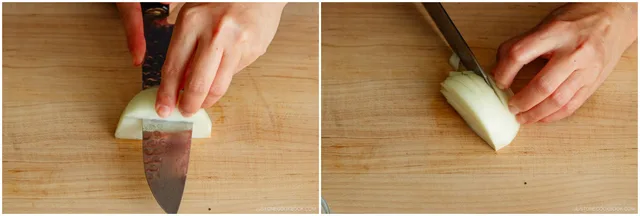
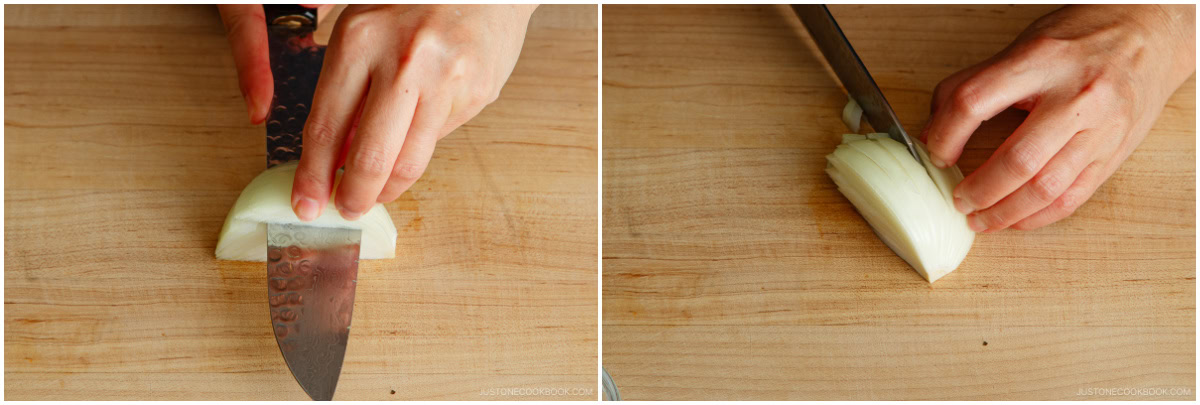
Step 3: Lay ¼ onion flat side down on the cutting board. With the knife edge toward the root end, make ⅛-inch horizontal slices to within ½ inch of the root end, keeping the root intact. Then, make ⅛-inch vertical slices, again keeping the root intact.
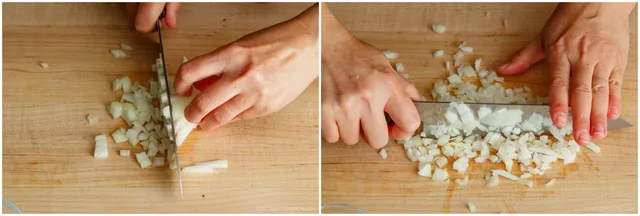
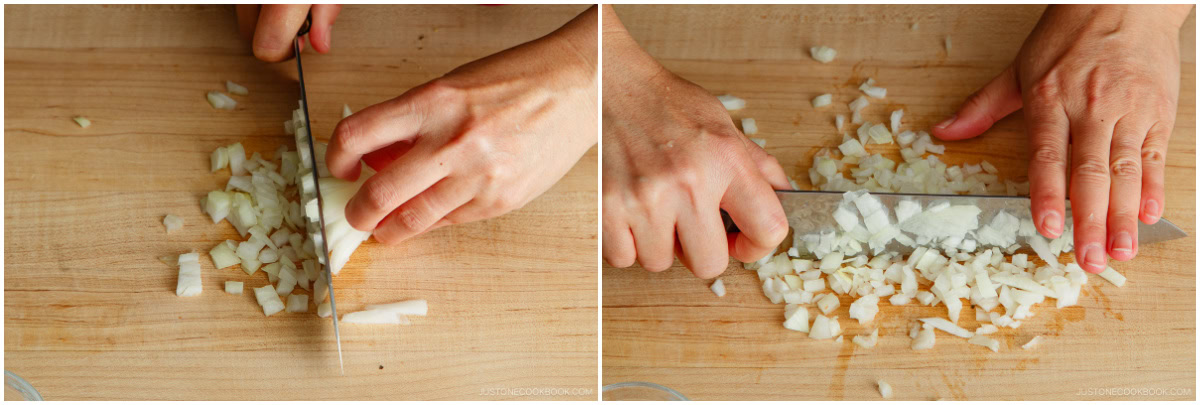
Step 4: Mince finely into ⅛-inch (3-mm) pieces. If you need to chop the onion pieces finer, run your knife through them using a rocking motion. Hold down the tip of the knife; otherwise, the onions will go flying around the room.
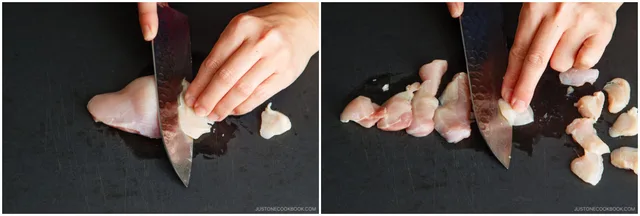
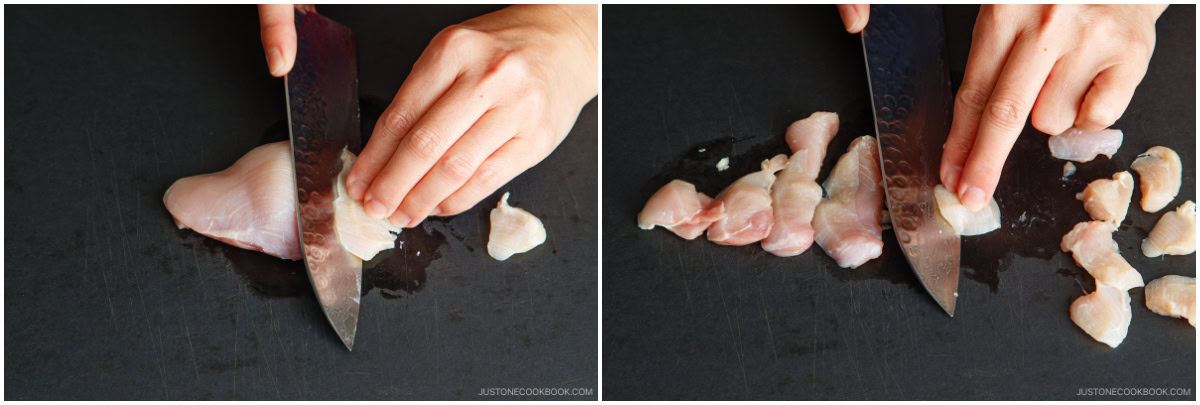
Step 5: Angle your knife back and diagonally, and then slice 3 oz boneless, skinless chicken thigh along the grain into strips about ½ inch (1.5 cm) wide. Next, angle your knife again and slice the chicken strips against the grain into pieces about ½ inch (1.5 cm) square. This sogigiri cutting technique gives the chicken pieces equal thickness and creates more surface area for fast cooking and better absorption of the flavors.
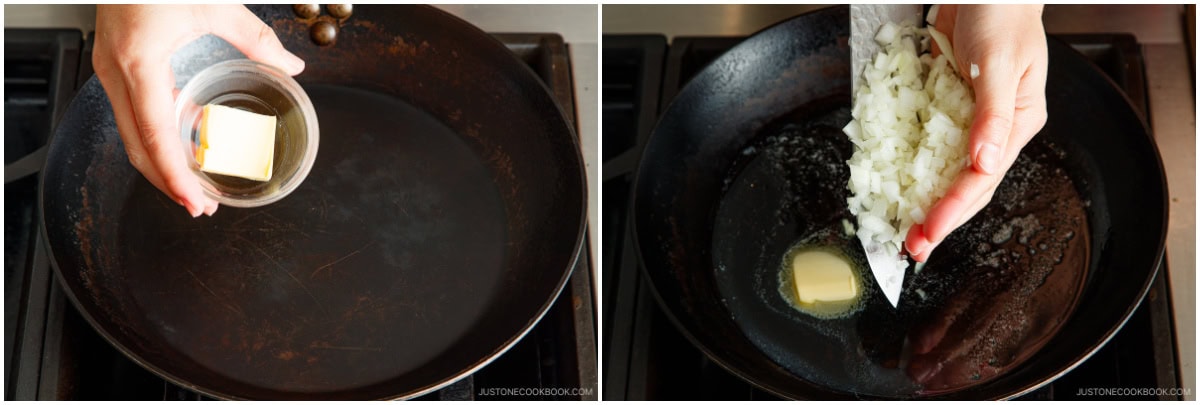
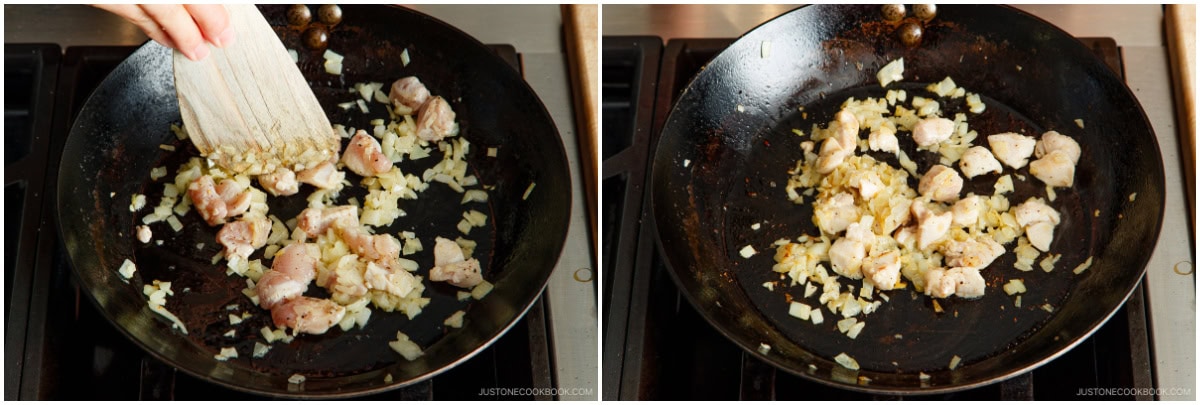
Step 6: Heat 1 Tbsp unsalted butter in a large frying pan over medium heat and add the minced onion.
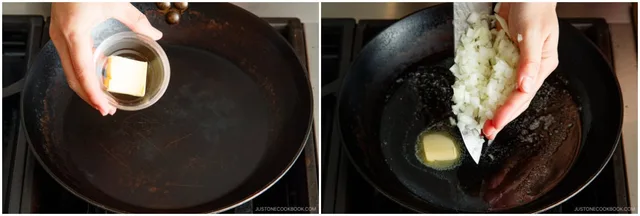
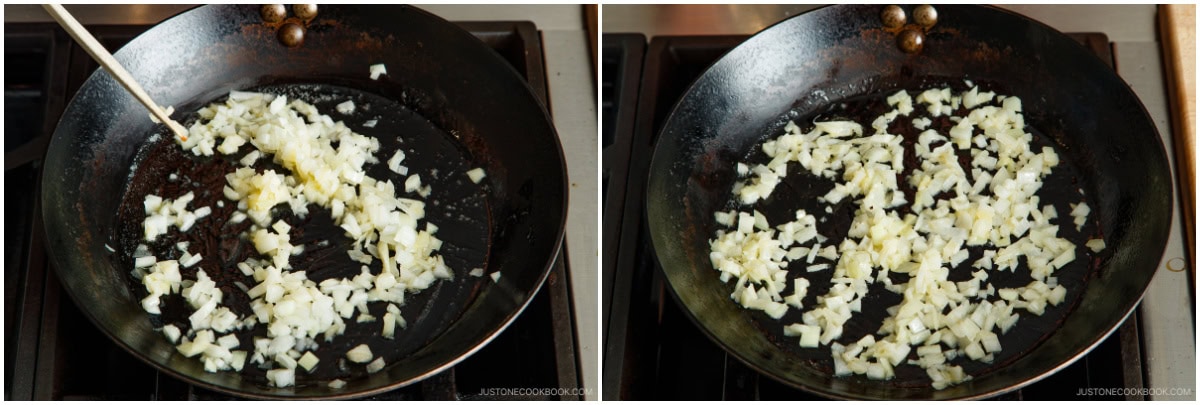
Step 7: Sauté the onions until tender.
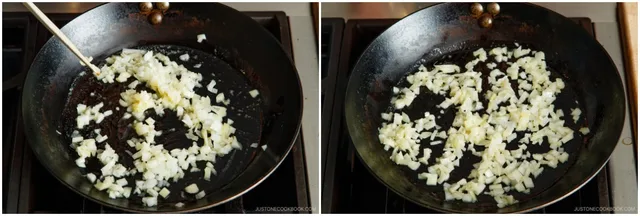
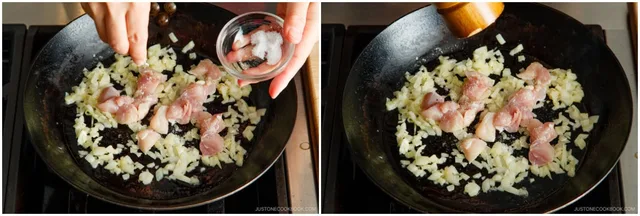
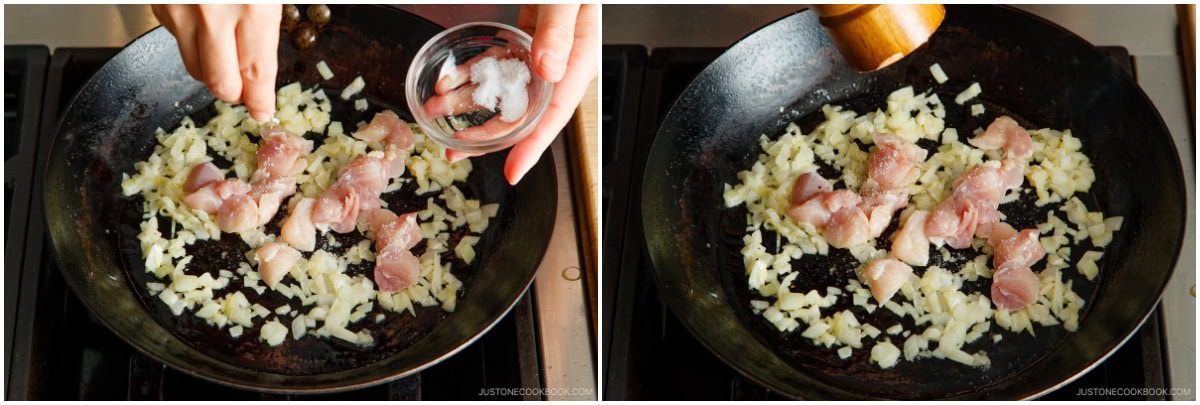
Step 8: When the onions are tender, add the chicken and season it with half of the Diamond Crystal kosher salt and freshly ground black pepper (to taste).
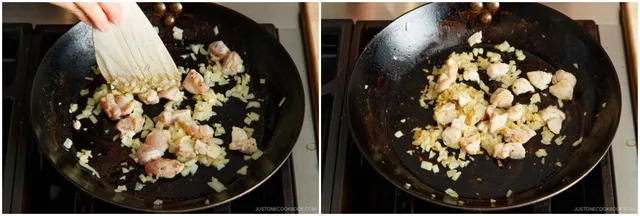
Step 9: Cook the small chicken pieces until cooked through, reaching 165°F (74°C) in the thickest pieces.
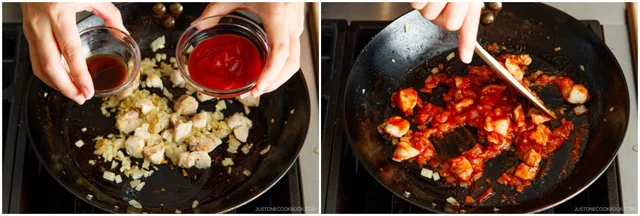
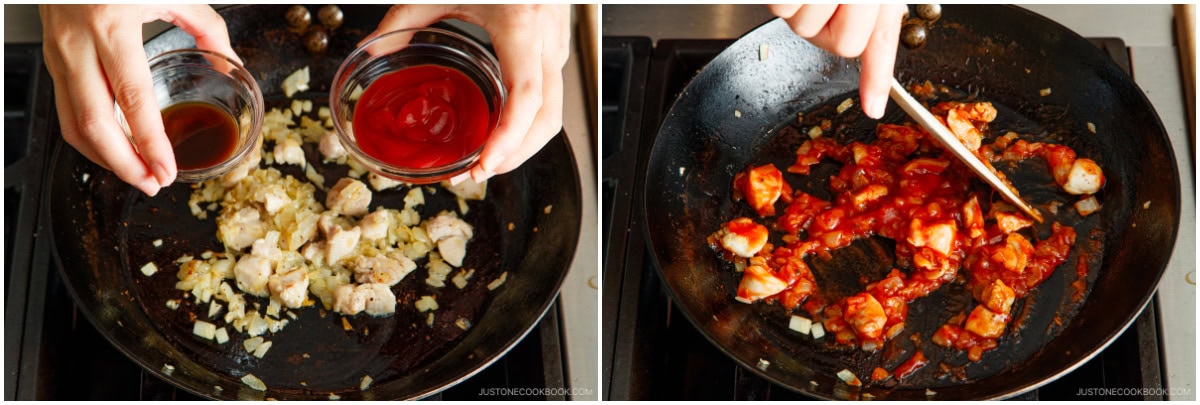
Step 10: Reduce the stove‘s heat a little and add 5 Tbsp ketchup and 1 tsp Worcestershire sauce and stir to combine. Let the excess moisture evaporate so the rice will not become mushy.
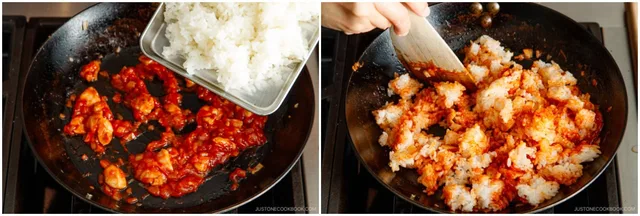
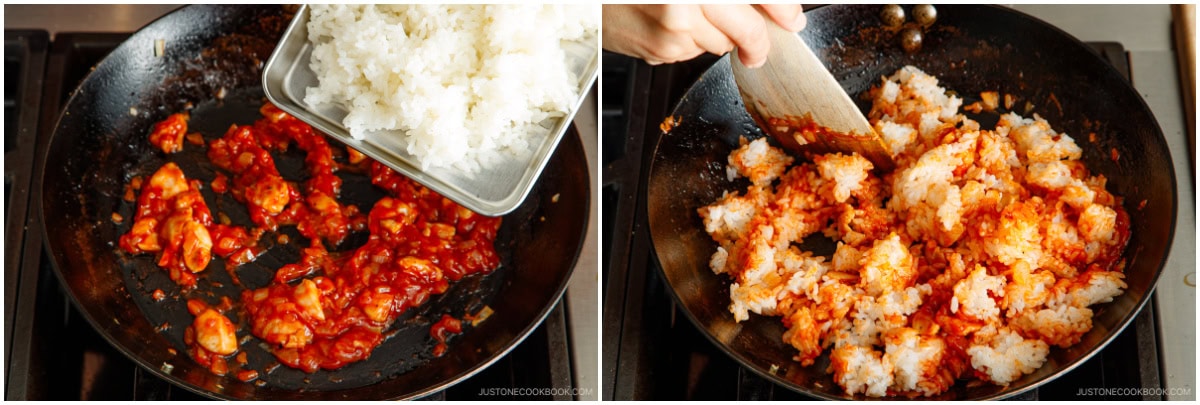
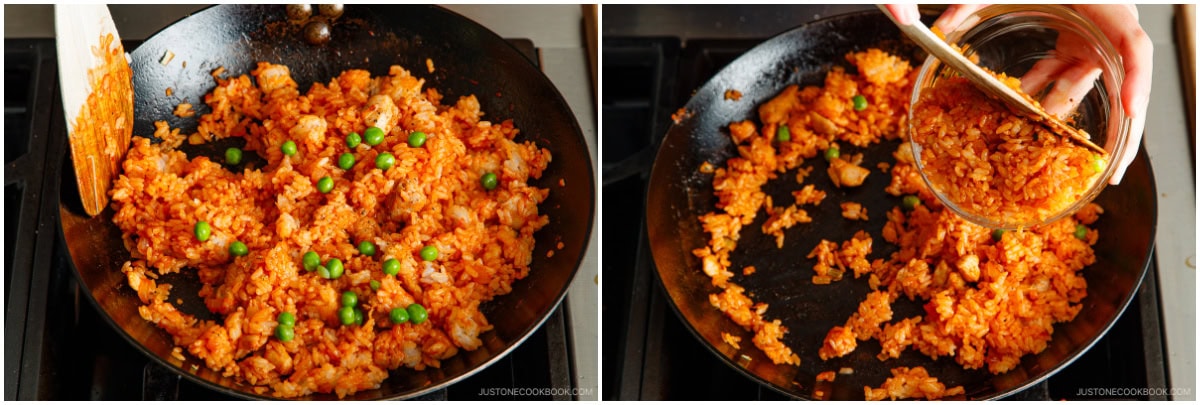
Step 11: Add the 330 g (1¾ cups) warm cooked Japanese short-grain rice. Use a cutting motion with your spatula to break up the clumps.
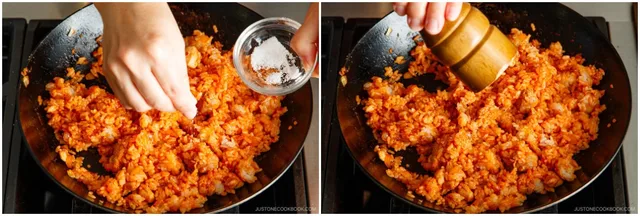
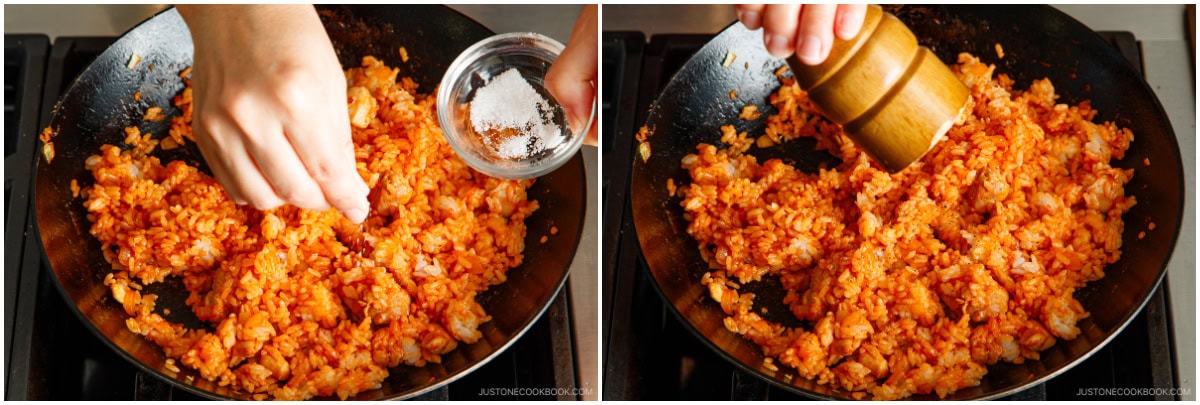
Step 12: Season with remaining half of the Diamond Crystal kosher salt and freshly ground black pepper (to taste).
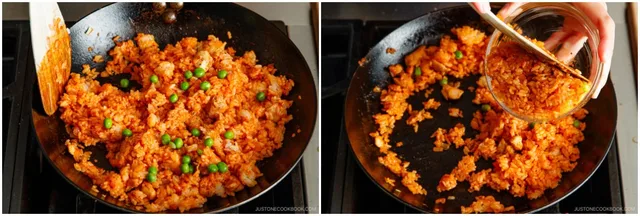
Step 13: Add 1 Tbsp cooked green peas and toss to combine. Remove from the heat and divide the chicken rice into 3 portions. Use 2 portions for the two omelettes; cool and freeze the extra portion for another use. Shape each filling portion with a small bowl and spatula before placing it on the omelette.
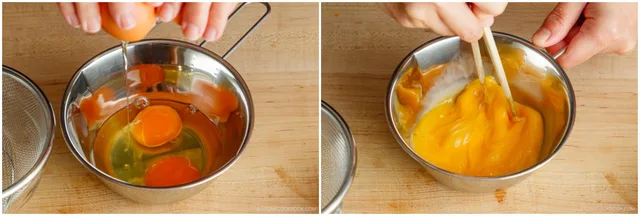
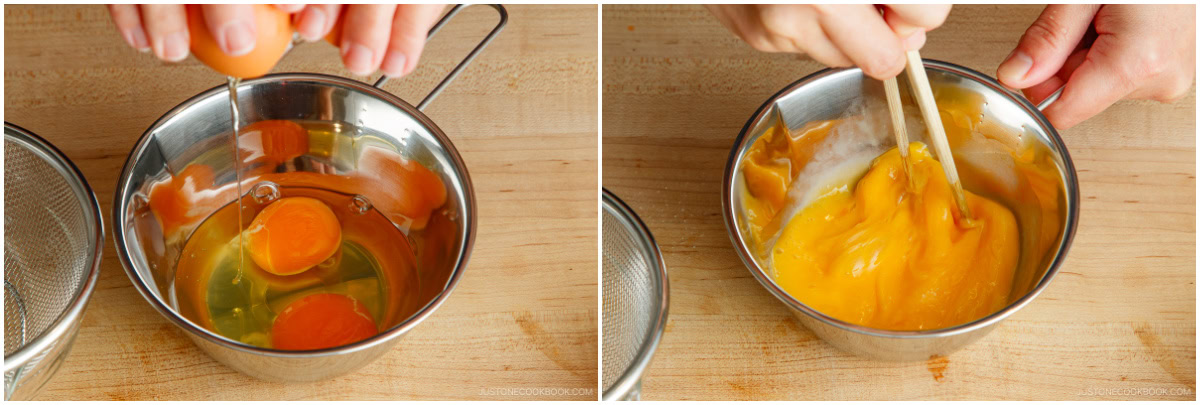
Step 14: We‘ll make the omurice one at a time. Crack 2 large eggs in a small bowl. Using chopsticks, beat the eggs in a zigzag motion while you keep the chopsticks' tips touching the bowl's bottom. Cut the egg whites instead of whisking.
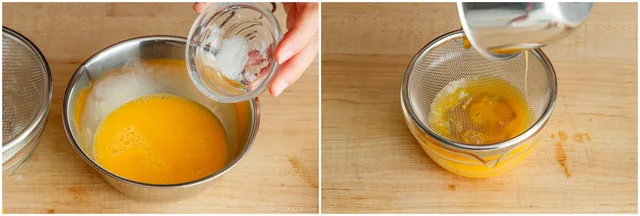
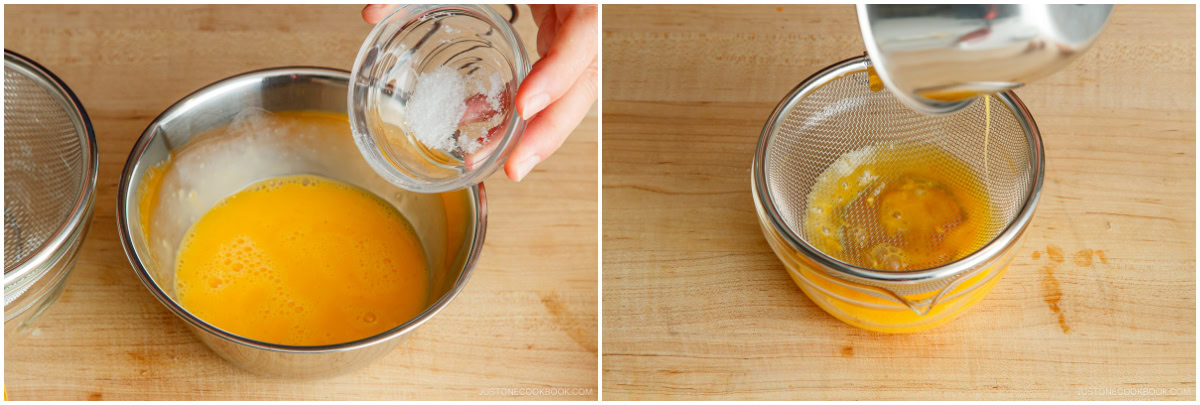
Step 15: Add ¼ tsp Diamond Crystal kosher salt. Then, strain the beaten eggs through a fine-mesh strainer. This removes the stringy bands on the yolks called the chalaza to give the cooked eggs a uniform and silky-smooth texture.
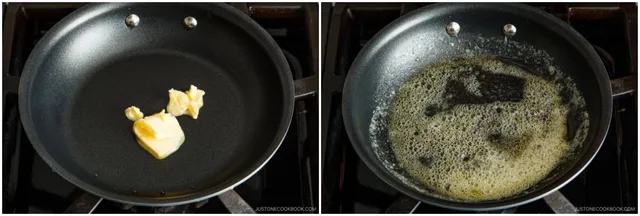
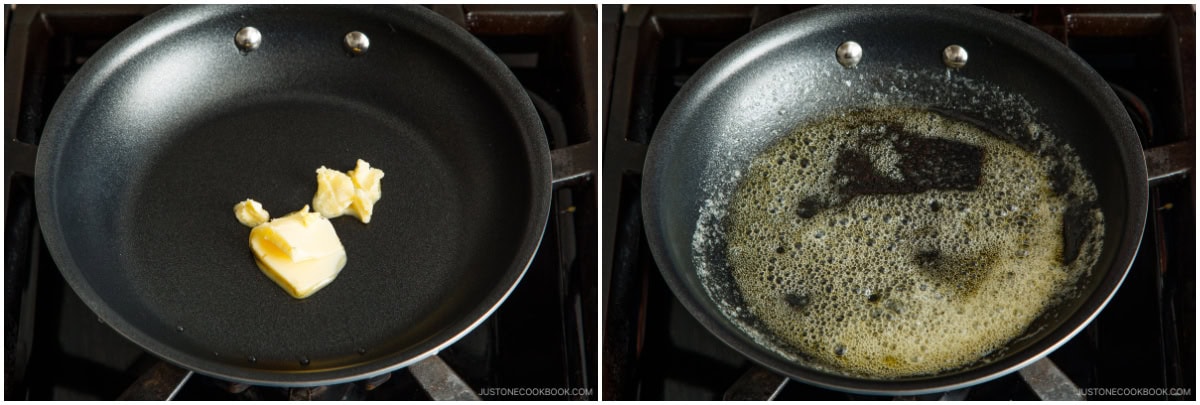
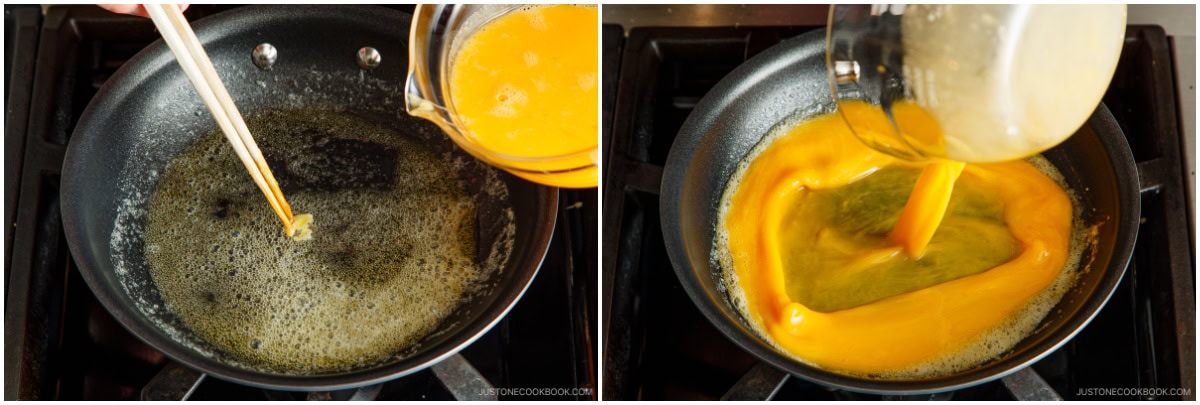
Step 16: Heat 1 Tbsp unsalted butter in the pan over medium heat. Distribute the butter to make sure the surface of the pan is coated well.
Step 17: Check if the pan is hot by adding a drop of the egg mixture into the pan with a chopstick. If it sizzles, then pour in the egg mixture.

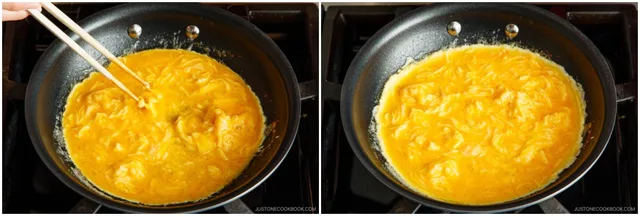
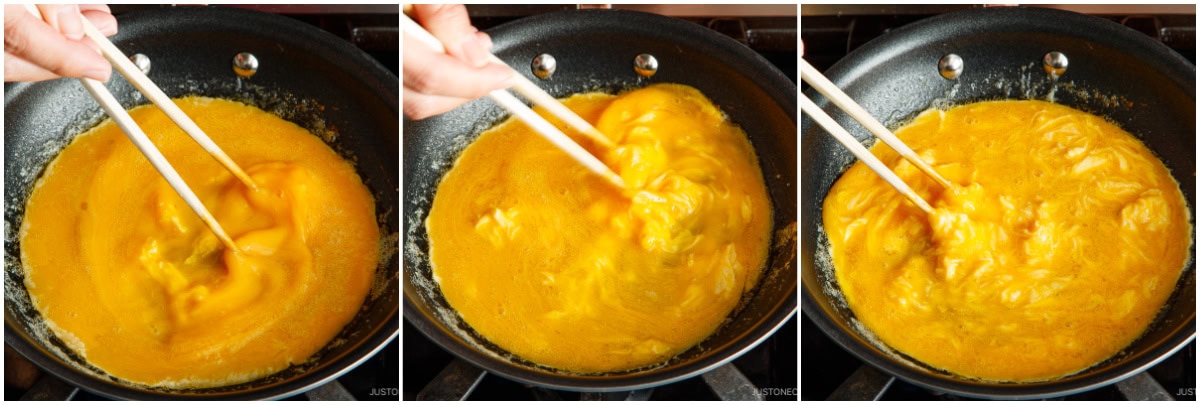
Step 18: Stir the eggs quickly in a spiral motion with chopsticks while you shake the pan. Keep the eggs moving so you end up with soft, small curds and an even exterior surface. I found that chopsticks can create really nice small curds better than a silicone spatula.
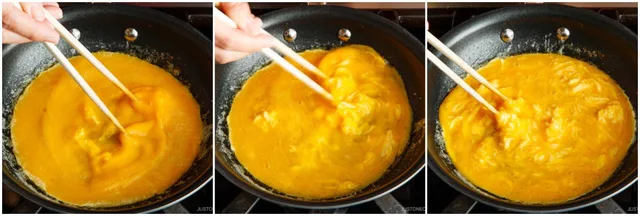
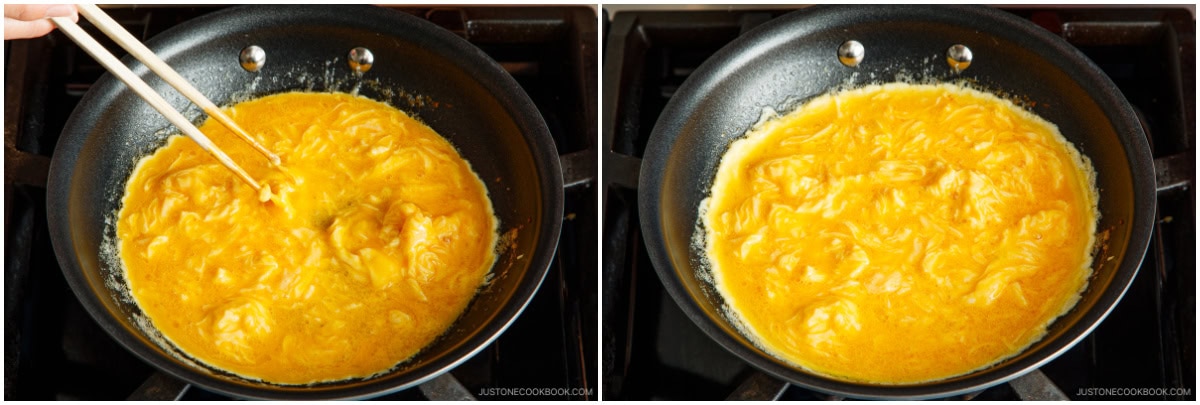
Step 19: Stop stirring when the eggs are half-cooked. You want to see a smooth omelette surface, not the chopsticks’ stirring marks, so stop stirring while the eggs are rather runny. Tilt the frying pan to spread out the uncooked egg mixture. The egg curds should look creamy, soft-scrambled, and custardy at this stage. You don‘t want to overcook them, as they’ll continue to cook a little with the residual heat. Make sure to level the egg curds.
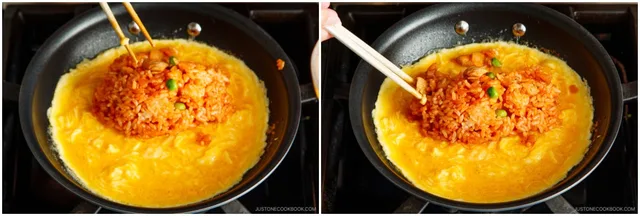
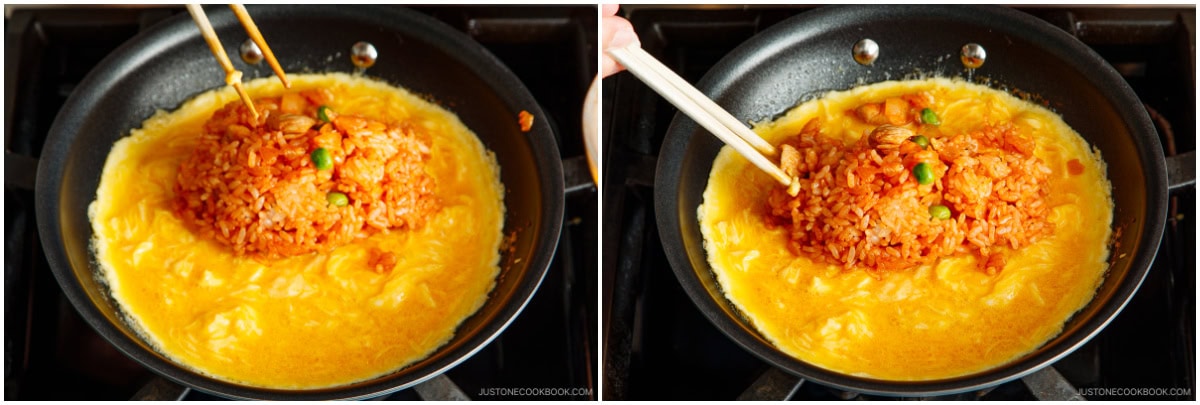
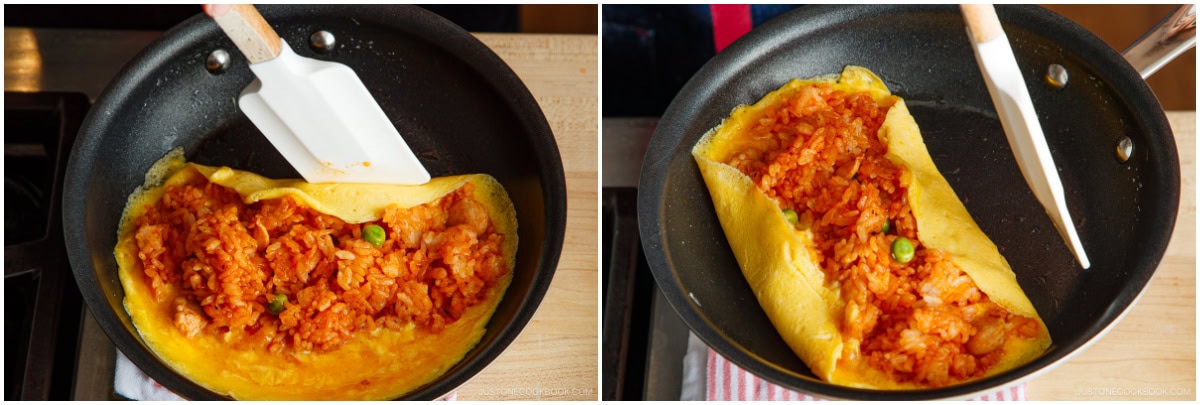
Step 20: Place 1 portion of chicken rice in the center of the omelette. Spread it out to the sides a little. Create a rough football shape without moving and touching the omelette. Turn off the stove‘s heat.
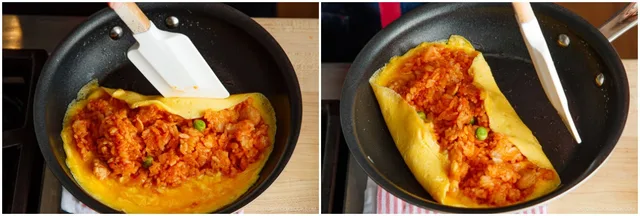
Step 21: Move the pan to a wet folded cloth to cool it. This keeps the omelette from browning so that your omurice is an even pale yellow color. Then, slide the omelette to the far edge of the pan. Wrap the rice with the omelette from both sides.
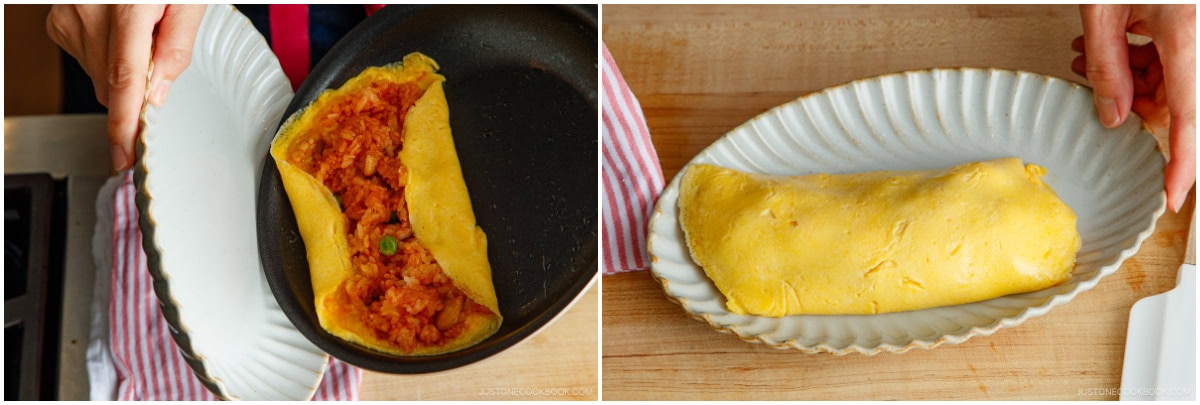
Step 22: Hold a plate in one hand and the pan in the other and tilt the plate next to the omurice. Then, flip the frying pan upside down at an angle to transfer the omurice, seam side down, onto the plate.
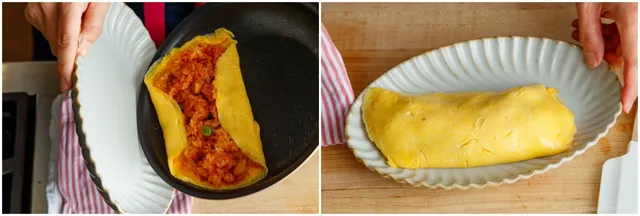
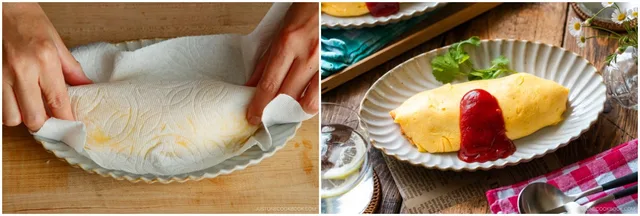
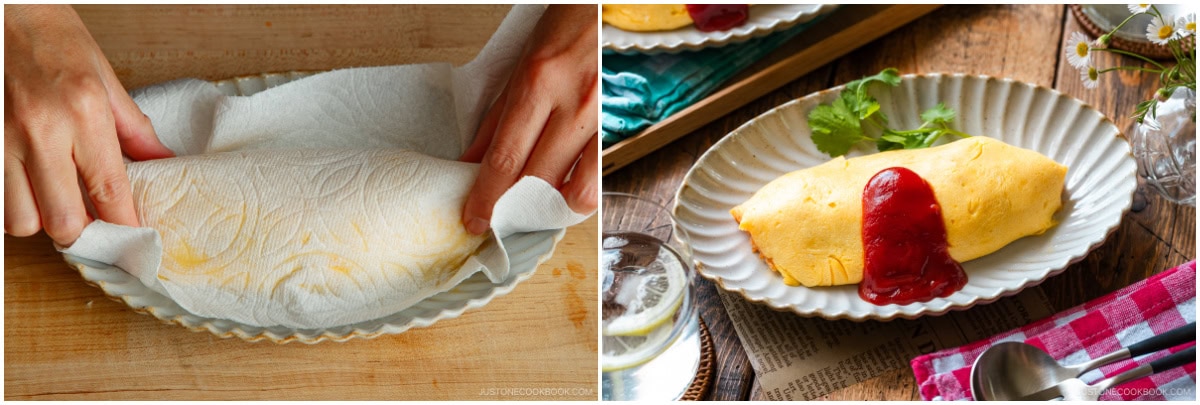
Step 23: Place a paper towel over the plated omurice and gently shape it into a football or rugby ball. Drizzle additional ketchup on top if desired. Repeat steps 14–23 with the remaining 2 eggs, ¼ tsp omelette salt, 1 Tbsp omelette butter, and the second chicken-rice portion to make the second omurice. Keep the third portion of filling for another use.
Photos (1)
Comments
0 threadsSign in to join the discussion.

No comments yet. Start the discussion.