

Japanese · Dinner
Sushi
From the zcook collection
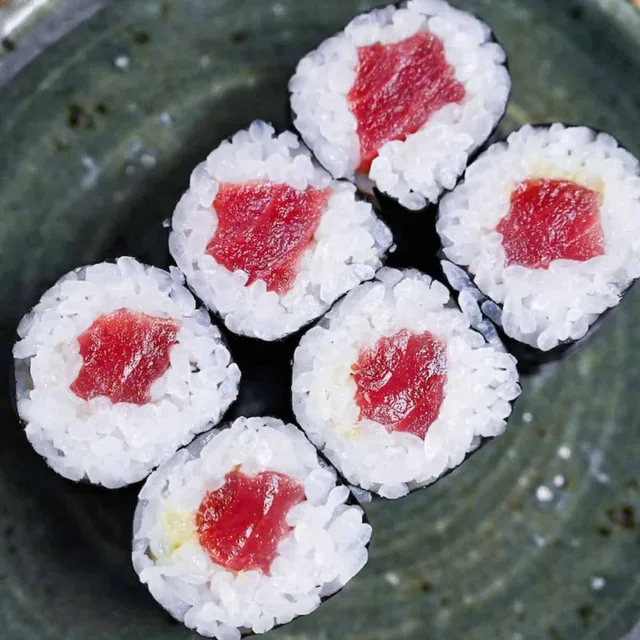
One batch of seasoned sushi rice shaped into nori rolls with canned tuna and cucumber, pressed sushi with ready-to-eat smoked salmon, and rice balls with salmon or optional cooked prawns.
- Japanese
- Seafood
- Prep
- 40 min
- Cook
- 15 min
- Serves
- Enough sushi for 6 as a main, or 4 with leftovers for lunchboxes
- Level
- Easy
Method14 steps
Step 1: Cook all 300 g dry sushi rice with fresh water according to its own packet directions, until tender and sticky; rinse first if the packet directs. Stir all 100 ml rice-seasoning vinegar with the two tablespoons caster sugar until dissolved, warming gently if needed, then fold the entire seasoning into the warm cooked rice. Separately mix all three tablespoons mayonnaise with its own tablespoon vinegar and one teaspoon soy sauce. Wash and cut the cucumber (1) into strips. Keep the seasoned rice, prepared mayonnaise and cucumber strips separate.
Step 2: Spread the cooked seasoned rice in a shallow clean tray, let steam escape briefly and refrigerate promptly within two hours of cooking. Keep the mayonnaise and cucumber cold too. Refrigerate for about three hours, continuing until the rice is cold. Choose how much of this one rice batch to use for rolls, pressed sushi and balls. For the first roll, put a nori sheet shiny-side down on a sushi mat. Mix fresh hand-dipping water with a little extra vinegar; dampen your hands and pat some cooled rice over the nori in a 1 cm layer, leaving the far edge clear. Keep unused cooled rice refrigerated for the remaining sushi.
Step 3: Spread a thin line of the prepared Japanese mayonnaise down the centre of the rice-covered nori. Keep the unused mayonnaise chilled for further rolls.
Step 4: Lay a line of drained canned cooked tuna and cucumber strips over the mayonnaise. Use enough to fill the roll without overfilling; keep any remaining cucumber chilled for further rolls or serving alongside.
Step 5: Lift the near edge of the mat over the filling and roll forwards, applying gentle even pressure to keep the sushi tight.
Step 6: When you reach the bare nori edge, brush it with a little clean sealing water and finish rolling tightly so the edge sticks.
Step 7: Remove the mat and wrap the roll tightly in food-safe cling film. Cut into thick slices with a sharp knife, then remove every piece of film. Repeat the roll assembly with the portion of cooled rice, nori and prepared mayonnaise chosen for rolls. Keep the finished rolls refrigerated while making the other styles.
Step 8: For pressed sushi, line a small loaf tin or suitable dish with food-safe cling film and arrange a thin layer of purchased ready-to-eat smoked salmon over its base. Choose a tin small enough for the rice portion you have reserved for this style.
Step 9: Cover the smoked salmon with a layer of the retained cooled rice about 3 cm thick. Fold over the film and press down firmly, using a second tin if helpful. Keep the remaining rice cold for sushi balls.
Step 10: Open the film, turn the pressed sushi block onto a clean chopping board and lift off the tin.
Step 11: Cut the pressed sushi into fingers, remove all cling film and keep the finished pieces refrigerated until serving.
Step 12: For sushi balls, lay small squares of food-safe cling film on a clean surface. Put a small piece of ready-to-eat smoked salmon, or half a ready-cooked peeled prawn, on each square.
Step 13: Dampen your clean hands with the hand-dipping water. Shape the remaining cooled rice into walnut-sized balls and place one over each prepared topping.
Step 14: Bring the film corners around each topped rice ball and twist gently to compact it, then remove all film. Serve the finished balls, tuna-cucumber rolls and pressed smoked-salmon fingers with any remaining cucumber strips, pickled ginger and serving soy sauce, plus optional wasabi. Keep the sushi refrigerated until serving and return leftovers promptly to the refrigerator.
Photos (1)
Comments
0 threadsSign in to join the discussion.


No comments yet. Start the discussion.