
Japanese · Dessert
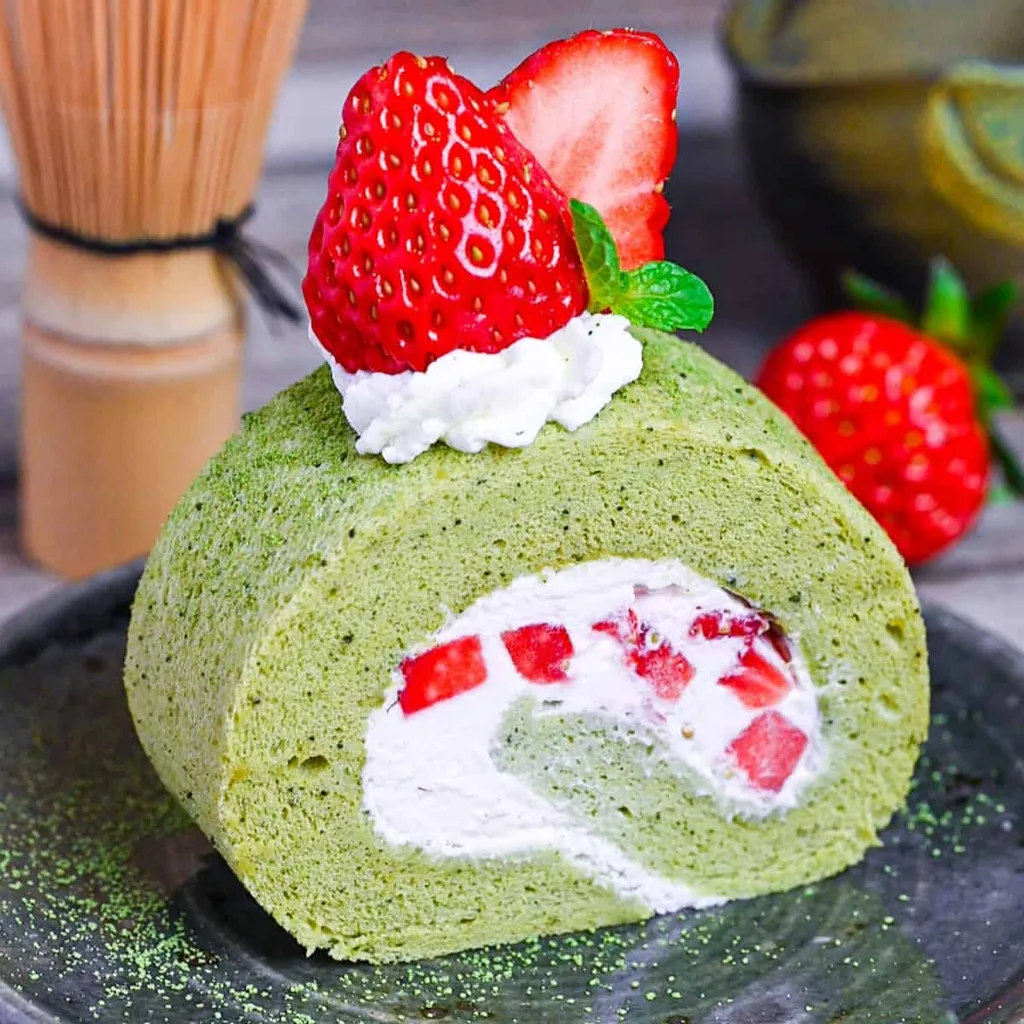
Matcha Roll Cake (Green Tea Swiss Roll)
From the zcook collection
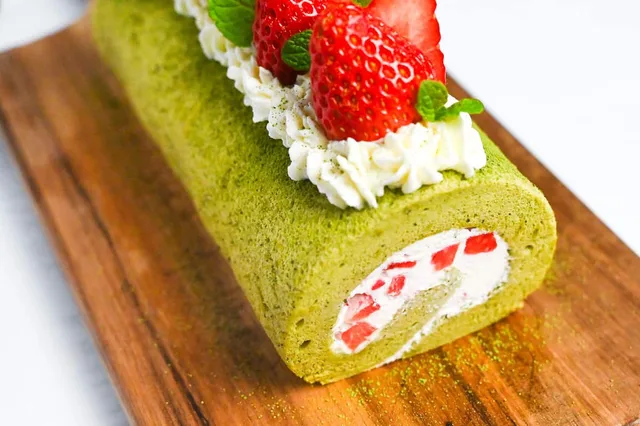
A flexible matcha sponge rolled around strawberry whipped cream, chilled to set and decorated with the reserved cream and berries.
- Vegetarian
- Japanese
- Dessert
- Matcha
- Roll cake
- Strawberries
- Whipped cream
- Total
- 2 hr
- Prep
- 30 min
- Cook
- 15 min
- Serves
- 8 portions
- Level
- Hard
- Energy
- 178 kcal
Method23 steps · about 2 hr
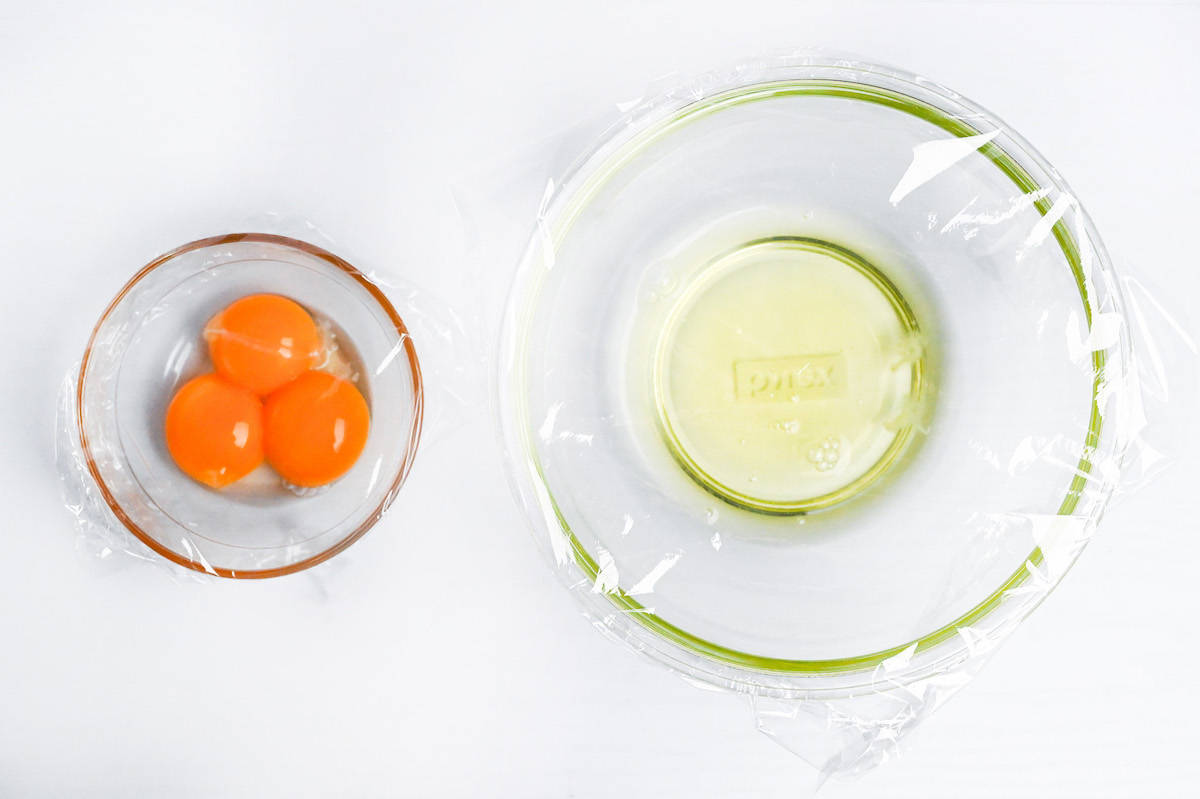
Step 1: Separate all 3 eggs while cold, putting the whites in a clean, dry mixing bowl and the yolks in a separate bowl. Cover both and let them come to room temperature, about 20 minutes. Use this time to prepare the strawberries and measure the other ingredients; keep the cream refrigerated.

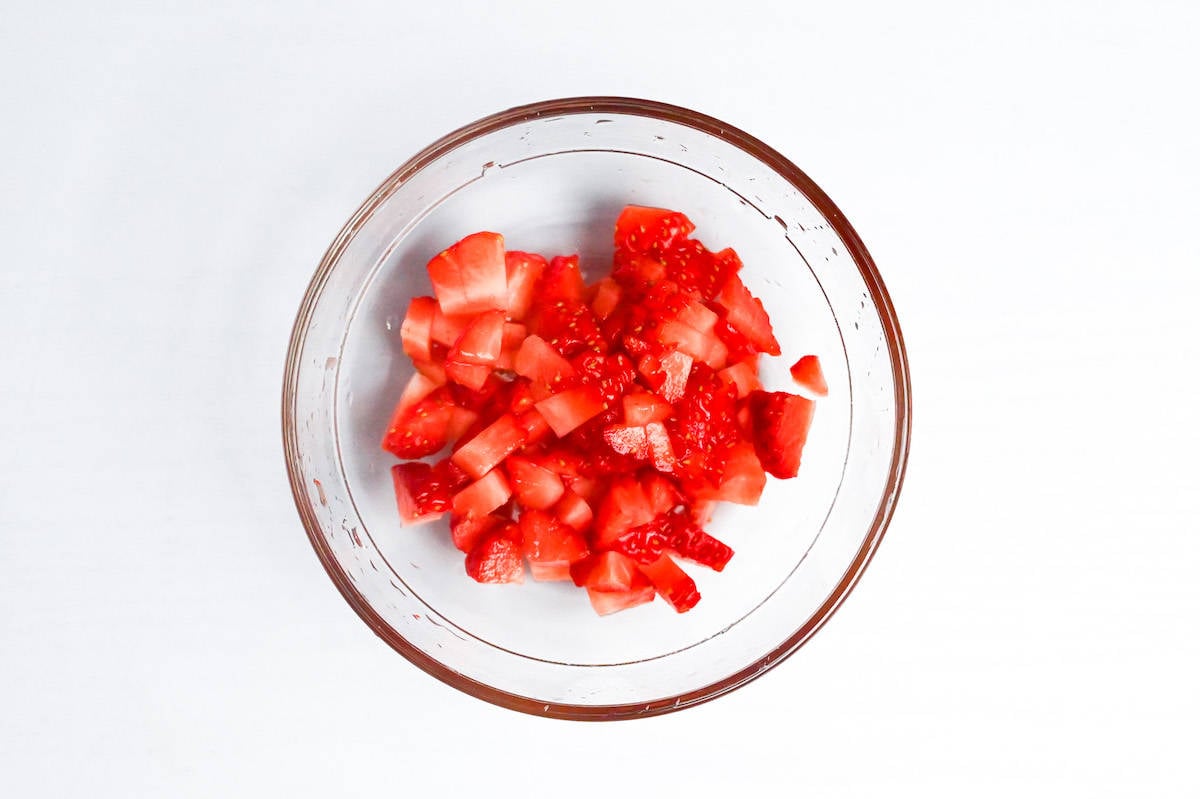
Step 2: Wash and dry all 12 strawberries and remove their leafy tops. Finely dice 6 for the filling and reserve the other 6 for decorating. Refrigerate both portions until needed. Measure the other ingredients, keeping the 60 g sponge sugar separate from the 15 g cream sugar.

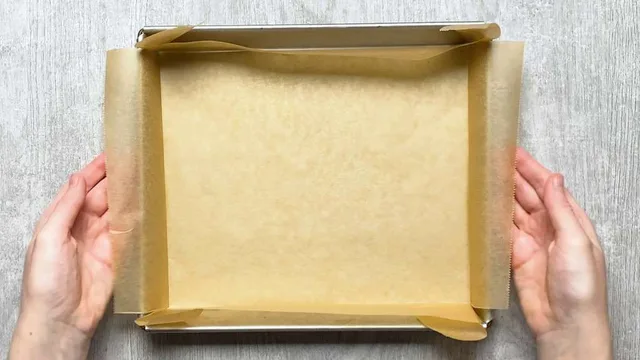
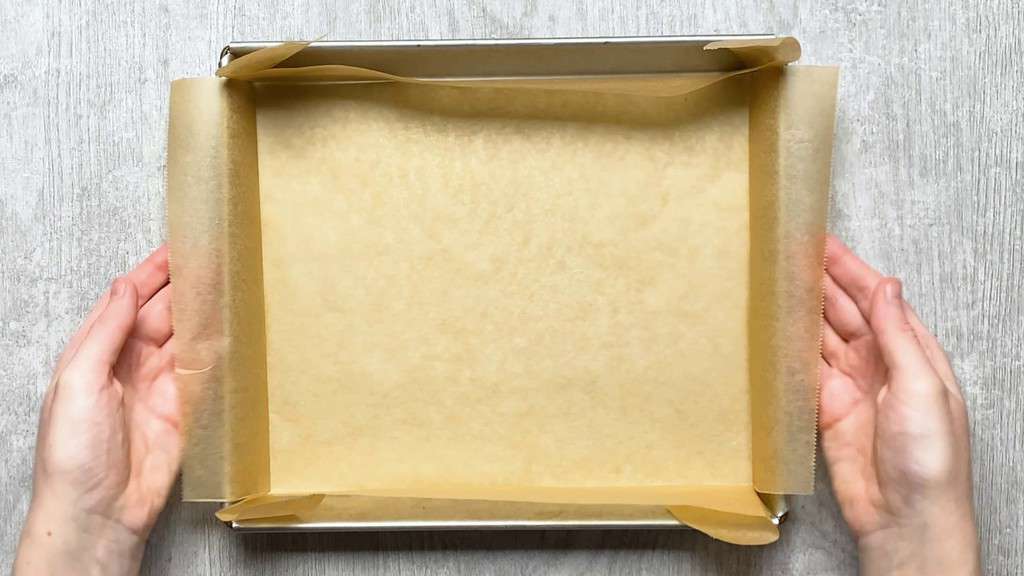
Step 3: Once the separated eggs have reached room temperature, preheat a fan oven to 160 C / 320 F. Line a 25 x 25-cm roll-cake pan with baking parchment, leaving enough paper above the edges to lift the sponge out. The author also uses a 22 x 26-cm pan; this measured batch is not for a larger 10 x 15-inch jelly-roll pan.
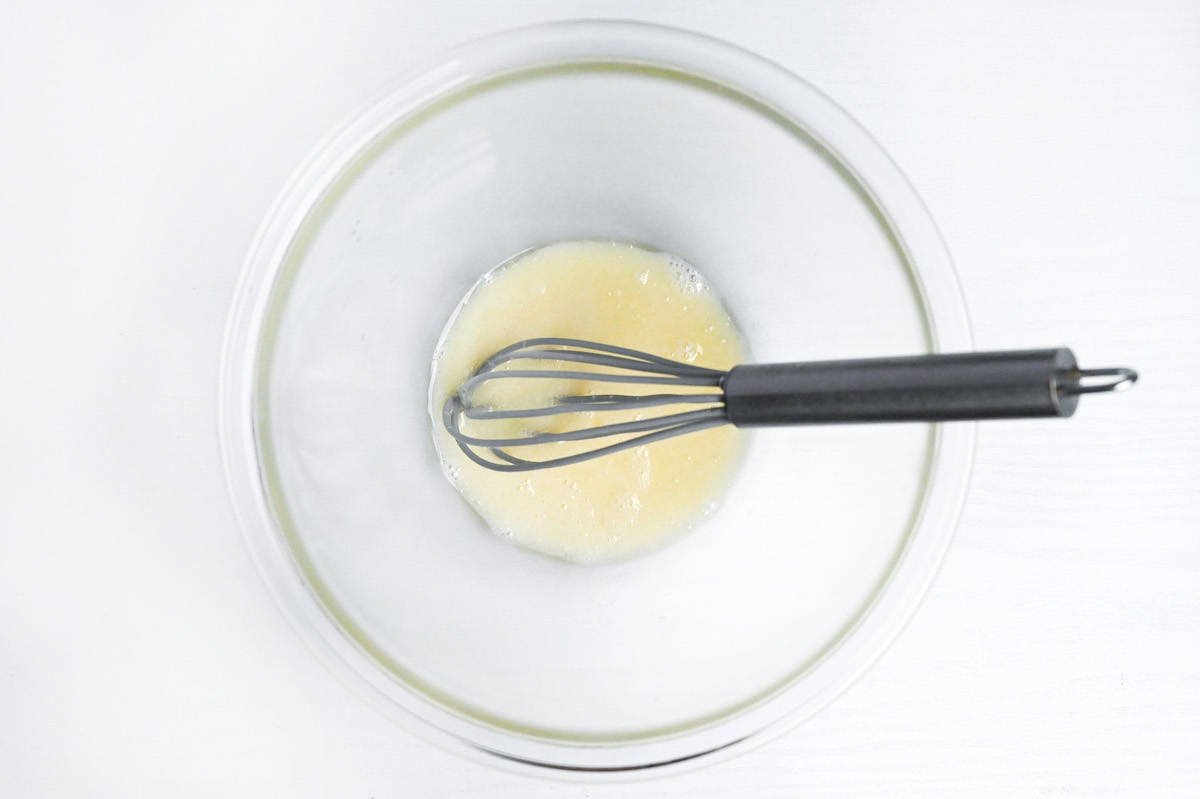
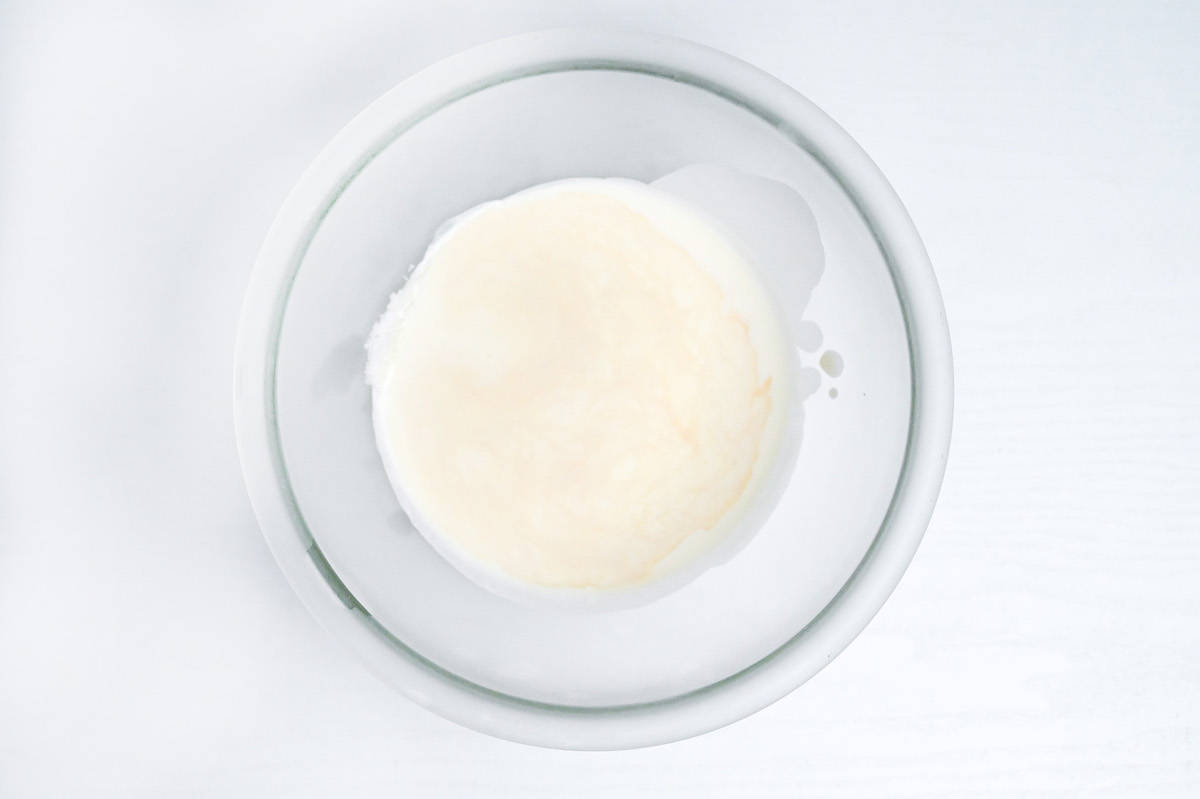
Step 4: Add all 30 ml whole milk, 20 ml neutral cooking oil and 7 g honey to a microwave-safe mixing bowl. Microwave for 20 seconds at 600 W, then whisk thoroughly; the mixture should be gently warmed rather than hot before adding the yolks.

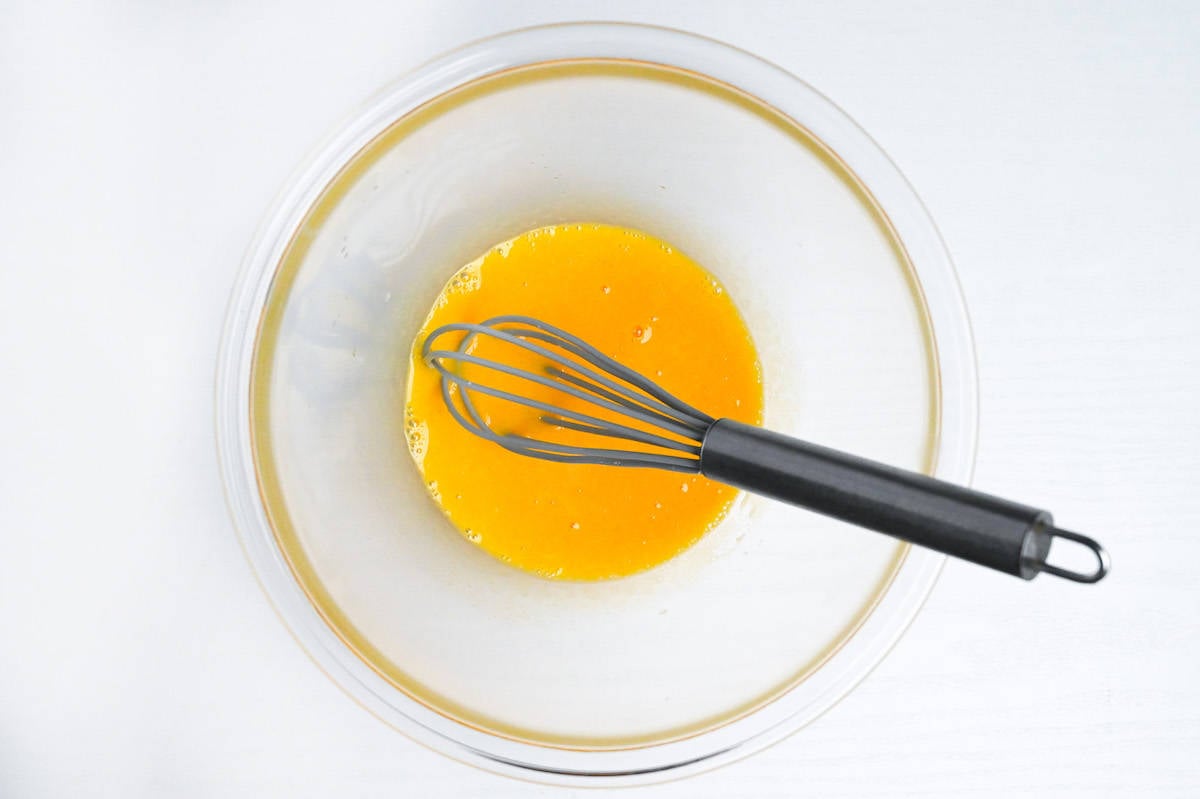
Step 5: Whisk all the separated yolks from the 3 eggs into the prepared milk, oil and honey mixture until well combined. Keep the whites in their clean bowl for the meringue.

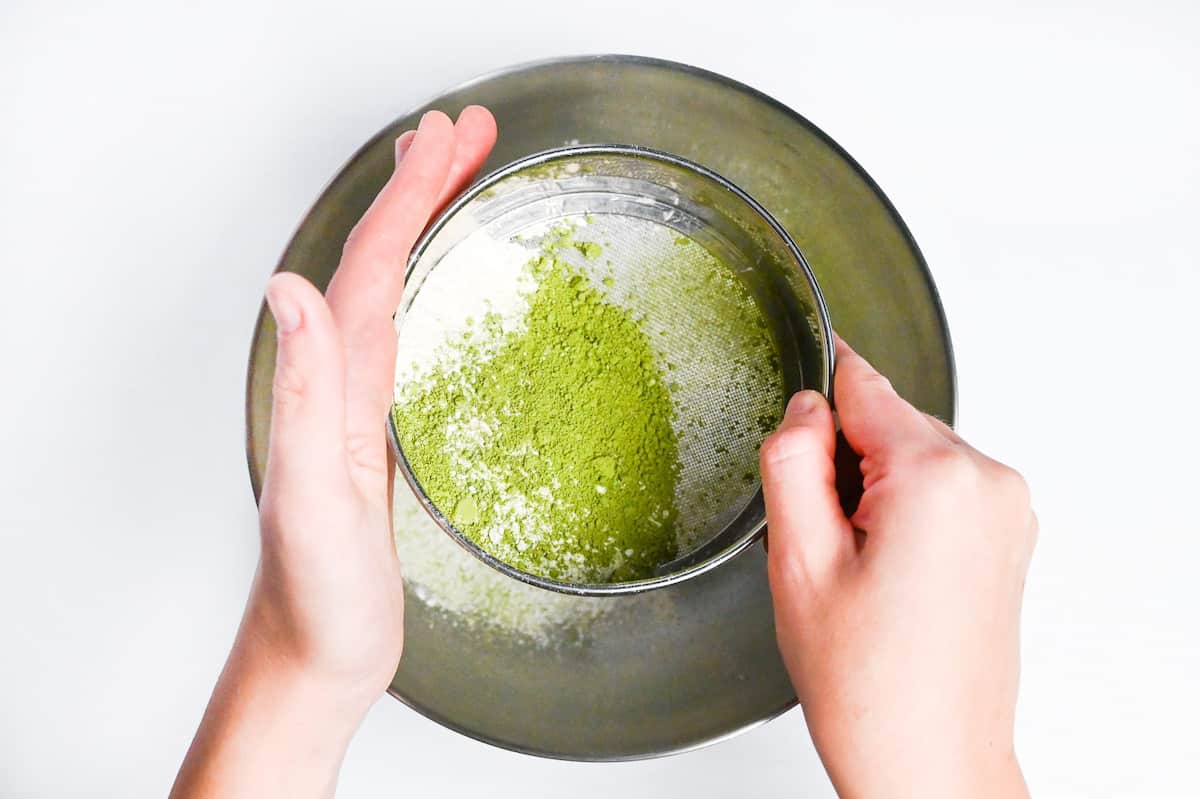
Step 6: Sift all 20 g cake flour, 25 g bread flour and 5 g matcha into a separate bowl. Mix evenly so the matcha is distributed throughout both flours.

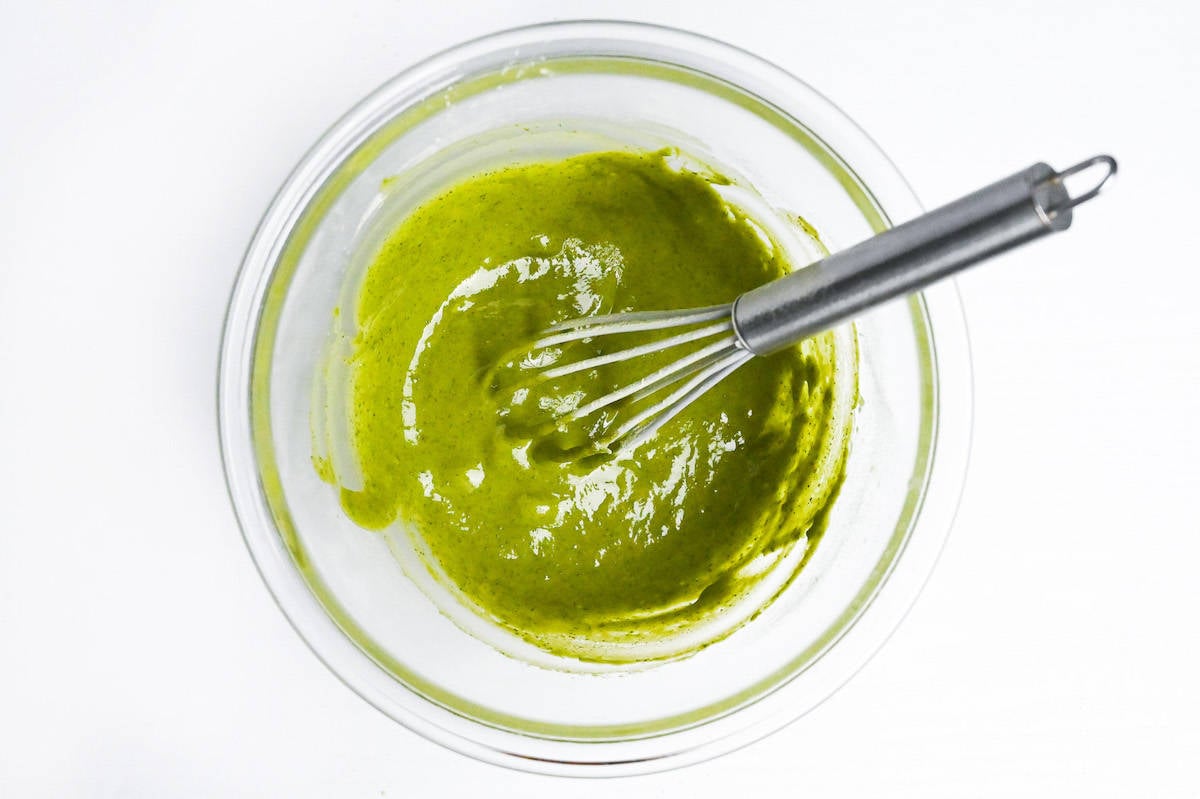
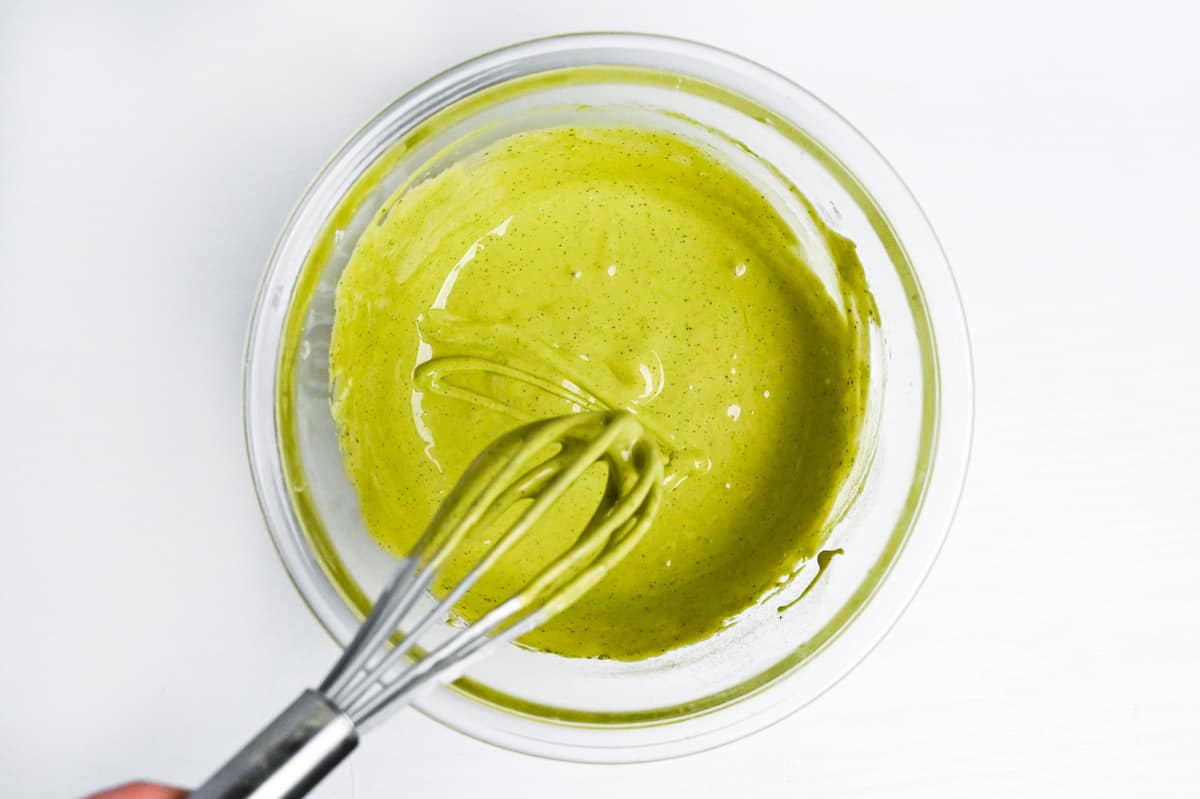
Step 7: Sift all the prepared flour-and-matcha mixture once more, directly into the prepared yolk mixture. Whisk until smooth, then set the matcha batter aside.

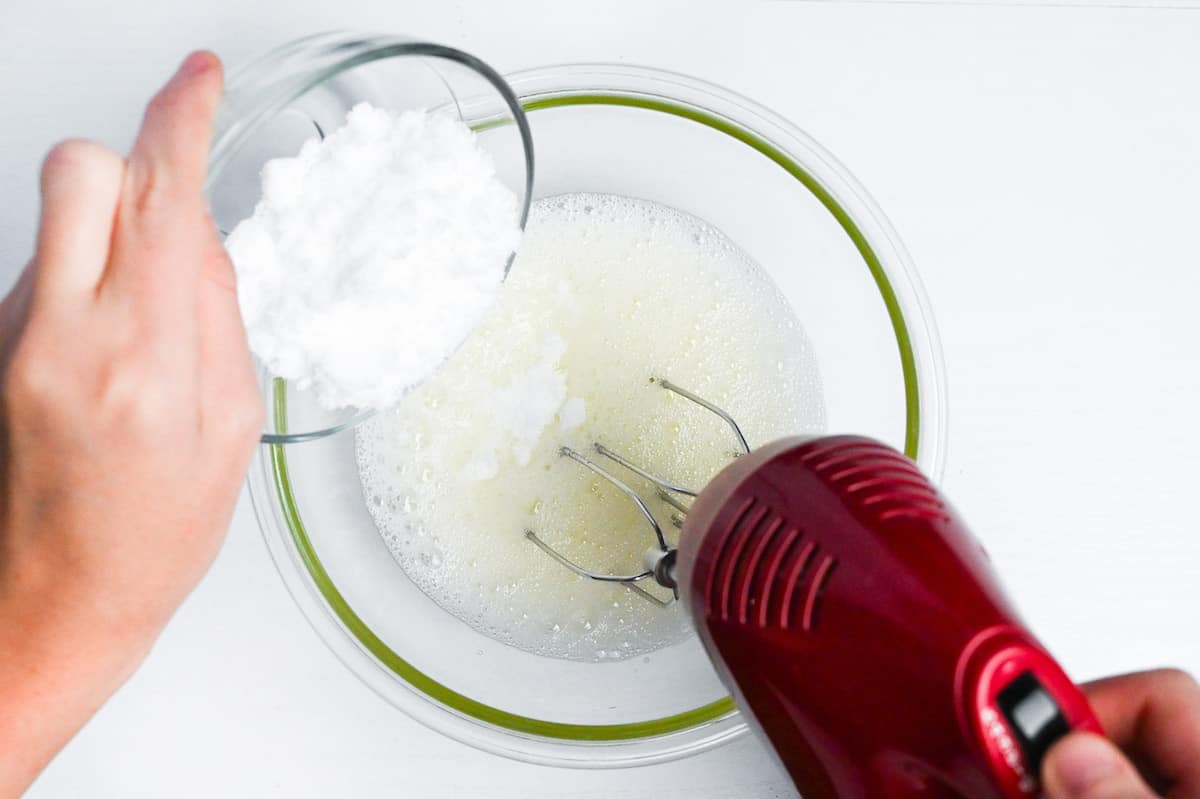
Step 8: Whip all the reserved egg whites with an electric whisk on medium speed. When white and foamy, add the separate 60 g sponge sugar in three additions, incorporating each addition before the next. Keep the 15 g cream sugar for later.

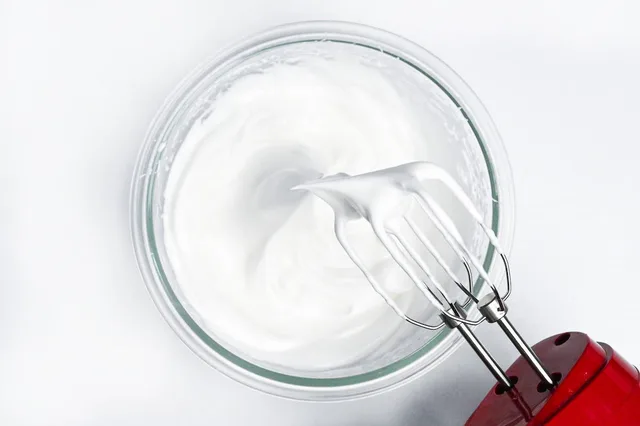
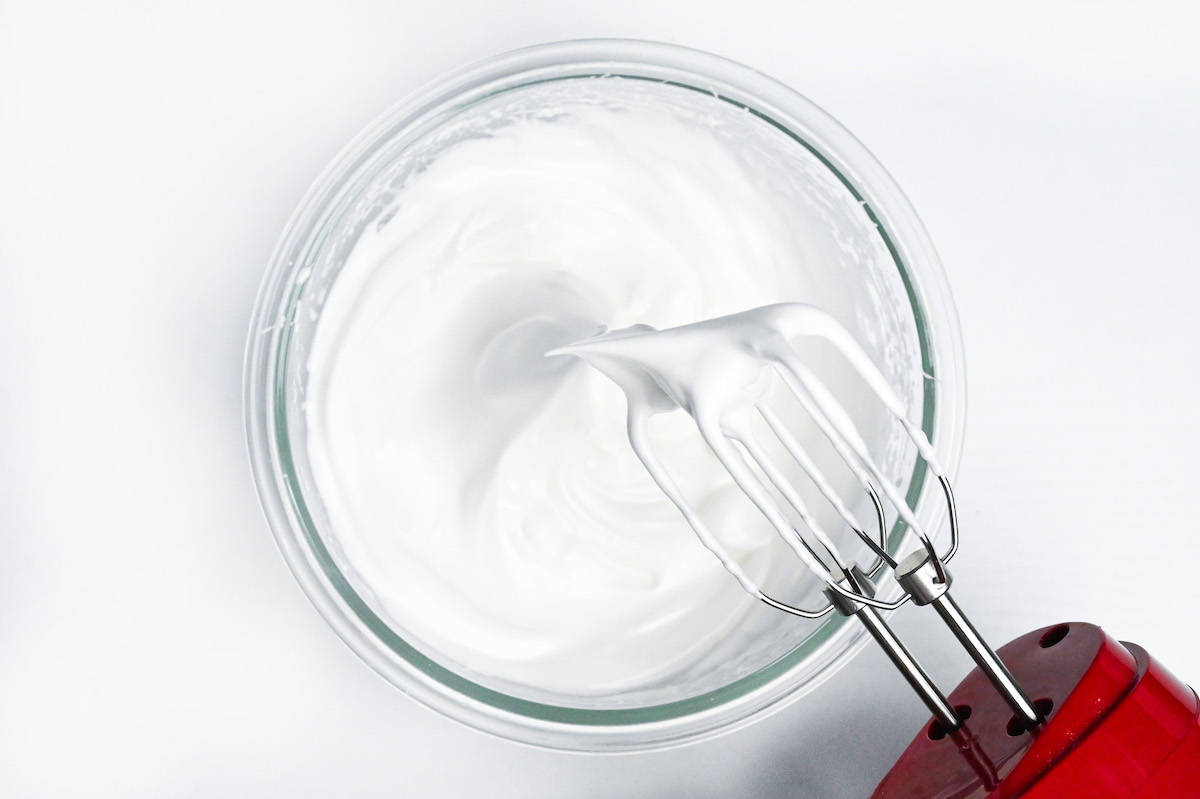
Step 9: Continue whipping the prepared whites and sponge sugar until the meringue forms stiff peaks that stand upright without folding over.
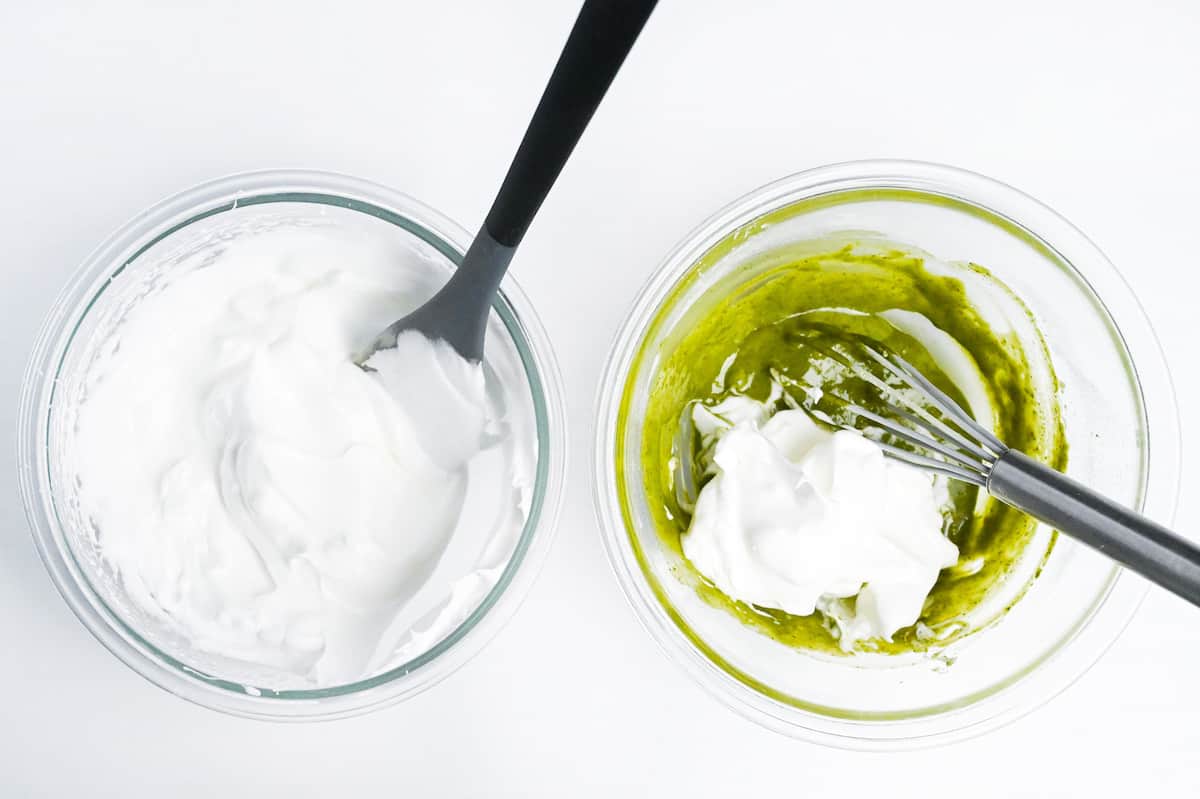
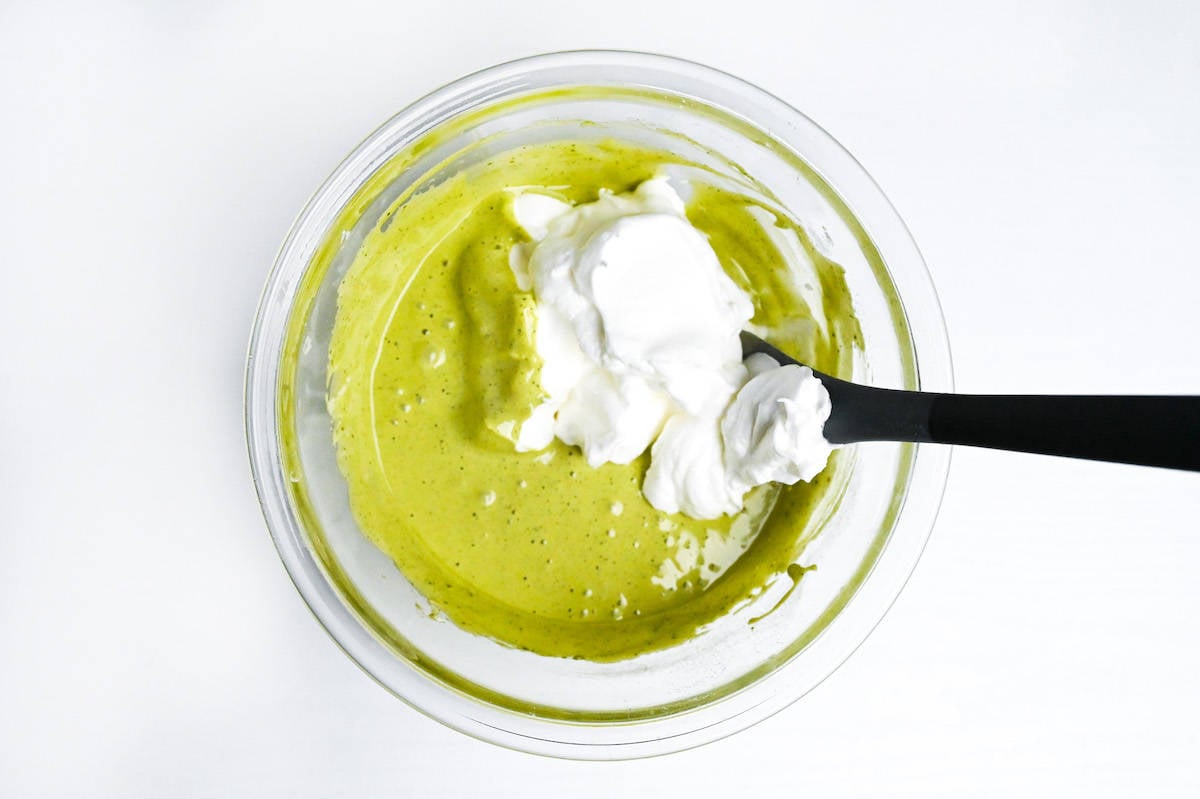
Step 10: Whisk about one third of the prepared meringue into all the matcha batter to loosen it.
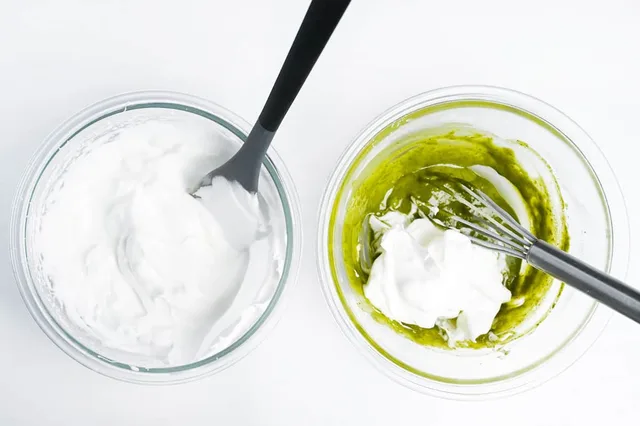
Step 11: If the loosened batter is still too thick to fall in ribbons, whisk in a little more of the reserved meringue. Add only what is needed, leaving at least half of the original meringue for gentle folding.
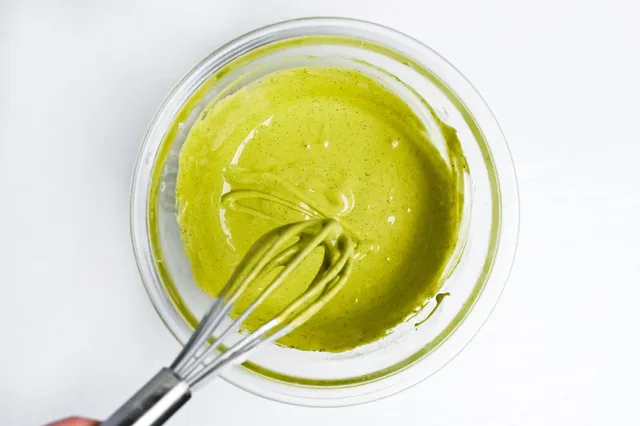
Step 12: Gently fold all the remaining reserved meringue into the loosened matcha batter with a spatula, turning the bowl between folds. Stop when no white streaks remain; avoid vigorous mixing that would deflate it.

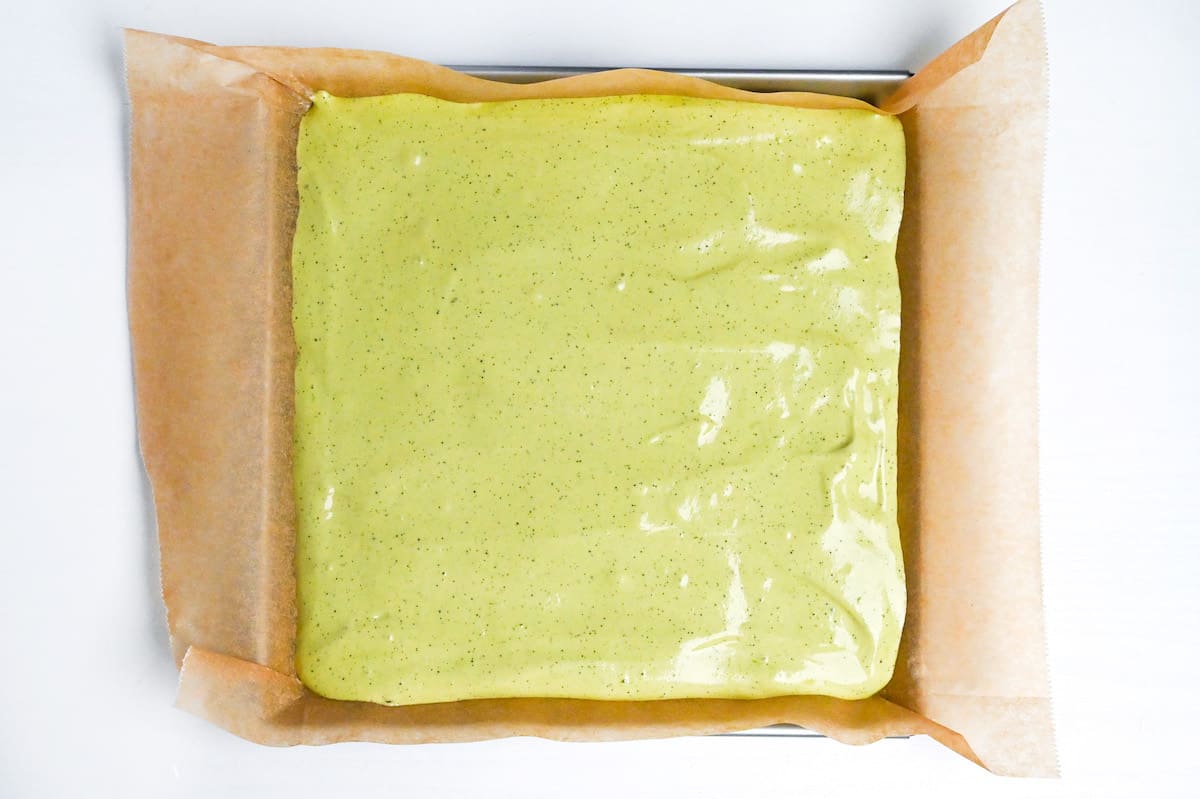
Step 13: Pour all the finished batter into the lined roll-cake pan. Smooth the surface and spread the batter into the corners with an offset spatula or knife.

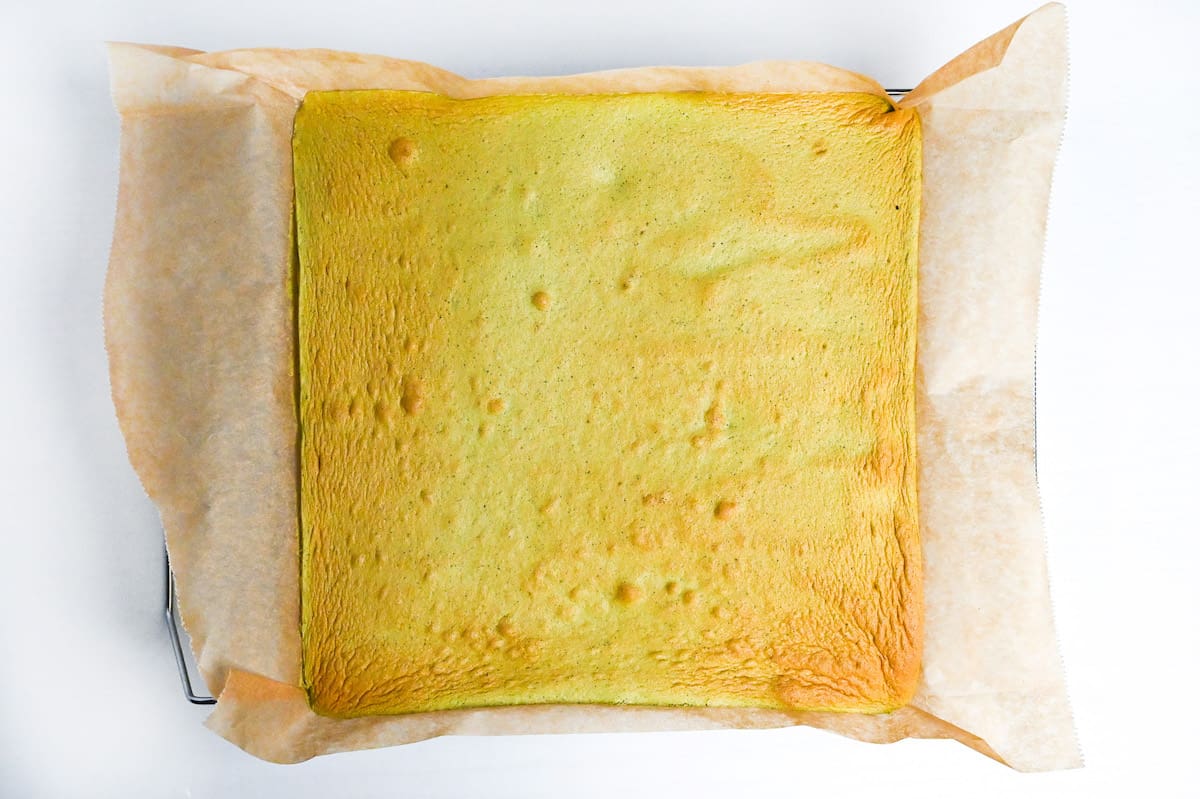
Step 14: Drop the filled pan gently onto the counter twice to release large bubbles. Bake on the middle shelf at 160 C / 320 F fan, using 15-20 minutes as a guide but checking from 12 minutes. Remove it as soon as the surface is springy and just starting to brown; do not wait for the guide time if it is already done. While it bakes, place an empty glass mixing bowl in the freezer to chill for the cream.

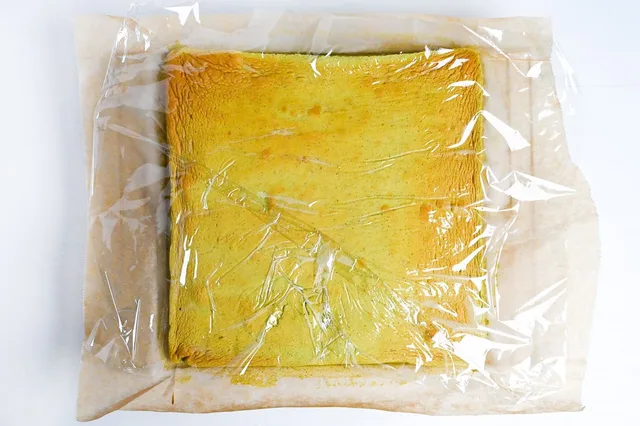
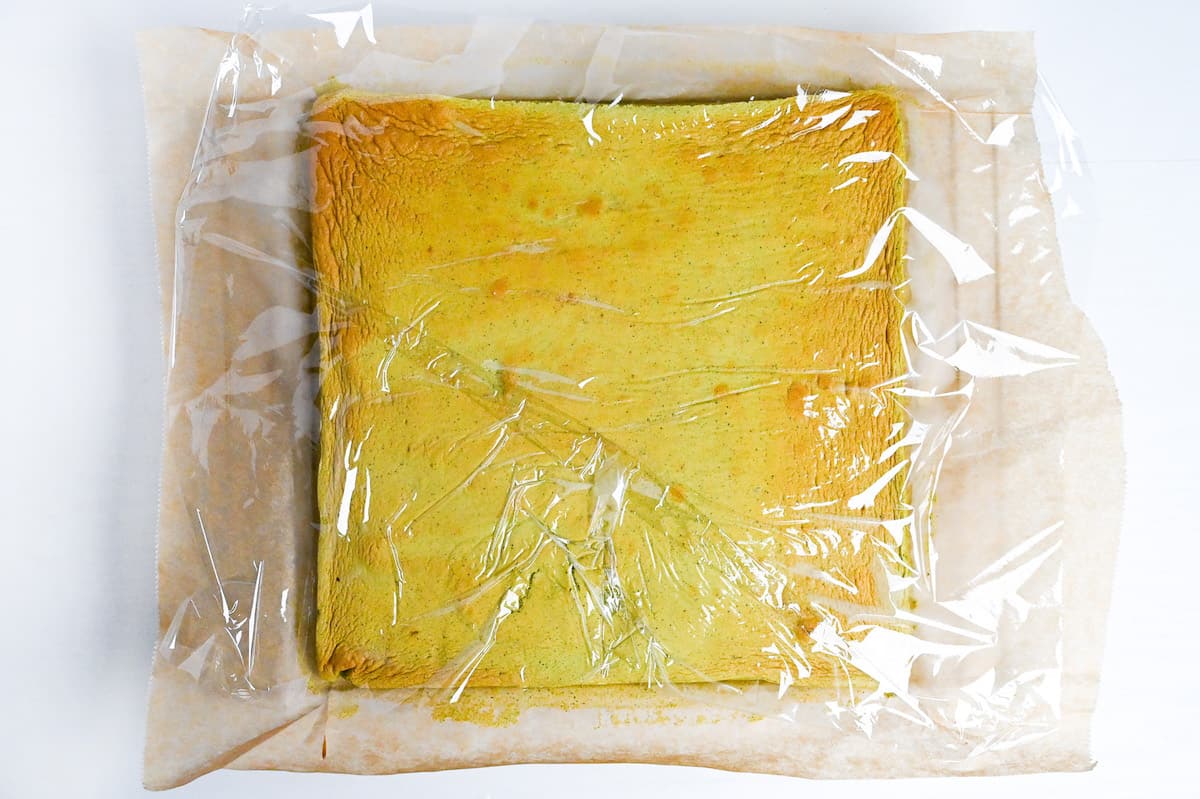
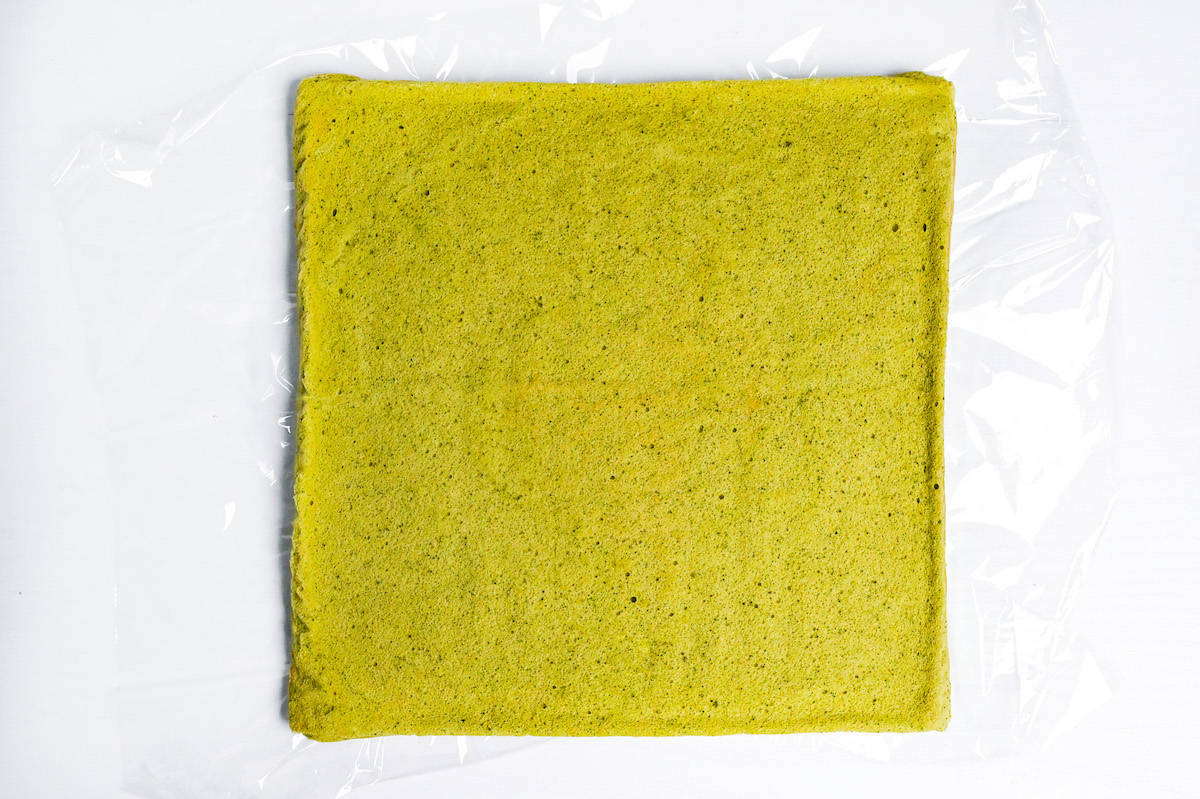
Step 15: Immediately lift the baked sponge from the hot pan using the parchment edges and slide it onto a wire rack. Peel the paper away from the edges and cover the top with food-safe plastic wrap or baking parchment to retain moisture. Cool for about 10-15 minutes, checking from 10 minutes: it may be slightly warm, but must be cool enough not to melt the cream. Keep it out of the refrigerator before rolling.
Step 16: Take the chilled mixing bowl from the freezer. Add all the cold 150 ml heavy cream, the separate 15 g cream sugar and the 1/2 tsp vanilla essence.

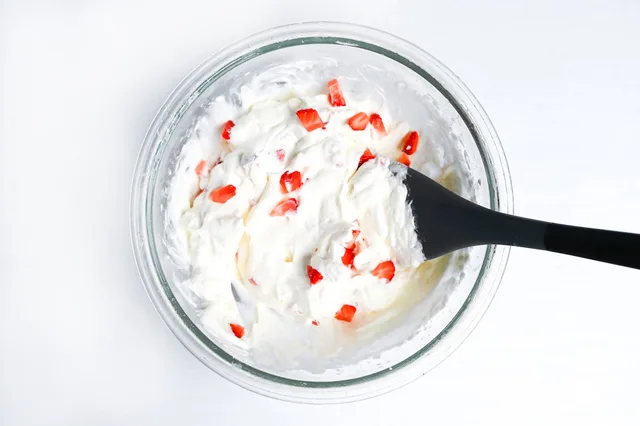
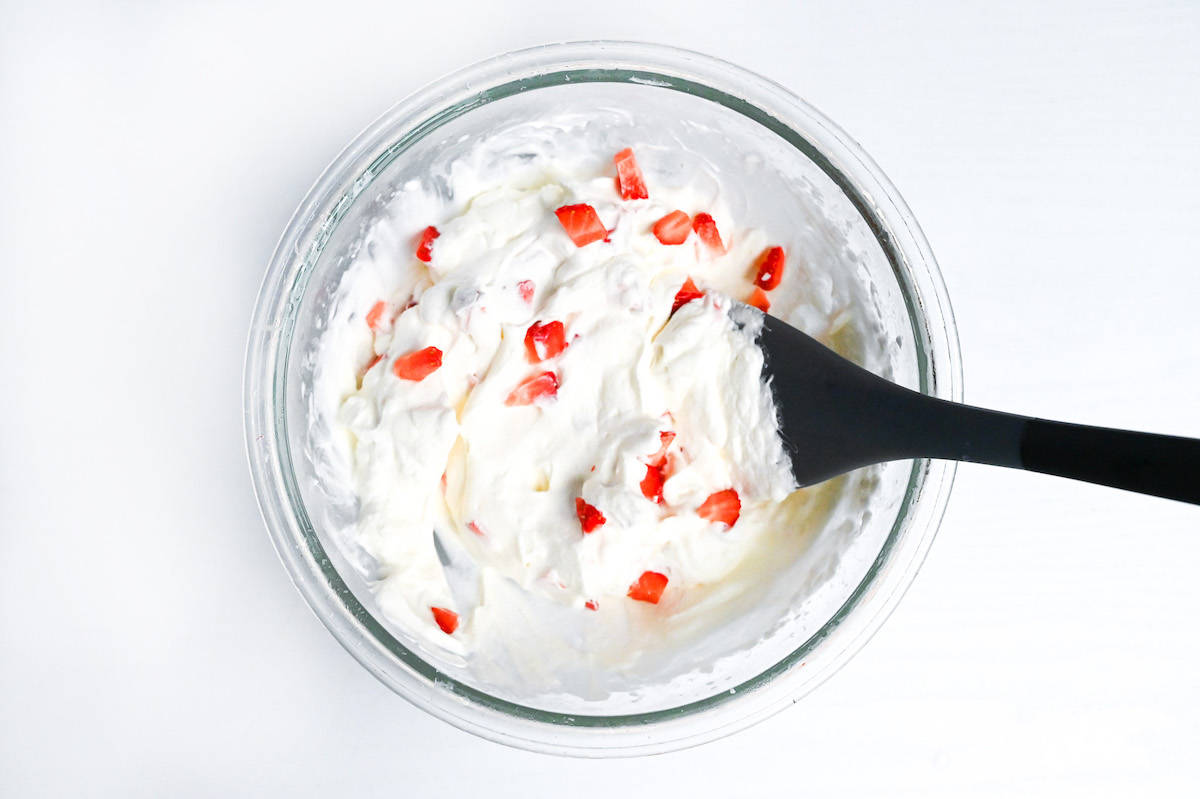
Step 17: Whip the prepared cream mixture until firm and stable enough to spread. Reserve a few tablespoons of plain whipped cream in a piping bag for decorating and refrigerate it. Fold all 6 diced strawberries into the remaining whipped cream, keeping the 6 decorating strawberries separate.
Step 18: When the sponge is cool enough for the cream yet still flexible, flip it over and peel off the original baking parchment. Replace that paper with a fresh, larger sheet to help with rolling.

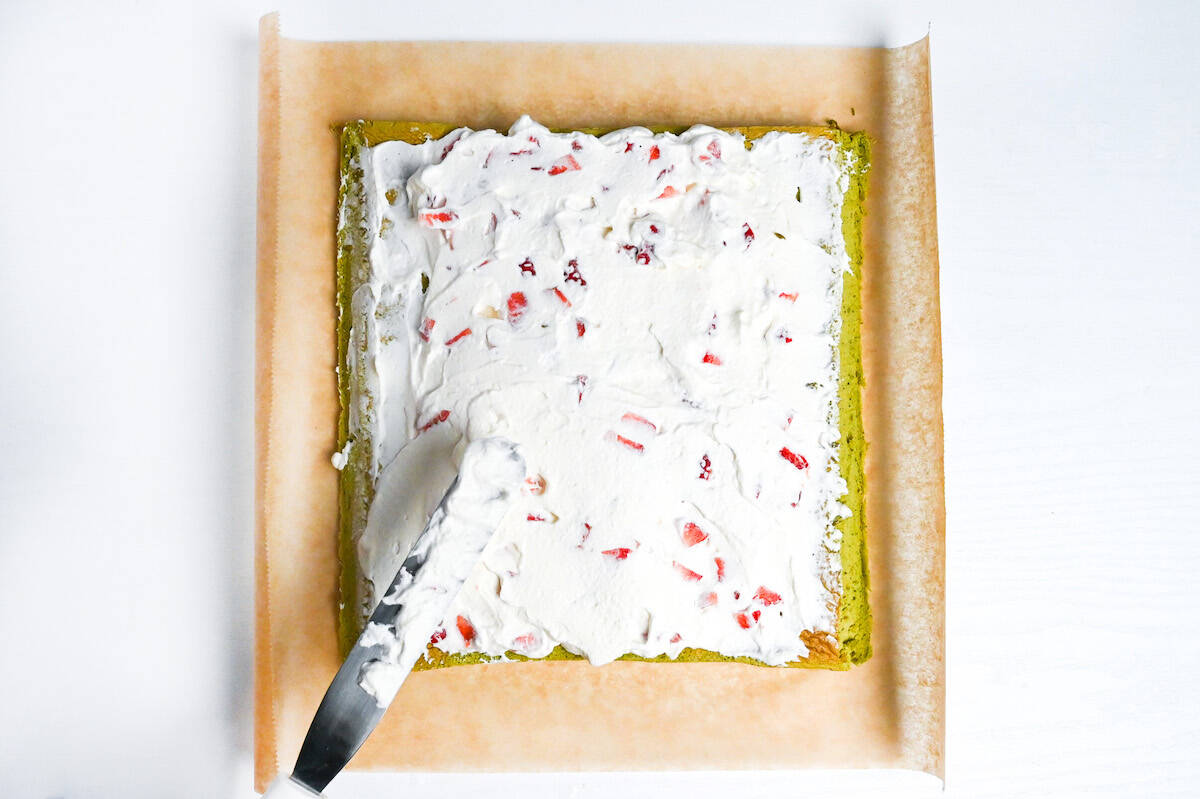
Step 19: Flip the sponge back over and remove its top covering. A thin surface layer may peel off; this side will be inside the roll. Trim two parallel edges at a slant, then spread all the strawberry whipped-cream filling across this side, thicker in the middle and thinner at the edges.

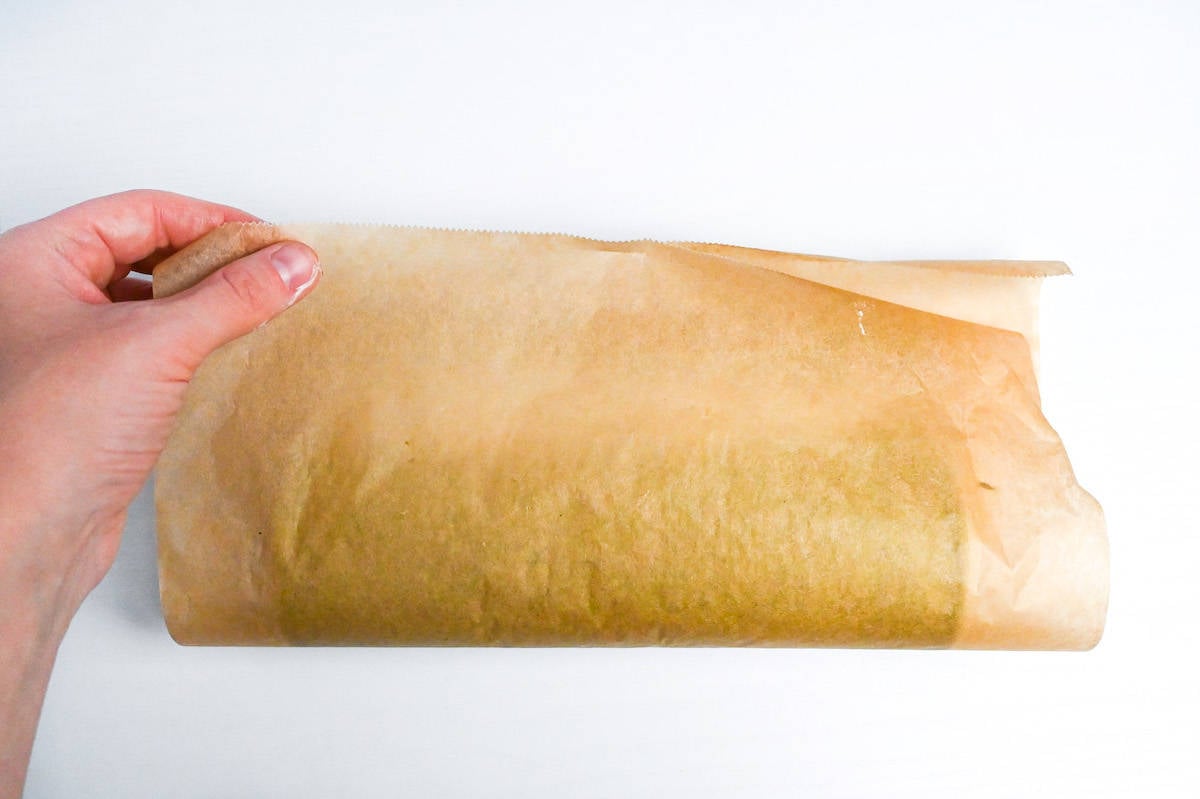
Step 20: Use the fresh baking parchment to help roll the filled sponge firmly into a cylinder. Scrape off any cream that escapes from the seams. Wrap the paper snugly around the roll and fold in its ends.

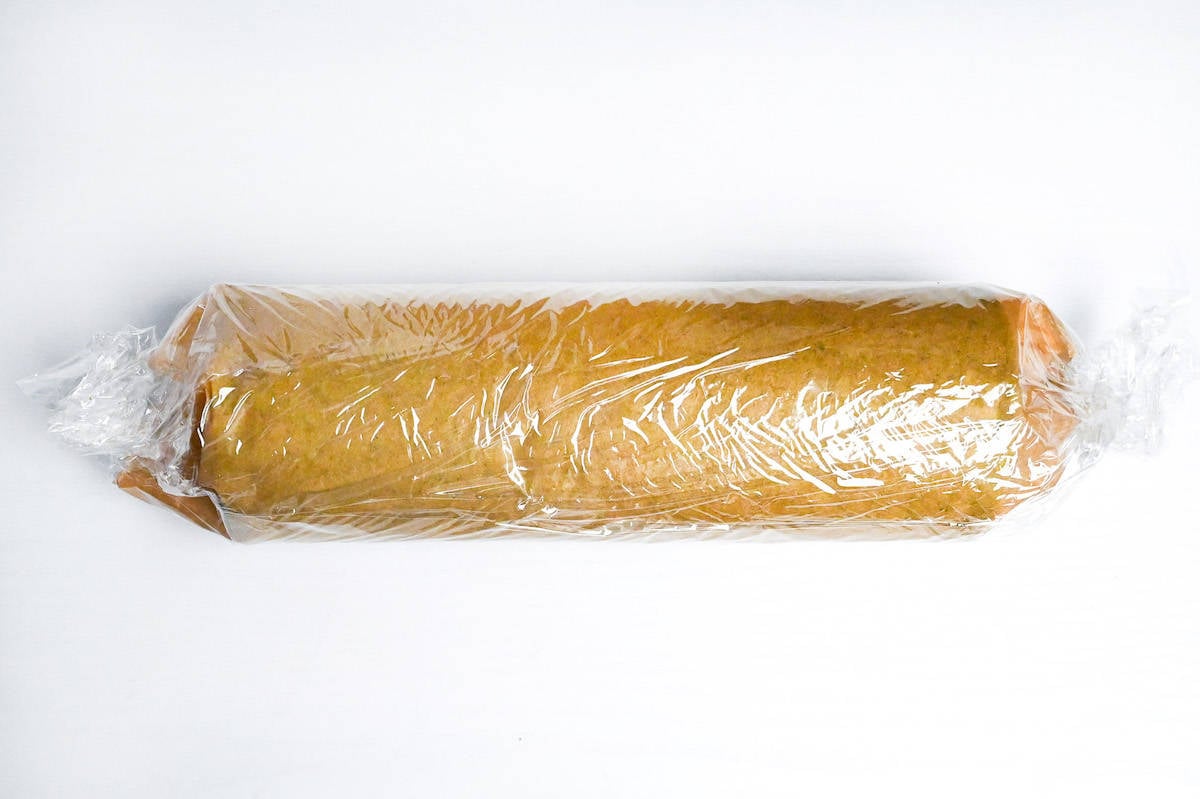
Step 21: Wrap the paper-covered cake with plastic wrap and refrigerate for at least 1 hour to stabilize the cream.
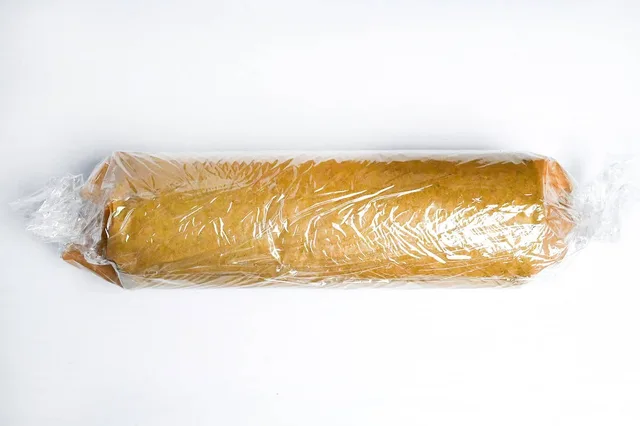
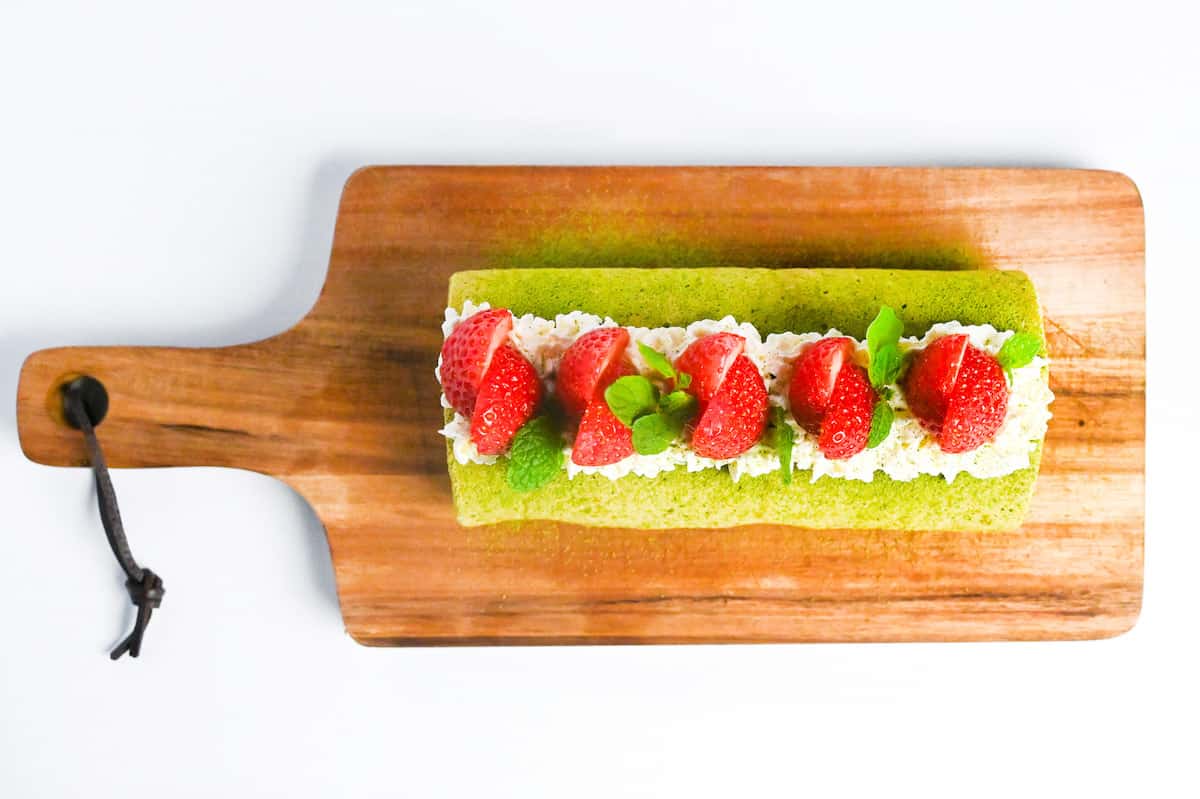
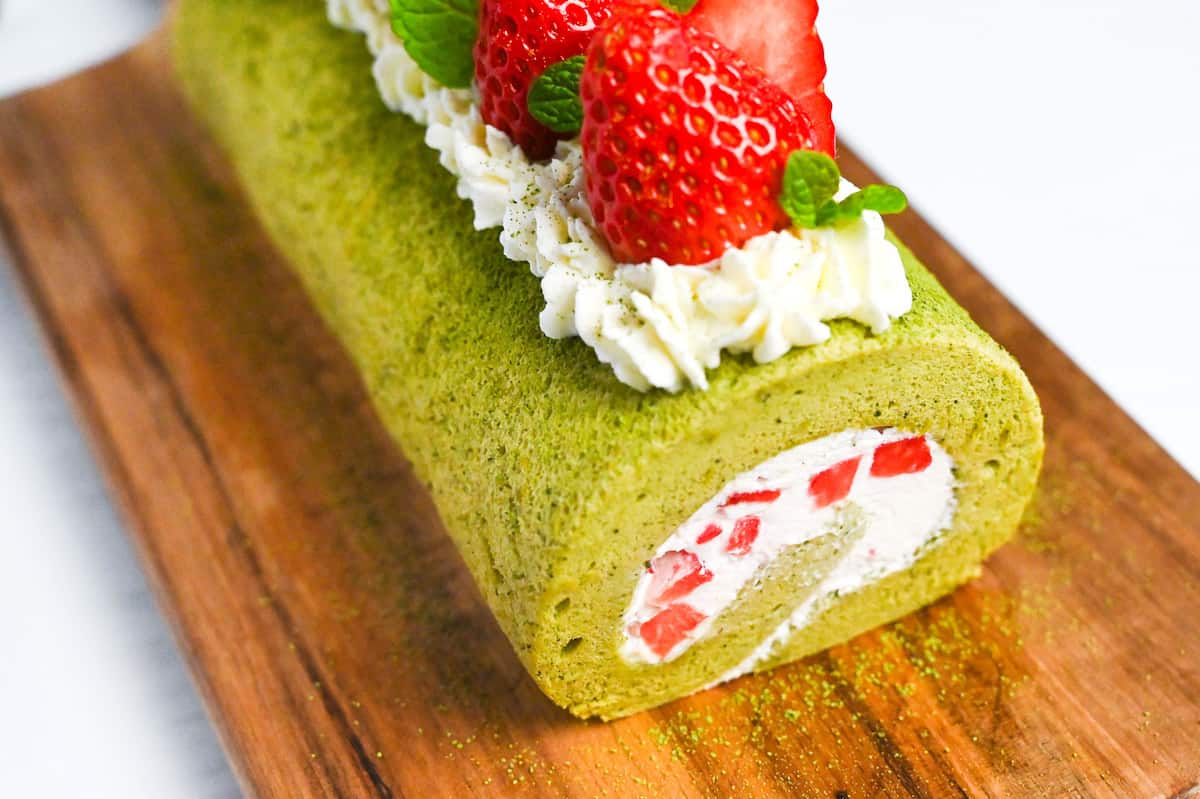
Step 22: After at least 1 hour of chilling, unwrap the cake and trim off both ends with a warm, sharp knife. Decorate with the reserved plain whipped cream and the 6 reserved strawberries, cutting the berries as desired. Dust with a little powdered sugar if you like.

Step 23: Cut the decorated roll into thick slices with a warm knife and serve; the author gives eight portions. Keep the fresh-cream cake refrigerated in an airtight container and eat within 2-3 days. The author does not recommend freezing this strawberry-filled cake.
Photos (1)
Comments
0 threadsSign in to join the discussion.


No comments yet. Start the discussion.