

Japanese · Dinner
Karaage (Japanese Fried Chicken)
From the zcook collection
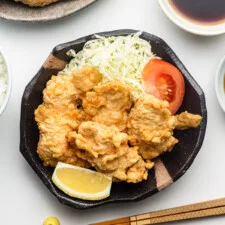
Karaage (Japanese Fried Chicken) is easily one of the greatest types of fried chicken in the world. It’s exceptionally flavorful, juicy, ultra-crispy, and absolutely worth hanging out at the stove for! Learn the simple techniques and fry up some glorious chicken at home today.
- Dairy-free
- Japanese
- Dinner
- Just One Cookbook
- Total
- 1 hr
- Prep
- 40 min
- Cook
- 20 min
- Serves
- 4 servings
- Level
- Hard
- Energy
- 420 kcal
Method14 steps · about 1 hr
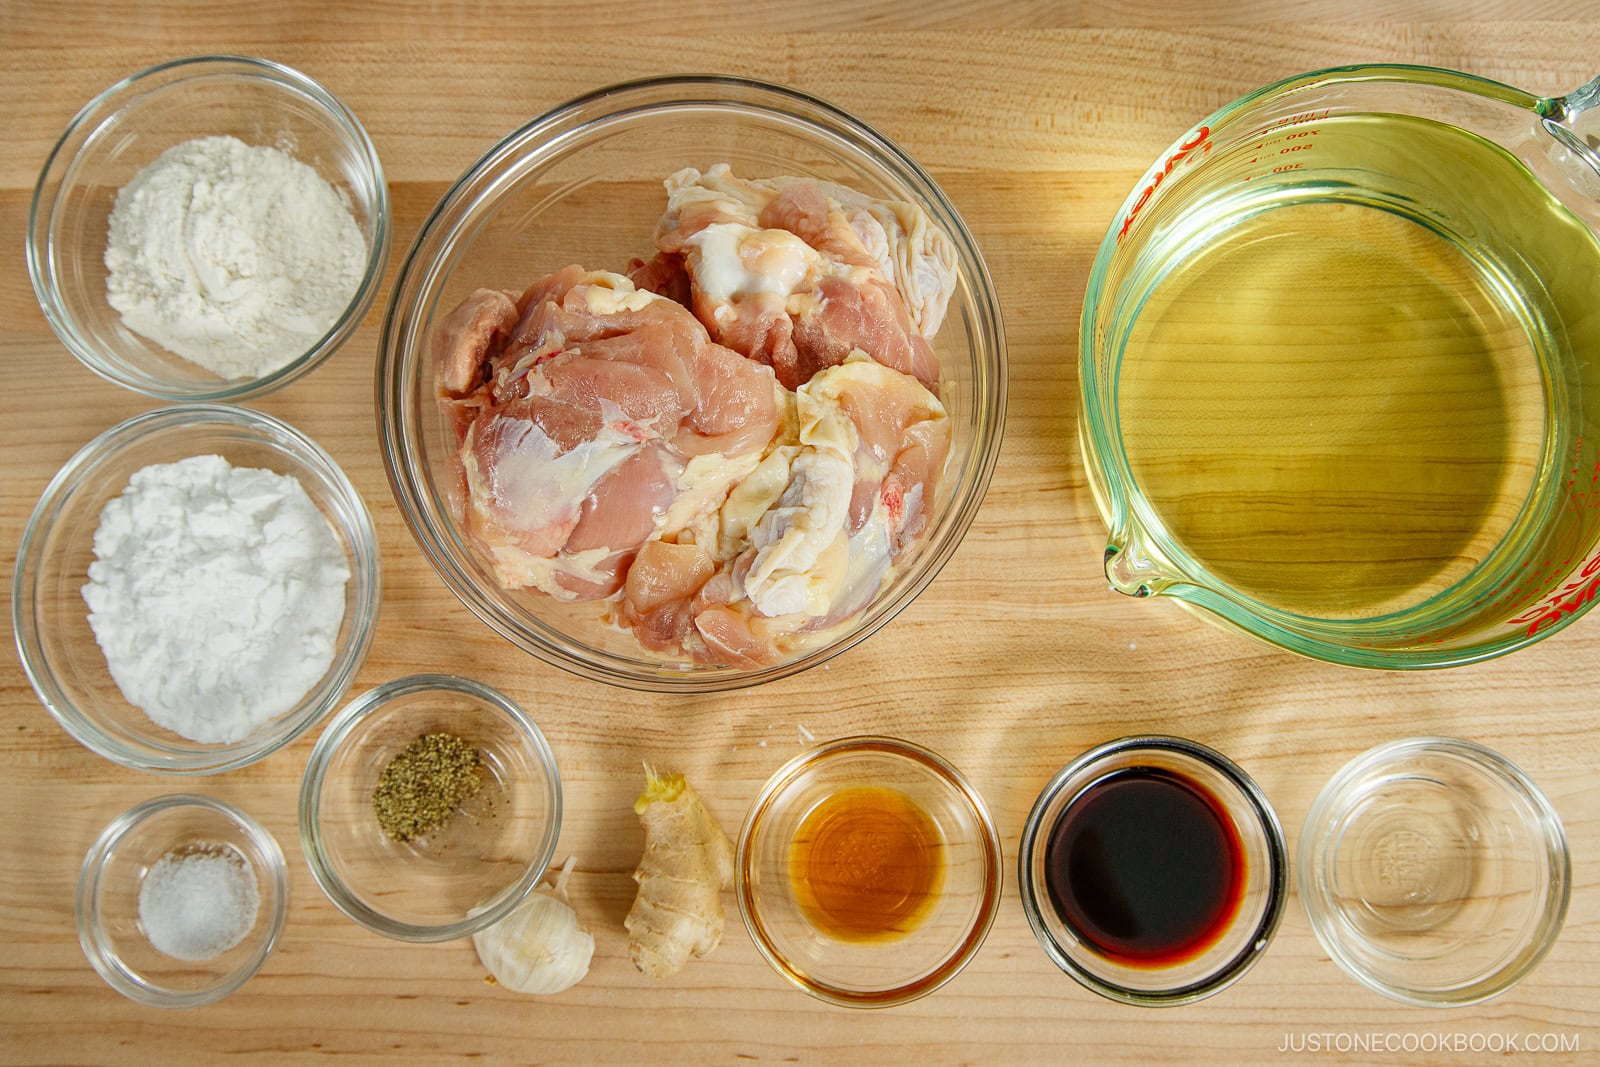
Step 1: Before You Start…Please note that this recipe requires 30 minutes of marinating time. Gather all the ingredients.

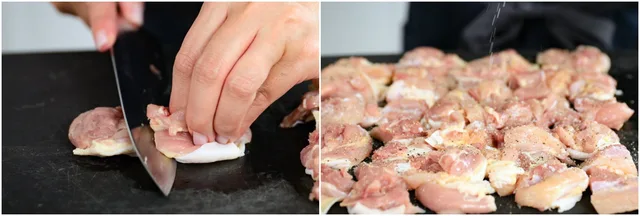
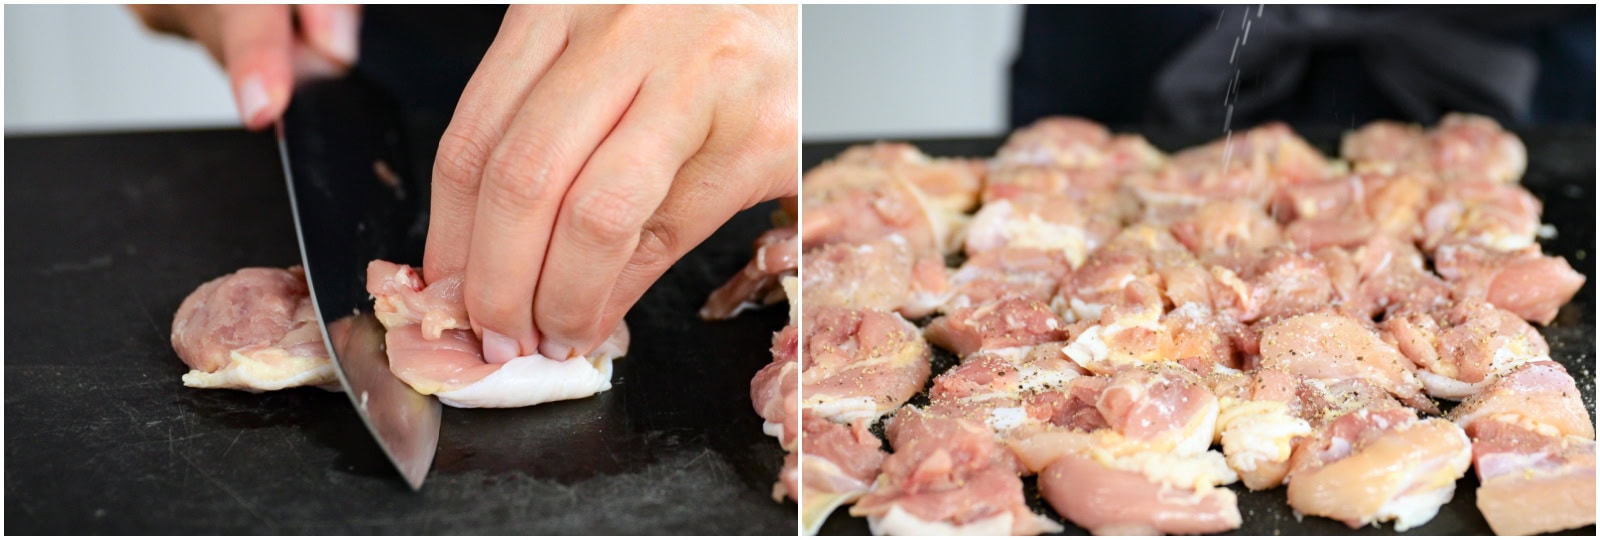
Step 2: Prepare 1½ lb boneless, skin-on chicken thighs by cutting each into 2-inch (5-cm) pieces. Season with ½ tsp Diamond Crystal kosher salt and ⅛ tsp freshly ground black pepper.
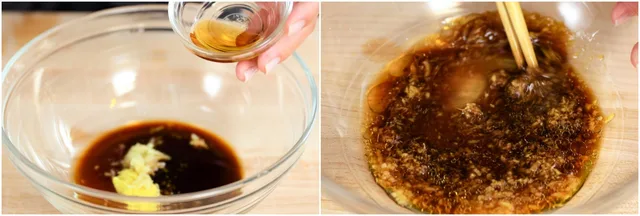
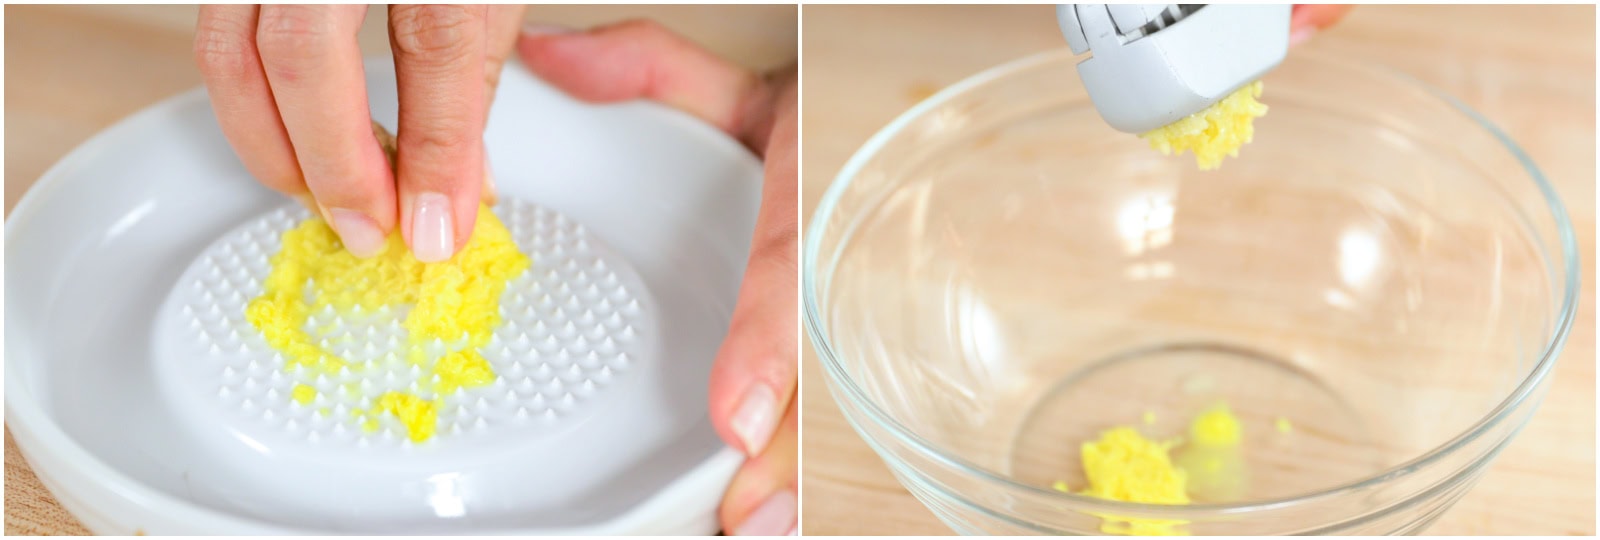
Step 3: Now, grate the ginger (½ tsp) (I use a ceramic grater) and measure ½ tsp ginger (grated, with juice). Add it to a large bowl. Mince or press 1 clove garlic (I use a garlic press) and add it to the bowl.

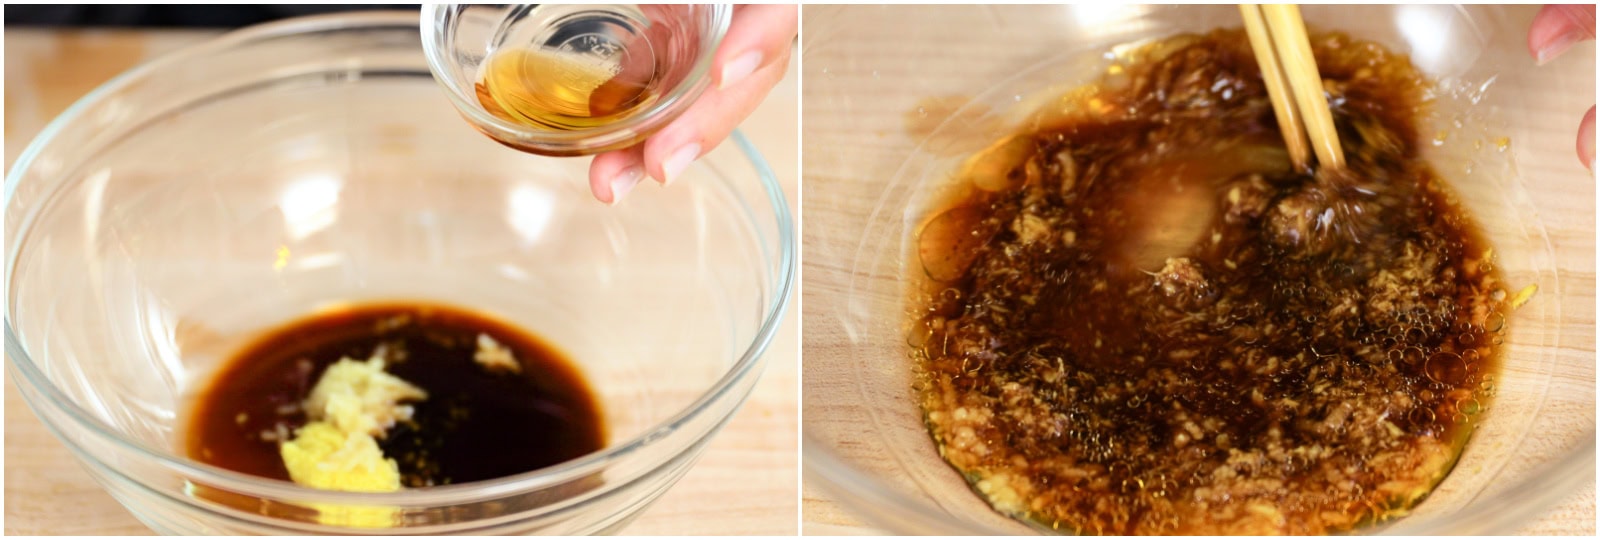
Step 4: Add ½–1 Tbsp soy sauce, ½ Tbsp sake, and ½ tsp toasted sesame oil to the ginger and garlic. Whisk to combine.
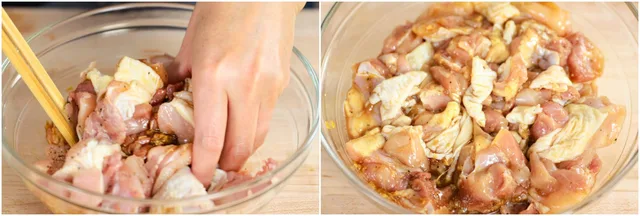
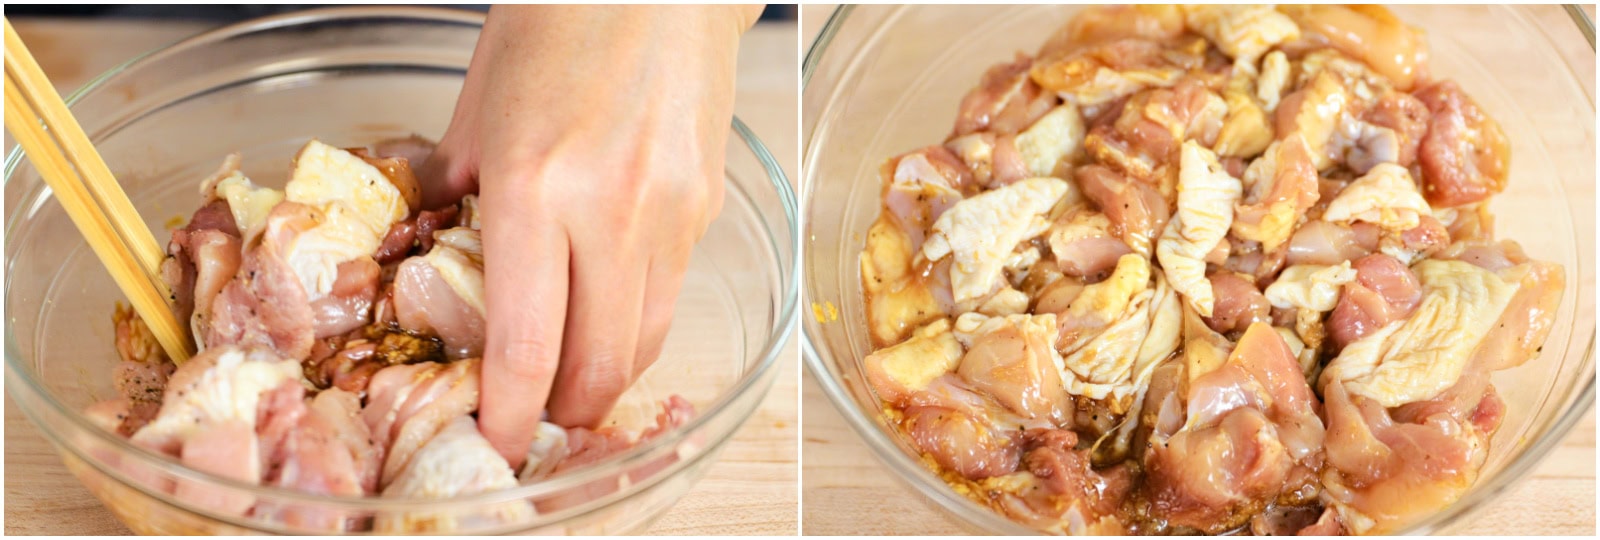
Step 5: Add the chicken to the marinade and mix it with your hands. Cover and marinate in the refrigerator for 30 minutes.
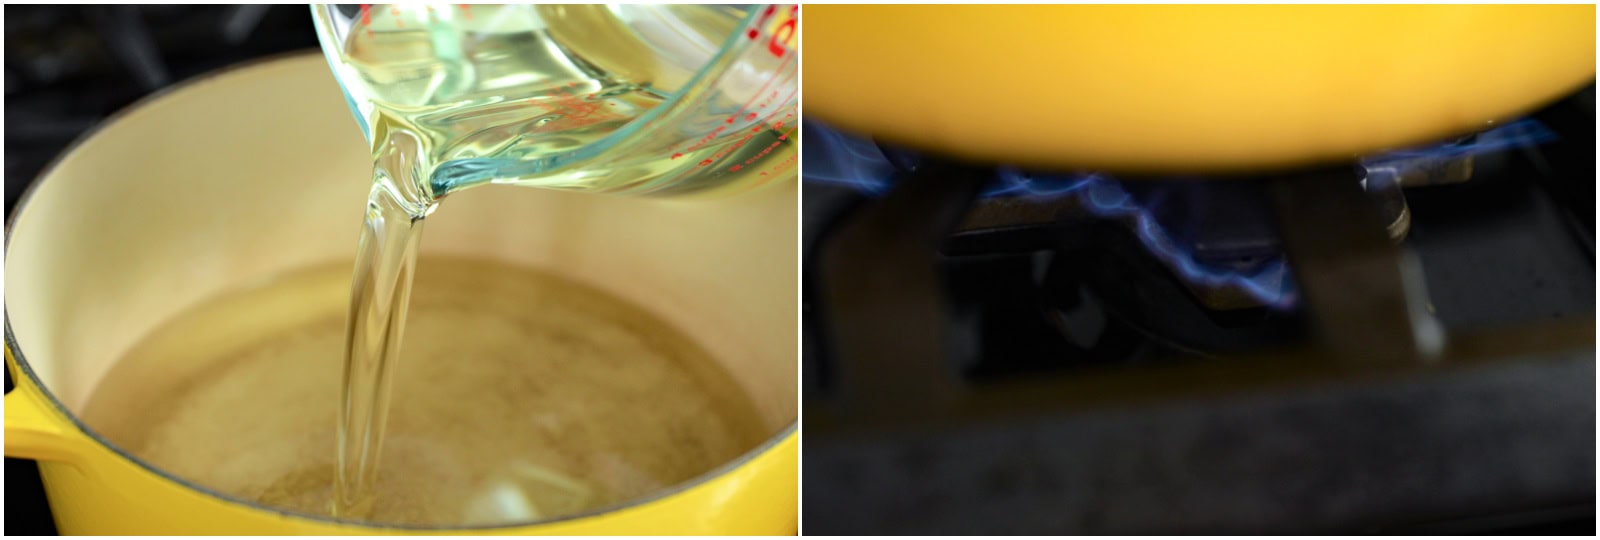
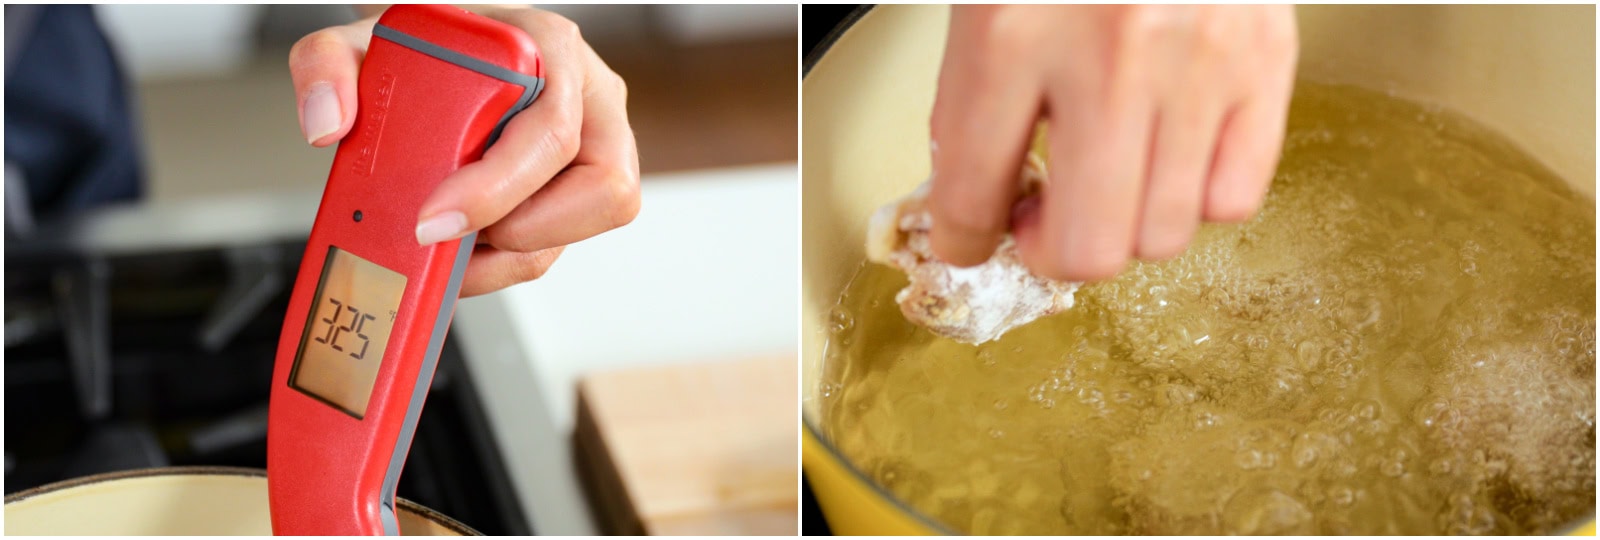
Step 6: While the chicken marinates, pour about 3–4 cups neutral oil into a heavy-bottomed pot, enough for a depth of 1–1½ inches. Leave ample space above the oil. Heat to 325ºF (160ºC) over medium-low heat while preparing the coating.

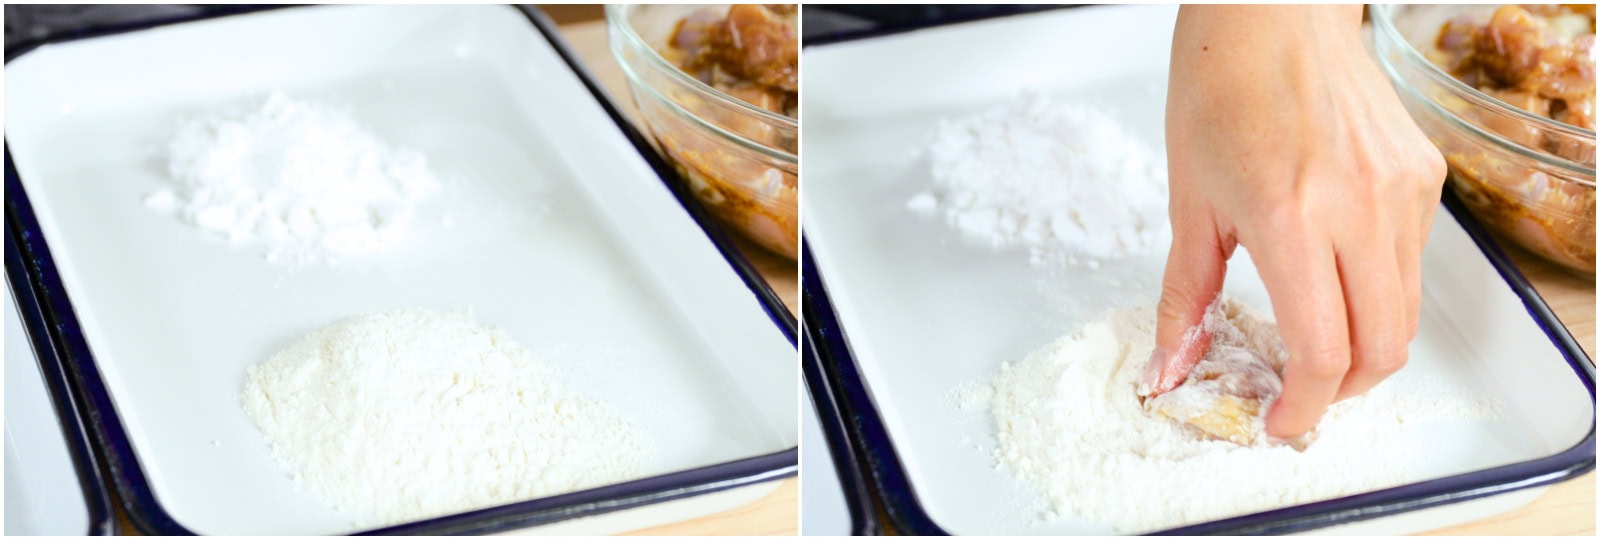
Step 7: Meanwhile, dredge the chicken pieces. Prepare separate piles of 2 Tbsp all-purpose flour (plain flour) and 2 Tbsp potato starch or cornstarch in a tray. Lightly coat a piece of marinated chicken in the flour and dust off the excess.

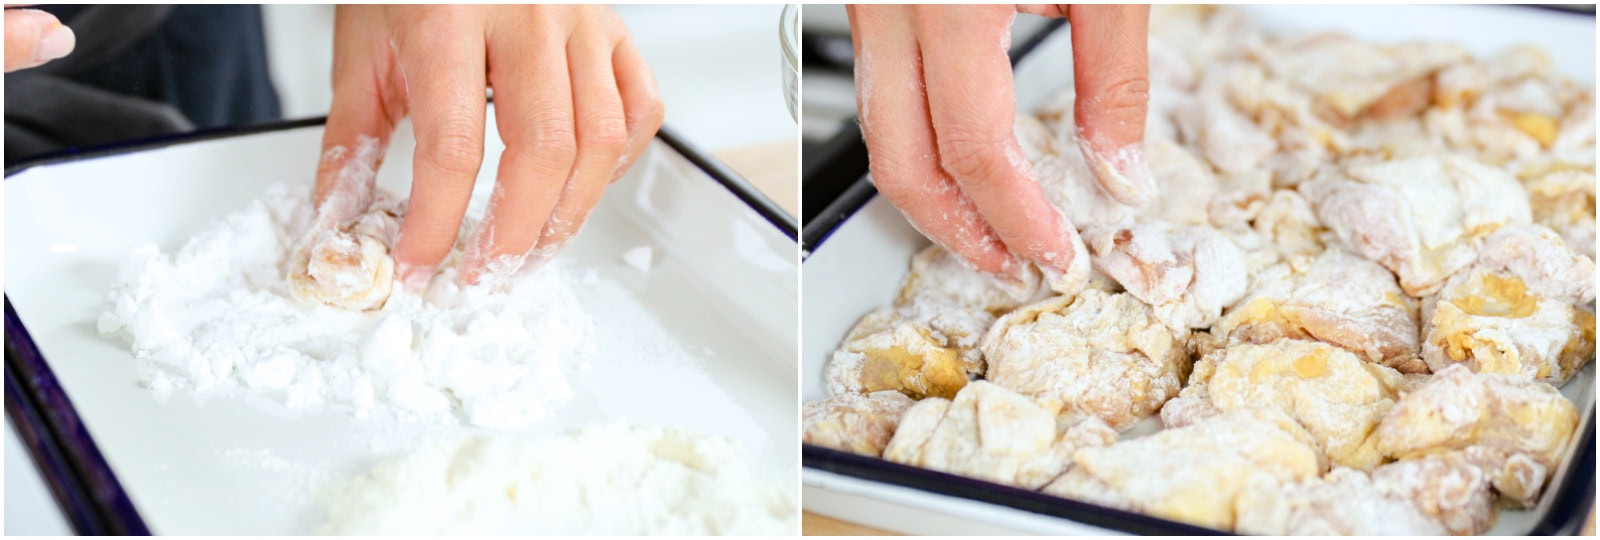
Step 8: Dredge the floured chicken piece in the prepared potato starch and shake off the excess. Set on a separate tray. Repeat the flour-then-starch coating for the remaining marinated chicken, adding more flour or starch only if needed.

Step 9: Check with a thermometer that the oil is at 325ºF (160ºC). Gently add 3–5 coated chicken pieces at a time, without overcrowding the pot, so the oil does not cool excessively.

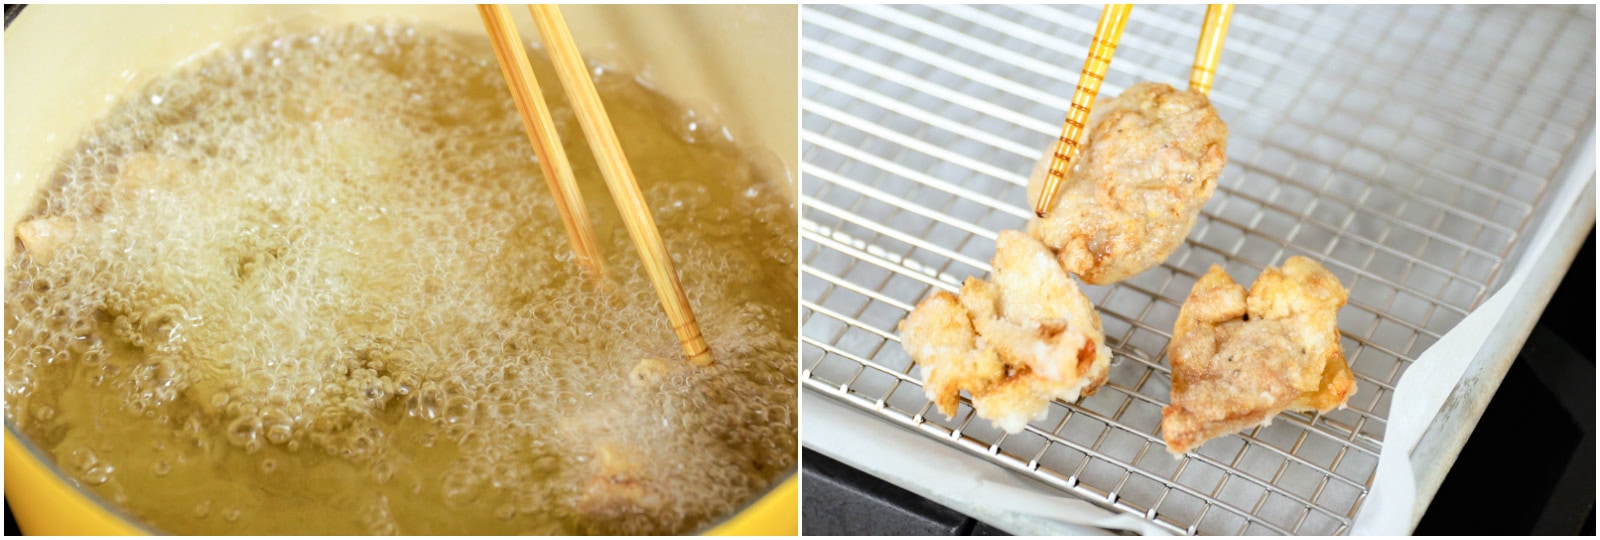
Step 10: For the first fry, cook for about 90 seconds, until light golden, then transfer to a wire rack. This is the first cooking stage; the chicken still needs the second fry. If it browns too quickly, lower the heat to maintain the oil temperature.

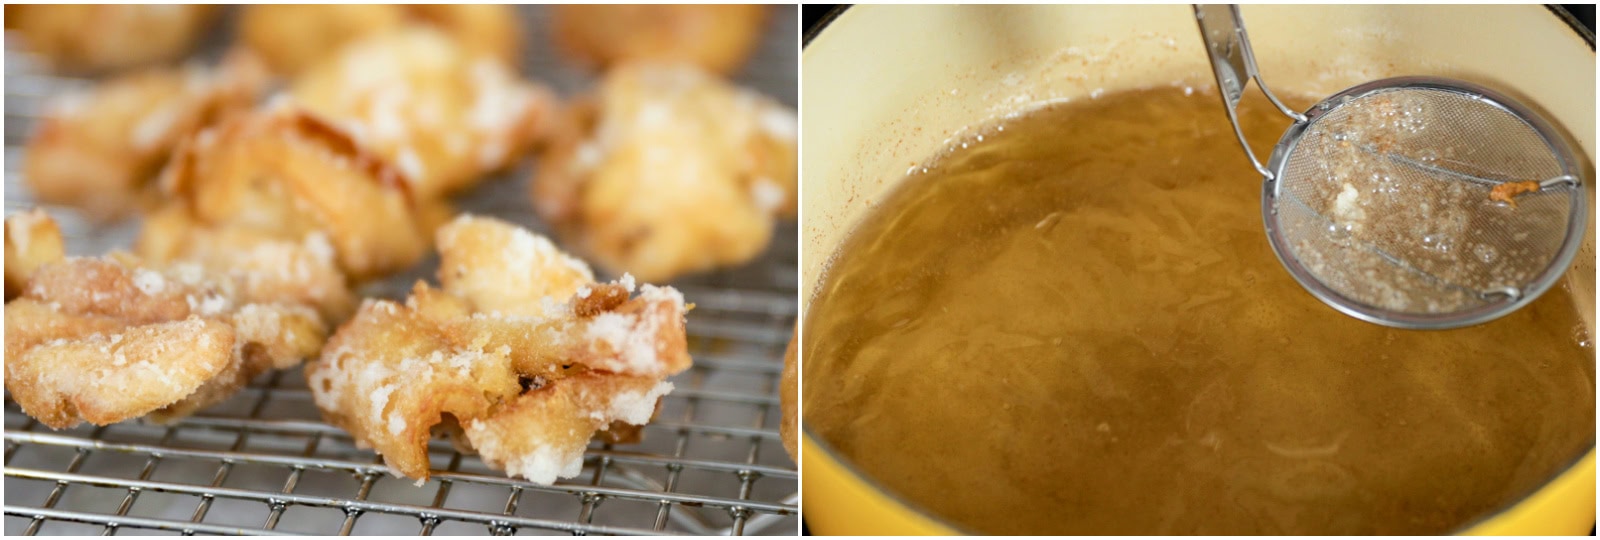
Step 11: The residual heat will continue to cook the chicken as it rests. Continue to fry the remaining chicken pieces. Between batches, scoop up and discard the crumbs in the oil with a fine-mesh sieve. This keeps the oil clean and prevents it from becoming darker.

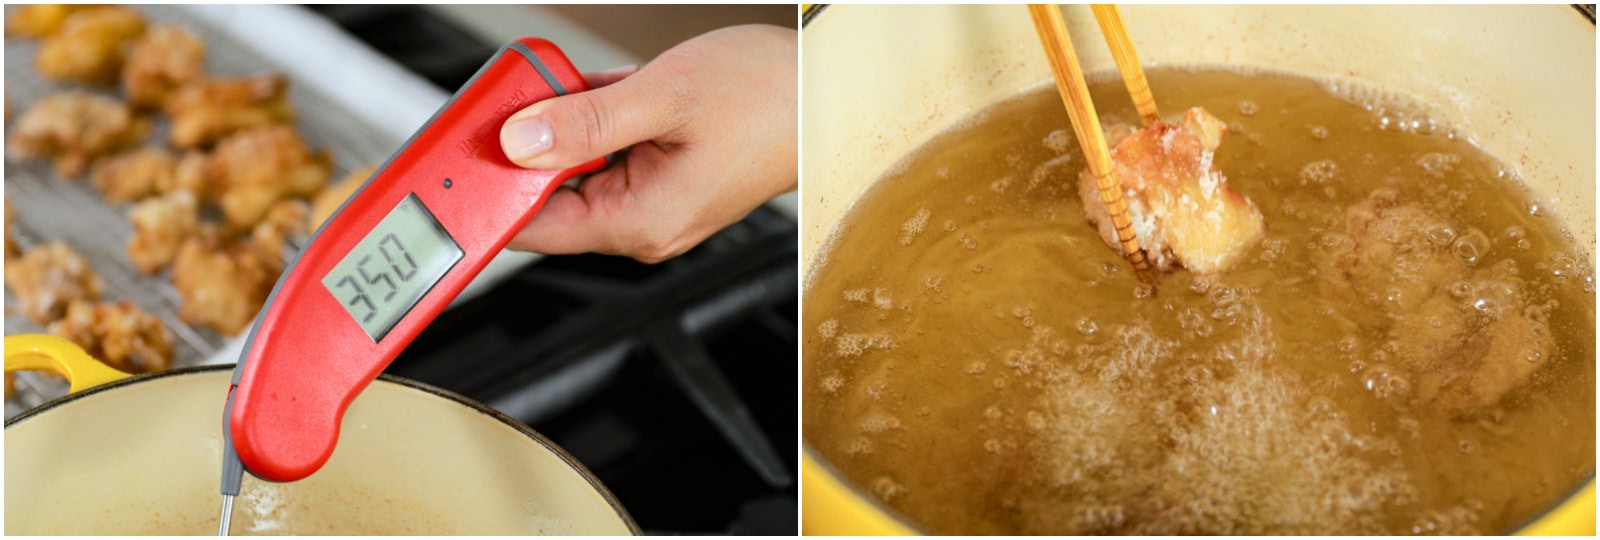
Step 12: Raise the oil to 350ºF (180ºC). Return rested chicken to the oil in batches of 3–5 pieces and fry for about 45 seconds, until golden and crisp. Check the thickest pieces with a food thermometer: the centre must reach 165ºF (74ºC). Continue cooking as needed to reach that temperature, adjusting the heat if the coating browns too quickly. Drain on the wire rack and repeat for all remaining pieces.

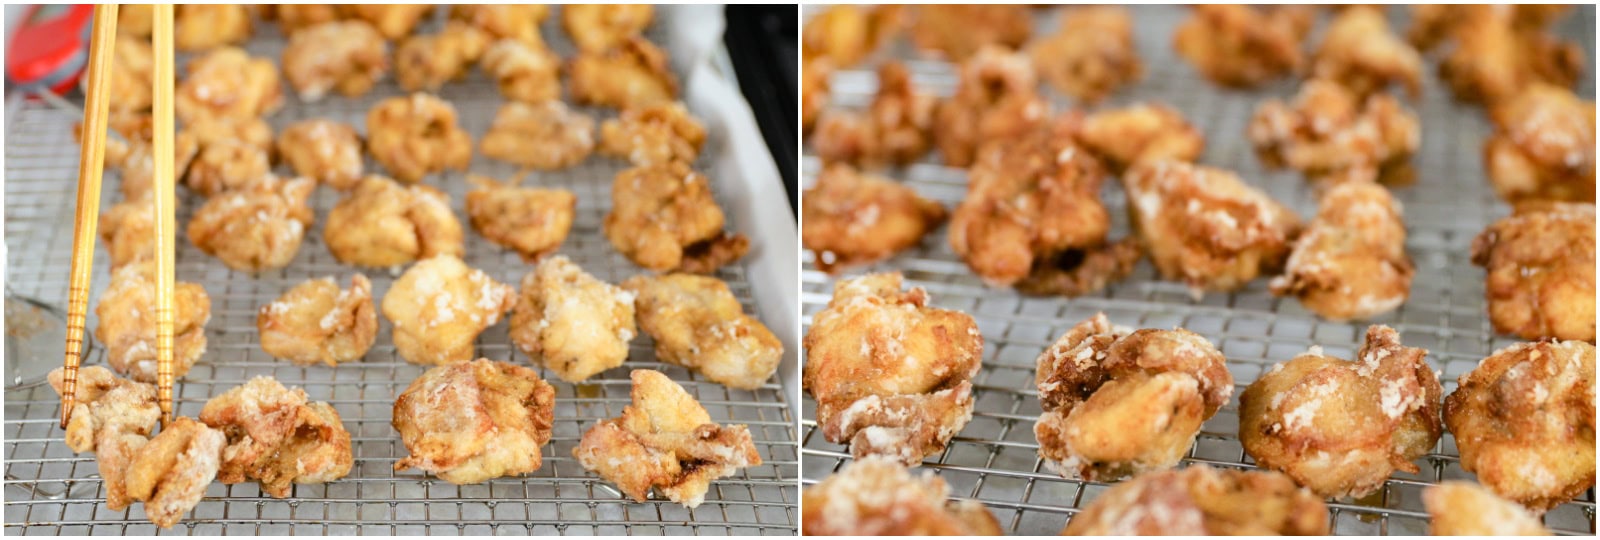
Step 13: The left photo shows the chicken pieces after the first fry and the right photo shows them after the second fry. The chicken pieces on the right are slightly darker in color.

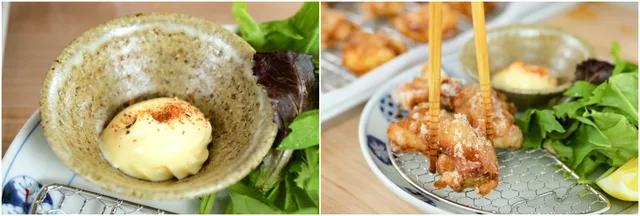
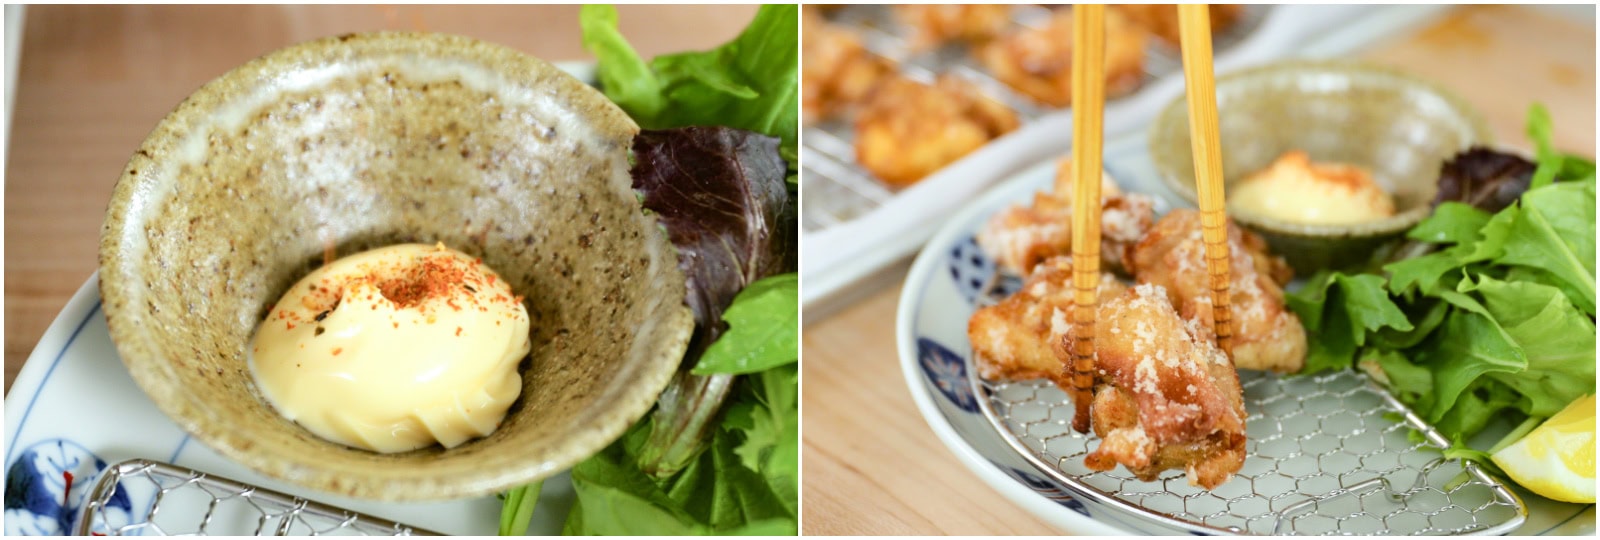
Step 14: Serve the chicken hot with lemon wedges and a dipping plate of Japanese Kewpie mayonnaise. You can also sprinkle shichimi togarashi (Japanese seven spice) on the mayo for a bit of spice, if desired.
Photos (1)
Comments
0 threadsSign in to join the discussion.

No comments yet. Start the discussion.