
Chinese · Dessert
Ham and Nut Mooncakes (Wu Ren Yue Bing 五仁月饼)
From the zcook collection
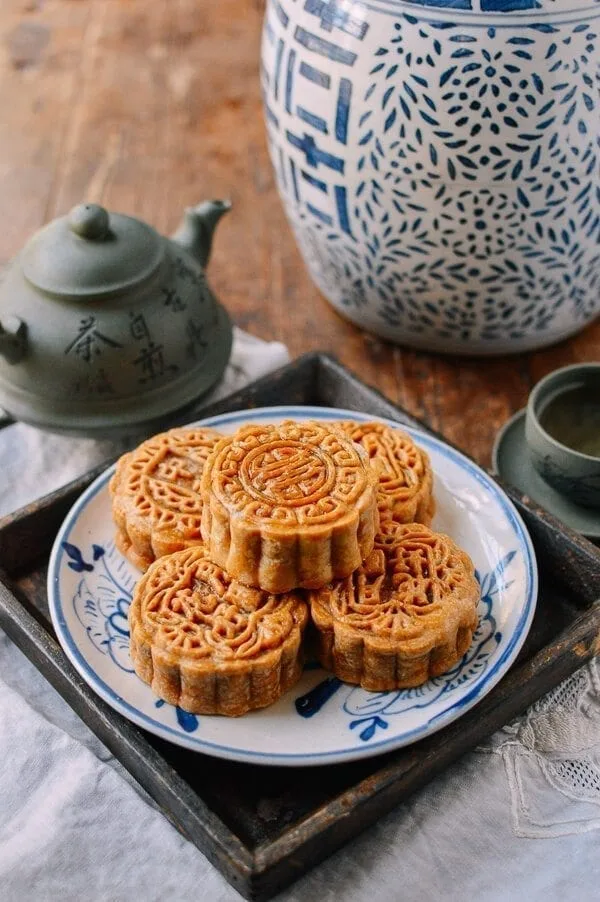
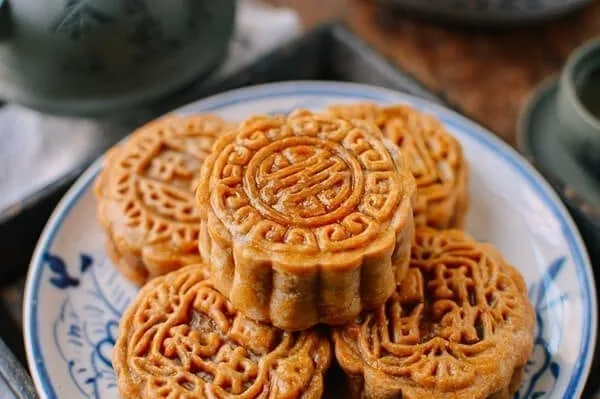
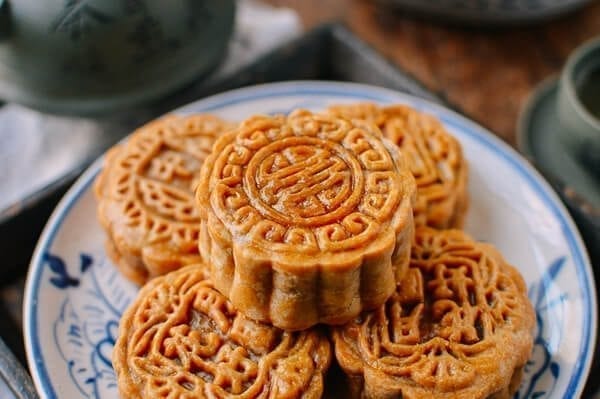
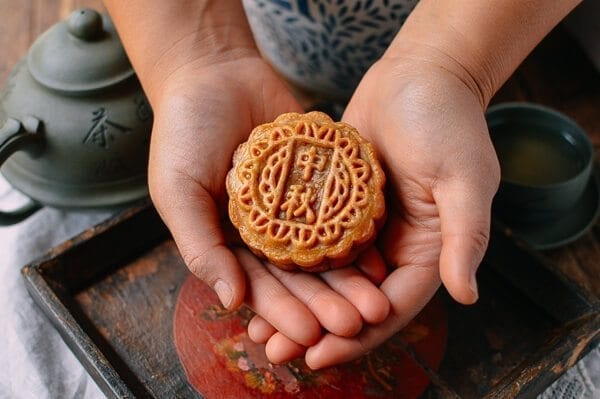
Molded mooncakes with a homemade inverted-syrup crust and a savory-sweet filling of cooked Jinhua ham, toasted nuts and seeds, currants and bai jiu.
- Dairy-free
- Chinese
- Dessert
- Mooncakes
- Ham
- Nuts
- Serves
- 18 mooncakes, roughly 100 g mold size
- Level
- Hard
- Energy
- 450 kcal
Method29 steps
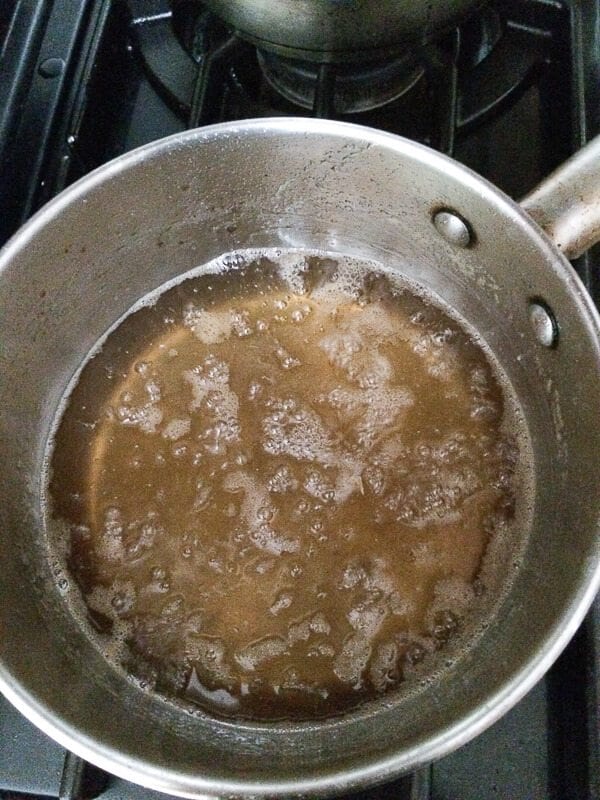
Step 1: Heat all ½ lb syrup sugar with its separate ½ cup water in a saucepan over medium heat, stirring to dissolve. When it boils, add the juice from the half lemon, stir once to combine, and immediately reduce the heat to low.
Step 2: Simmer the syrup from step 1 uncovered over low heat for about 60–70 minutes, checking from 60 minutes, until light amber. Do not stir during this phase. It will thicken as it cools. If over-thickened, carefully add a few drops of the optional hot water at a time to loosen it.
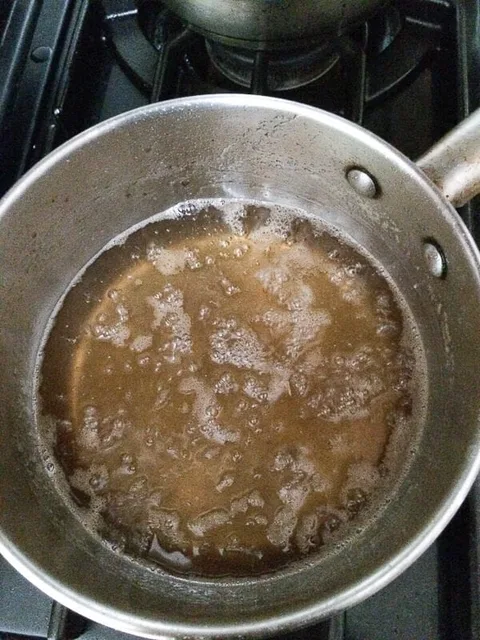
Step 3: Pour the syrup from step 2 into a heatproof container and cool completely. Its cooled consistency should resemble honey. Measure 140 ml for the dough in step 4 and refrigerate the remainder; the finished batch volume is not specified.
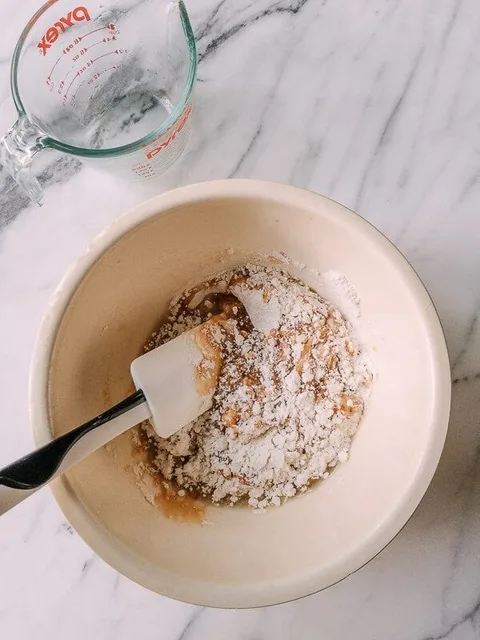
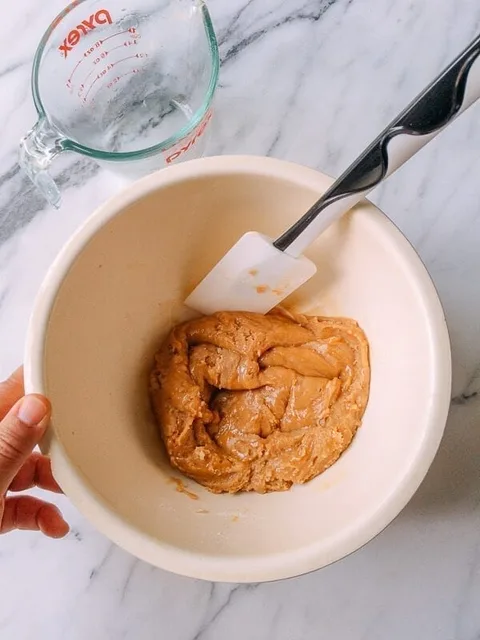
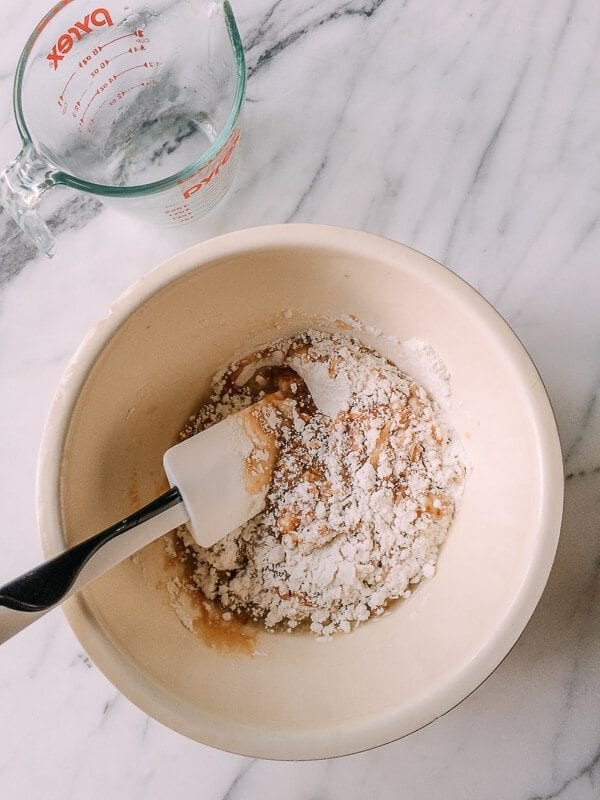
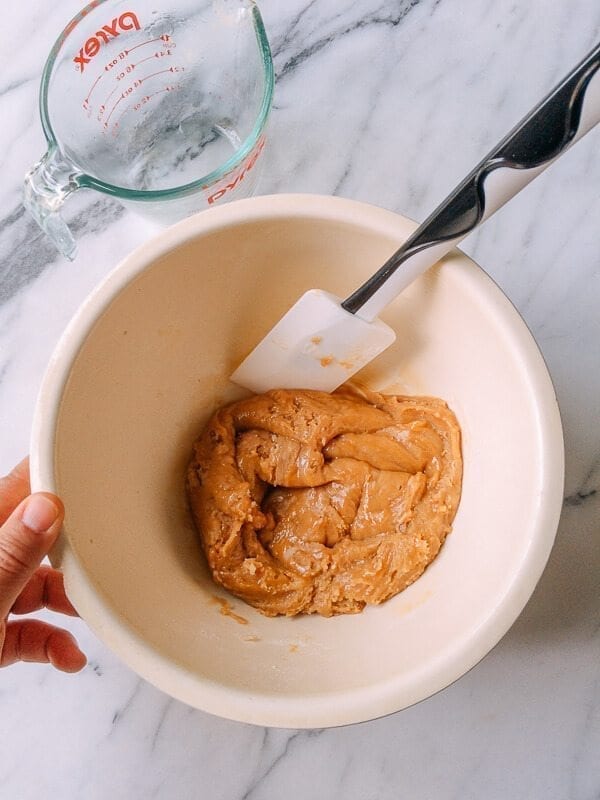
Step 4: Mix the 140 ml cooled syrup from step 3 with all ⅓ cup dough peanut oil and 1 tsp purchased culinary food-grade lye water. Fold in all 1⅔ cups dough all-purpose flour with a spatula to form a soft dough, without overworking it.
Step 5: As soon as the dough from step 4 comes together, cover it airtight or wrap it. Refrigerate for at least 1 hour so it is easier to work with. The initial mixing should only take about 1–2 minutes; the refrigerated rest is a separate wait.
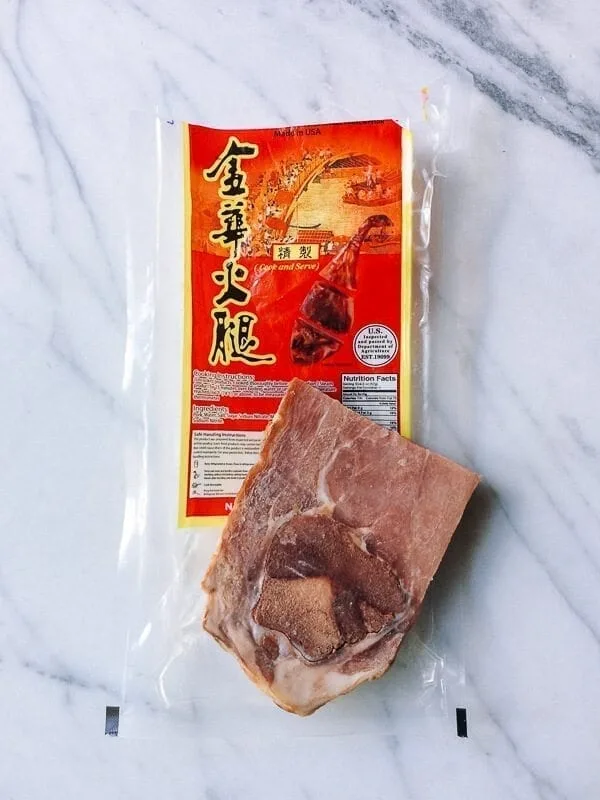
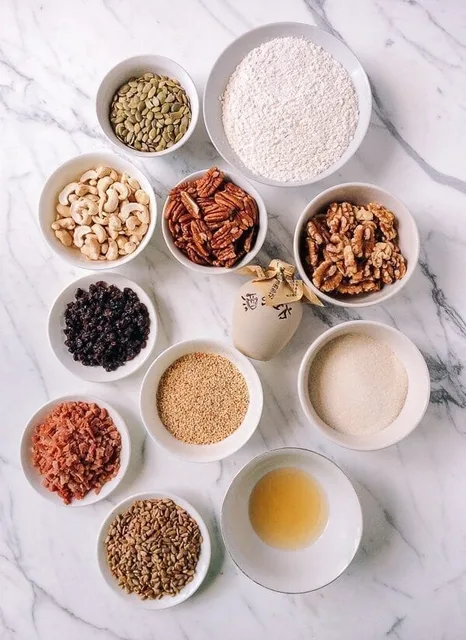
Step 6: Put all 100 g Jinhua hard-cured ham in a heatproof bowl in a steamer, with water outside the bowl. Bring the steamer water to a boil and establish steady steam, then steam for about 15 minutes. Check that the ham is fully cooked to 63°C, following any longer package requirements, and continue steaming if needed. Retain the liquid collected inside its bowl and rest the ham in step 7.
Step 7: After the ham in step 6 reaches 63°C, take its bowl off the heat and let the ham rest for at least 3 minutes. Keep the collected steaming liquid separate. Finely chop the rested ham and retain the liquid for the measured filling draw; refrigerate both promptly if holding while the other filling ingredients are prepared.
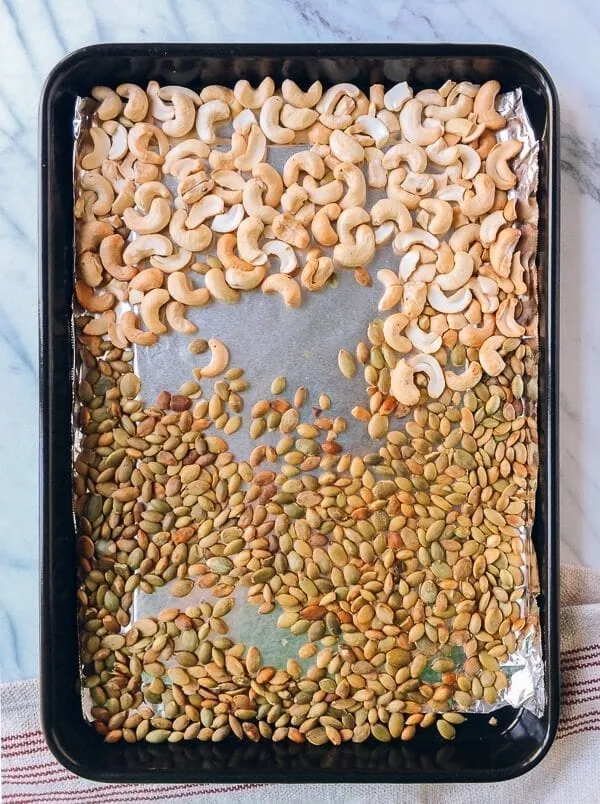
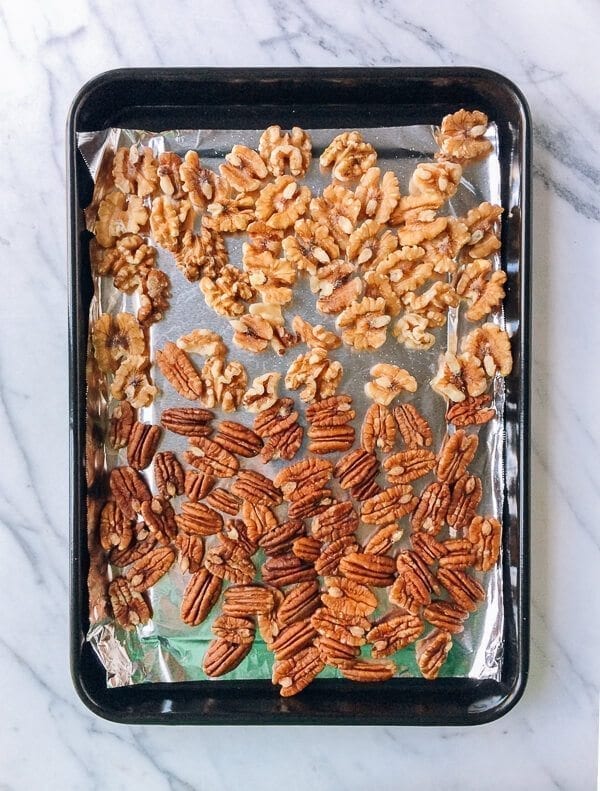
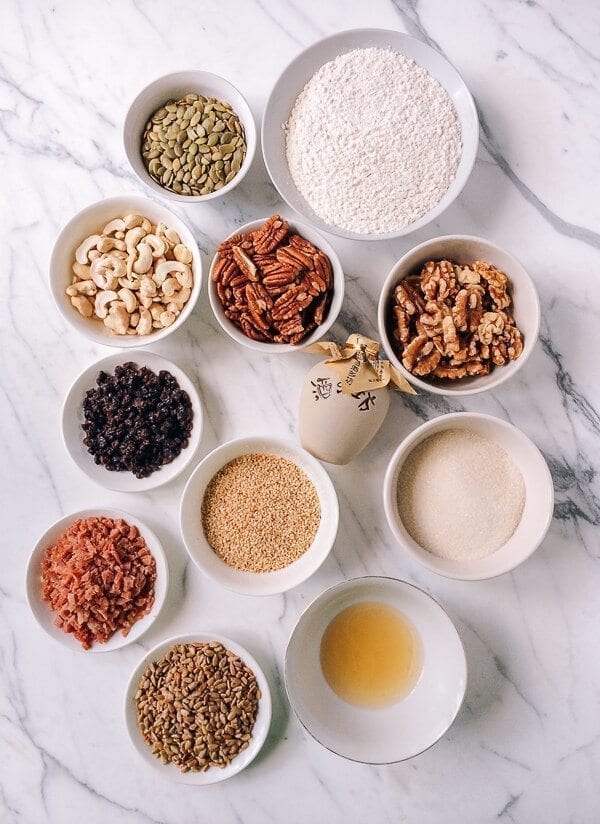
Step 8: Preheat the oven to 325°F (163°C). Toast the separate 100 g walnuts, 100 g cashews and 100 g pecans for about 5–10 minutes. Begin checking closely from 3 minutes; once fragrant, stand beside the oven until toasted to your liking. Remove before they burn. Toast the seeds separately in step 9.
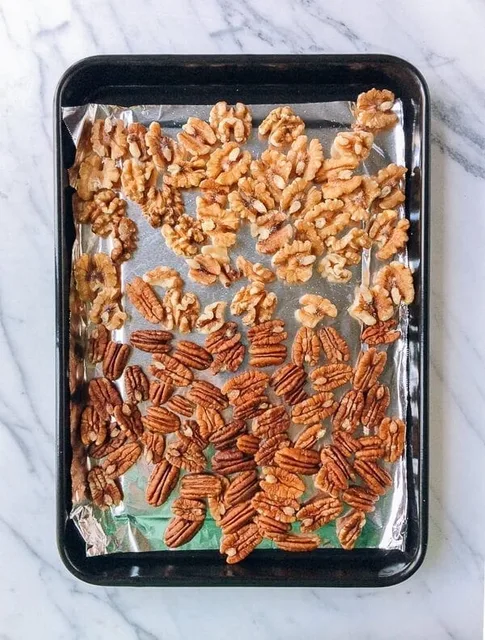
Step 9: In the 325°F (163°C) oven, toast the separate 75 g pumpkin seeds, 60 g sunflower seeds and 60 g sesame seeds for about 5–10 minutes. Begin checking closely from 3 minutes; once fragrant, stay beside the oven until toasted to your liking. Remove before they burn.
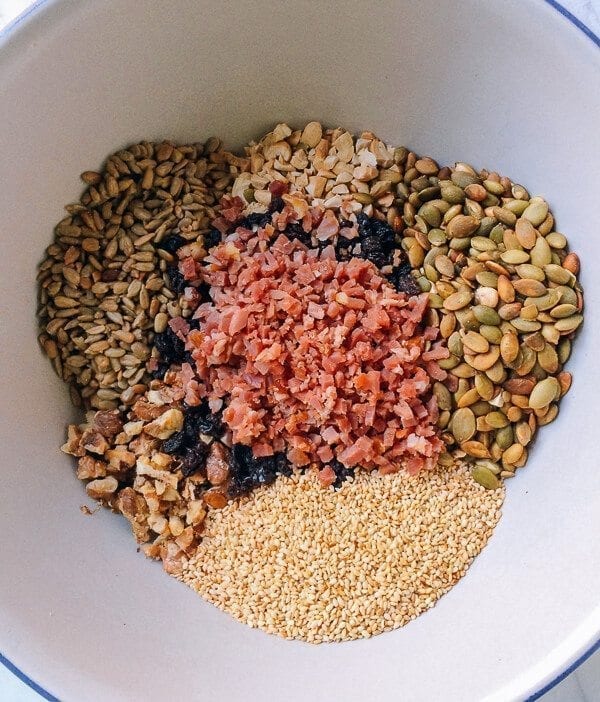
Step 10: Let the toasted nuts from step 8 and seeds from step 9 cool enough to handle. Chop the walnuts, cashews and pecans, then combine them with the pumpkin, sunflower and sesame seeds in a large mixing bowl.
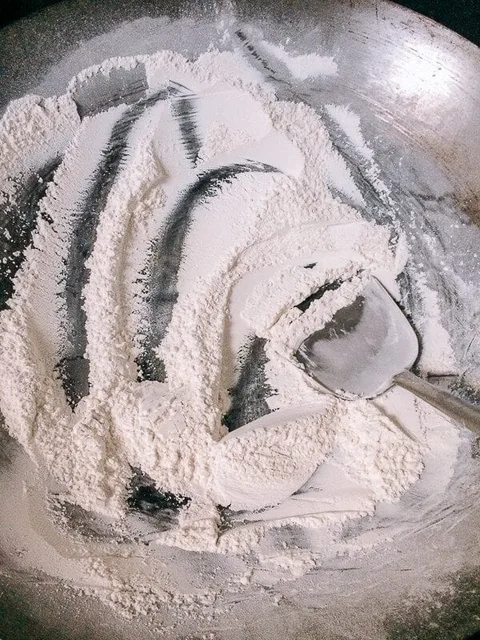
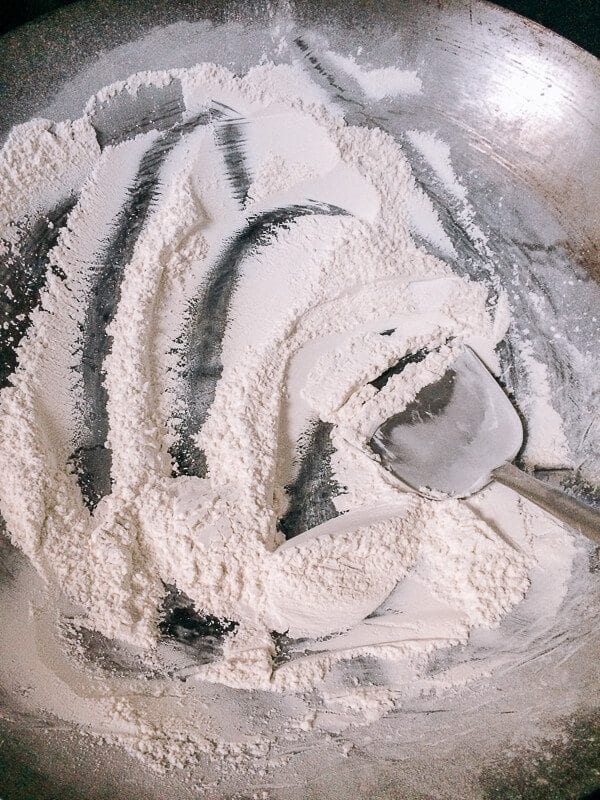
Step 11: In a clean, dry wok, toast all 200 g sweet rice flour over medium-low heat for about 15–20 minutes, stirring often until light brown. Adjust the heat to prevent scorching, then take it off the heat.
Step 12: Heat all ⅓ cup filling peanut oil in a small saucepan until it just begins to smoke lightly. Turn off the heat and let it cool before mixing into the filling.
Step 13: To the combined chopped nuts and seeds from step 10, add all the chopped cooked ham from step 7, 50 g currants, 150 g filling sugar, ½ tsp salt and ¼ tsp five-spice powder. Mix well. Add 2 tbsp liquid collected from the ham bowl in step 7, all 2 tbsp bai jiu, the cooled filling oil from step 12 and the separate ½ cup filling water. Stir to combine.
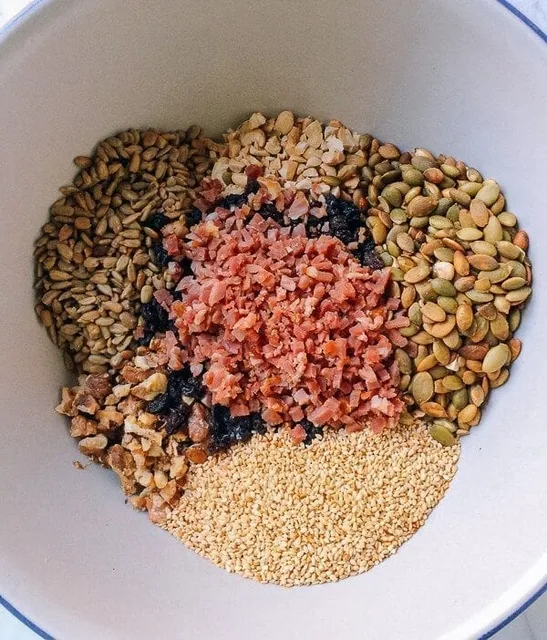
Step 14: Gradually add all the toasted sweet rice flour from step 11 to the ham-and-nut mixture from step 13. It should be somewhat dry and crumbly but squeeze into a firm ball. Add a little optional extra peanut oil only if needed to make it bind.
Step 15: Weigh the completed filling from step 14 and divide it into 18 equal portions. Squeeze each into a ball. Keep the filling covered and chilled when holding it between assembly batches.
Step 16: After the dough from step 5 has rested for at least an hour in the refrigerator, divide it into 18 main portions for the mooncakes. Use a dry round mold of about 100 g capacity; this is a shaping guide rather than a guaranteed finished cake weight.
Step 17: Roll the 18 dough portions from step 16 into balls, with roughly 25–30 g per main ball as a guide. Reserve a small piece of dough for mending tears, keeping the 18 main wrappers ready and covered so they do not dry out.
Step 18: Check the filling balls from step 15 against the dough balls in step 17 and the mold size. Roughly 65–70 g filling per cake is the guide; preserve the 18 equal filling portions rather than adding extra filling to force a weight.
Step 19: Prepare a completely dry round mooncake mold. Attach its patterned top plate and wrap the separate bottom plate with clean plastic. Dust inside the mold with extra all-purpose flour and shake out the excess. Repeat the dusting before each cake.
Step 20: Dust one dough ball from step 17 and the work surface with extra flour. Roll it into a 4-inch round. Put one ham-and-nut filling ball from step 18 in the center. Lift carefully and gently pinch the dough closed around the filling, pressing out air pockets while keeping the wrapper evenly distributed.
Step 21: Inspect the wrapped mooncake from step 20 and gently close any gaps without trapping air. Dust its outside with a little more flour so it will release from the mold.
Step 22: Place the floured wrapped mooncake from step 21 into the prepared mold from step 19, opening facing up. Press in the plastic-wrapped bottom plate with gentle, even pressure.
Step 23: Set the mold down and press the cake out using its top bar, supporting it gently with your other hand. If a piece sticks, patch that area with a little reserved dough from step 17. Clean and flour the mold again, lightly compress the cake to fit, and press again. Place each cake on a baking sheet. Repeat steps 20–23 with the remaining dough and filling to make the 18 cakes; keep any waiting ham-filled cakes chilled.
Step 24: When nearly ready to bake, preheat the oven to 325°F (163°C), with a rack in the middle. Arrange the assembled mooncakes from step 23 in a single layer. Lightly mist their surfaces with separate clean water using a food-grade spray bottle or clean wet fingers. Prepare the egg wash in step 25, then bake without delay.
Step 25: Whisk the 1 egg yolk with its separate 3 tbsp water to make the egg wash. Keep this bowl separate from the water used to mist the mooncakes. Have a natural-bristle pastry brush ready for step 27.
Step 26: Place an oven batch of the misted mooncakes from step 24 in the preheated 325°F (163°C) oven and bake for 5 minutes. Keep any cakes waiting for another oven batch chilled and follow the same two baking phases for each batch.
Step 27: After the first 5-minute bake in step 26, remove the tray and reduce the oven to 300°F (149°C). Lightly brush the cakes with some of the prepared egg wash from step 25 using a natural-bristle brush, then return the tray to the oven. Avoid flooding the patterned surface with wash; discard unused wash after baking.
Step 28: Bake the egg-washed cakes from step 27 for another 15 minutes at 300°F (149°C). Check that the dough is baked through and the thin egg coating is fully cooked and set; continue if needed. Remove and cool on a rack. Repeat the two timed baking phases for any remaining oven batch. The crust may look dry at first.
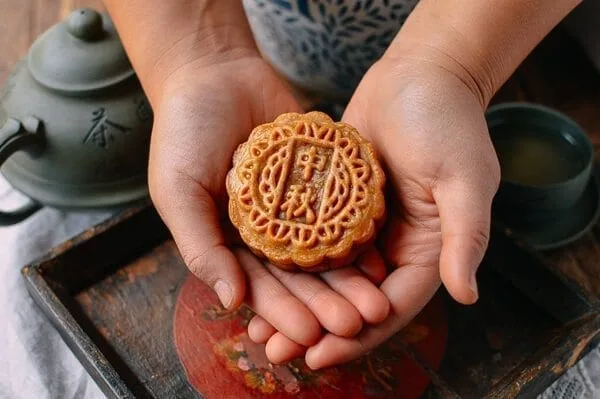
Step 29: Cool the baked mooncakes from step 28 promptly, then refrigerate them in covered shallow containers within 2 hours of baking, or within 1 hour above 32°C. Keep refrigerated for 1–2 days before serving, allowing the texture to develop during storage. Keep refrigerated and use within 3–4 days; offer tea when serving.
Photos (3)
Comments
0 threadsSign in to join the discussion.


No comments yet. Start the discussion.