
Vietnamese · Breakfast
Pandan Sticky Rice with Tapioca Paper / Xoi Boc Banh Trang
From the zcook collection
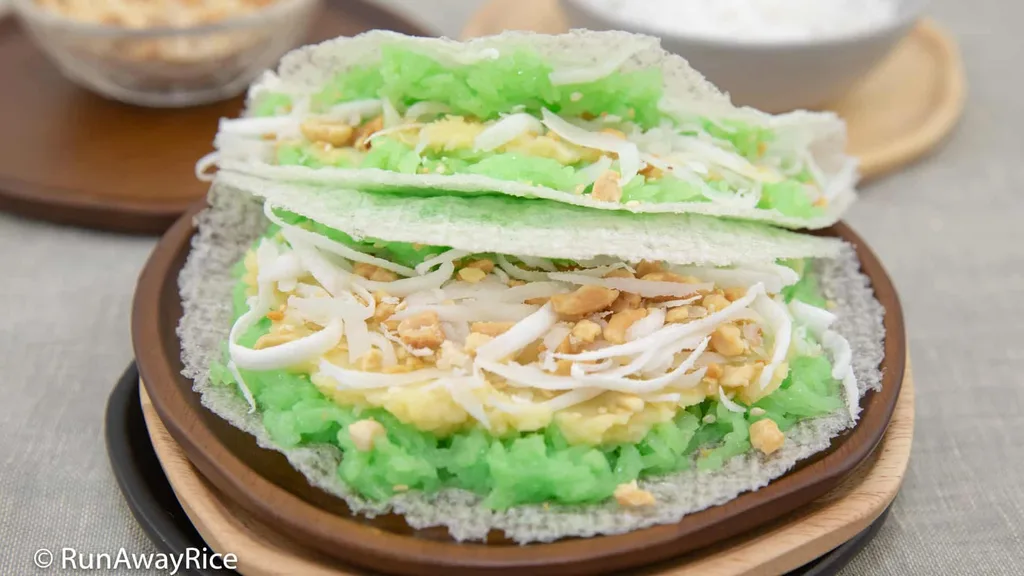
Thin homemade tapioca papers wrapped around pandan sticky rice, sweet mung-bean paste, fresh coconut and roasted peanut-sesame topping.
- Vegan
- Dairy-free
- Vietnamese
- Breakfast
- Snack
- Pandan
- Sticky Rice
- Prep
- 20 min
- Serves
- 10 snack portions
- Level
- Hard
- Energy
- 311 kcal
Method21 steps
Step 1: In a small saucepan, combine 1 cup water for the tapioca paper, 1/3 cup tapioca starch and 1/4 tsp baking powder. Stir thoroughly to disperse the starch.
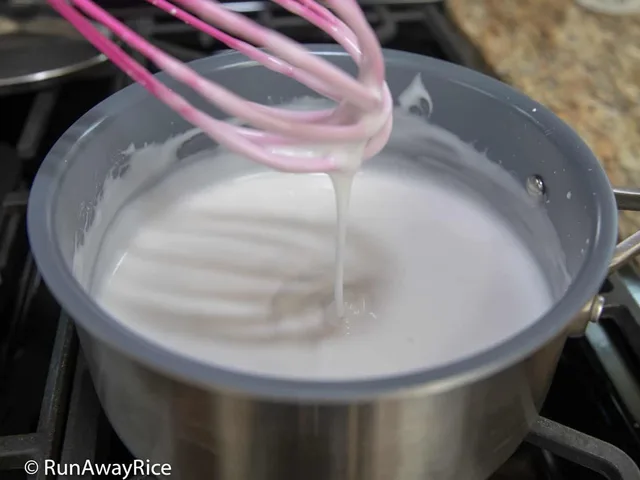
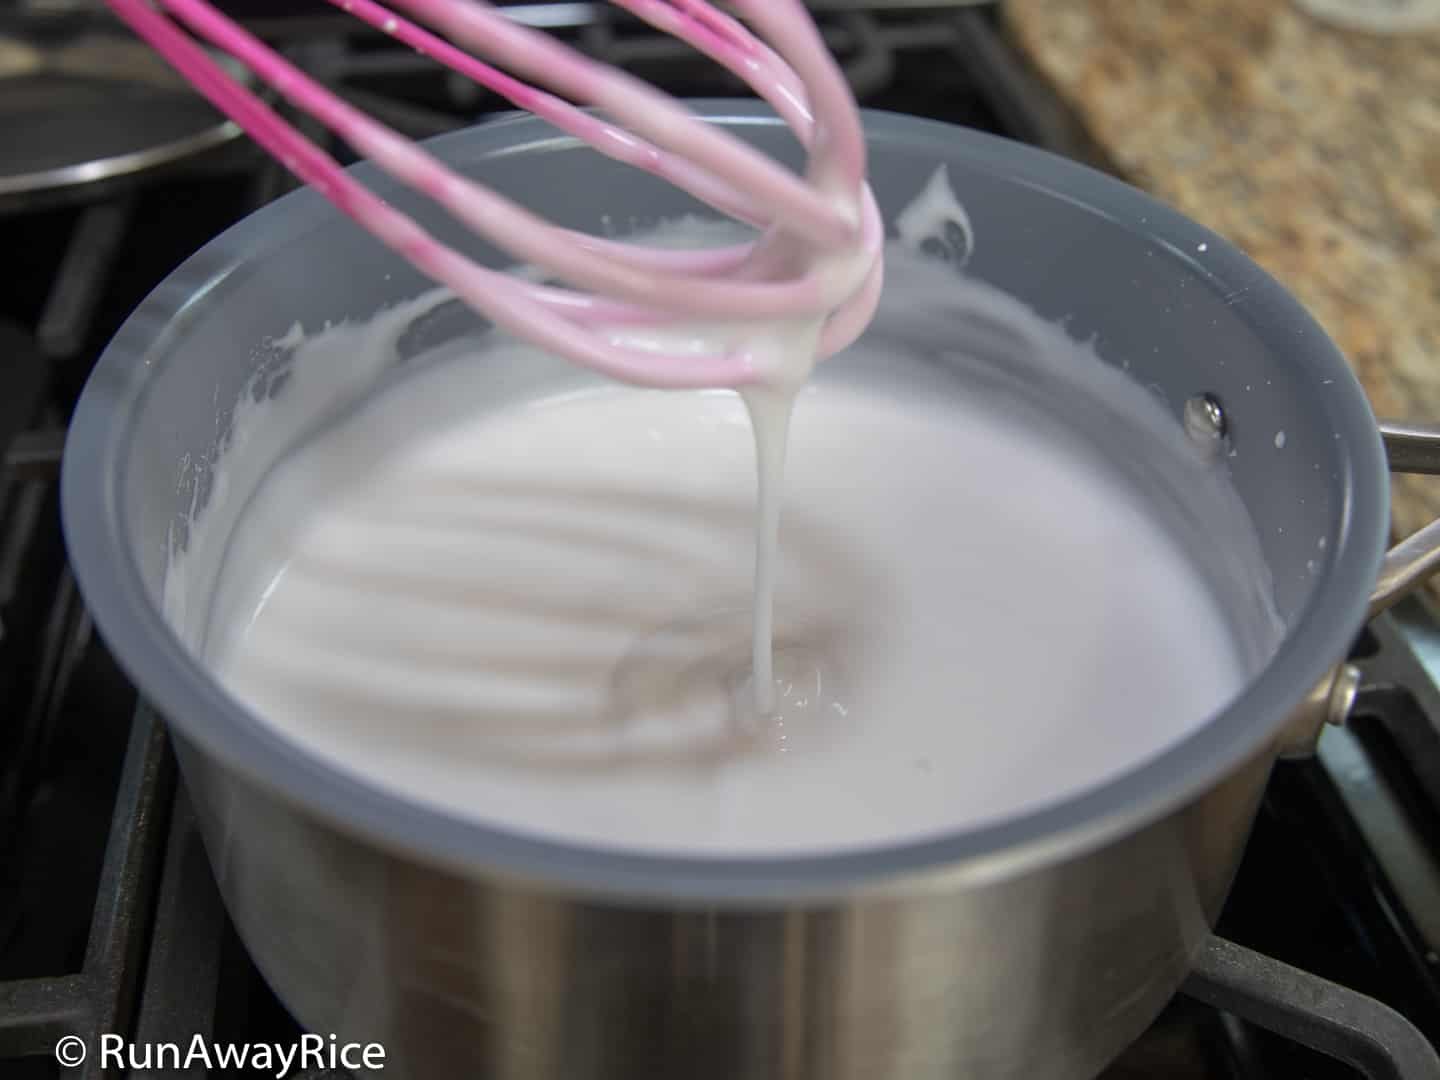
Step 2: Heat the mixture from step 1 over low heat, whisking constantly so the starch cannot settle. At the first steam or when it starts clinging to the whisk, about 5–6 minutes, turn off the heat. Whisk quickly to remove lumps, then keep whisking for about 2–3 minutes until it forms a loose batter. Avoid heating it into a thick dough.
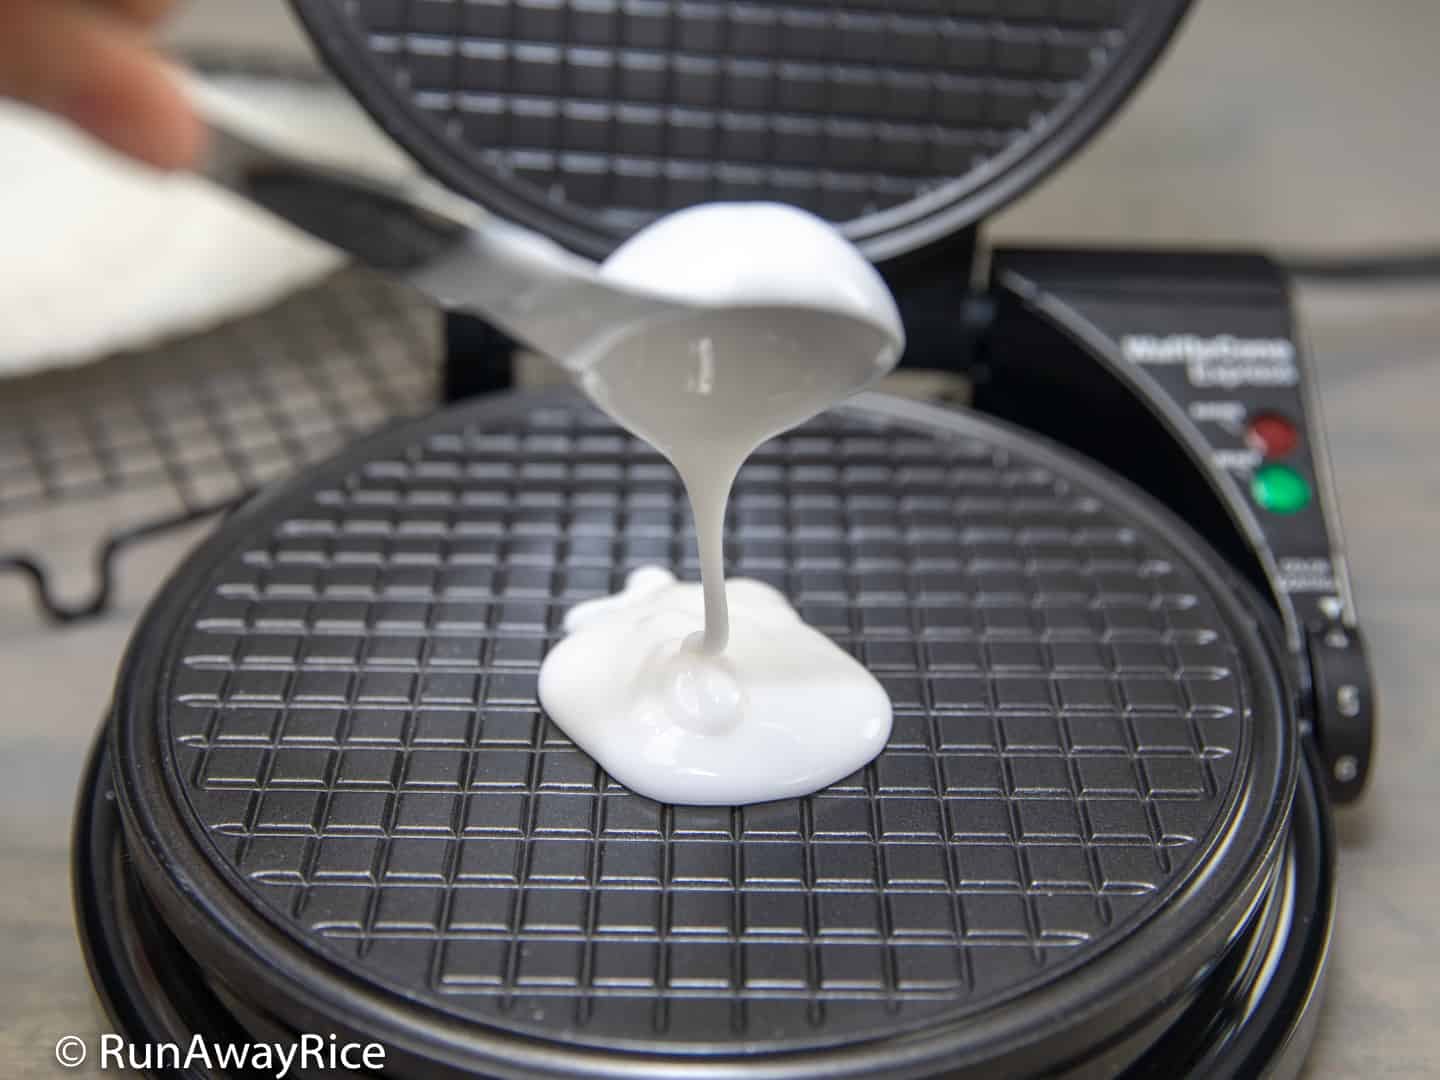
Step 3: Heat a waffle-cone maker to medium-high (setting 4 on the source appliance). Stir the batter from step 2, put 1 heaped tbsp in the center, close and latch the lid, and cook for 4 minutes. Lift the thin tapioca paper with a spatula onto a wire rack to cool.
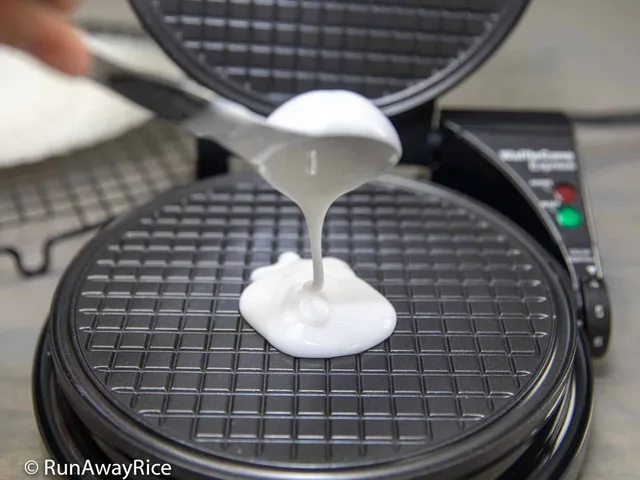
Step 4: Repeat step 3 with the remaining batter from step 2, stirring before each scoop. Cook each paper for 4 minutes and cool it on the rack. The 1 heaped tbsp scoop makes a paper about 6 inches wide; do not overfill the cone maker.
Step 5: Wash the full 3/4 cup dry peeled split mung beans in cold water, swirling for about 30 seconds, then discard the water. Repeat once or twice until the rinse water is mostly clear, and drain.
Step 6: Transfer all the washed, drained mung beans from step 5 to the lower stackable pan and add their 1/4 tsp salt.
Step 7: Mix the 1 cup bean-pan water with 1/2 cup coconut milk. Pour it over the mung beans and salt from step 6, stir together and level the beans.
Step 8: Wash the full 2 cups long-grain glutinous rice in cold water, swirling for about 30 seconds and discarding the rinse water. Repeat once or twice until mostly clear, then drain.
Step 9: Put all the washed, drained rice from step 8 in the upper stackable pan with its 1/4 tsp salt. Mix 1 3/4 cups rice-pan water with 1/4 tsp pandan paste, pour over the rice, stir and level it.
Step 10: Stack the mung-bean pan from step 7 below the rice pan from step 9. Cover the rice pan with its vented lid and secure the stackable-pan handles.
Step 11: Put 2 cups boiling external cooker water in the inner pot of an 8-quart Instant Pot. Lower in the stacked pans from step 10, checking that the pans fit and that the actual appliance minimum-liquid and safe-fill requirements are met. Close the pressure lid and set Sealing.
Step 12: Select Manual/Pressure Cook at HIGH pressure for 15 minutes for the cooker and pans from step 11.
Step 13: When the pressure cycle from step 12 ends, allow an initial 10 minutes of natural release. Keep the valve at Sealing and continue natural release until fully depressurized and the float valve drops; do not force the lid open.
Step 14: Once step 13 has fully released pressure, open the lid away from your face. Lift the stackable pans onto a trivet, leaving external cooker water behind. Check that the mung beans are soft enough to mash and the rice is fully cooked.
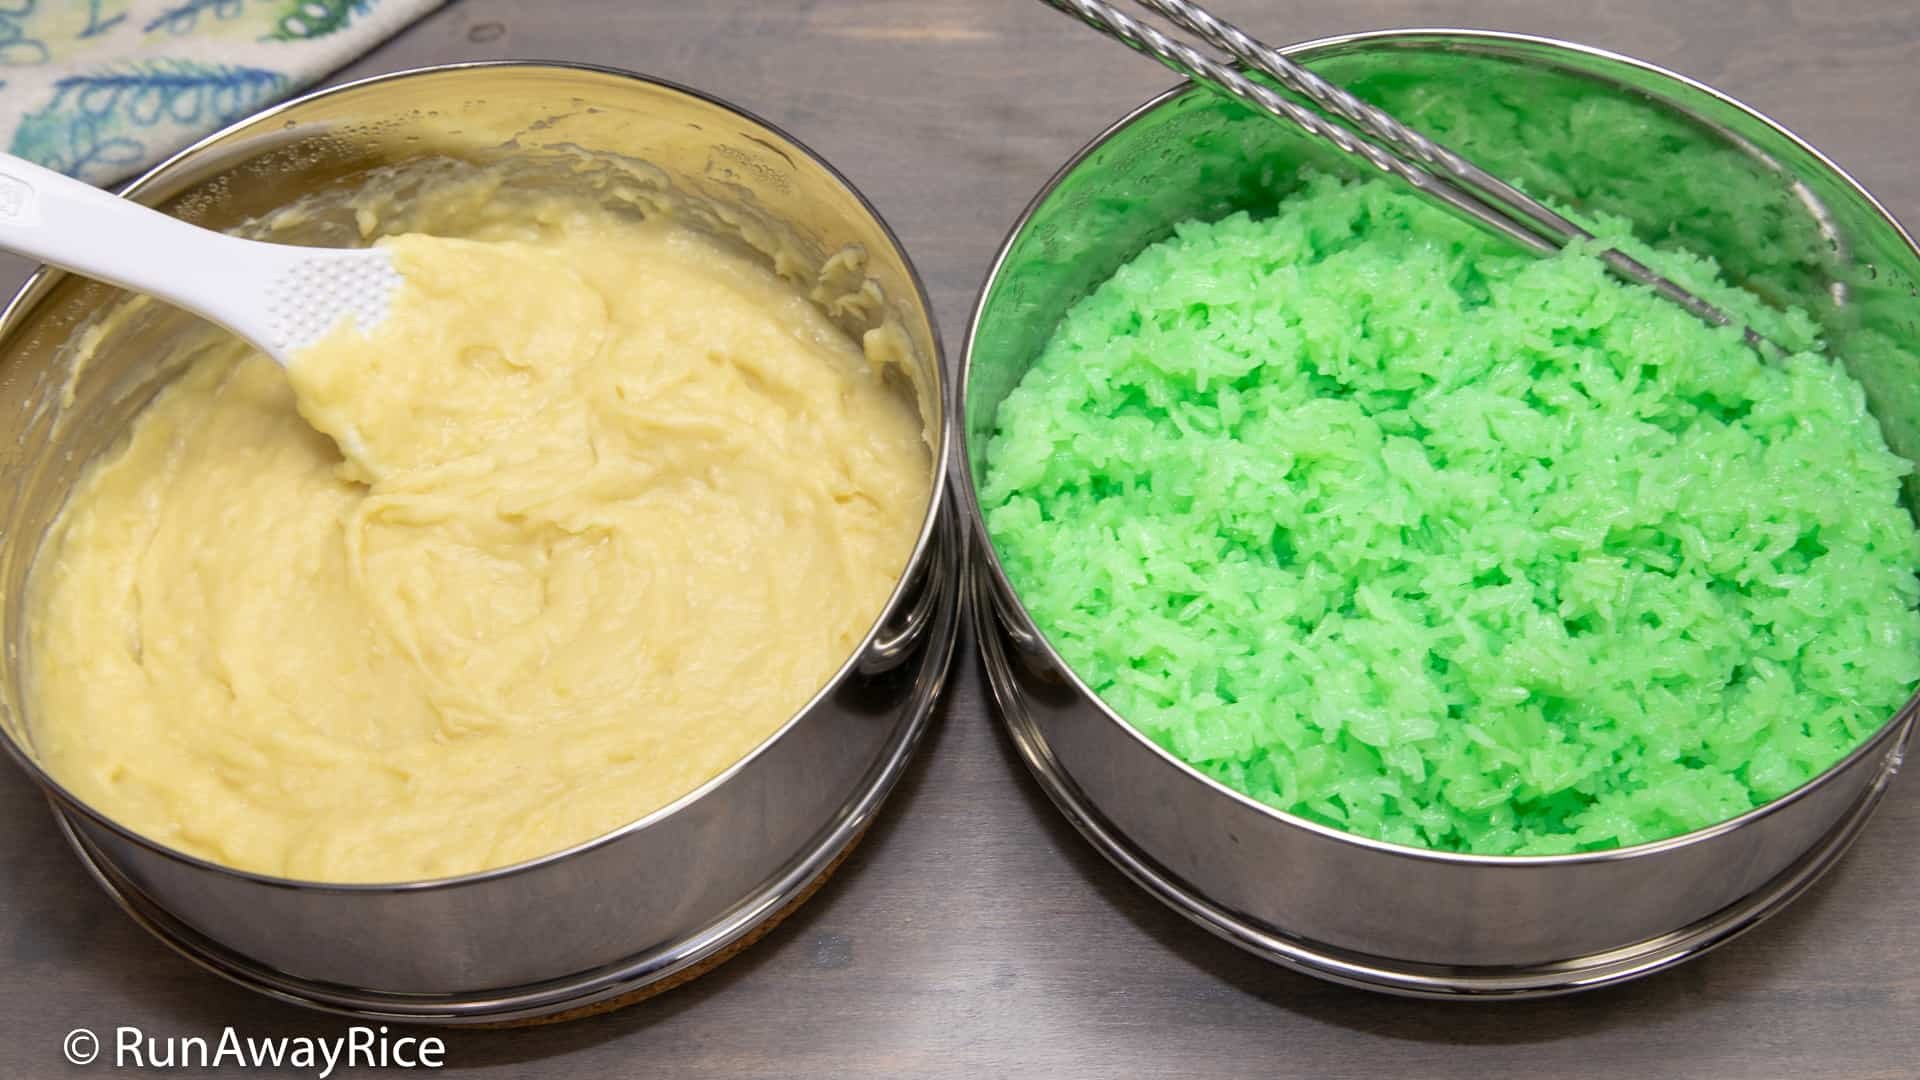
Step 15: Add the 1/4 cup mung-bean sugar to the cooked beans and their cooking liquid from step 14. Mash with a paddle spoon into a smooth sweet paste.
Step 16: Uncover the cooked rice pan from step 14 and gently stir the pandan sticky rice.
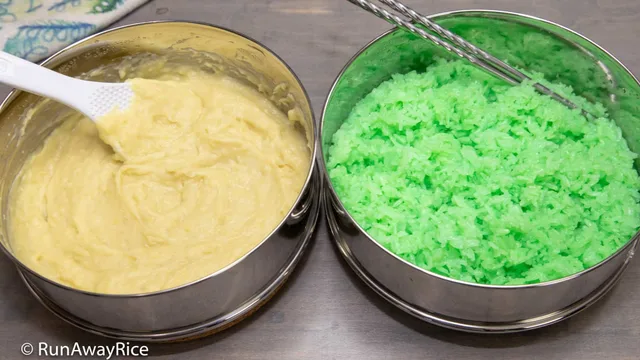
Step 17: Cover the sweet mung-bean paste from step 15 and sticky rice from step 16 to keep them warm while preparing the topping and assembling.
Step 18: Pulse the 1/2 cup ready roasted peanuts in a small food processor for about 5 seconds. Add 1 1/2 tbsp ready roasted sesame seeds, 1 1/2 tbsp topping sugar and 1/2 tsp topping salt; pulse a few seconds more and transfer to a bowl. Have the shredded flesh from the fresh coconut ready.
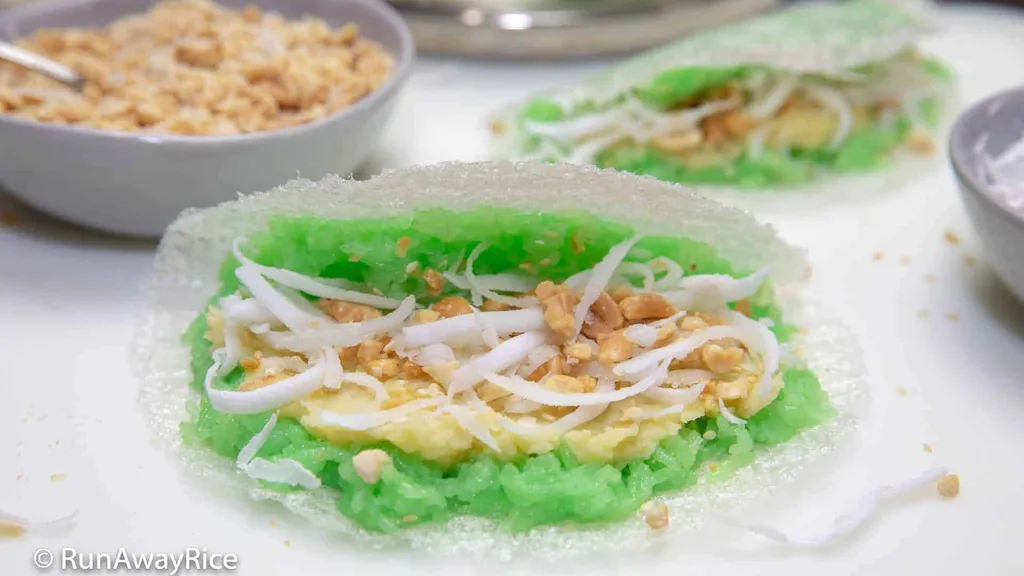
Step 19: Put a cooled tapioca paper from step 4 on a flat surface. Spread some warm pandan sticky rice from step 17 over it, then spread sweet mung-bean paste over half of the rice. Add shredded coconut and peanut-sesame topping from step 18. Fold the paper in half around the filling. Repeat as the prepared supplies permit, without overfilling.
Step 20: Let any unused plain tapioca papers from step 4 cool completely on the rack, then keep them in an airtight bag or container. Keep the crisp papers separate from moist filling until serving.
Step 21: Refrigerate leftover filling, rice, shredded coconut, topping and assembled snacks promptly in shallow covered containers, within 2 hours, at 4 °C (40 °F) or below. Use cooked rice and mung-bean filling within 3–4 days. Reheat a serving of rice and filling until steaming hot throughout, reaching 74 °C (165 °F), before assembling with the paper and toppings. The source also allows freezing the rice and filling for up to 2 months.
Photos (2)
Comments
0 threadsSign in to join the discussion.


No comments yet. Start the discussion.