

Japanese · Dinner
Oyakodon (Chicken and Egg Rice Bowl)
From the zcook collection
Oyakodon is a classic comfort food of Japanese home cooking. Tender pieces of chicken, onion, and eggs are simmered in an umami-rich, dashi-based sauce and then poured over a bowl of fluffy steamed rice. Simple, delicious, and utterly comforting, this is the kind of one-bowl meal you can cook in less than 30 minutes!
- Dairy-free
- Japanese
- Dinner
- Just One Cookbook
- Total
- 30 min
- Prep
- 15 min
- Cook
- 15 min
- Serves
- 2 servings
- Level
- Hard
- Energy
- 620 kcal
Method19 steps · about 30 min
Step 1: Have 500 g (3⅓ cups) cooked Japanese short-grain rice ready for the two bowls, about 250 g per bowl.
Step 2: These instructions cook both servings together in a medium frying pan, about 10–11 inches (25–28 cm) wide.
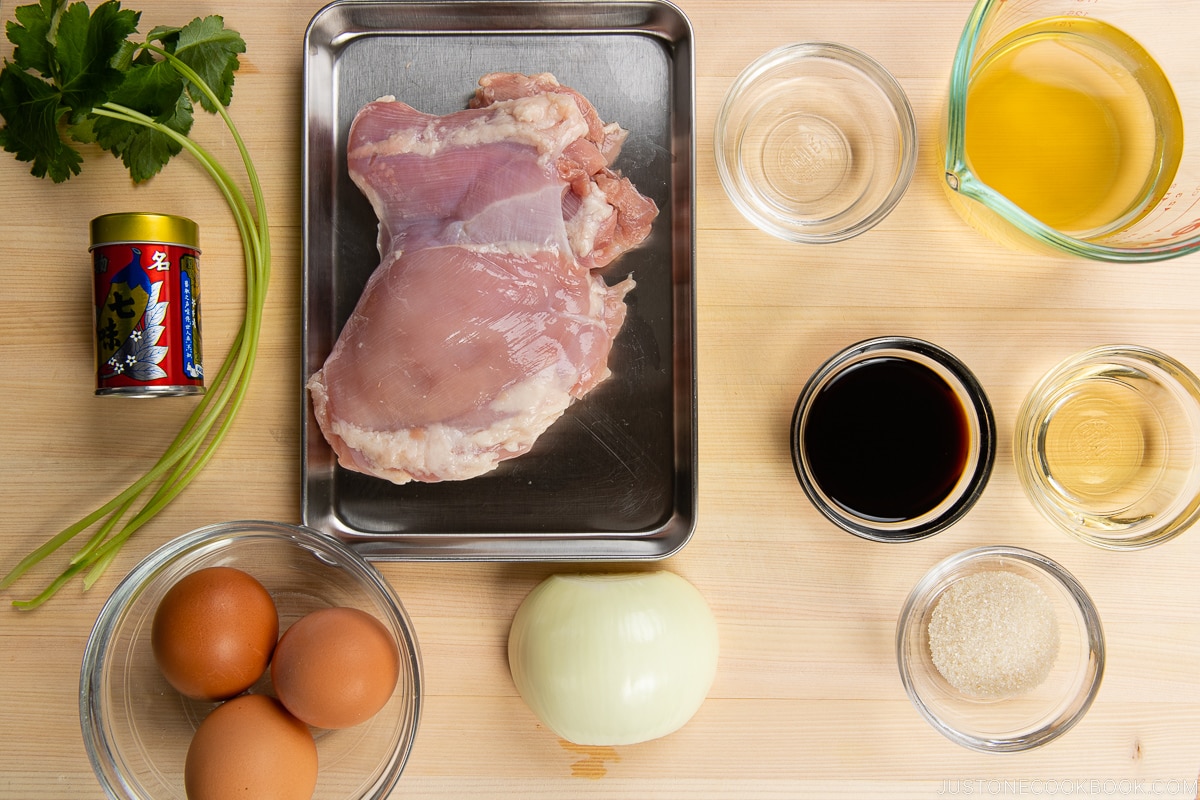
Step 3: Gather the ingredients for two servings. Use a medium frying pan; if doubling the recipe, use two pans rather than crowding one.

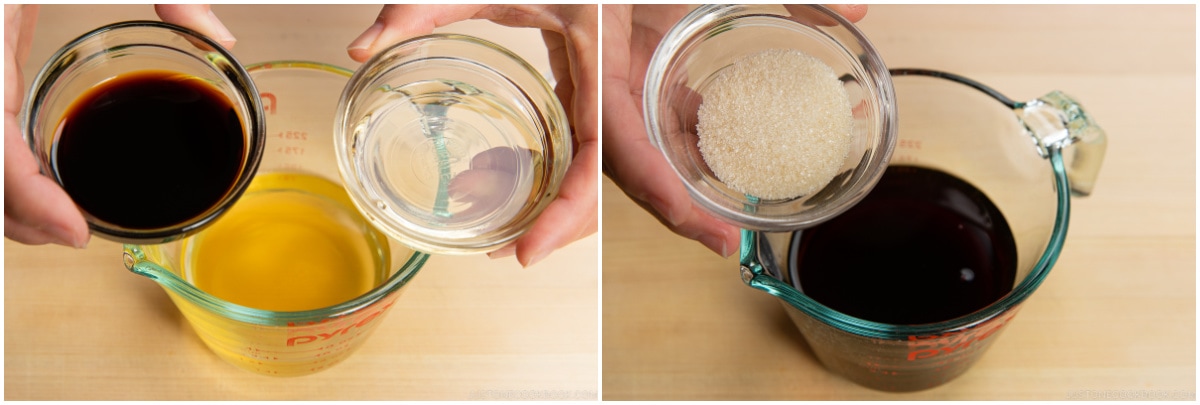
Step 4: Combine ½ cup dashi (Japanese soup stock), 2 Tbsp soy sauce, 2 Tbsp mirin, and 2 tsp sugar in a bowl or a liquid measuring cup and mix all together until the sugar is dissolved.

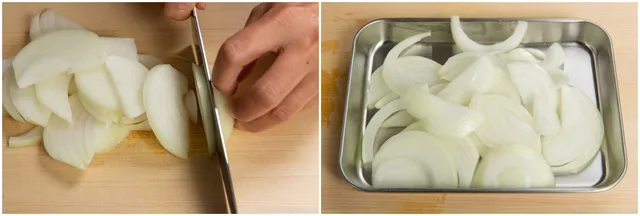
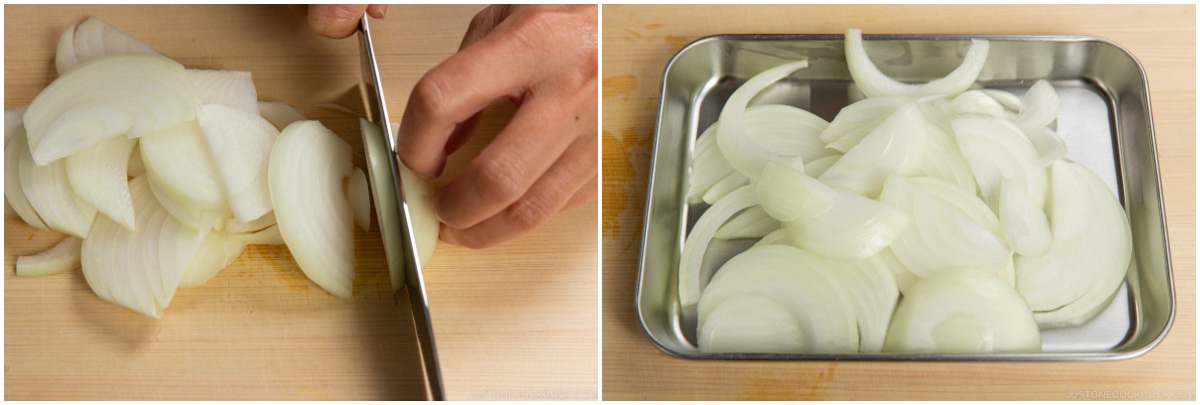
Step 5: Slice ½ onion lengthwise, about ¼ inch (6 mm) wide.
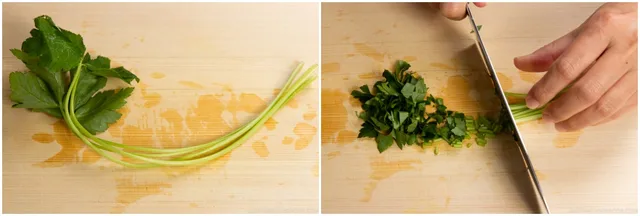
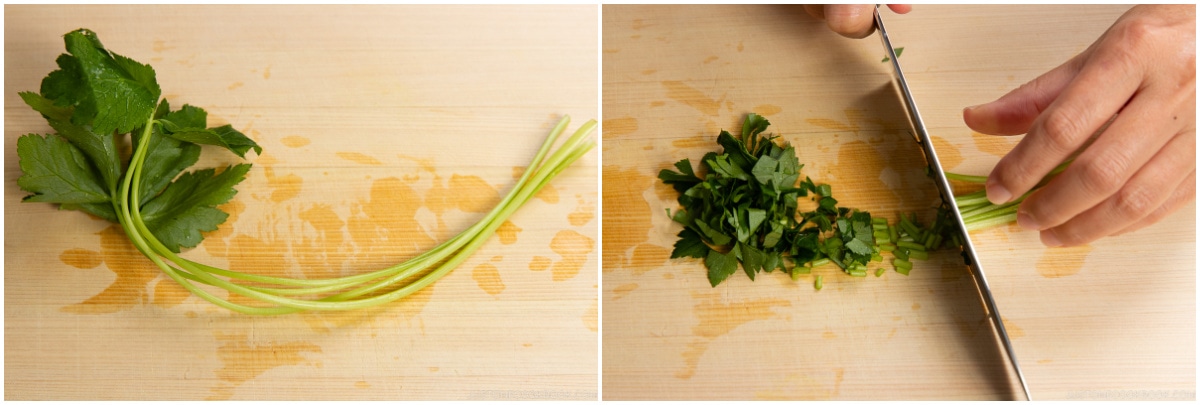
Step 6: Chop 4 sprigs mitsuba (Japanese parsley) ½ inch (1.3 cm) wide.
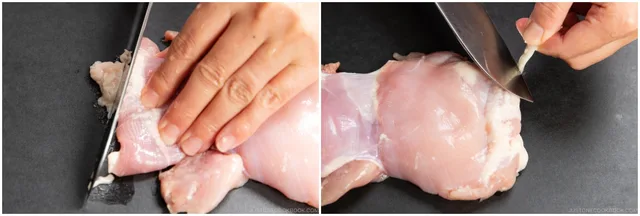
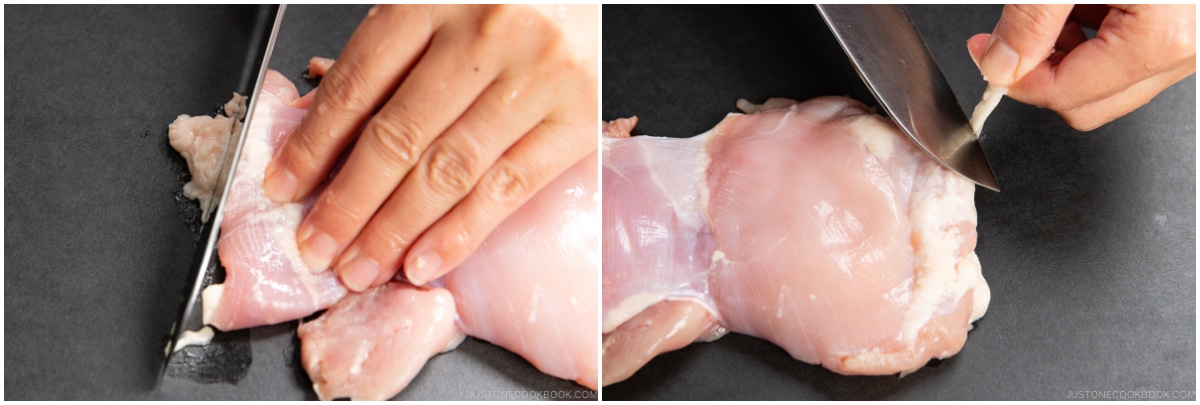
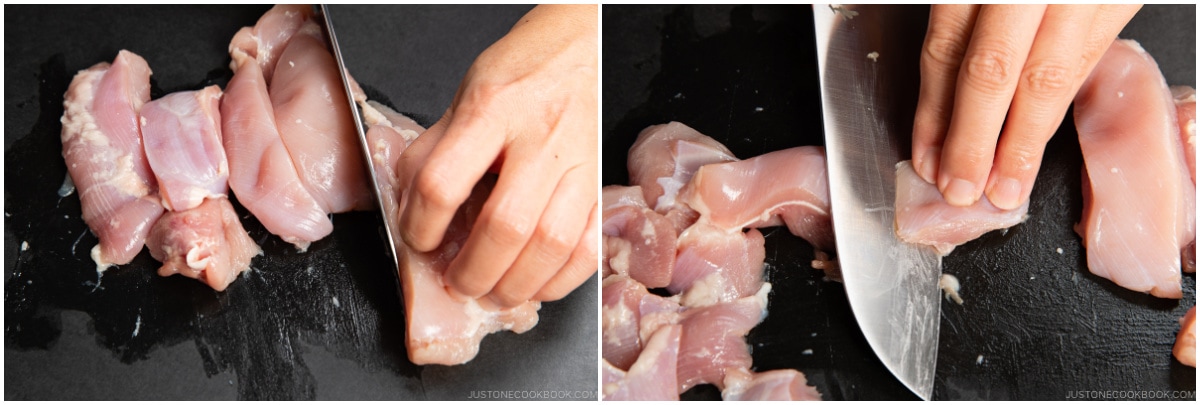
Step 7: Trim the extra bits of fat and connective tissue from 10 oz boneless, skinless chicken thighs with the knife.
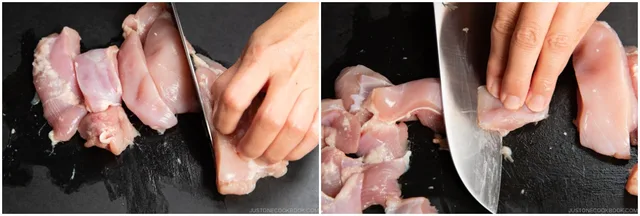
Step 8: Cut the chicken thigh along the grain into strips ¾–1 inch (2–2.5 cm) wide. Next, angle your knife back and diagonally (nearly parallel to the cutting board), and then slice the chicken strips against the grain into pieces about ¾–1 inch (2–2.5 cm) square. Nami's Tip: This sogigiri cutting technique creates pieces of equal thickness with more surface area for fast cooking and better absorption of the flavors.
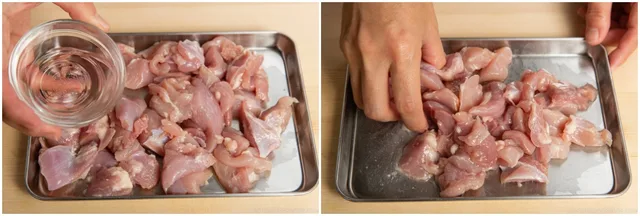
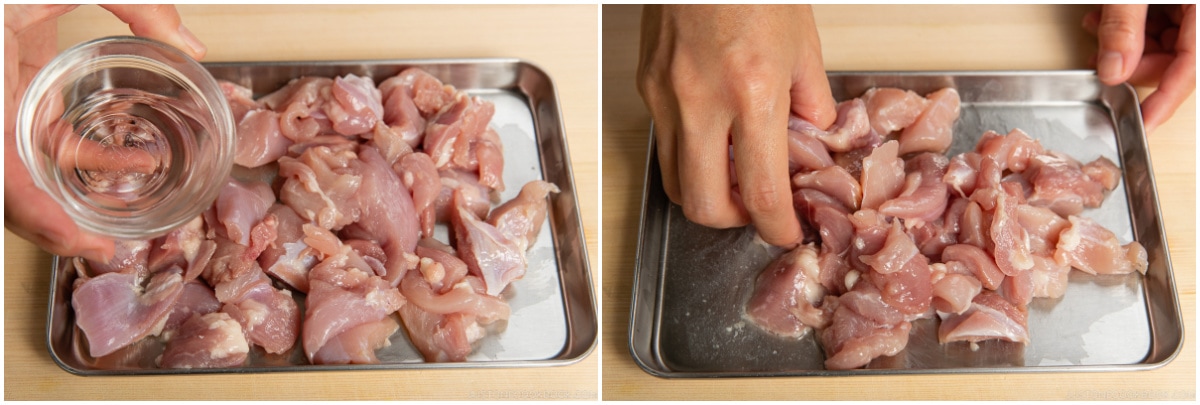
Step 9: Transfer the chicken to a bowl or tray and sprinkle with 1 Tbsp sake. Set aside for 5 minutes.
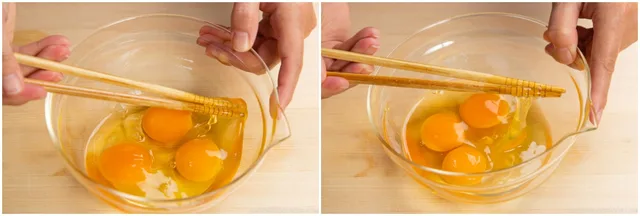
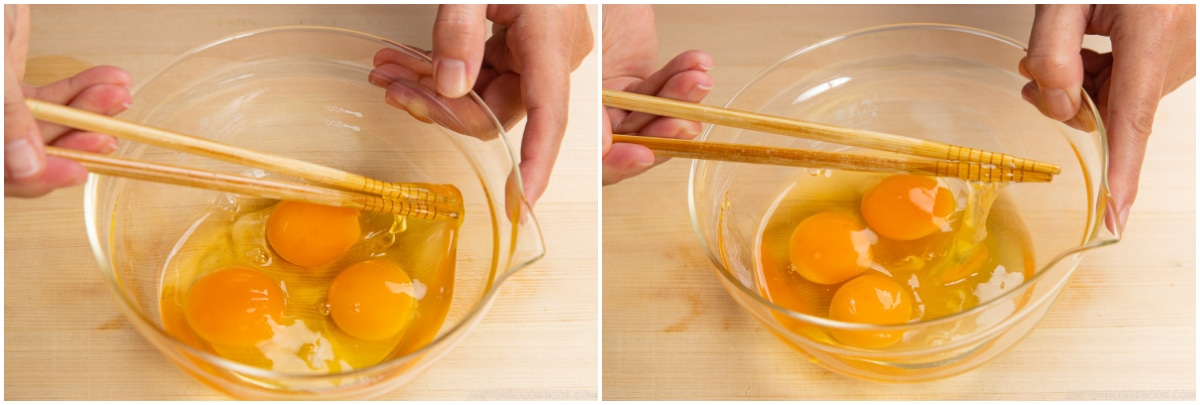
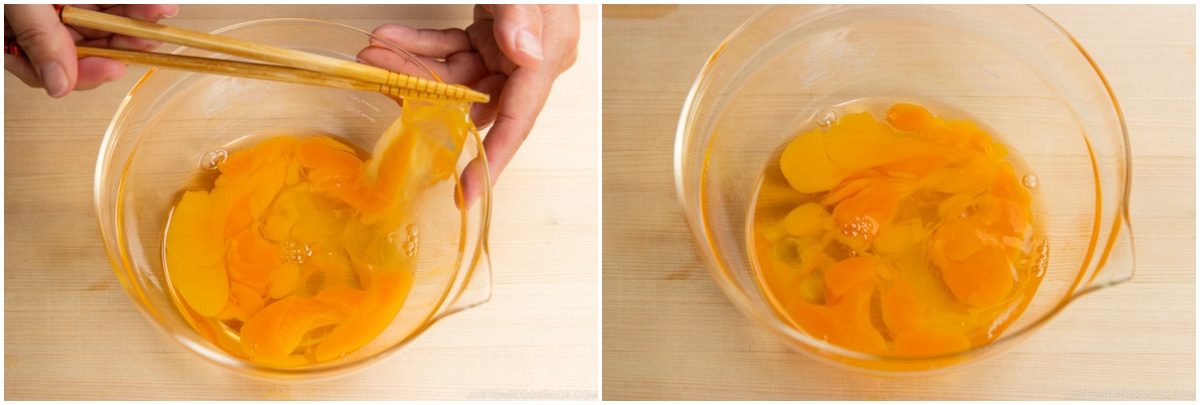
Step 10: Crack 3-4 large eggs (50 g each w/o shell) into a bowl. Using a pair of chopsticks, lift the egg whites to “cut“ them 5–6 times into a few smaller clumps. This will prevent the egg whites from falling into the frying pan all at once. Do not whisk or beat the eggs together. Nami's Tip: Aim for high color contrast between the white and yellow parts of the eggs in your finished dish.
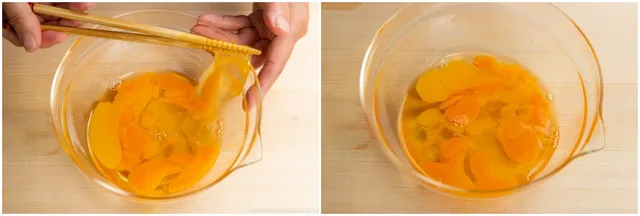
Step 11: While “cutting“ the egg whites, you may have accidentally broken some of the egg yolks. That‘s okay. If the yolks haven‘t broken yet, you can poke them to gently break them, but do not blend the egg whites and yolks. The eggs should resemble a marble pattern.
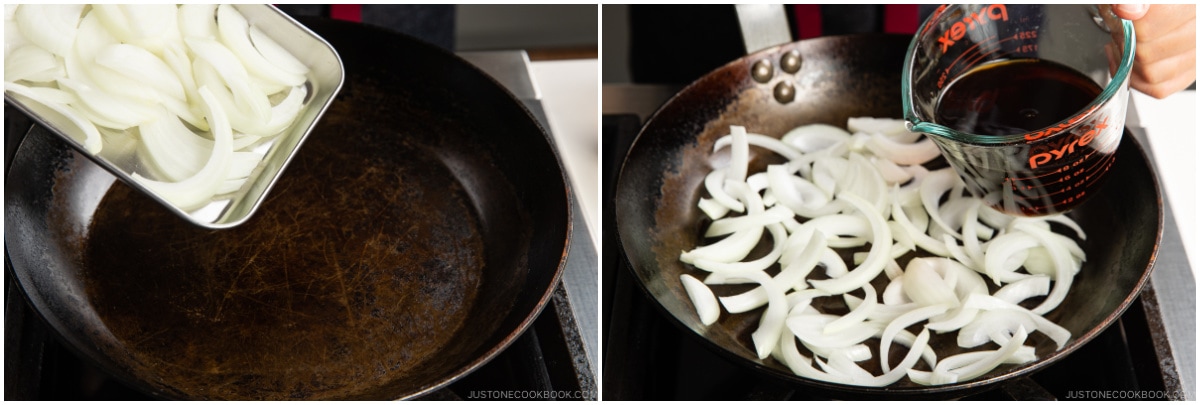
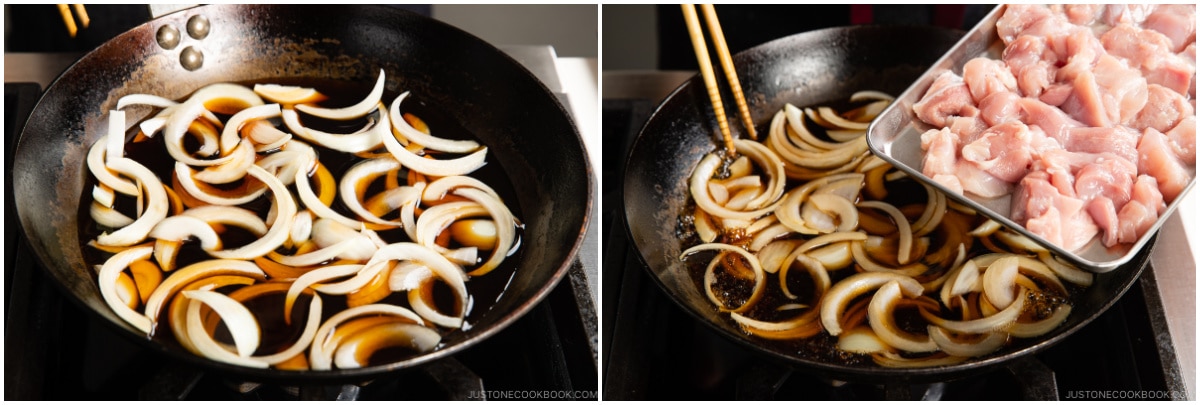
Step 12: With the heat off, arrange the sliced onion in one layer in the medium frying pan and add the prepared seasoning mixture. It should just cover the onion; use a smaller pan if it does not.

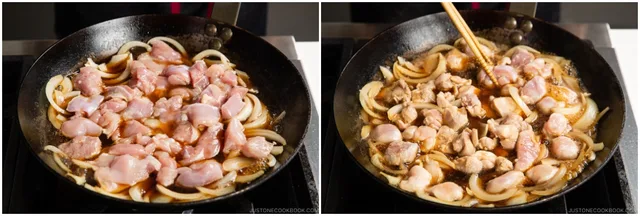
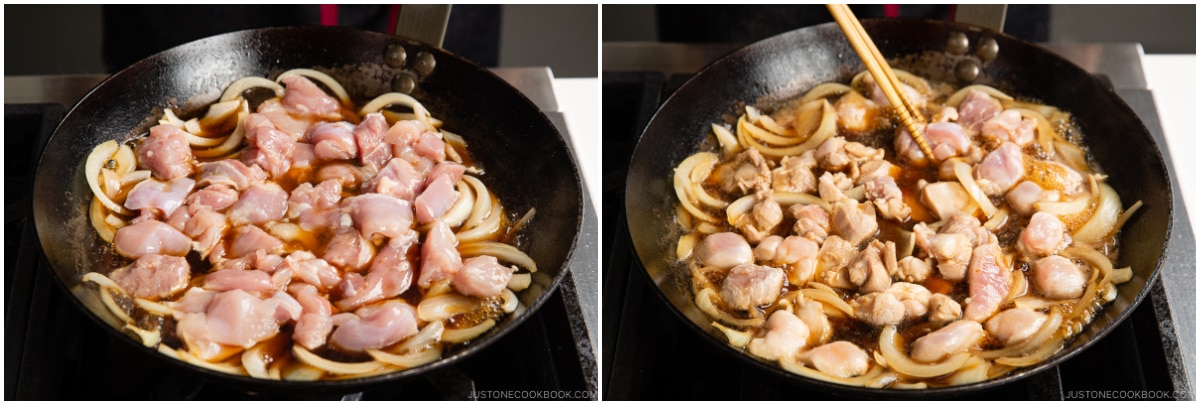
Step 13: Turn on the heat to medium and bring it to a simmer. Once simmering, add the chicken on top of the onions.
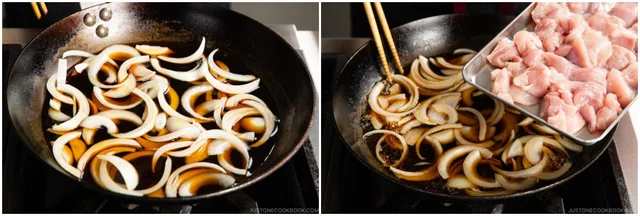
Step 14: Distribute the onion and chicken evenly. Once simmering again, lower the heat to medium-low and cook uncovered for about 5 minutes, flipping the chicken halfway through. Continue until the onion is tender and the chicken reaches 165°F (74°C) in the thickest pieces.
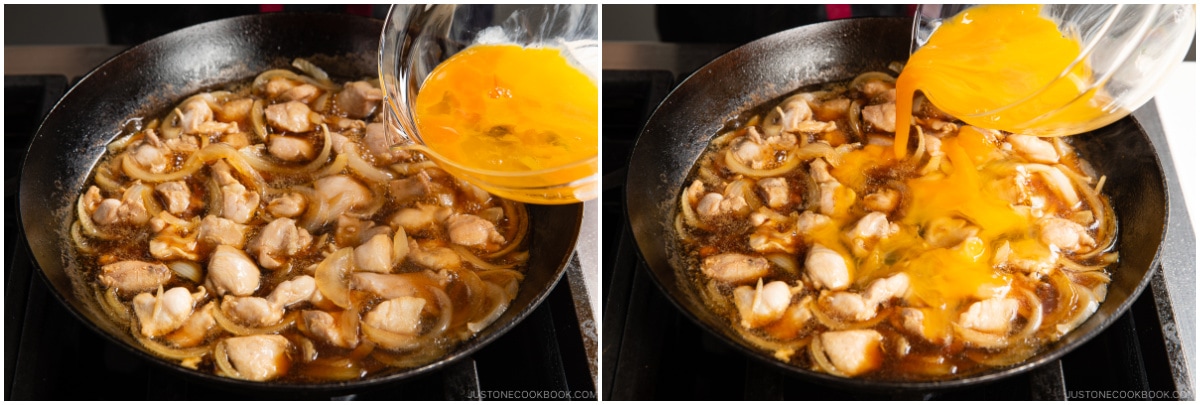
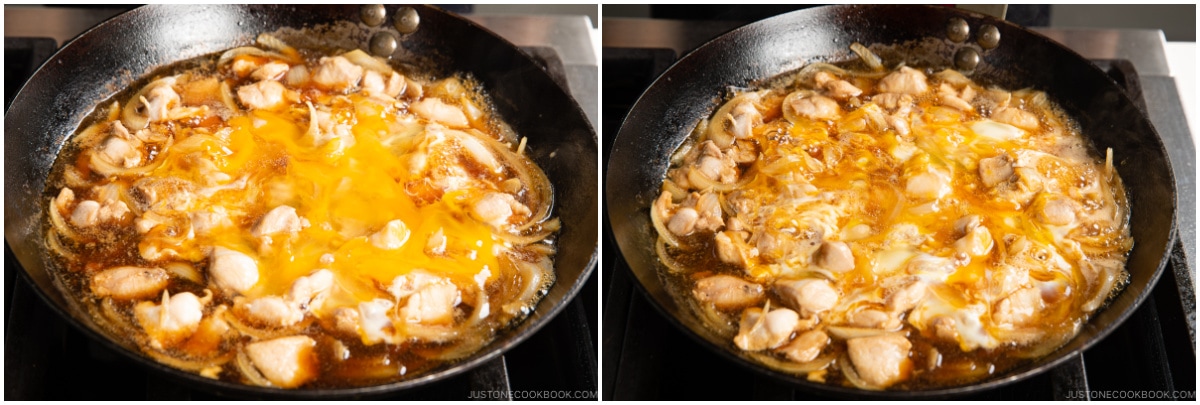
Step 15: We will add the eggs in two stages: Two-thirds of the eggs first, then the remaining one-third later. Now, increase the heat to medium. With the cooking liquid simmering (small bubbles around the edges), drizzle two-thirds of the eggs in a circular pattern over the chicken and onions, avoiding the edges of the pan where the eggs can easily overcook. Nami's Tip: Only drizzle the eggs if the cooking liquid is simmering, as with Egg Drop Soup. Also, try to add more egg whites at this stage, as the whites take longer to cook than the yolks. Ideally, we want to keep the yolks soft and runny for the final presentation.
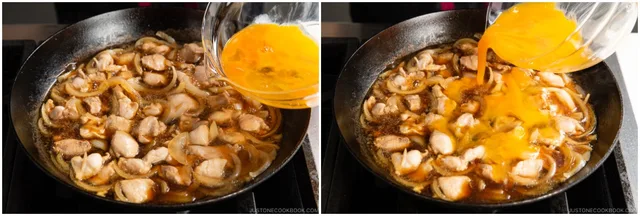
Step 16: If the heat is too strong, lower the heat. If the egg is moving toward the edges of the pan, gently gather it toward the center where the heat is not as strong. Optionally, you can cover the pan if the egg whites are taking a long time to set.

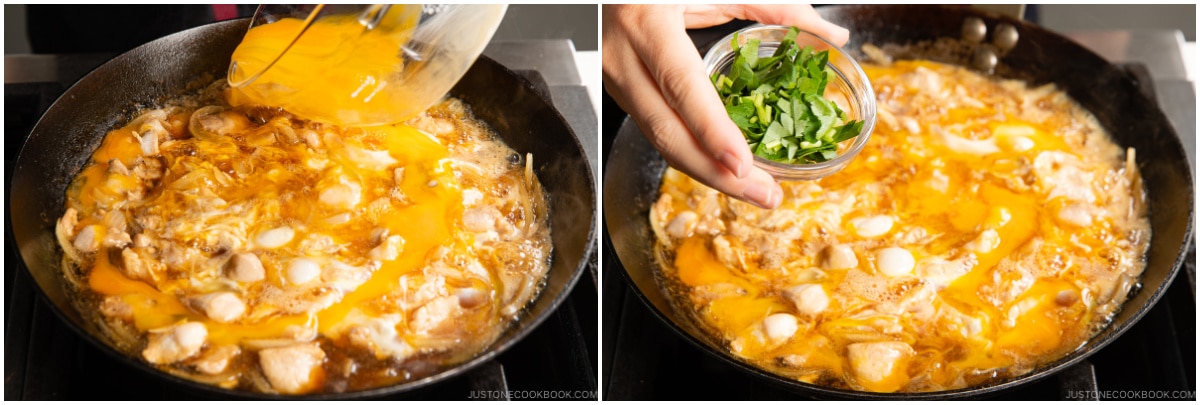
Step 17: When the first egg portion has begun to set, drizzle the remaining one-third of the prepared eggs over the center and edges. Add the chopped mitsuba or green onion. Cook over medium-low heat until the egg is set to your liking, keeping it soft for the classic texture.

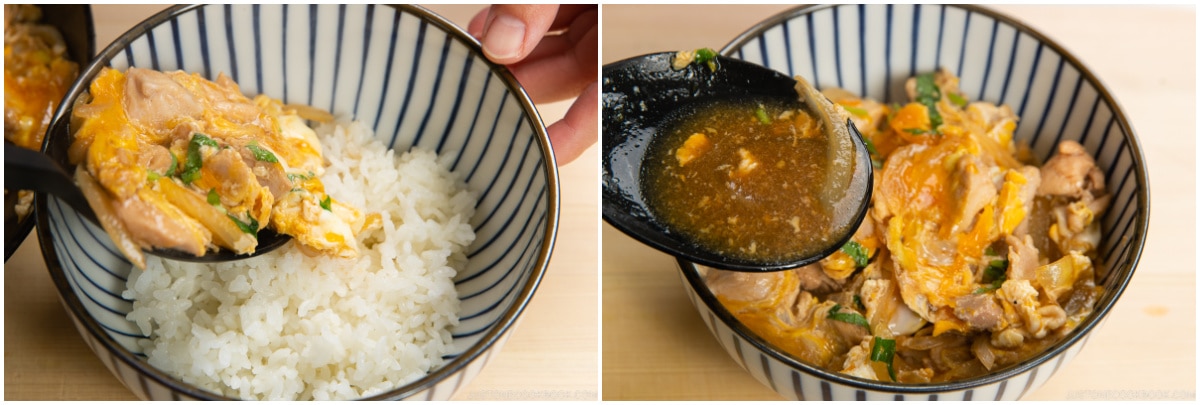
Step 18: Divide the 500 g warm cooked rice between two bowls. Spoon the cooked chicken-and-egg mixture over it and drizzle on as much of the prepared pan sauce as desired.
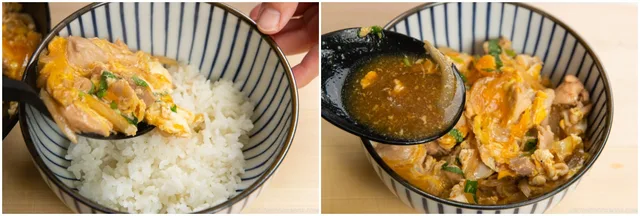
Step 19: Serve the Oyakodon with optional shichimi togarashi (Japanese seven spice) for a spicy kick and Japanese sansho pepper for a peppery fragrance on the side.
Photos (1)
Comments
0 threadsSign in to join the discussion.


No comments yet. Start the discussion.