
Chinese · Dinner
Chinese Hamburger, Rou Jia Mo 肉夹馍
From the zcook collection
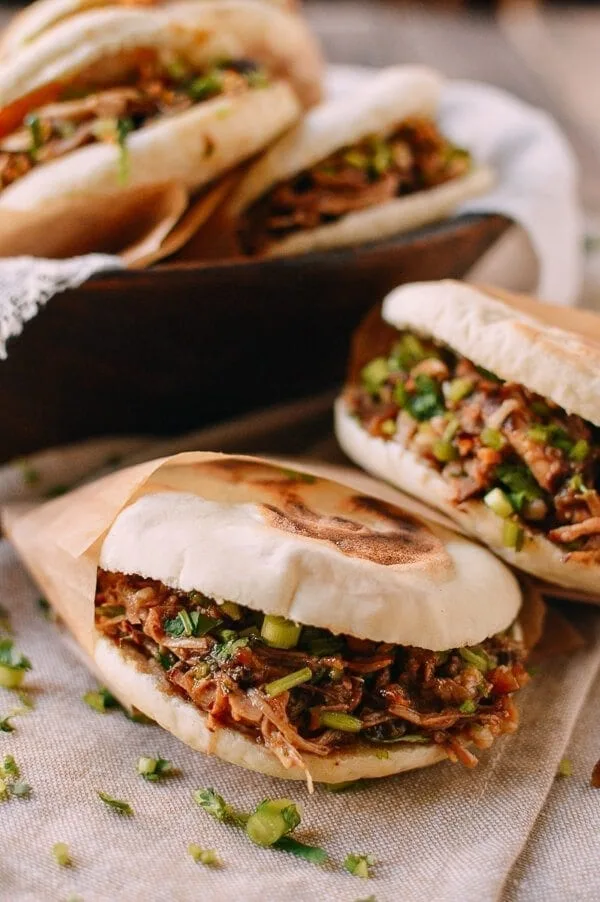
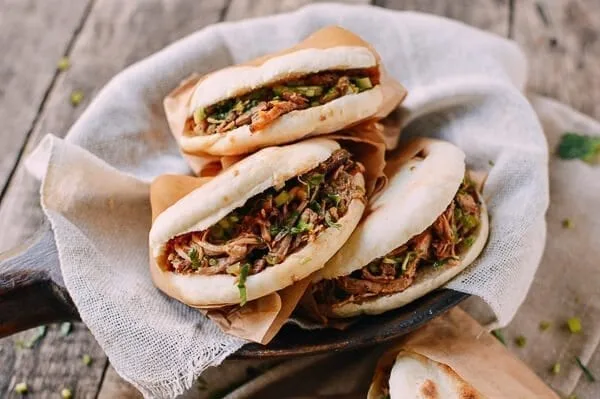
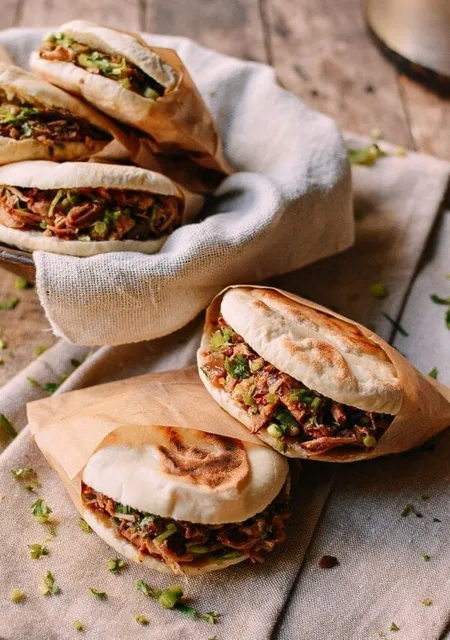
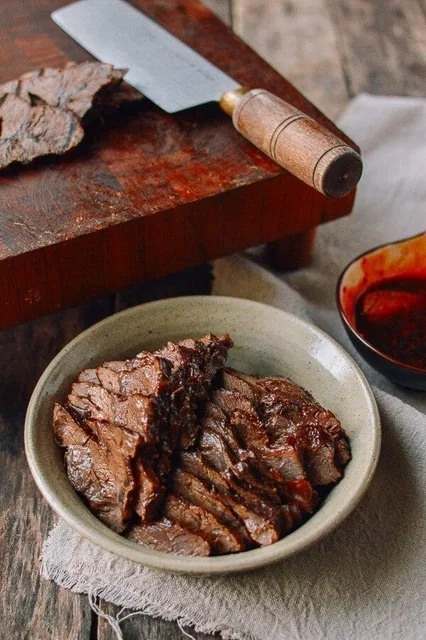
Spiced braised pork belly and fresh cilantro fill chewy homemade buns cooked in a dry pan.
- Dairy-free
- Chinese
- Main
- Sandwiches
- rou jia mo
- Main Dishes
- Pork
- Prep
- 2 hr
- Serves
- 12 pork-filled buns
- Level
- Medium
- Energy
- 549 kcal
Method12 steps
Step 1: Prepare the aromatics first: wash the scallions (4) and cut in half, slice the ginger (3 slices), and wash and chop the cilantro (1 cup); keep them separate. Finely chop the optional jalapeños for the filling. Keep the pork belly (2 lb) whole or cut into large 4–5-inch chunks. Put it in a medium pot with separate water just to cover. Bring to a boil; when the outside turns opaque, turn off the heat and lift out the pork. Rinse the blanched pork gently with fresh water, drain, discard the blanching water and clean the pot. Continue directly to the braise.
Step 2: Return the blanched pork from step 1 to the clean pot. Add the separate 3 cups braising water, Shaoxing wine (¼ cup), rock sugar (12 g), light and dark soy sauces (1 tablespoon), prepared scallions and ginger, star anise (2), cinnamon, black cardamom, galangal (2 pieces), Sichuan peppercorns (1 teaspoon) and bay leaves (3). Bring to a boil, then immediately reduce to a gentle low simmer for 90 minutes to 2 hours, checking from 90 minutes. The pork should be fork-tender, with the fork pulling out easily, but still hold its texture. Keep the heat low so the sauce does not dry out. Season the cooked braise with salt to taste.
Step 3: While the pork simmers, mix the flour (525 g), active dry yeast (2 teaspoons) and the separate ¾ teaspoon dough salt. Gradually add warm water, starting with 1 cup and adding only what is needed from the remaining ¼ cup, to form a soft, smooth dough ball. Knead for another 10 minutes after the dough forms, by hand or with a dough hook, until smooth and easy to handle.
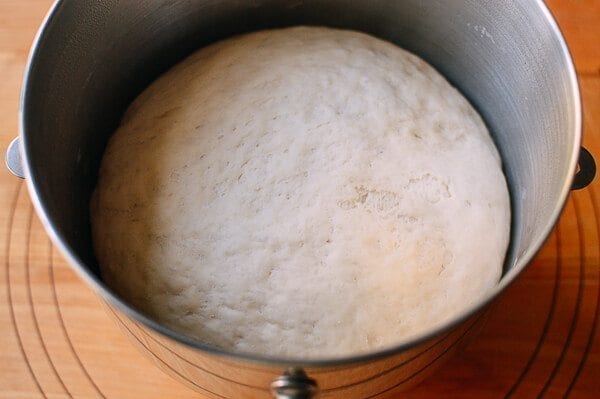
Step 4: Cover the kneaded dough from step 3 and proof at room temperature for about 1 hour, until doubled in size. Continue watching the pork simmer independently.
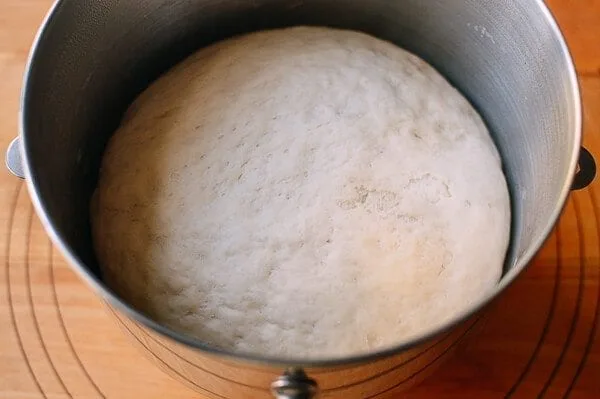
Step 5: Knead the risen dough from step 4 for about 5 minutes to remove air bubbles. Divide into twelve equal pieces and keep covered with a kitchen towel while shaping.
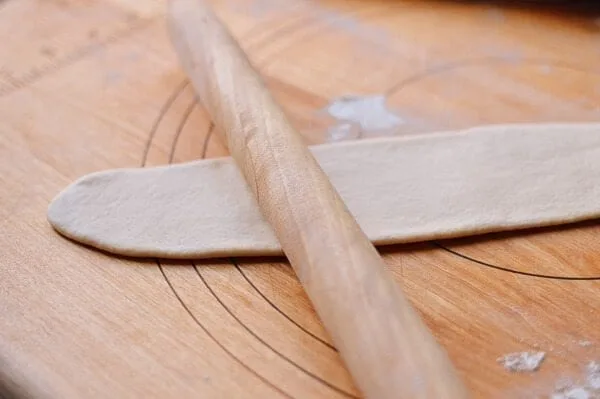
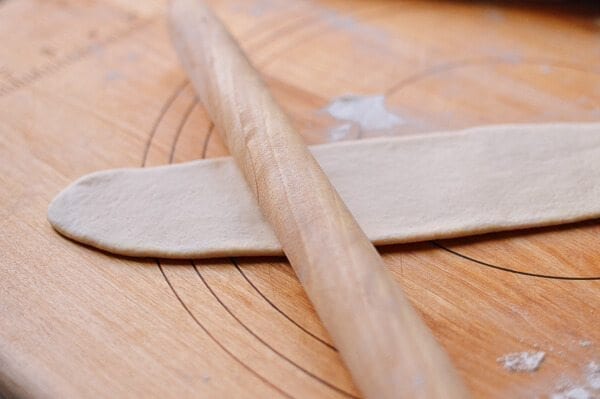
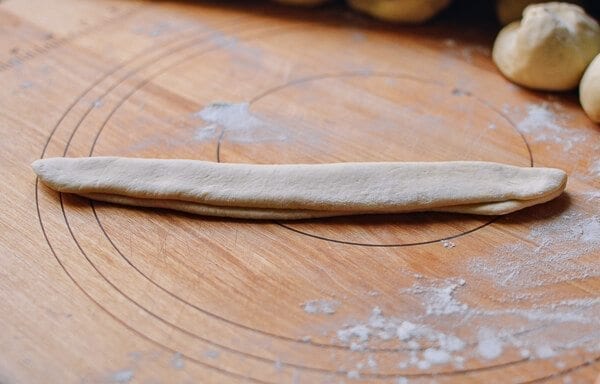
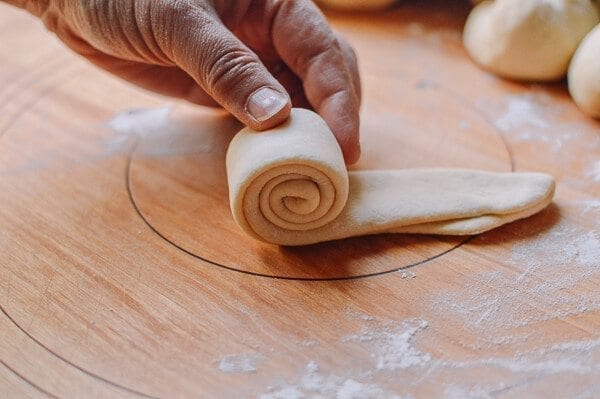
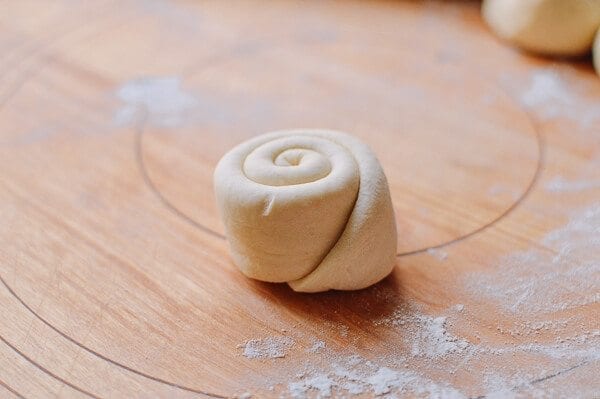
Step 6: Shape each dough piece from step 5 into a cigar. Roll it into a longer, narrower strip and fold in half lengthwise. Roll the folded strip into a coil, tuck the loose end underneath and turn it so the spiral faces upward. Press with your palm, then roll into a disc about 4 inches across. Repeat for all twelve pieces.
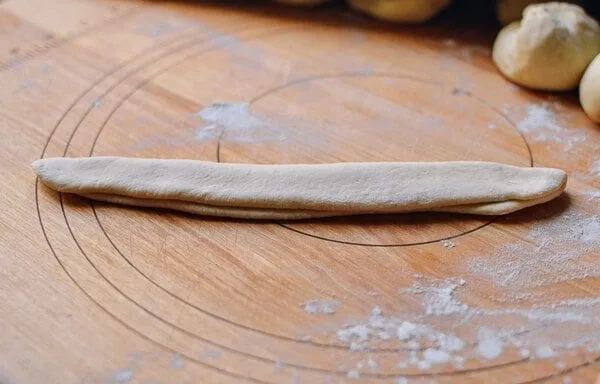
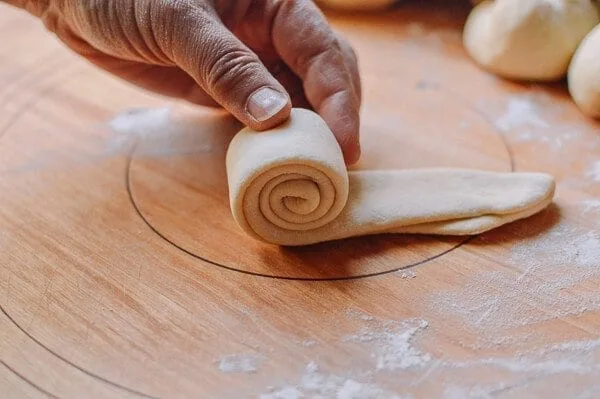
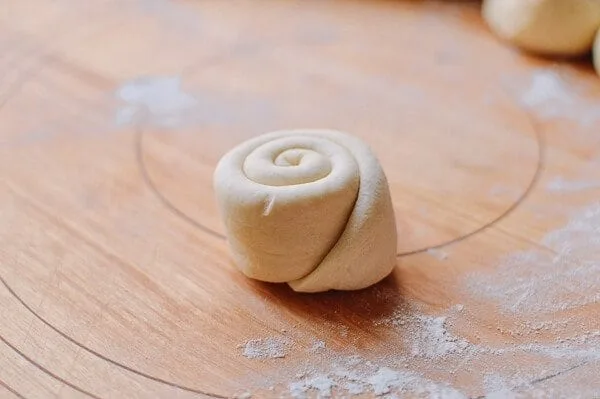
Step 7: Cover all twelve shaped discs from step 6 with a dry kitchen towel and rest for 20 minutes before pan cooking.
Step 8: Preheat a flat-bottomed pan or cast-iron skillet over medium heat without oil. Place the first batch of rested discs from step 7 about 1 inch apart. Cover and cook their first face for 2 minutes, keeping the heat moderate so they do not burn.
Step 9: Turn the first batch of buns, cover again and cook its second face for 2 minutes over medium heat, reducing the heat if they are browning too quickly.
Step 10: Remove the lid and turn the first batch back onto its first face. Cook uncovered for about 1 minute, until golden brown.
Step 11: Turn the first batch again and cook its second face uncovered for about 1 minute. Continue gently if necessary until the buns are golden brown and cooked through in the centre; lift them from the pan.
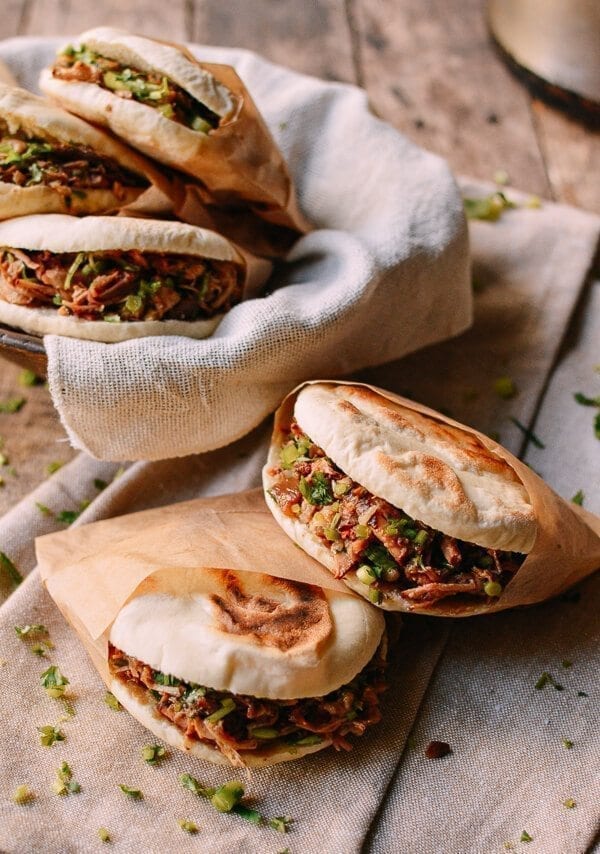
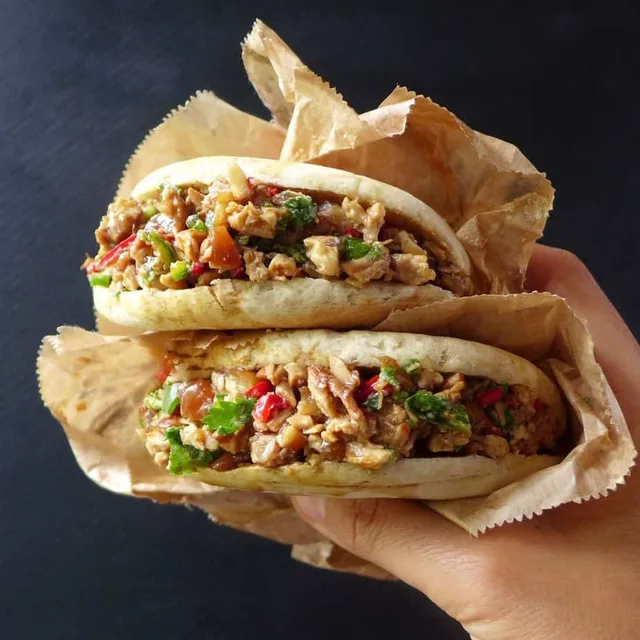
Step 12: Repeat steps 8–11 with the remaining rested discs, using the same 2-minute covered guide for each face and about 1 minute uncovered for each face, until all twelve buns are cooked through. Lift the tender pork from step 2, remove any whole spices and coarsely chop it. Mix with the prepared cilantro and optional jalapeños from step 1. Add only enough reserved braising sauce from step 2 for the filling consistency you like. Split the warm buns and share the pork filling among them. Serve hot; refrigerate any unused cooked pork or sauce promptly within 2 hours.
Photos (2)
Comments
0 threadsSign in to join the discussion.
No comments yet. Start the discussion.