

Japanese · Dessert
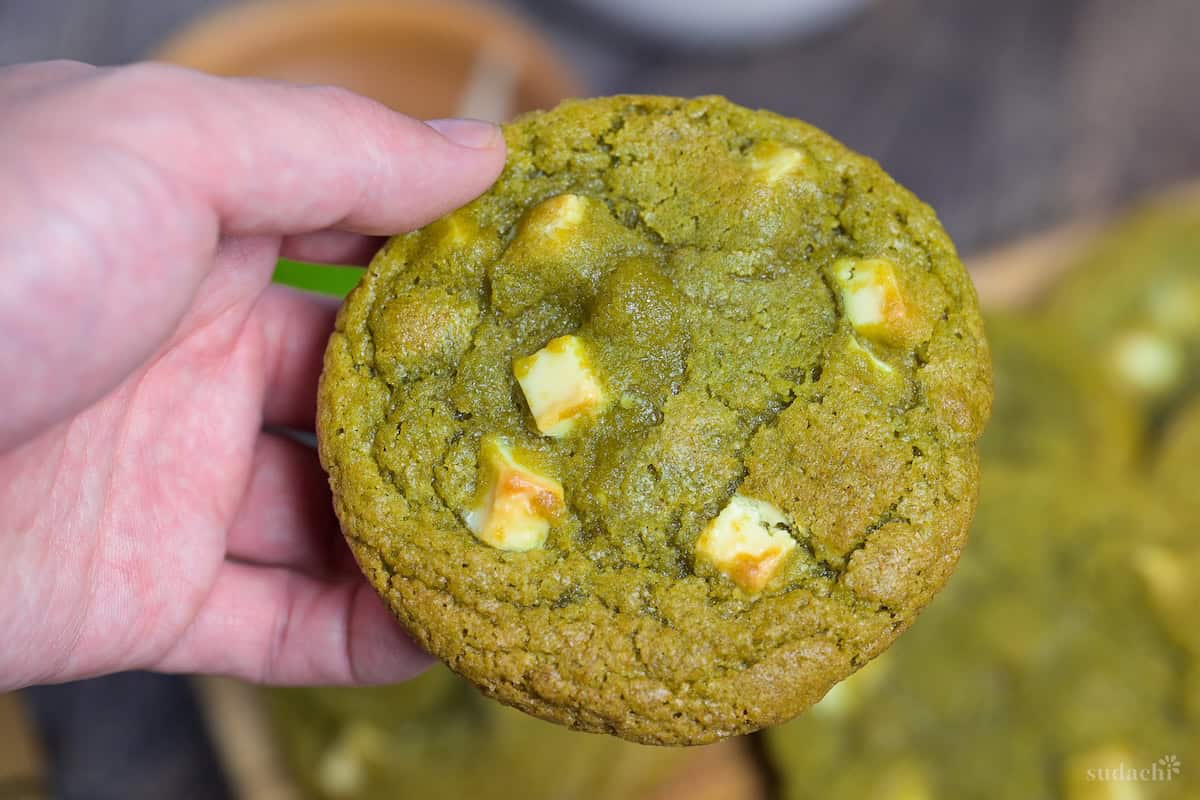
Matcha and White Chocolate Chip Cookies
From the zcook collection
Soft, chewy matcha cookies with white chocolate chunks, portioned from one batch and baked in spaced trays.
- Vegetarian
- Japanese
- Dessert
- Matcha
- Cookies
- White chocolate
- Prep
- 10 min
- Serves
- 1 batch of cookies, portioned at about 40 g dough each
- Level
- Easy
Method11 steps
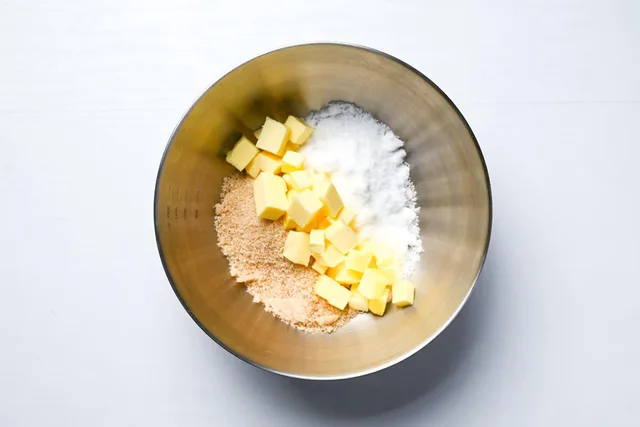
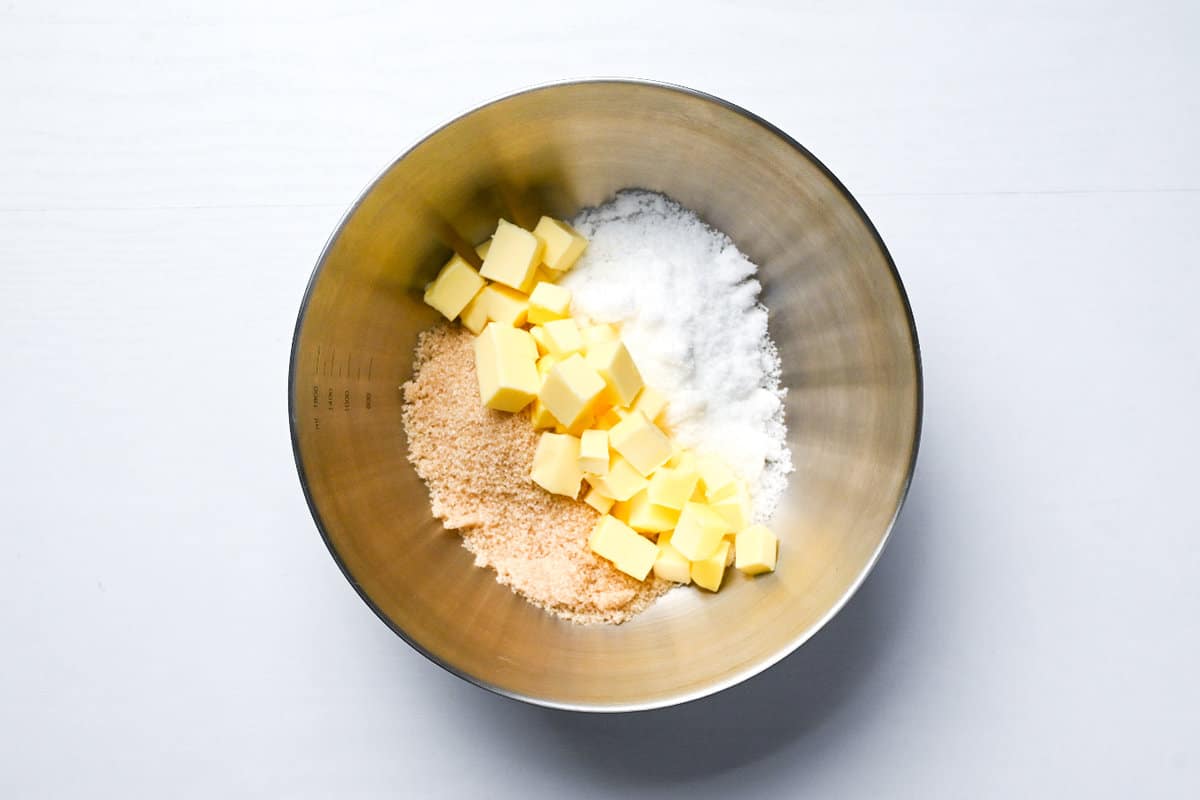
Step 1: In a large bowl, beat all 110 g softened unsalted butter with all 100 g white sugar and 100 g light brown sugar until smooth and creamy. The butter should be soft, not melted.
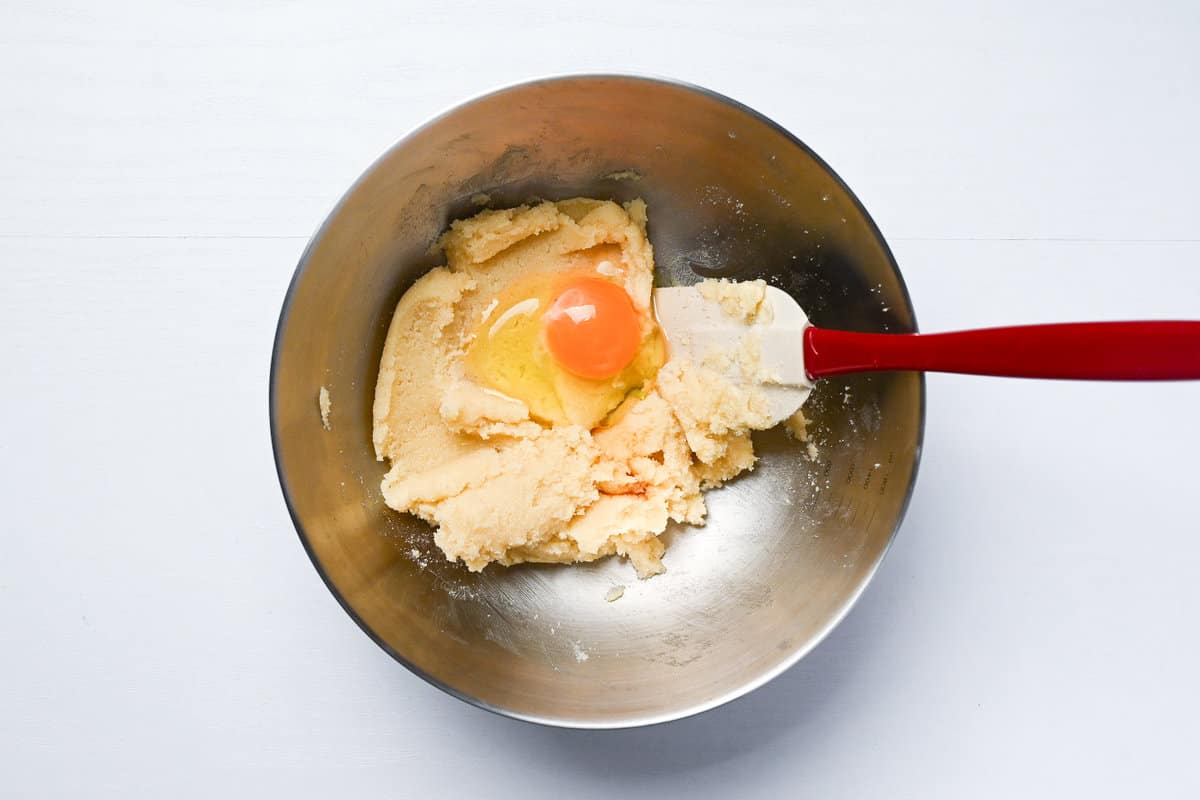
Step 2: Add the egg (1) and all ½ tsp vanilla essence to the creamed butter and sugars. Mix gently and thoroughly until combined, without whipping the egg into a foam.

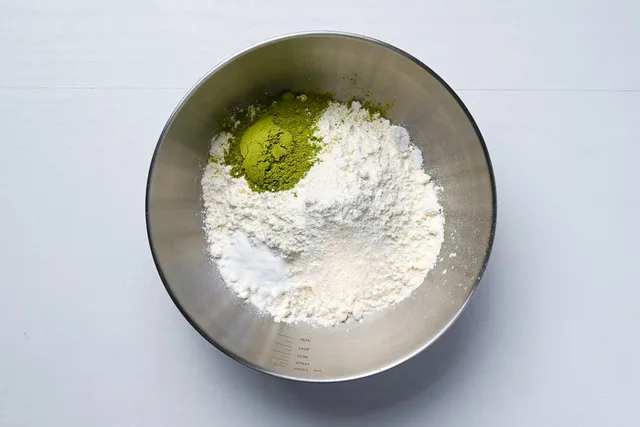
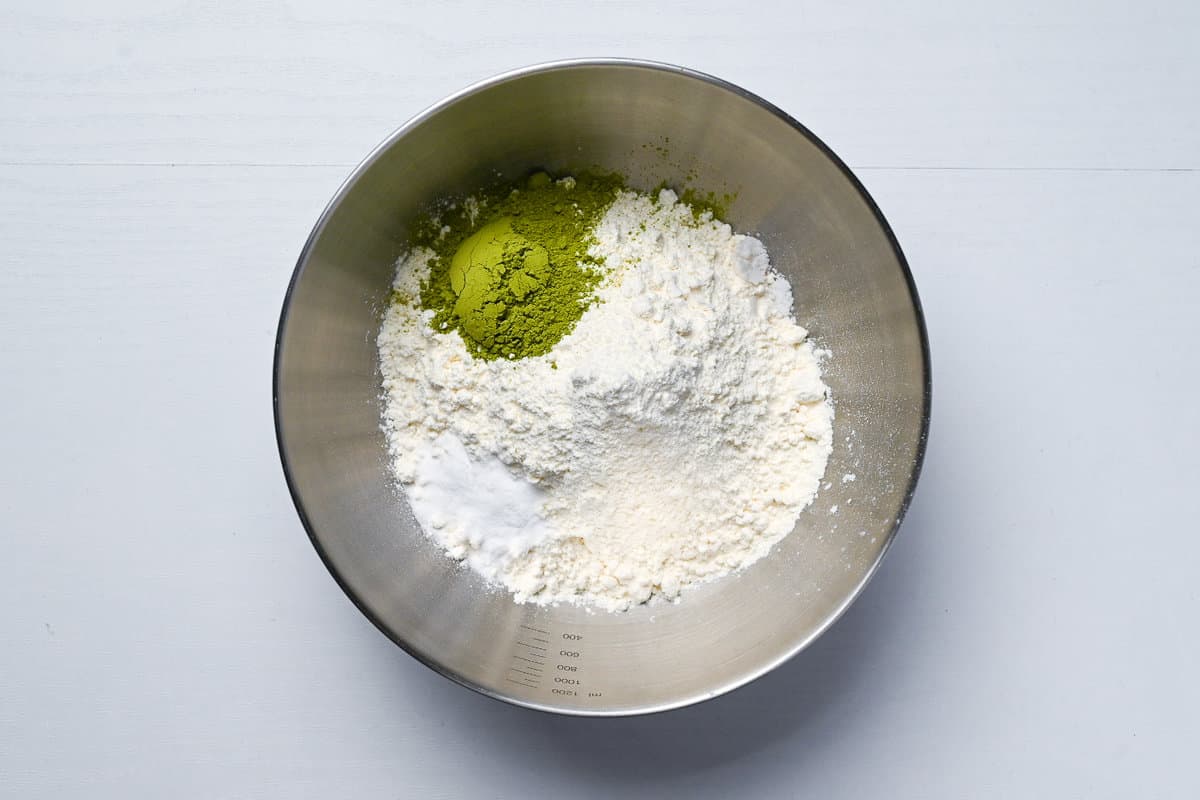
Step 3: In a separate bowl, combine all 180 g flour, 1 tsp baking soda and ¼ tsp salt. Sift in all 1 tbsp matcha and whisk until the dry mixture is evenly green.
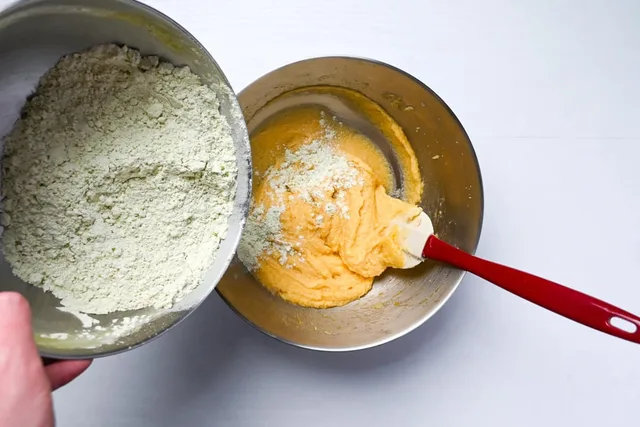
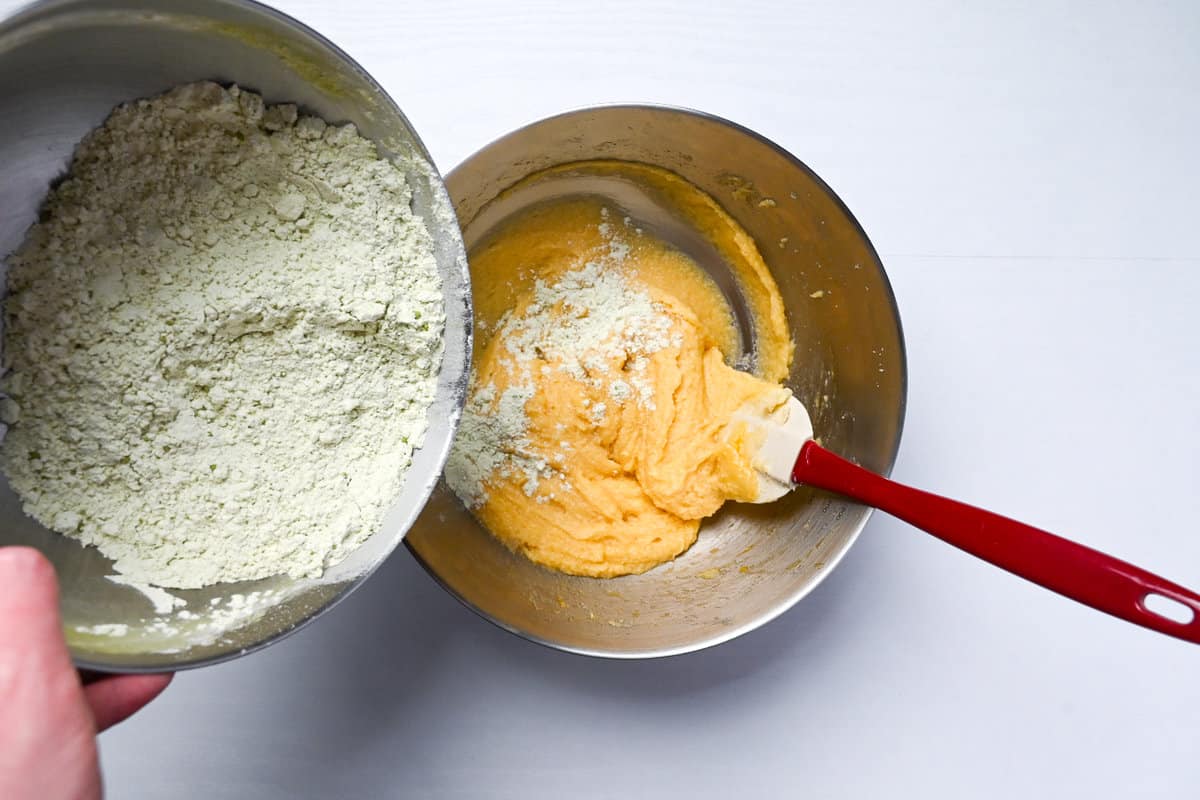
Step 4: Add all the prepared matcha dry mixture to the wet butter, sugar and egg mixture. Mix until a cohesive cookie dough forms.
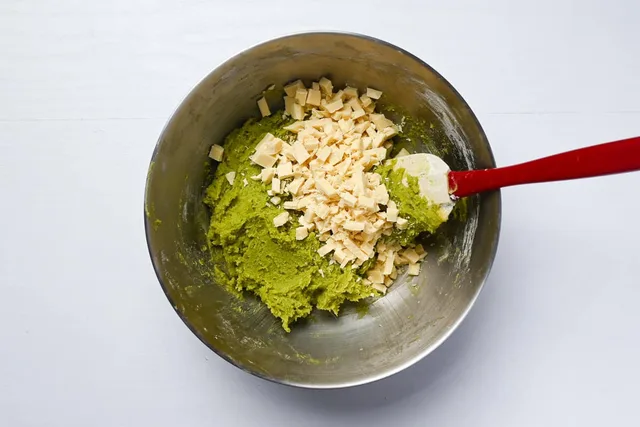
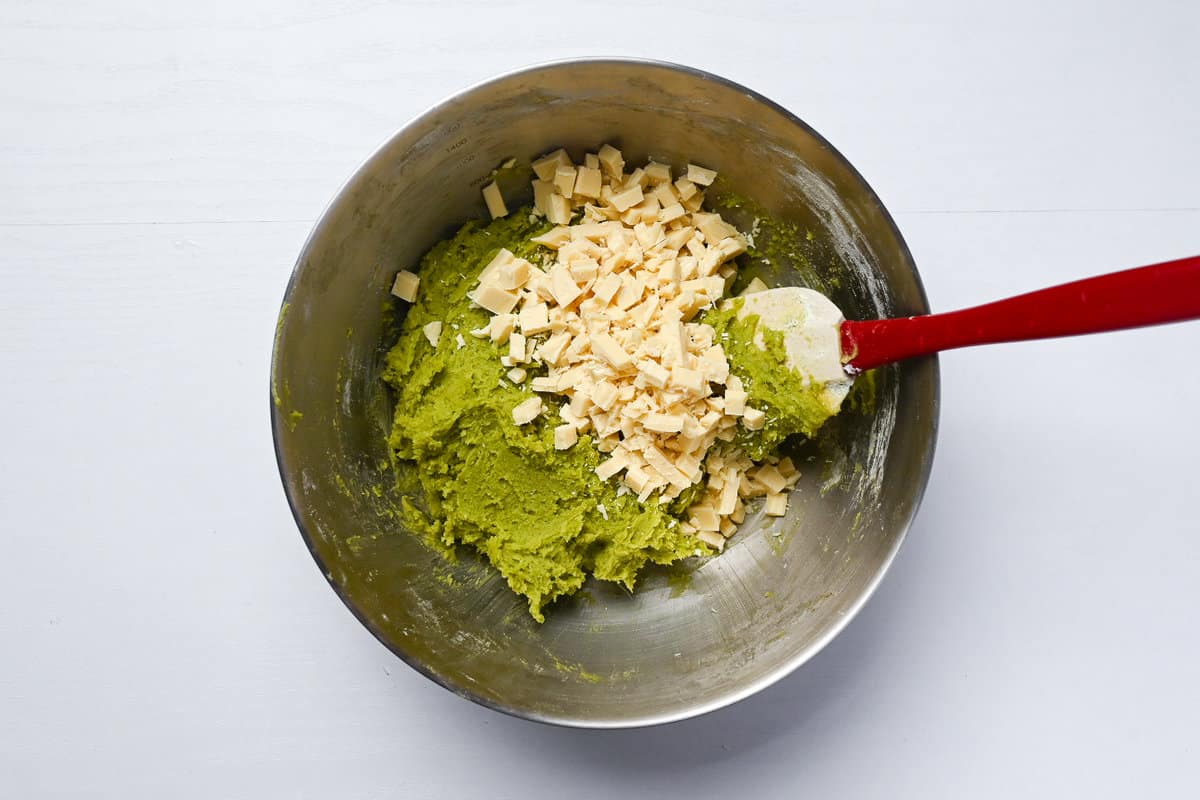
Step 5: Roughly chop all 150 g white chocolate and mix it evenly into the prepared matcha cookie dough.
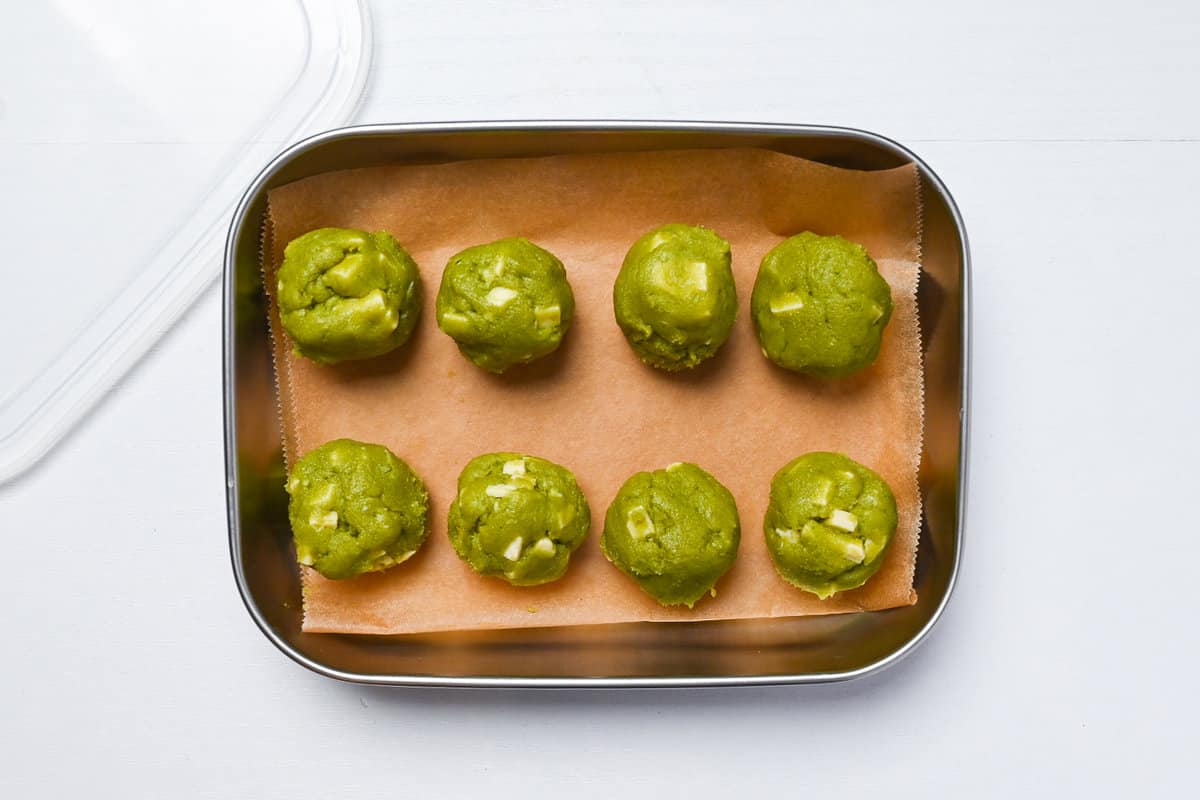
Step 6: Line a sealable container with baking paper. Portion all the prepared dough into balls of about 40 g each (roughly 2 tbsp), place them in a single layer and cover. Refrigerate the container while preheating the oven to 170°C / 338°F. Keep unused balls refrigerated between batches.
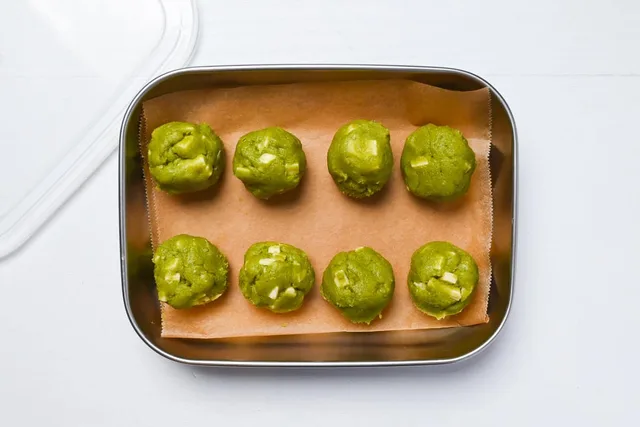
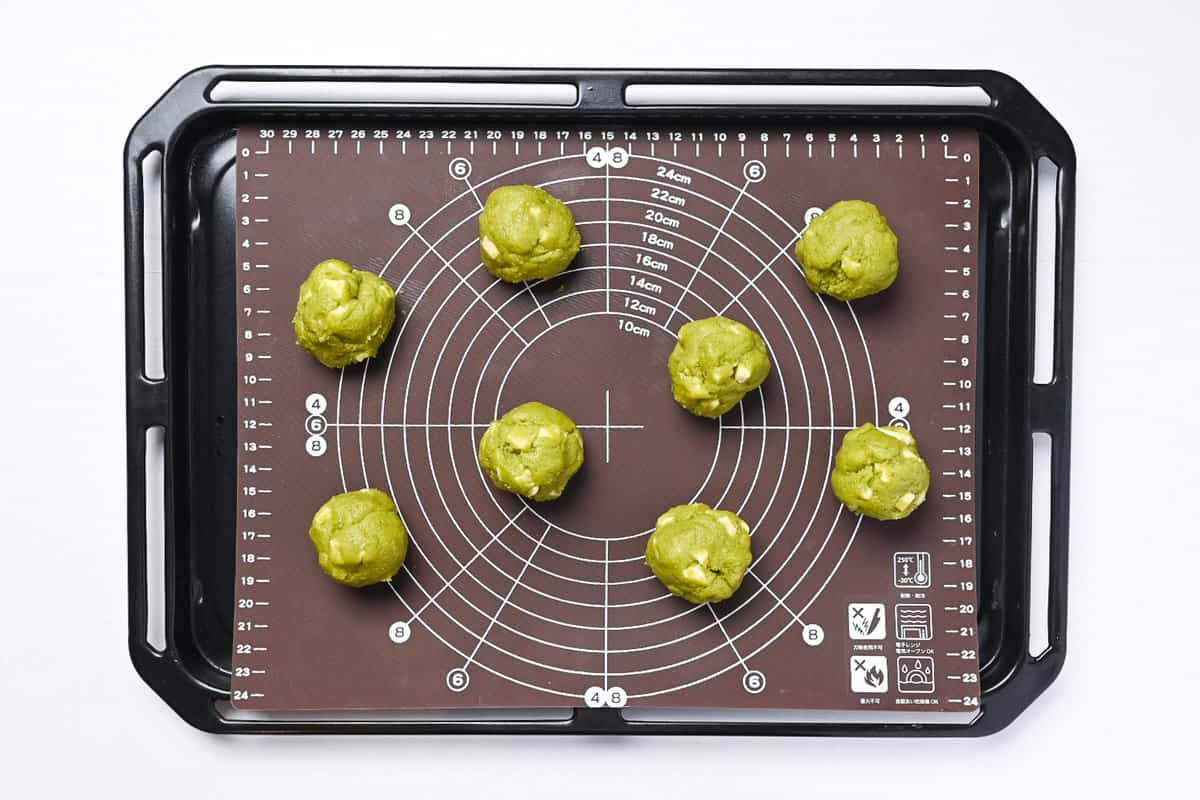
Step 7: When the oven has fully reached 170°C / 338°F, line a cool baking sheet with baking paper or a silicone mat. Transfer only the refrigerated dough balls that fit with generous space between them; they will spread. Keep any remaining dough balls in the refrigerator.
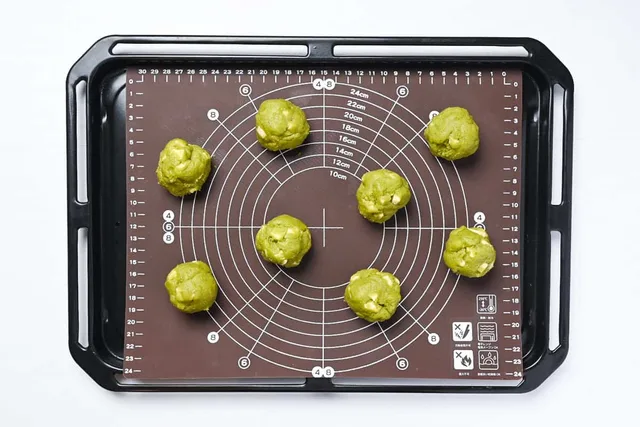
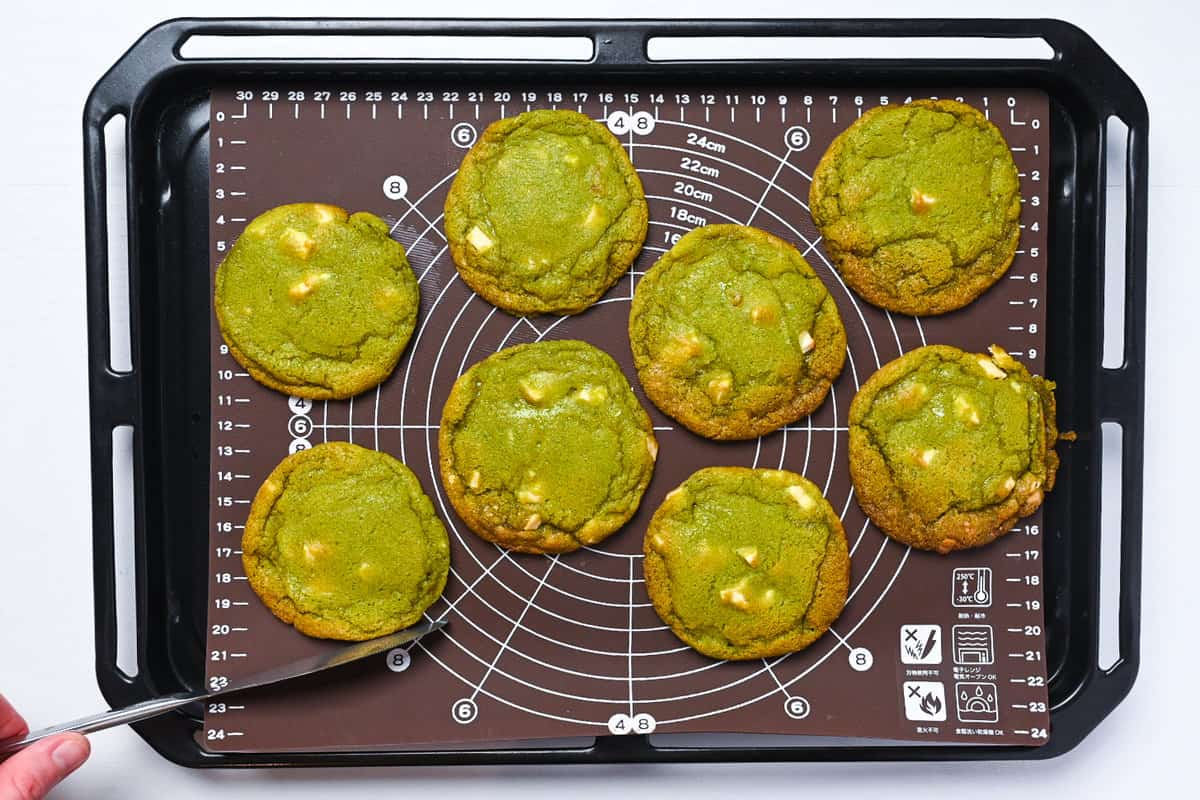
Step 8: Bake this tray on the middle shelf for about 10 minutes. Check for lightly golden edges and soft, just-set centres rather than wet raw dough. Remove the tray when ready; keep the cookies soft and avoid overbaking.

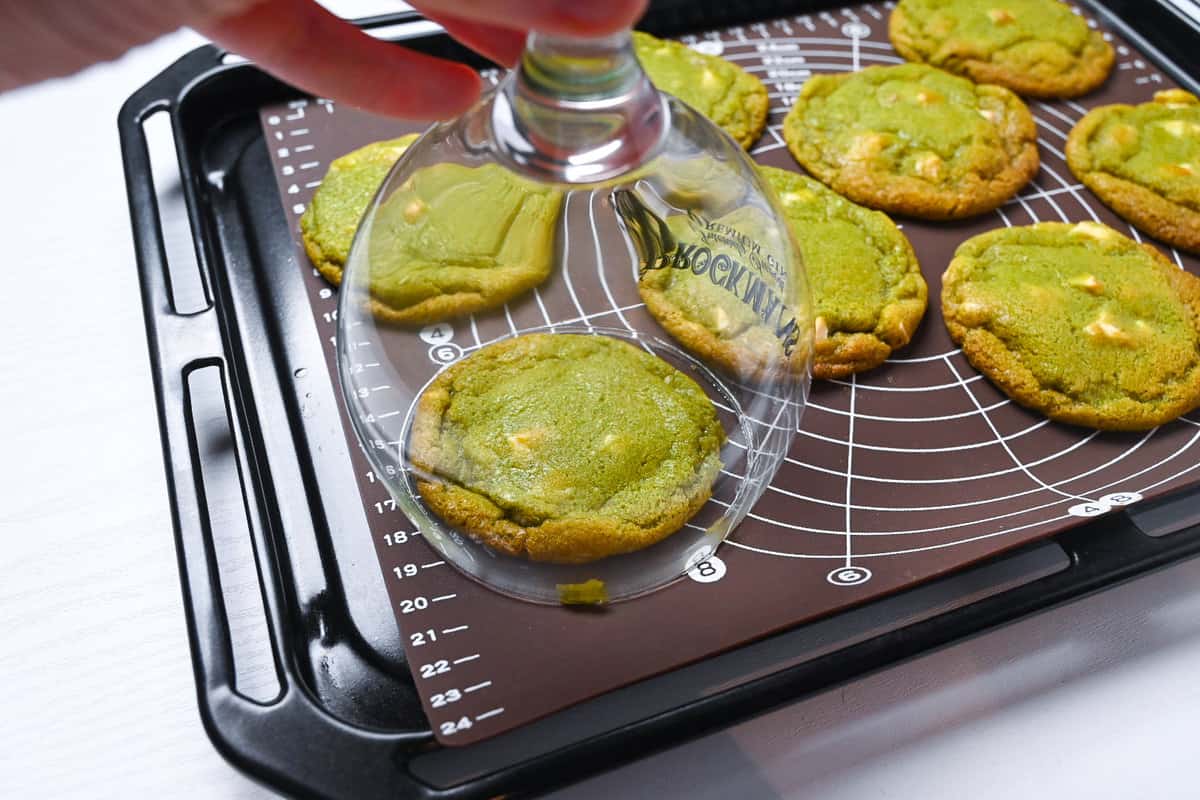
Step 9: While the baked cookies are still hot, place a glass or round cutter wider than a cookie over it and gently circle it to neaten the edges. Repeat for each cookie on this tray.
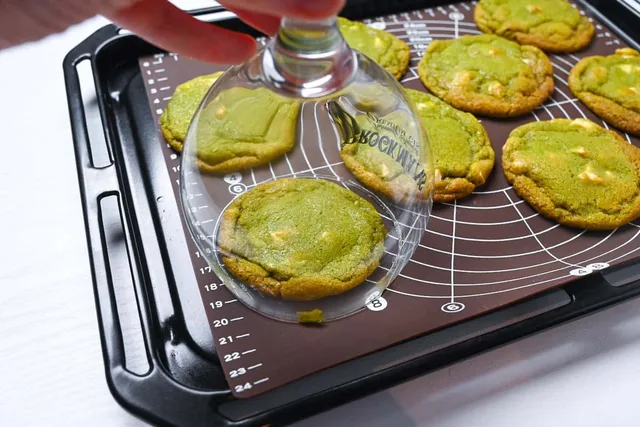
Step 10: Leave the shaped cookies on their baking paper to cool for 20–30 minutes before lifting them. Check from 20 minutes and wait until they are firm enough to move. If the tray is needed for another batch, carefully slide the paper and cookies together onto a board so the fragile cookies stay supported.

Step 11: Repeat the tray, baking, shaping and cooling stages with any remaining refrigerated dough balls, using a cool tray for each batch. Enjoy the cooled cookies. Once fully cool, store airtight for 3–4 days at room temperature, up to 1 week refrigerated, or up to 2 months frozen.
Photos (1)
Comments
0 threadsSign in to join the discussion.


No comments yet. Start the discussion.