
Japanese · Dinner
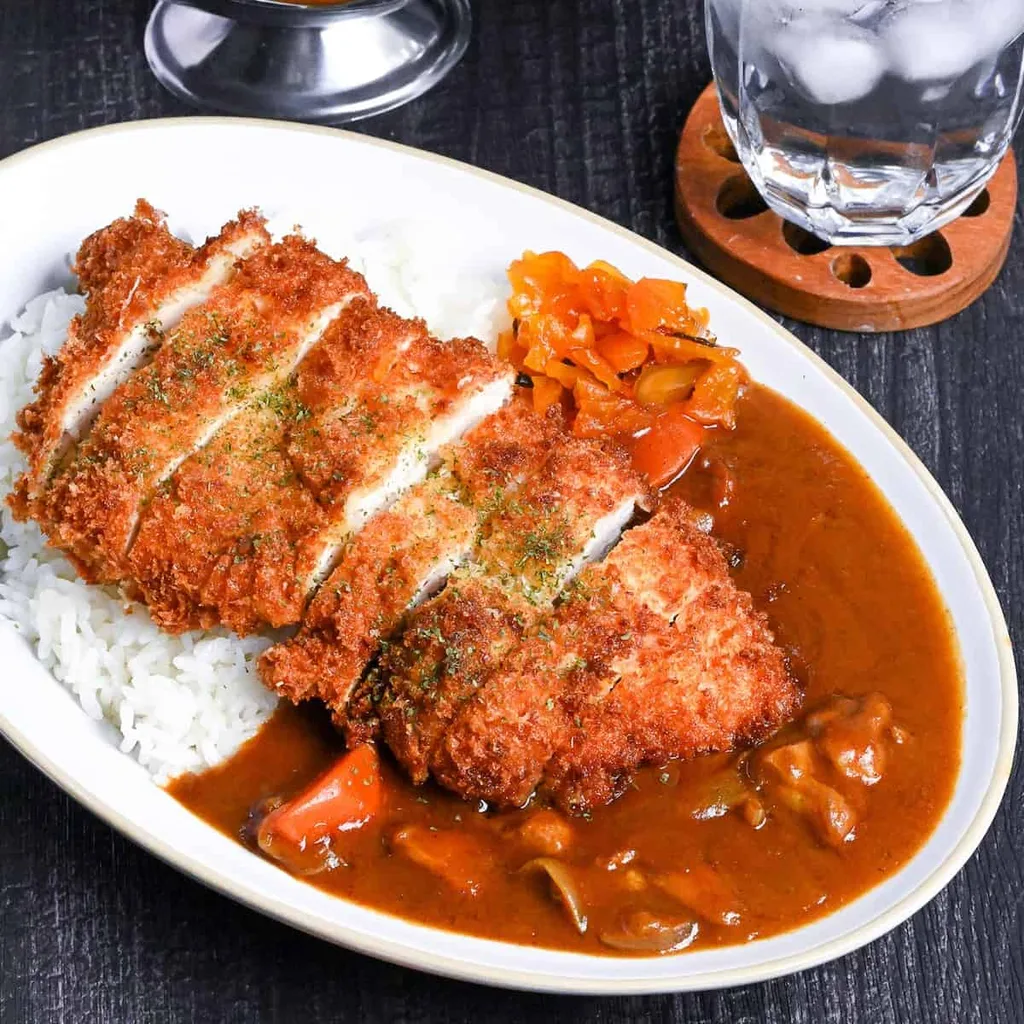
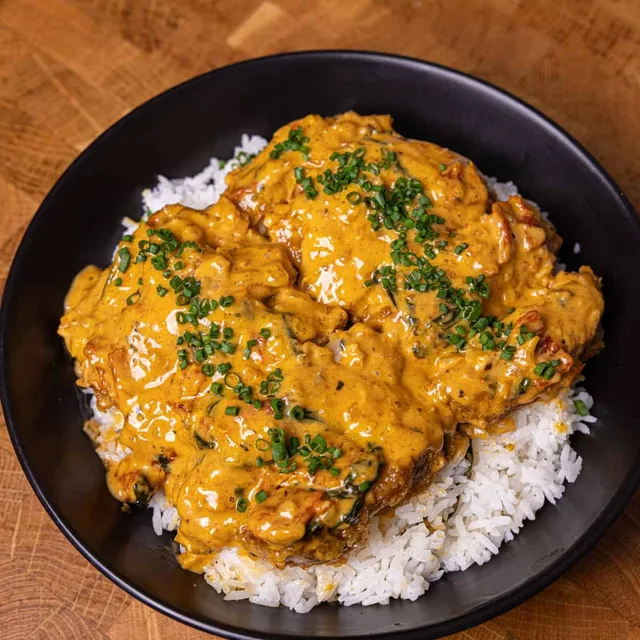
Japanese Chicken Katsu Curry and Rice
From the zcook collection
Crisp Parmesan-panko chicken cutlets served with ready cooked Japanese rice and a chicken-and-vegetable curry. This route starts with ready homemade Japanese curry roux and ready tsuyu; their preparation is separate.
- Japanese
- Chicken Katsu Curry
- Chicken
- Curry
- Rice
- Prep
- 20 min
- Cook
- 40 min
- Serves
- 4 plates; 4 cutlets from 2 large chicken breasts
- Level
- Medium
Method23 steps
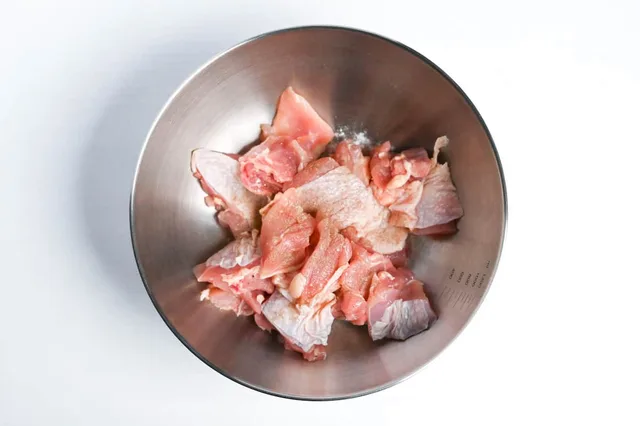
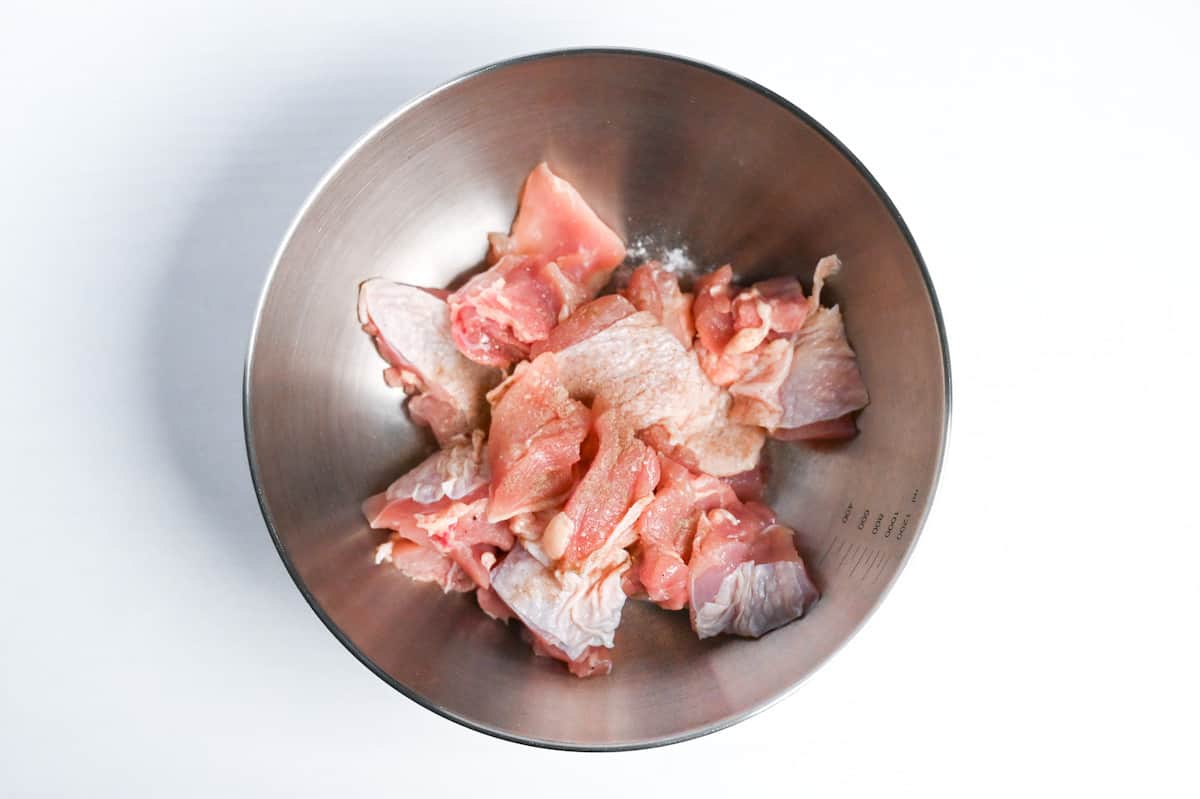
Step 1: Cut the 300 g boneless chicken thigh into bite-size pieces and season with the 1 pinch salt and pepper for curry chicken. Keep the separate cutlet seasoning for step 9.
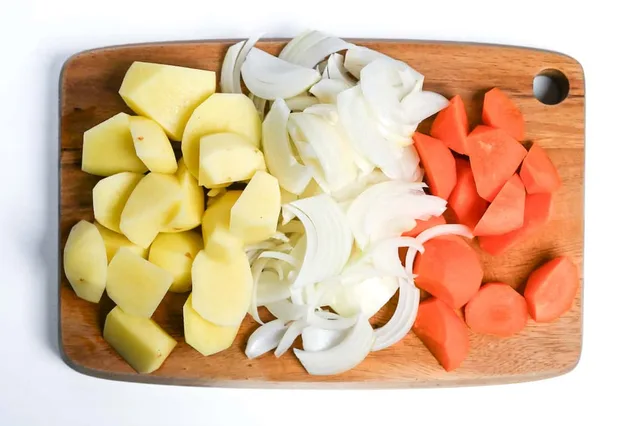
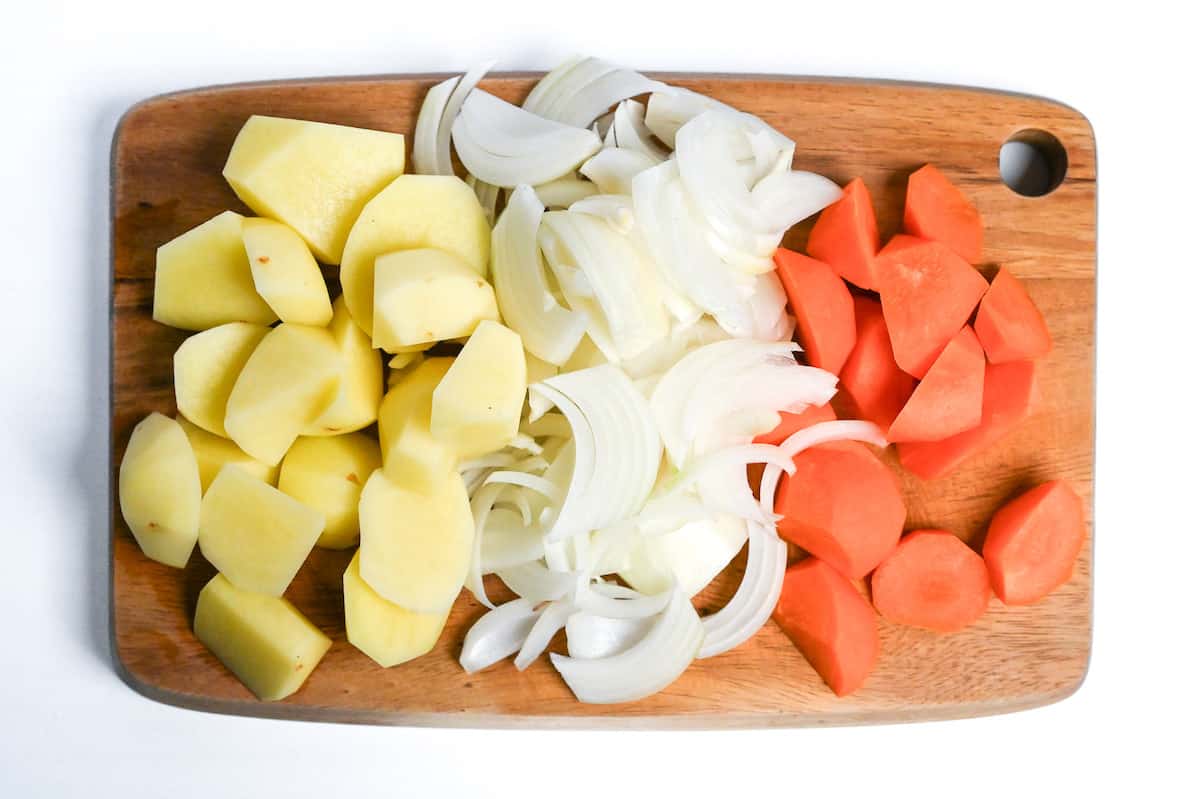
Step 2: Thinly slice the onion (1). Peel the 2 potatoes and carrot and cut into similar bite-size chunks. Keep the sliced onion and potato-and-carrot chunks separate.
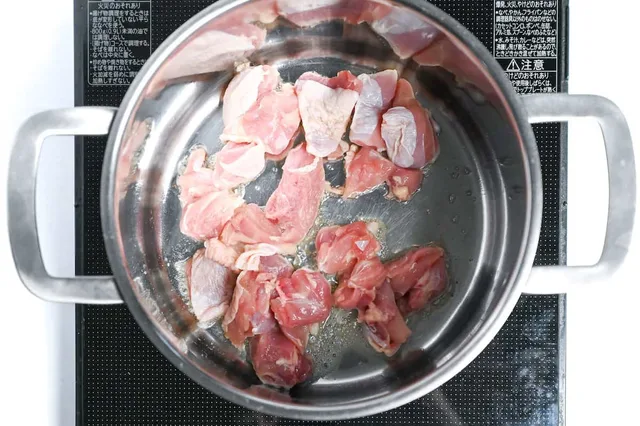
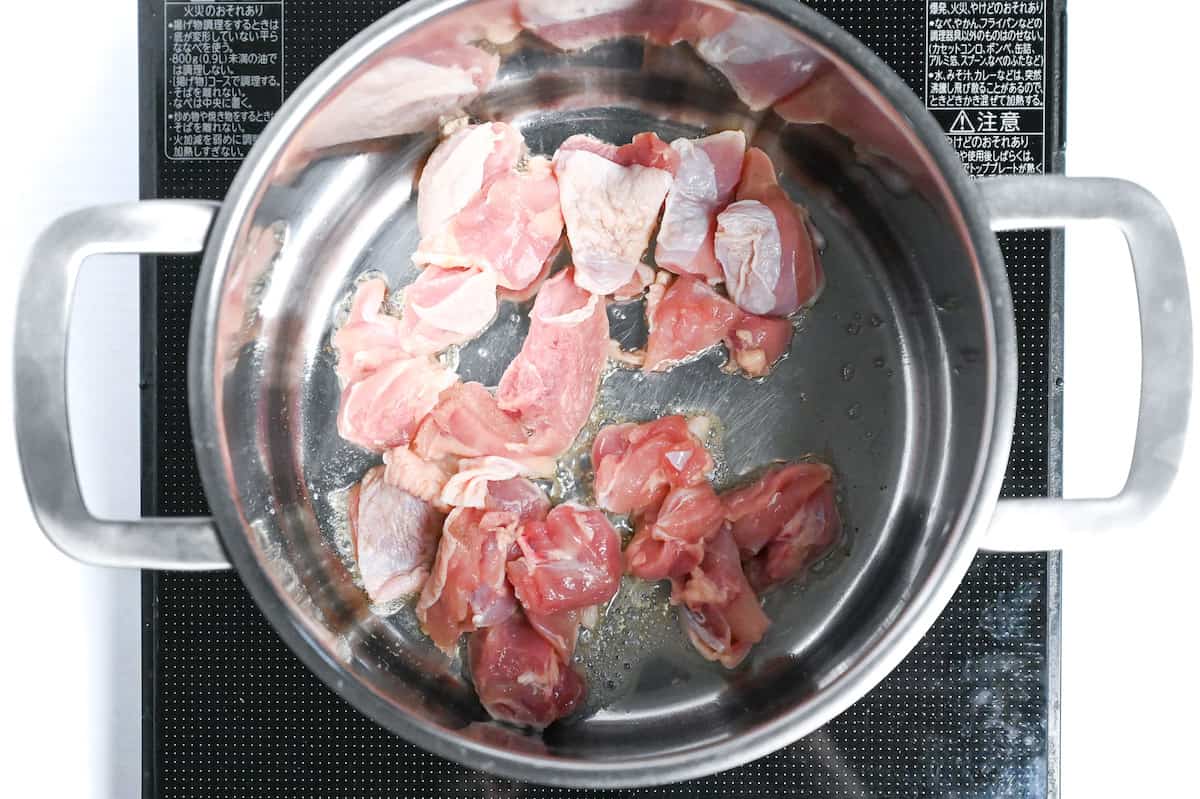
Step 3: Melt the 1 tbsp butter in a large pot over medium heat. Add all the seasoned curry chicken from step 1 and fry until its surfaces are browned; it will finish cooking in the curry.
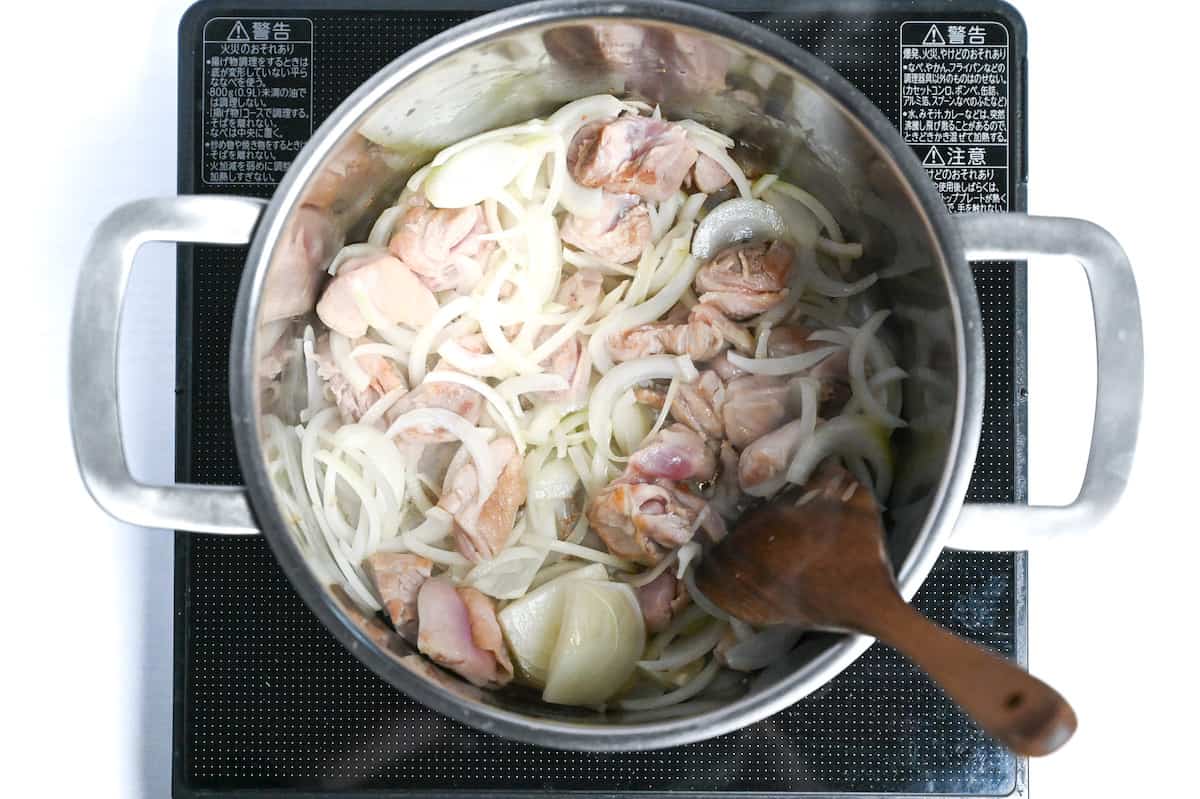
Step 4: Add the sliced onion from step 2 to the chicken-and-butter pot from step 3. Cook, stirring occasionally, until the onion slightly softens.
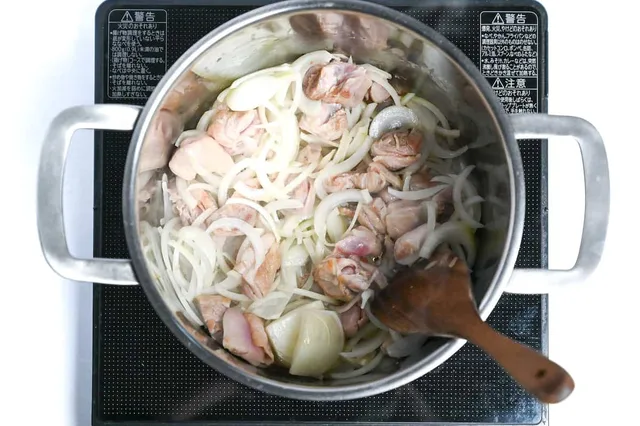
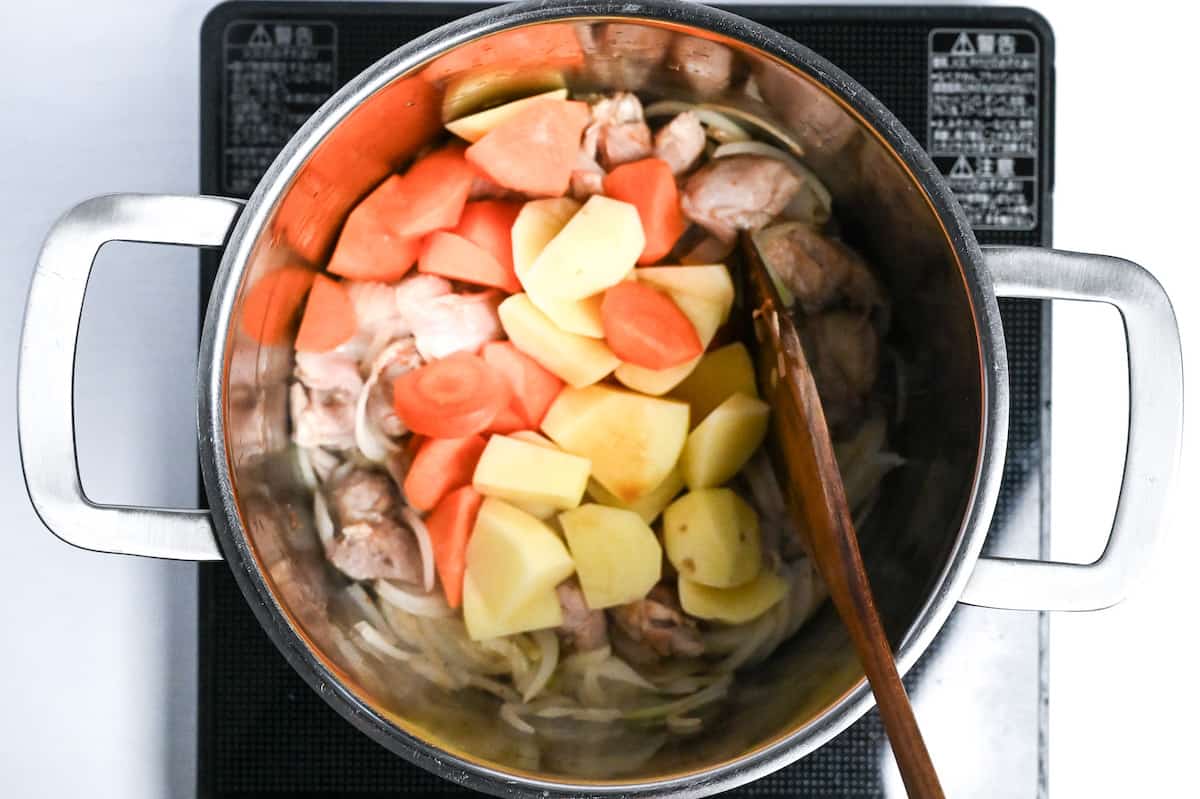
Step 5: Add the potato and carrot chunks reserved in step 2 and the 1 tbsp ready tsuyu sauce to the chicken-and-onion pot from step 4. Stir over the heat for about 1 minute.
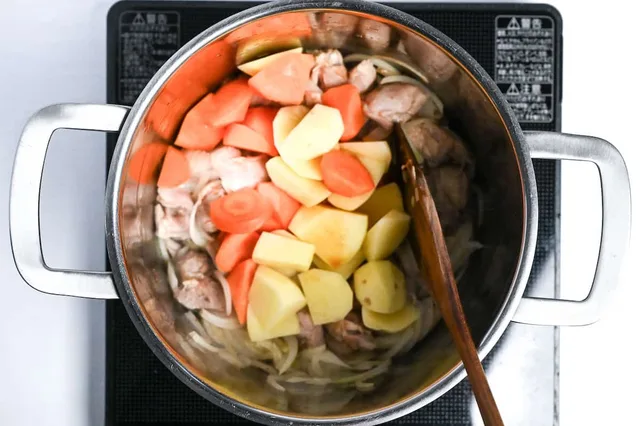
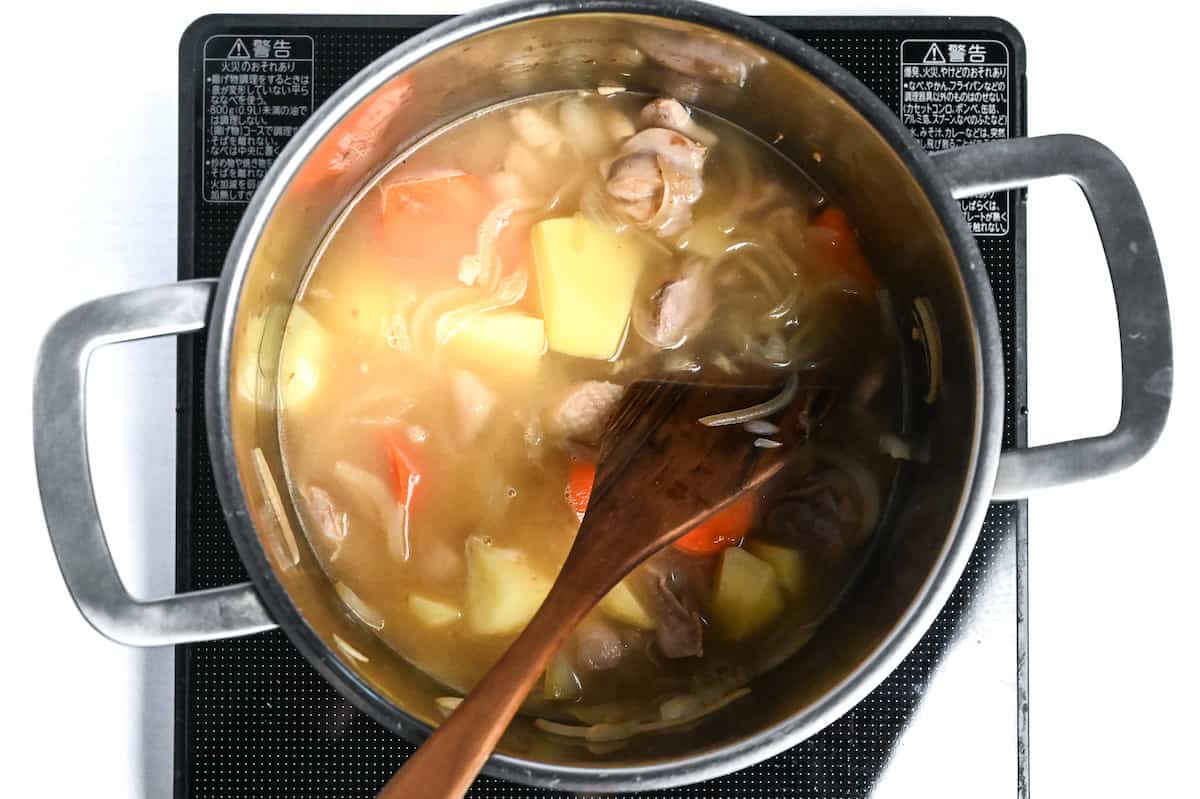
Step 6: Add the 600 ml curry water to the pot from step 5 and bring to a boil. This route uses ready homemade curry roux.
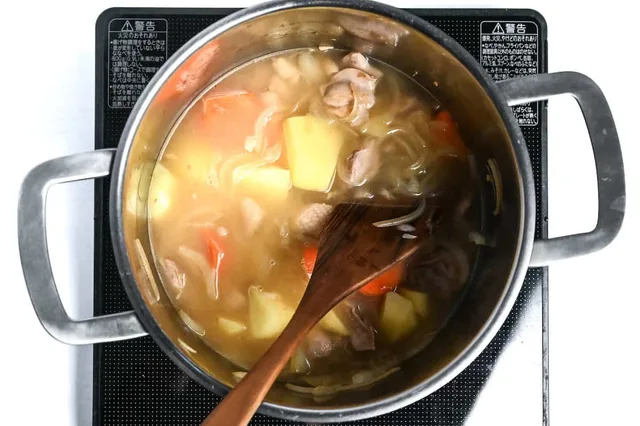
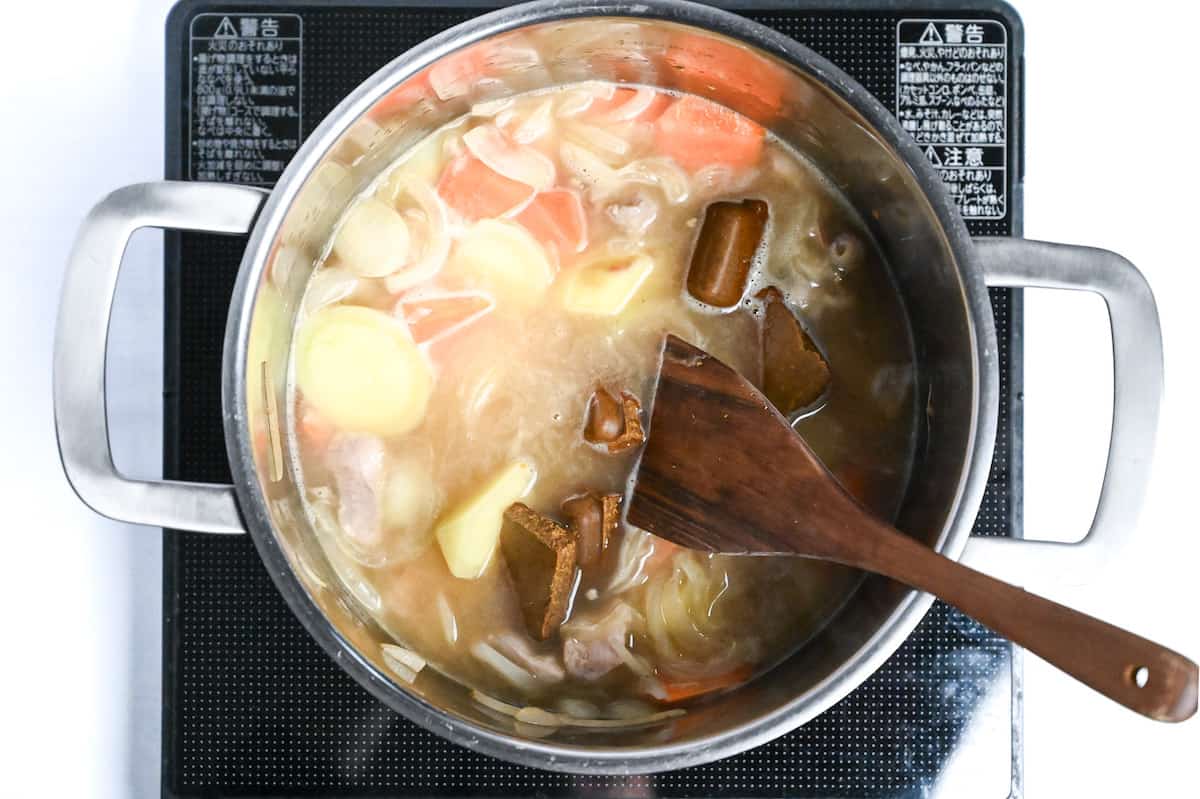
Step 7: Lower the boiling curry pot from step 6 to a simmer. Add the ready homemade Japanese curry roux for 4 source portions and stir until completely dissolved.
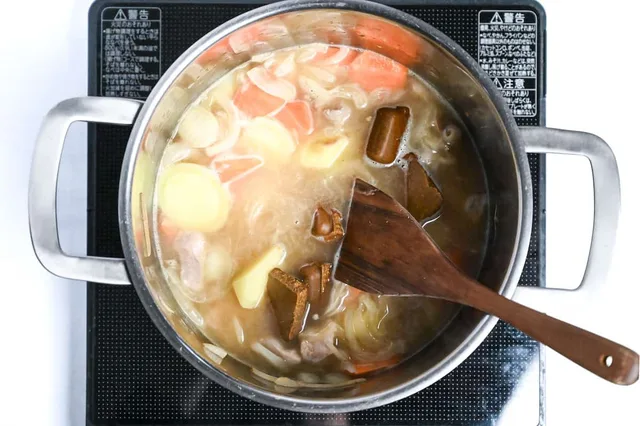
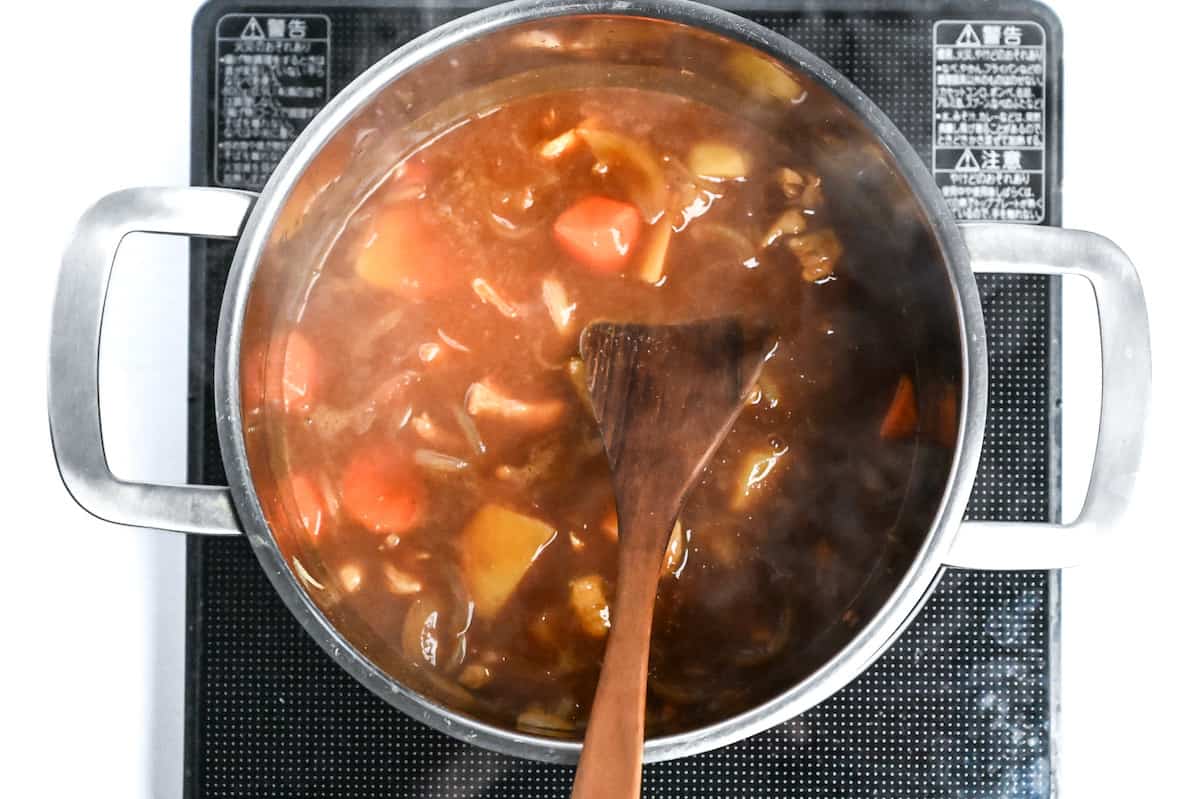
Step 8: Add the ½ tbsp honey, 1 tbsp sake, ½ tsp fenugreek powder and 1 tsp tomato ketchup to the curry from step 7, plus the optional pinch of chili powder (1 pinch). Simmer for about 10–20 minutes, checking from 10 minutes and stirring occasionally, until the potatoes and carrots are tender, the chicken reaches 74 °C in its center and the sauce has your preferred thickness. Continue cooking if needed; add a little extra water only if it becomes too thick. Keep the finished curry covered and hot while making the cutlets, stirring and reheating as needed.
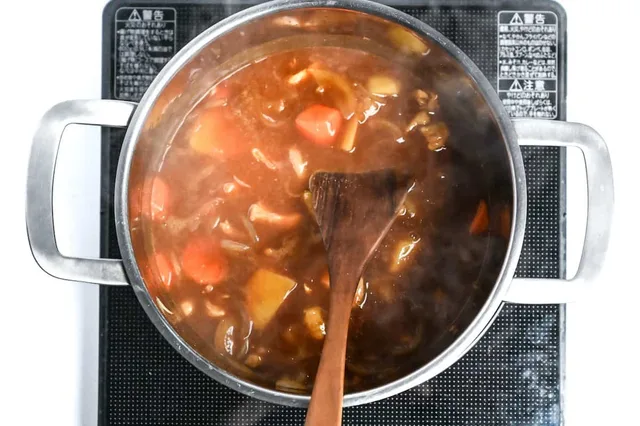
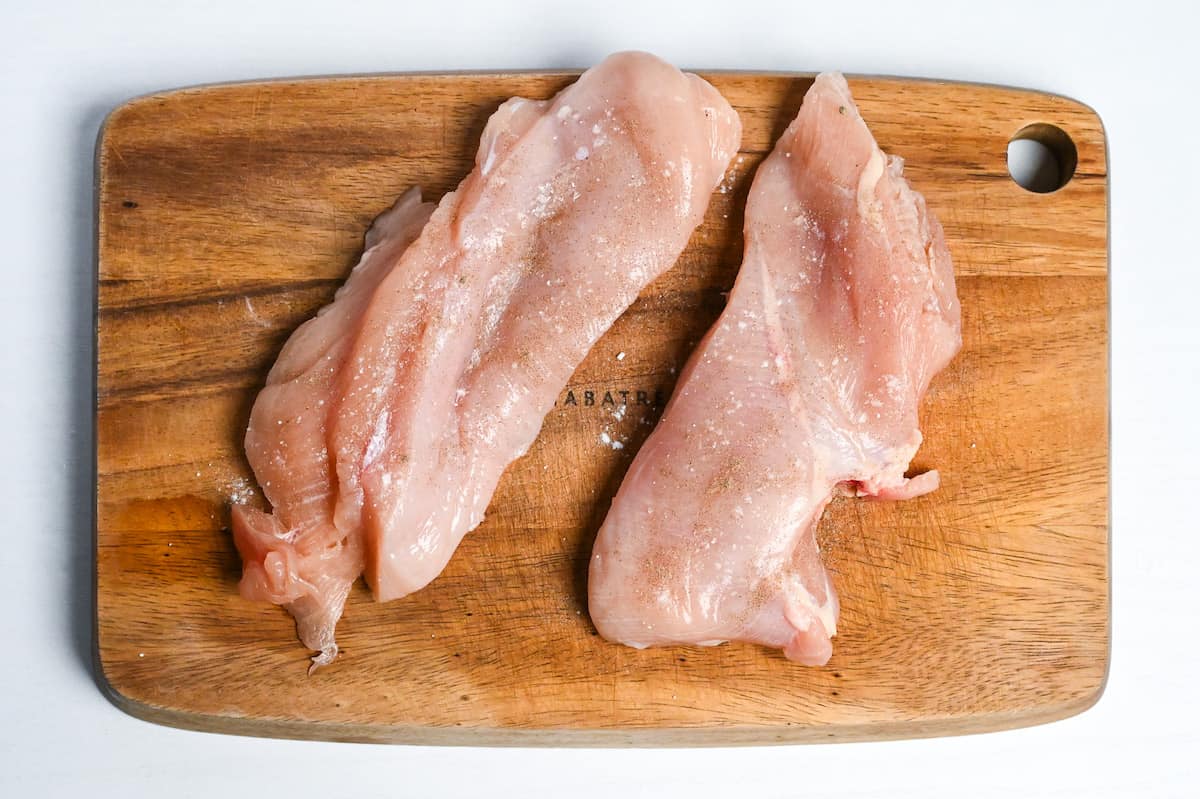
Step 9: Put enough neutral high-smoke-point oil for deep frying in a suitable fryer or pot, keeping it off the heat while breading. Cut each of the 2 large chicken breasts in half horizontally to make 4 cutlets. Season both sides with the separate 2 pinches salt and pepper for cutlets.
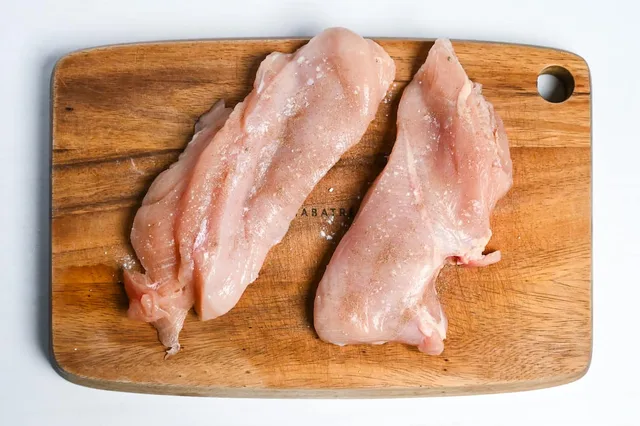
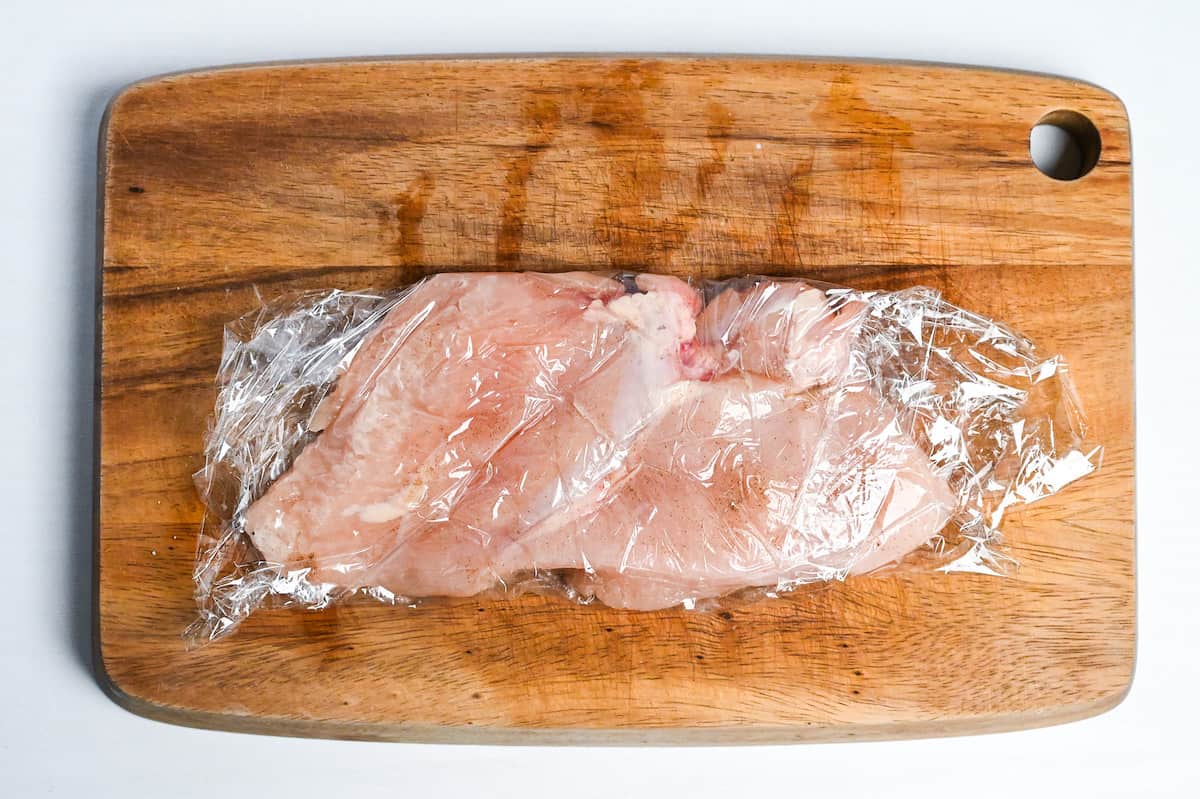
Step 10: Place the seasoned cutlets from step 9 between plastic wrap and pound evenly to about 1 cm thick. Set them aside while preparing the coating bowls.
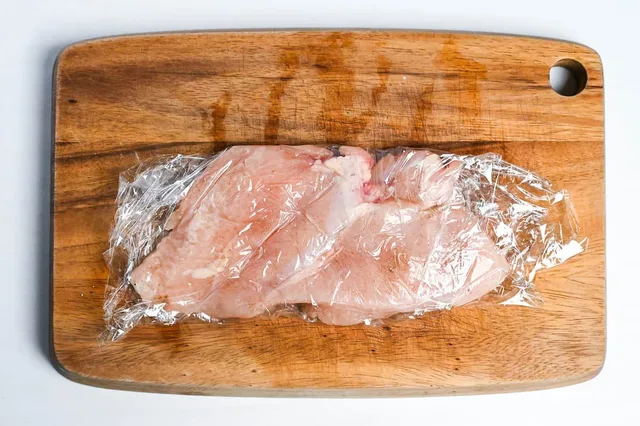
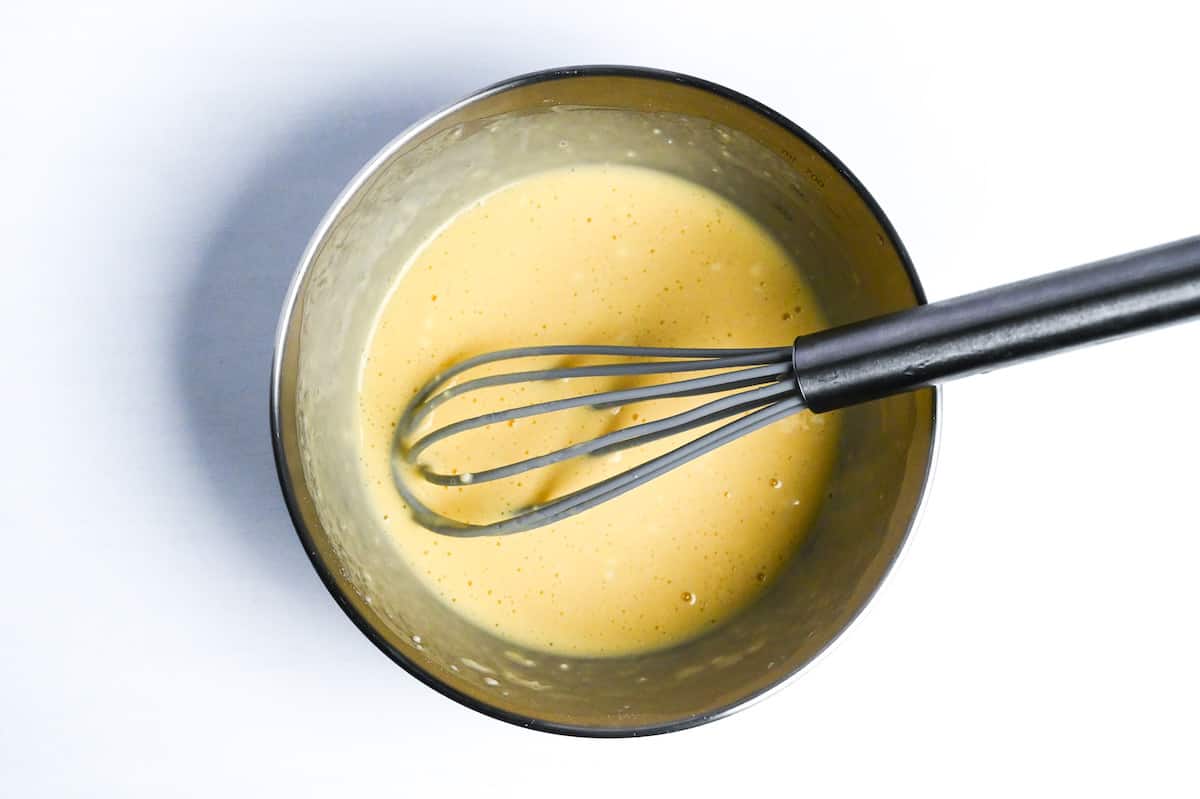
Step 11: Whisk the separate 100 ml batter water, 2 eggs and 100 g batter flour in a bowl to make a thick batter.
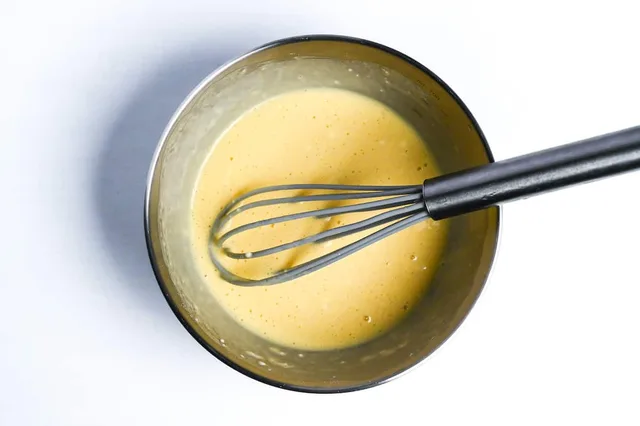
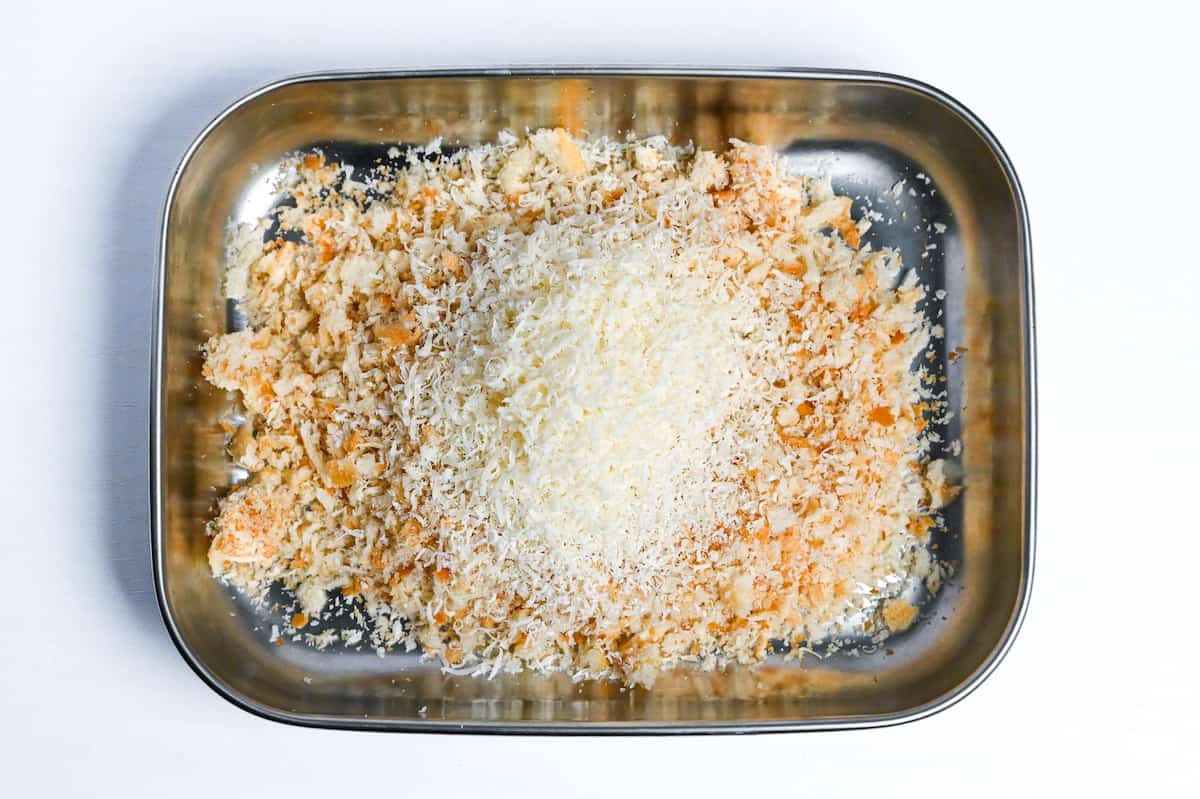
Step 12: Mix the 50 g panko breadcrumbs with the 4 tbsp grated Parmesan on a separate plate.
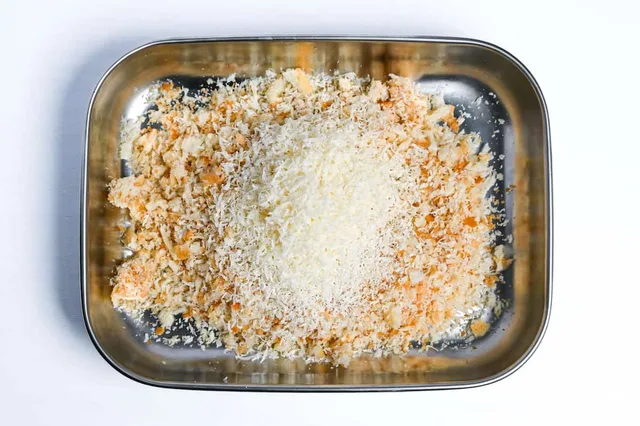
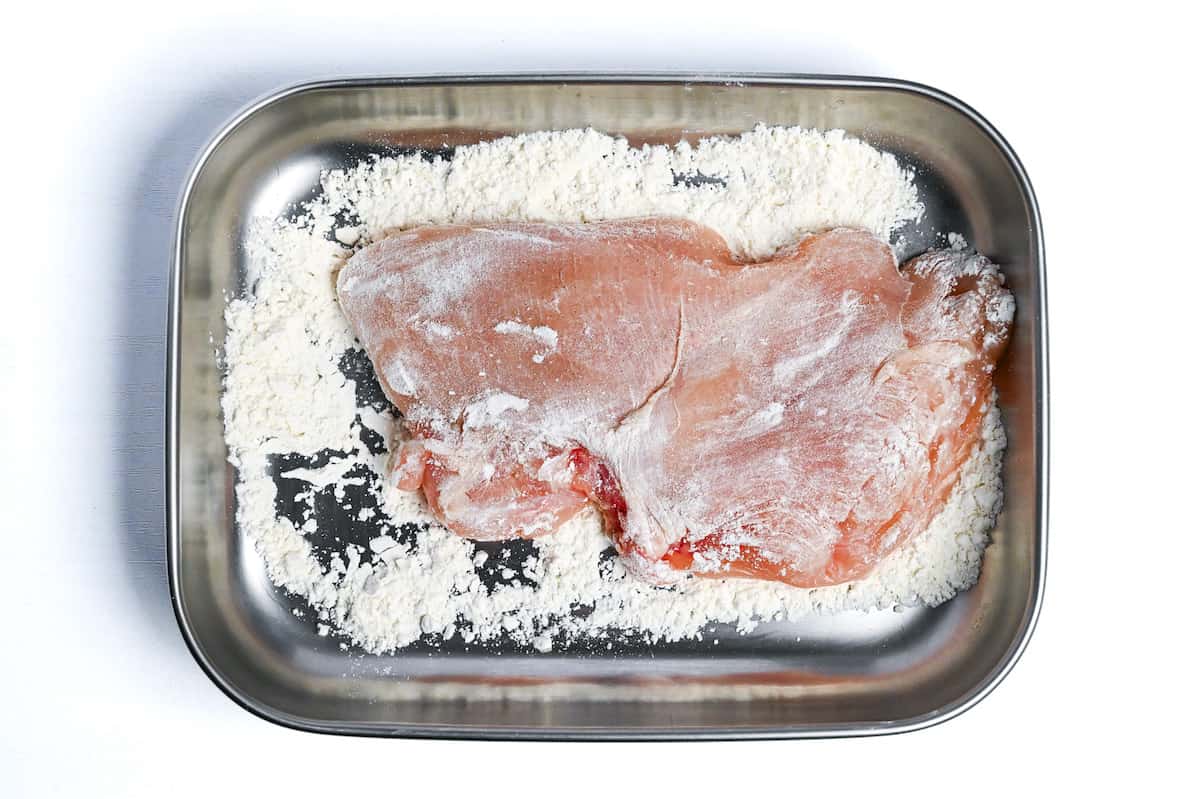
Step 13: Put the 6 tbsp dusting flour on another plate. Dust all 4 pounded cutlets from step 10 evenly and brush off excess flour.
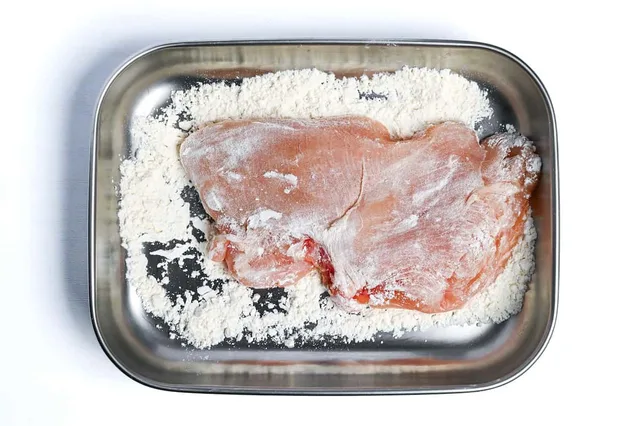
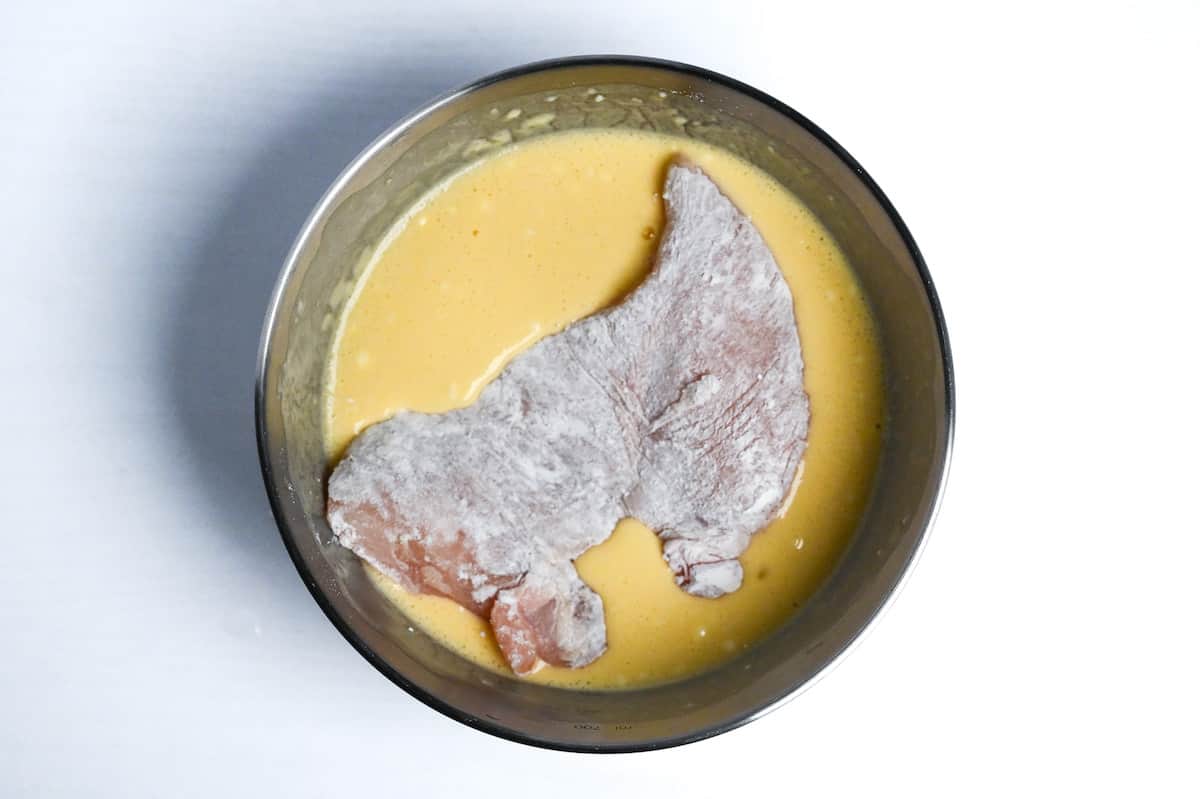
Step 14: Dip each flour-dusted cutlet from step 13 in the batter from step 11, letting excess batter drip back into the bowl.
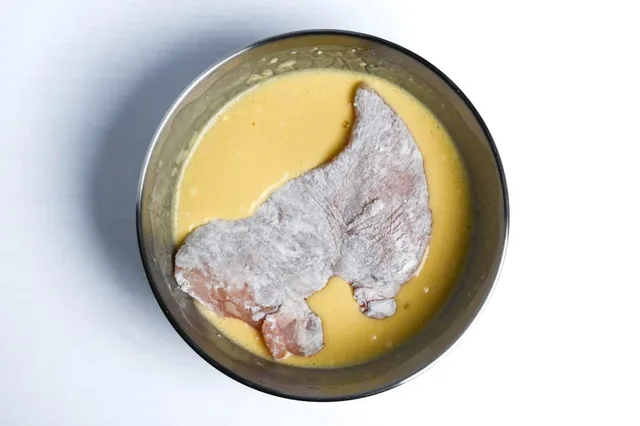
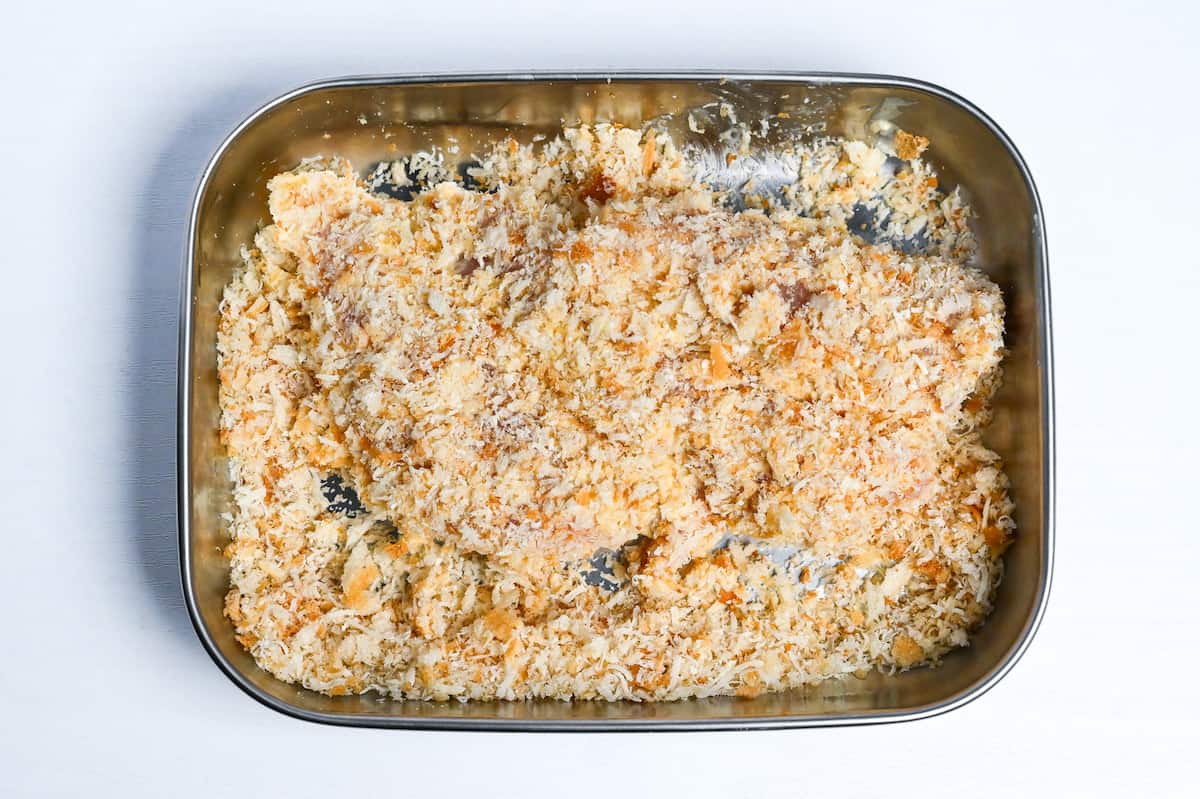
Step 15: Cover each battered cutlet from step 14 with the Parmesan-panko mixture from step 12. Set all 4 breaded cutlets on a clean tray, keeping any coating leftovers separate. Discard leftover batter and coating that touched raw chicken.
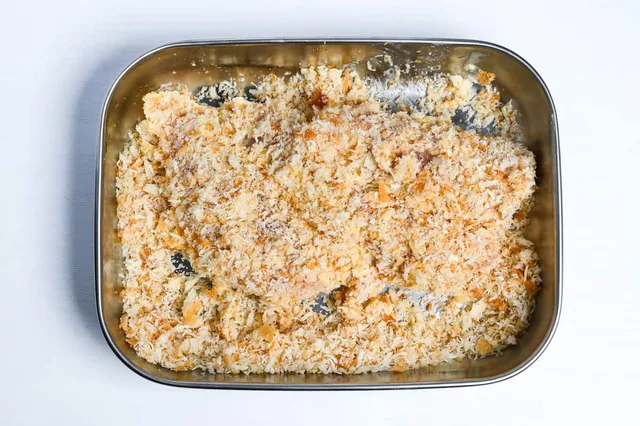
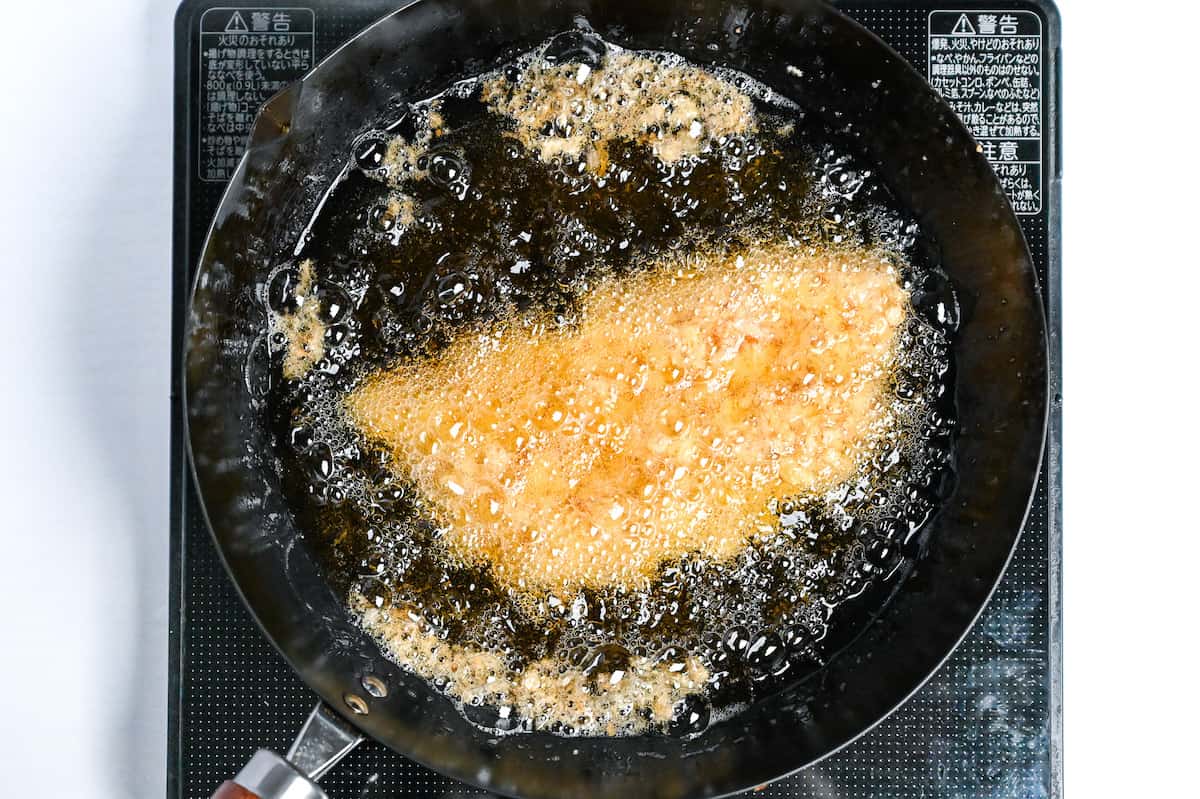
Step 16: Once all cutlets are breaded, heat the frying oil set up in step 9 to 170 °C. Carefully add only as many cutlets from step 15 as fit without crowding. Fry the first batch for about 3 minutes on the first side, watching the oil and keeping it near 170 °C; then turn them in step 17.
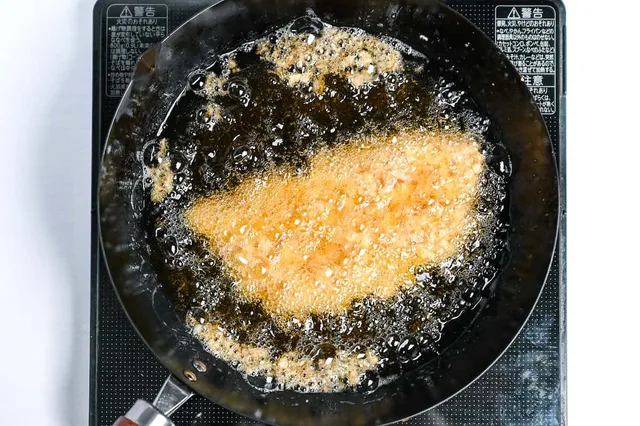
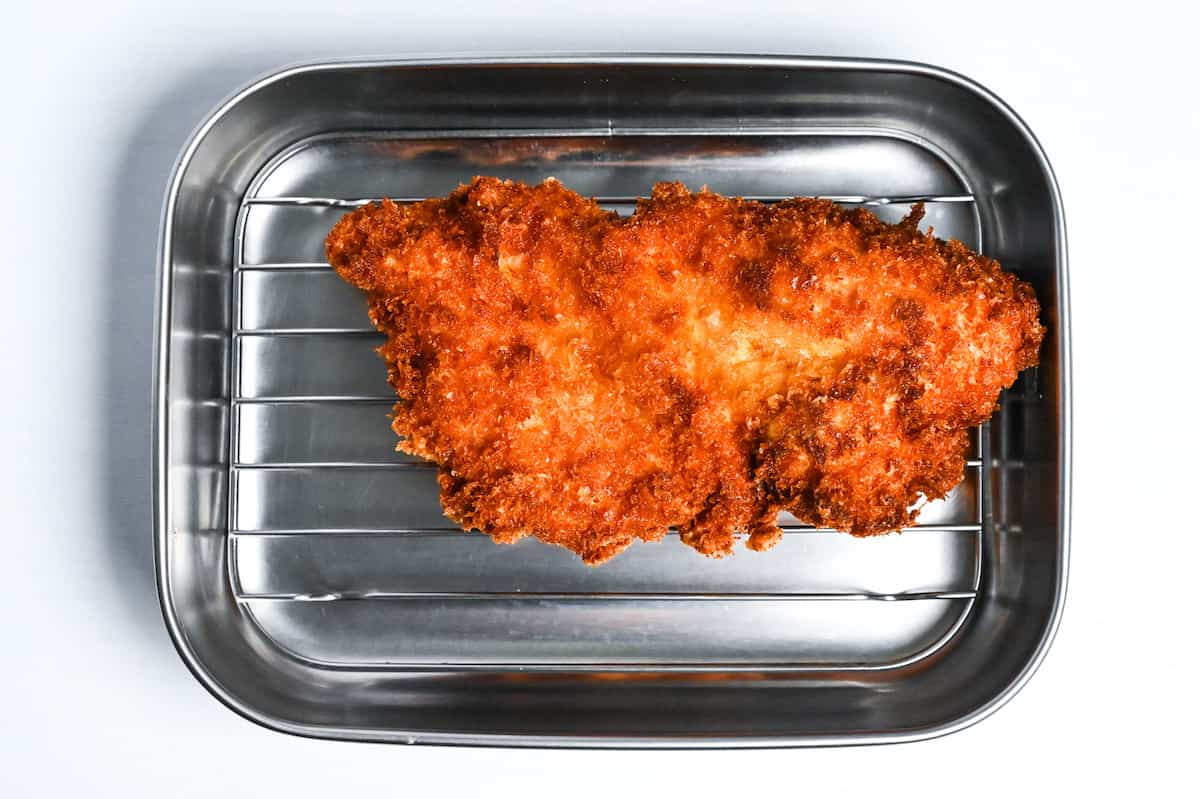
Step 17: Turn the first batch from step 16 and fry for about 3 minutes on the second side. Check for golden breading and 74 °C in the chicken center; continue frying if needed. Lift fully cooked cutlets to a clean wire rack and keep the frying oil in the fryer for any remaining cutlets.
Step 18: If breaded cutlets remain from step 15, return the frying oil from step 17 to 170 °C. Add the next uncrowded batch and fry for about 3 minutes on its first side, then turn it in step 19. Keep the already cooked cutlets on their clean rack.
Step 19: For each remaining batch, turn the cutlets from step 18 and fry for about 3 minutes on the second side. Check that the breading is golden and the chicken center reaches 74 °C, continuing if needed. Lift cooked cutlets to the clean rack. Repeat steps 18–19, with a fresh first-side and second-side check for each batch, until all 4 cutlets are cooked.
Step 20: Let all 4 cooked cutlets collected in steps 17–19 drain on the wire rack for a few minutes before slicing. Keep them separate from the frying oil.
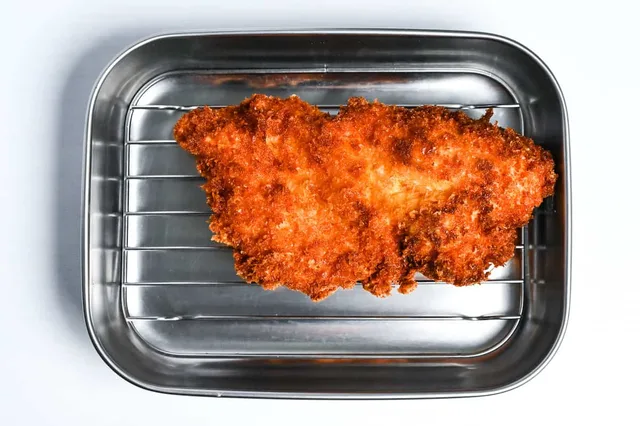
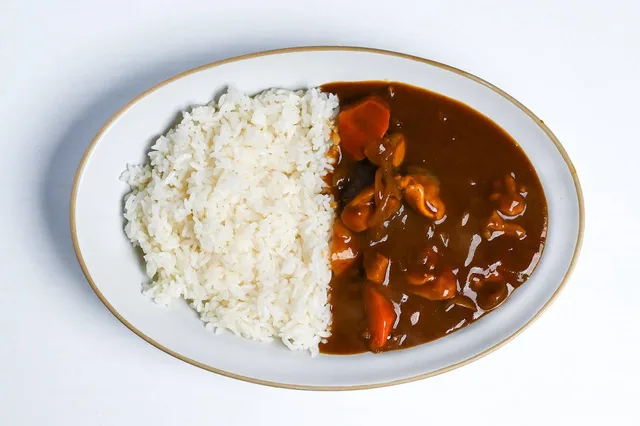
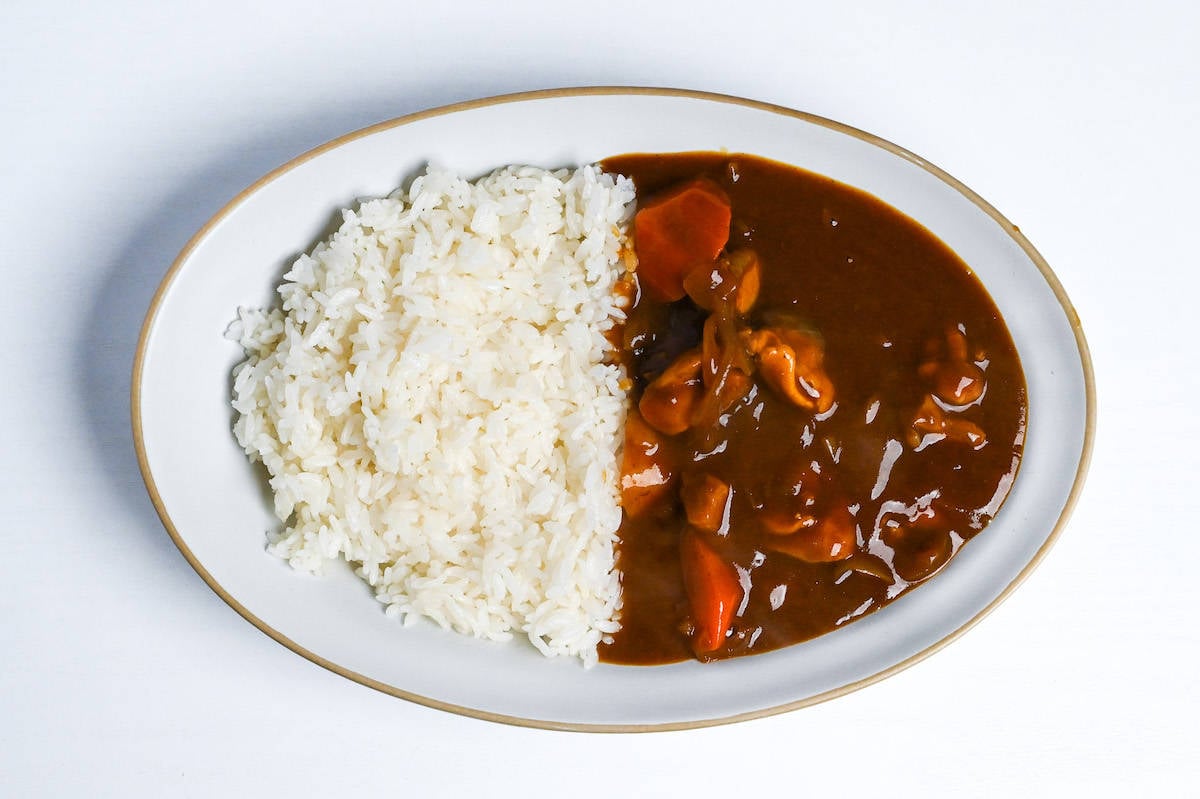
Step 21: Have the 4 portions ready cooked Japanese short-grain rice hot. Check that the curry from step 8 is still hot; if it was cooled and refrigerated, reheat it to 74 °C. Divide the rice and curry between 4 plates, with rice on one side and curry on the other.
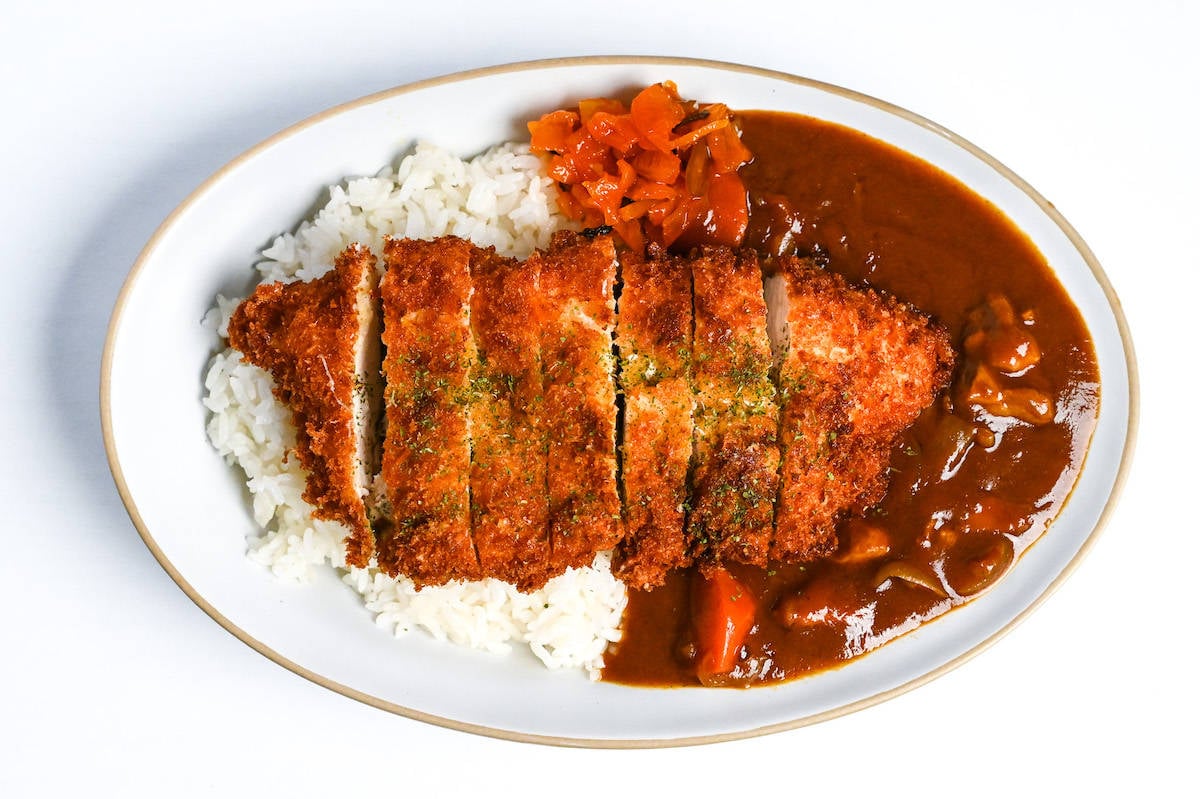
Step 22: Slice the drained cutlets from step 20 into about 1 cm strips and place one cutlet on each rice-and-curry plate from step 21. Add optional ready fukujinzuke pickles and a little fresh parsley.
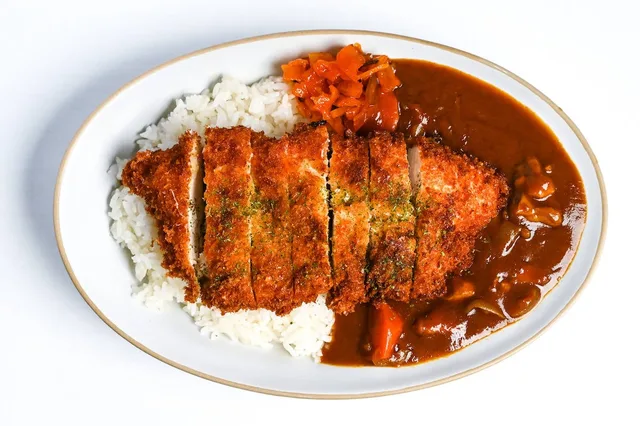
Step 23: Serve the 4 chicken katsu curry plates from step 22 promptly. For leftovers, cool curry, rice and cutlets promptly in separate shallow containers, refrigerate at 4 °C or below and use within 2 days. The source gives up to 1 month for frozen curry and cutlets; remove potatoes from curry before freezing for better texture. Reheat leftovers to 74 °C throughout.
Photos (1)
Comments
0 threadsSign in to join the discussion.

No comments yet. Start the discussion.