

Cantonese · Pasta
Seafood Pan Fried Noodles
From the zcook collection
Crisp Hong Kong-style egg noodles topped with scallops, shrimp, squid, vegetables and a glossy Cantonese-style sauce.
- Chinese
- Noodles
- seafood pan fried noodles
- Total
- 1 hr
- Prep
- 35 min
- Cook
- 25 min
- Serves
- 3
- Level
- Medium
- Energy
- 584 kcal
Method13 steps · about 1 hr
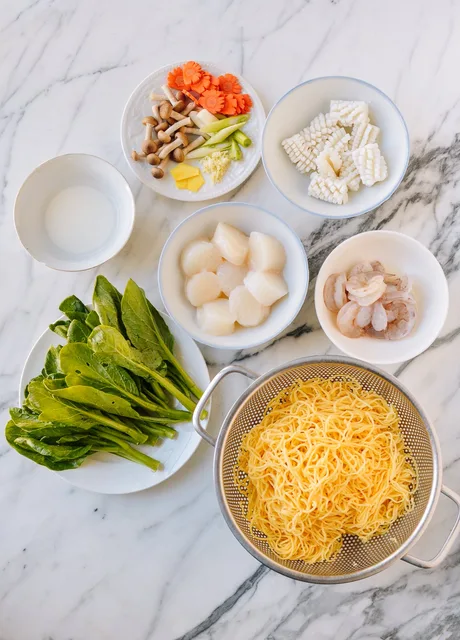
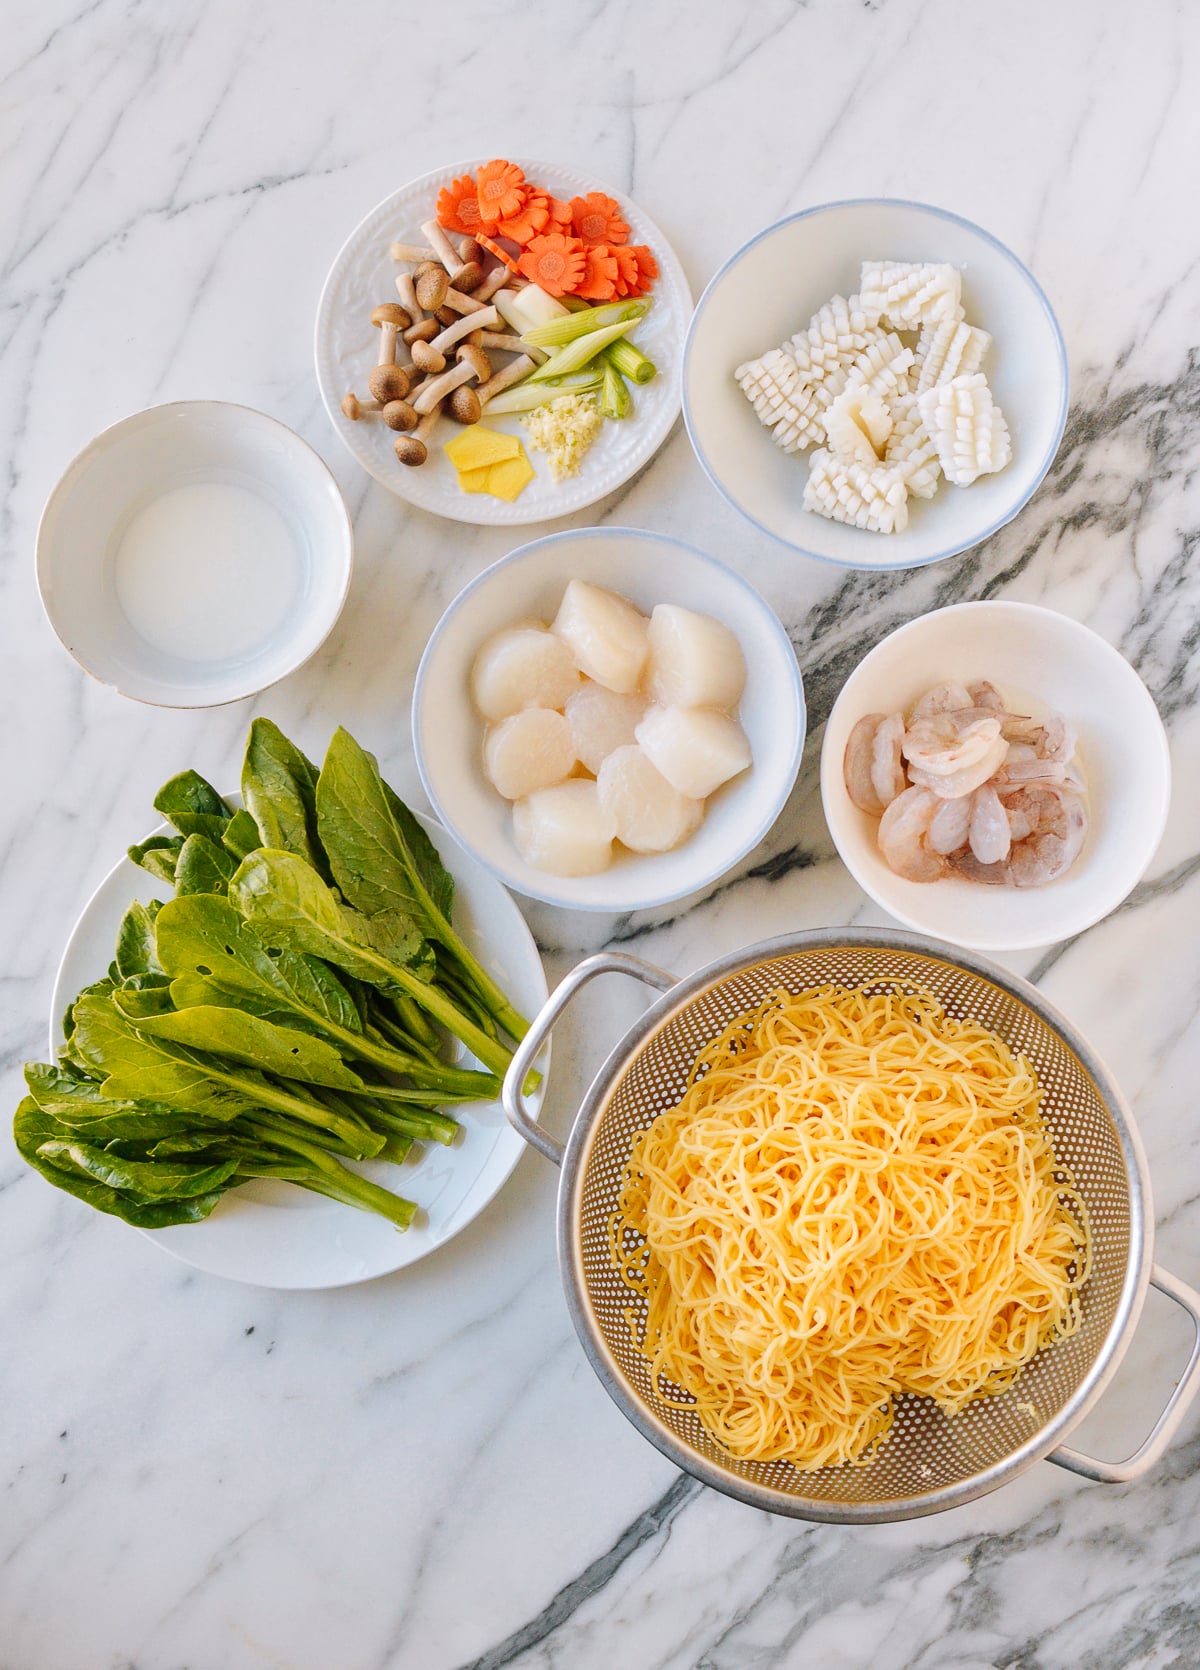
Step 1: Ready the 115 g scallops, 170 g peeled and deveined shrimp (170 g), and 170 g cleaned squid. For fresh squid, open the cleaned body lengthwise, lightly score a diamond pattern and cut into pieces; cleaned, already-cut frozen squid is the author’s alternative. Keep the seafood cold until its blanching stage.
Step 2: Mix the 355 ml hot chicken stock, ½ tsp sesame oil, 1½ tsp salt or an amount to taste, ¼ tsp sugar, 2 tsp oyster sauce and white pepper to taste in one bowl. Separately mix all 3 tbsp cornstarch with the 3 tbsp slurry water in a second bowl. Keep the sauce and slurry separate until the final stir-fry.
Step 3: Trim the ends from all 115 g choy sum, wash well in fresh cold preparation water and drain. Keep the stems and leaves whole.
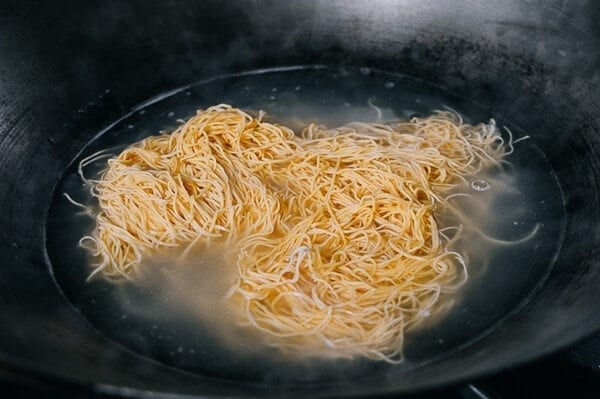
Step 4: Bring a large pot or wok of preparation water to a boil. Blanch the selected 225 g fresh Hong Kong-style egg noodles for 30–60 seconds, then transfer directly into a separate cold-water bath to stop cooking. Drain thoroughly in a colander and discard the preparation water. If choosing the source’s dried-noodle alternative instead, use four bundles and its package time until al dente; do not add both noodle options.
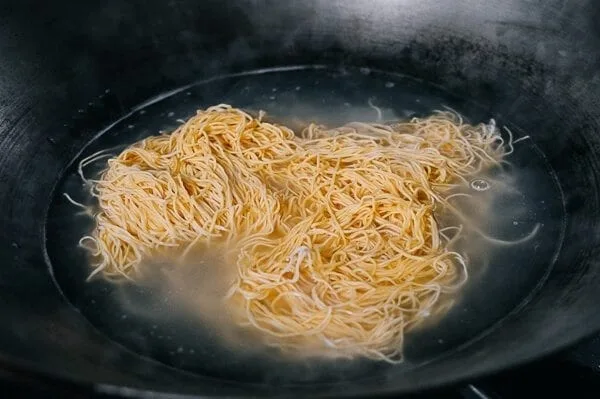
Step 5: Heat a wok or nonstick frying pan until hot. Add 1 tbsp from the divided 4 tbsp vegetable oil, swirl to coat and spread all the drained noodles in a thin, even layer. Fry for 3–5 minutes, watching until the underside is crisp and golden.
Step 6: Loosen the fried noodles with a spatula and check the underside is golden. Flip the noodle layer, in sections if necessary.
Step 7: Add another 1 tbsp from the vegetable oil around the pan edges and crisp the second side until evenly golden. Transfer all the crispy noodles to a serving plate; the author gives no separate exact duration for this side.
Step 8: Bring the separate 6 cups fresh blanching water to a boil in the wok and add 1 tbsp from the vegetable oil. Blanch all the washed choy sum for 30 seconds, then lift it out with a strainer, shake off excess water and arrange it around the plated crispy noodles. Keep the hot blanching bath for the next step.
Step 9: Immediately blanch all the prepared shrimp, scallops and squid in the same hot blanching bath, gently stirring until just beginning to turn opaque, about 20 seconds. Lift onto a plate. This is only partial cooking; continue straight to the final stir-fry and finish cooking the seafood there. Discard the blanching bath after use.
Step 10: Start with a clean, dry wok over medium-low heat. Add the final 1 tbsp vegetable oil and all 3 thin ginger slices. Cook for 10–20 seconds, watching without letting the ginger burn.
Step 11: Add the 1 minced garlic clove, white parts of the scallion (1) cut into about 2.5 cm angled pieces, all 30 g sliced carrot and all 30 g beech or straw mushrooms to the ginger and oil. Raise the heat to high, add all the partially blanched seafood and stir-fry for about 10 seconds, then add the 1 tbsp rice wine. Continue immediately to the sauce stage.
Step 12: Pour all the prepared stock sauce into the seafood and vegetables and bring to a simmer. Re-stir the separate cornstarch slurry; add about two-thirds while stirring and cook for about 15 seconds to thicken. Add only as much of the remaining slurry as needed until the sauce coats a spoon. Finish cooking all seafood thoroughly in the simmering sauce: shrimp and scallops should be firm, pearly and opaque throughout, and the seafood should reach 63°C. The short thickening time alone is not a doneness test.
Step 13: Pour all the fully cooked seafood, vegetables and sauce over the plated crispy noodles, with the blanched choy sum around the edge. Serve immediately for crisp noodles. Offer hot chili oil separately if desired.
Photos (1)
Comments
0 threadsSign in to join the discussion.


No comments yet. Start the discussion.