
Chinese · Snack
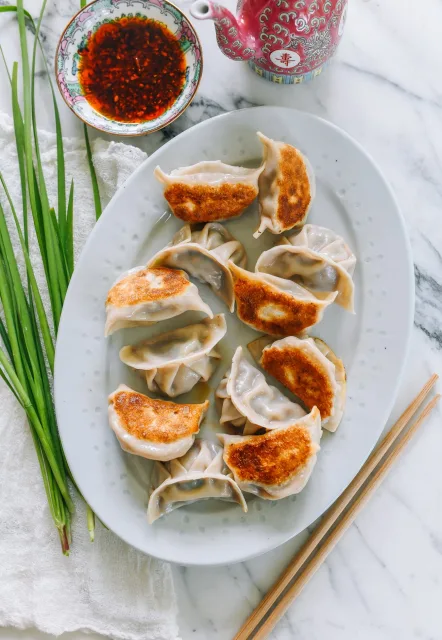
Pork Chive Dumplings
From the zcook collection
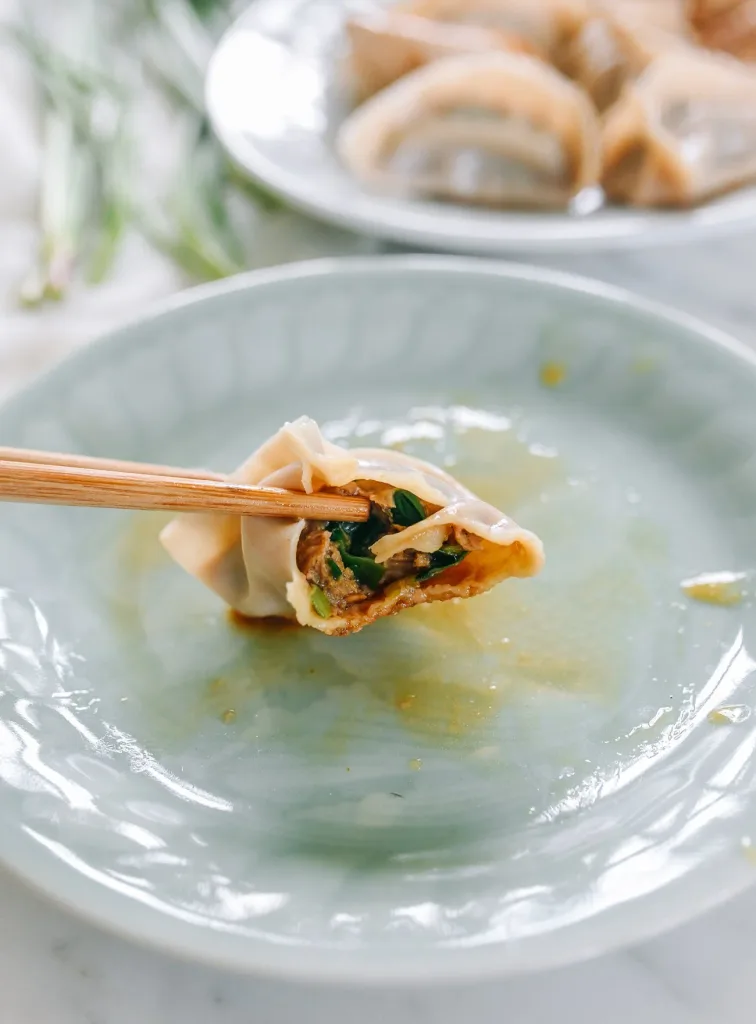
Juicy pork and Chinese garlic chive dumplings with aromatic infused oil, purchased wrappers and crisp pan-fried bottoms.
- Chinese
- Snack
- Pork dumplings
- Garlic chives
- Prep
- 1 hr 35 min
- Cook
- 25 min
- Serves
- About 4 dozen dumplings; 8 portions
- Level
- Hard
- Energy
- 421 kcal
Method12 steps
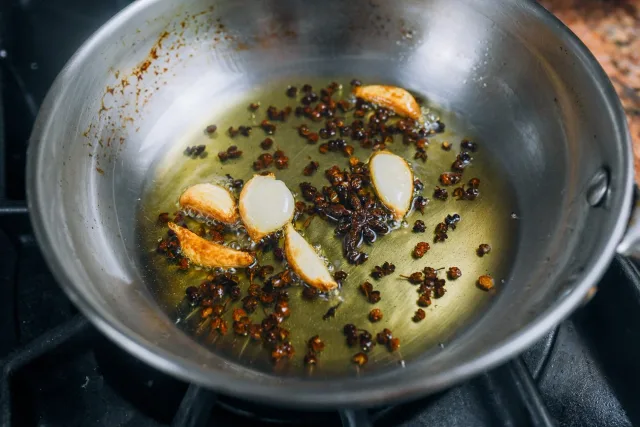
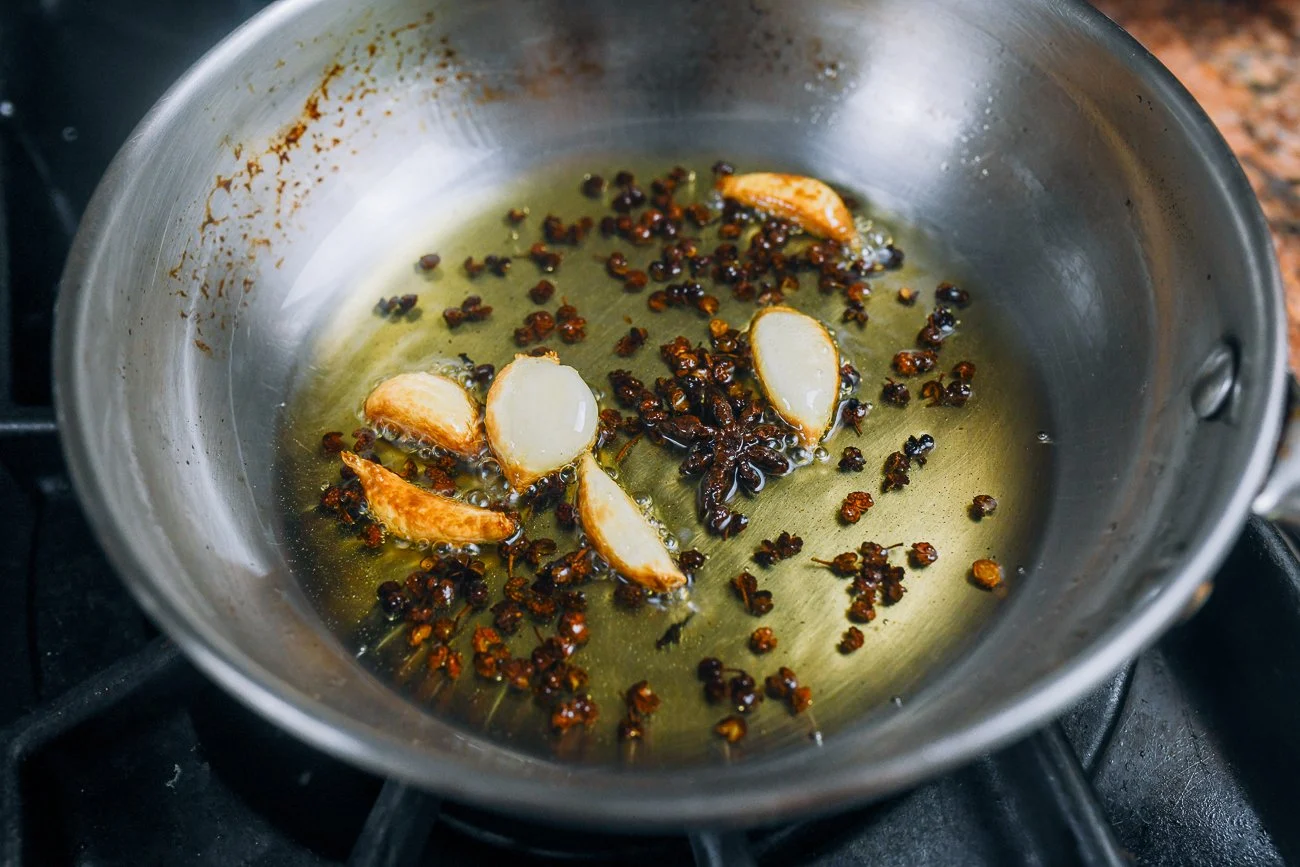
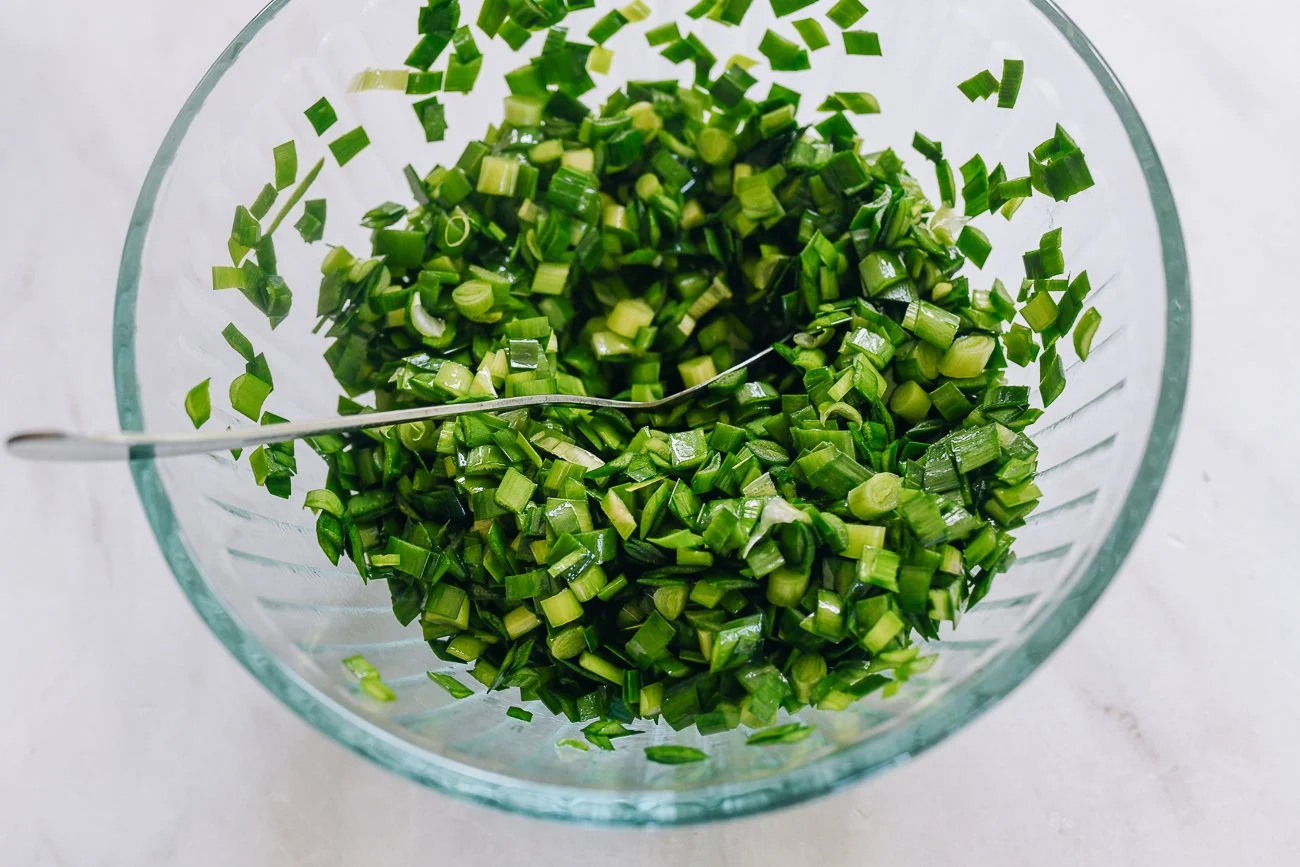
Step 1: Wash the scallion and chives, dry them well, roughly chop the scallion and very finely chop the chives. Peel the garlic (5) and chop the ginger. In a small saucepan over medium heat, combine all ¼ cup filling oil with 1 tbsp Sichuan peppercorns, 1 star anise and 5 peeled garlic cloves. Infuse for about 5 minutes until the garlic is lightly browned; remove from heat and let cool completely.
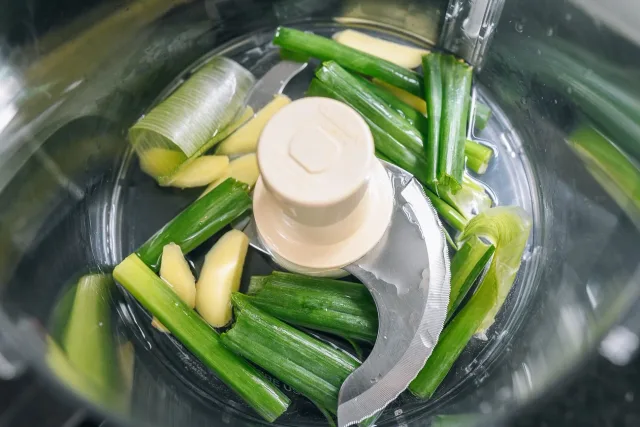
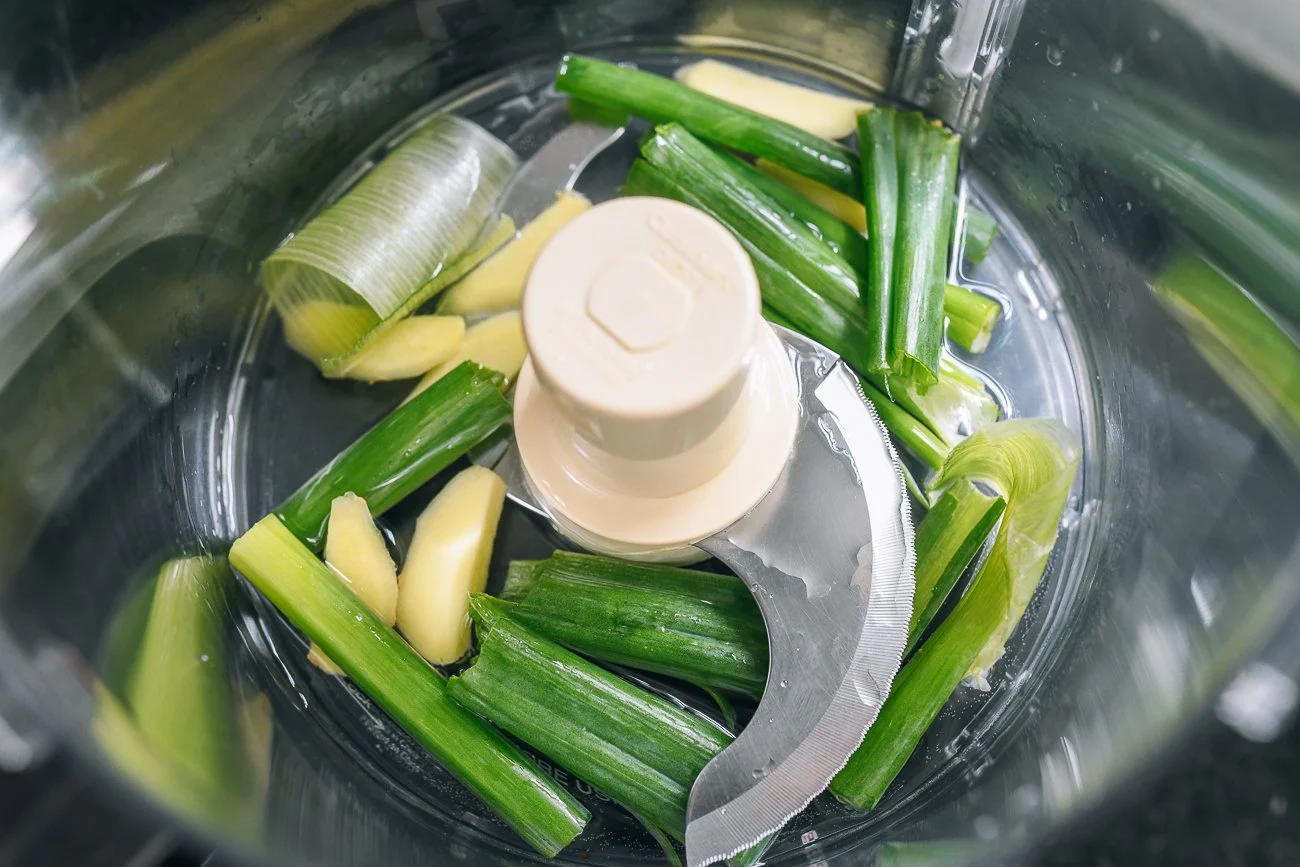
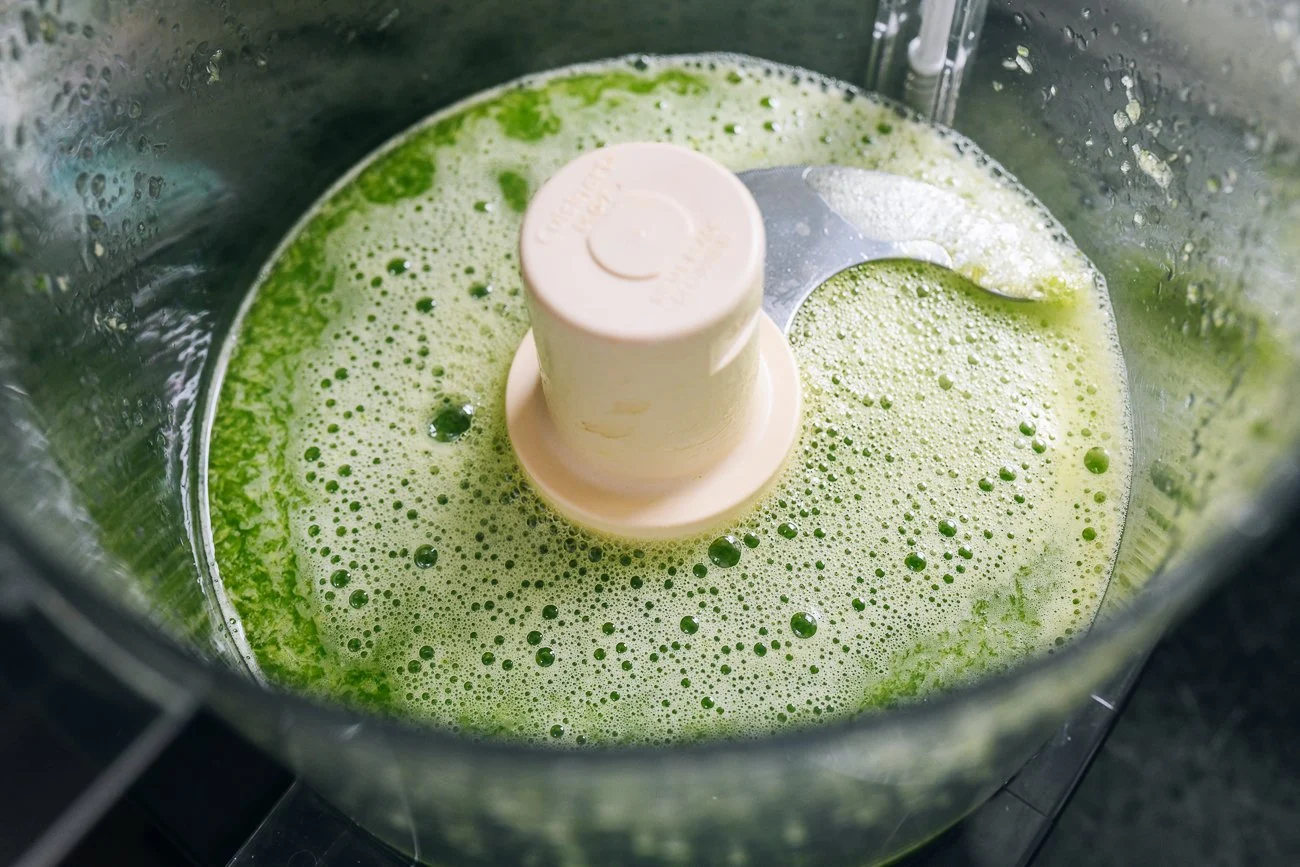
Step 2: Blend the separate ¾ cup puree water with 1 tbsp chopped ginger and ⅓ cup prepared scallion in a food processor until smooth.
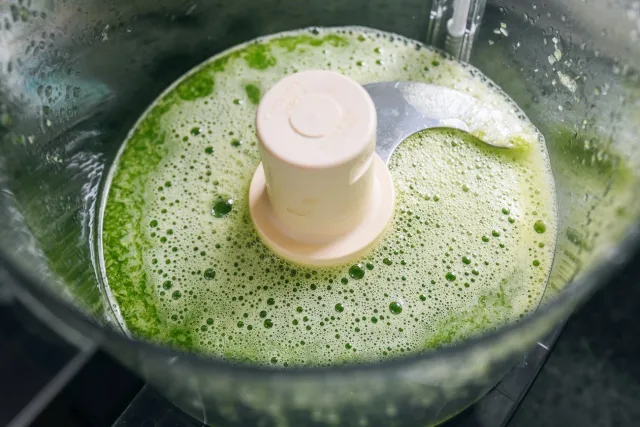
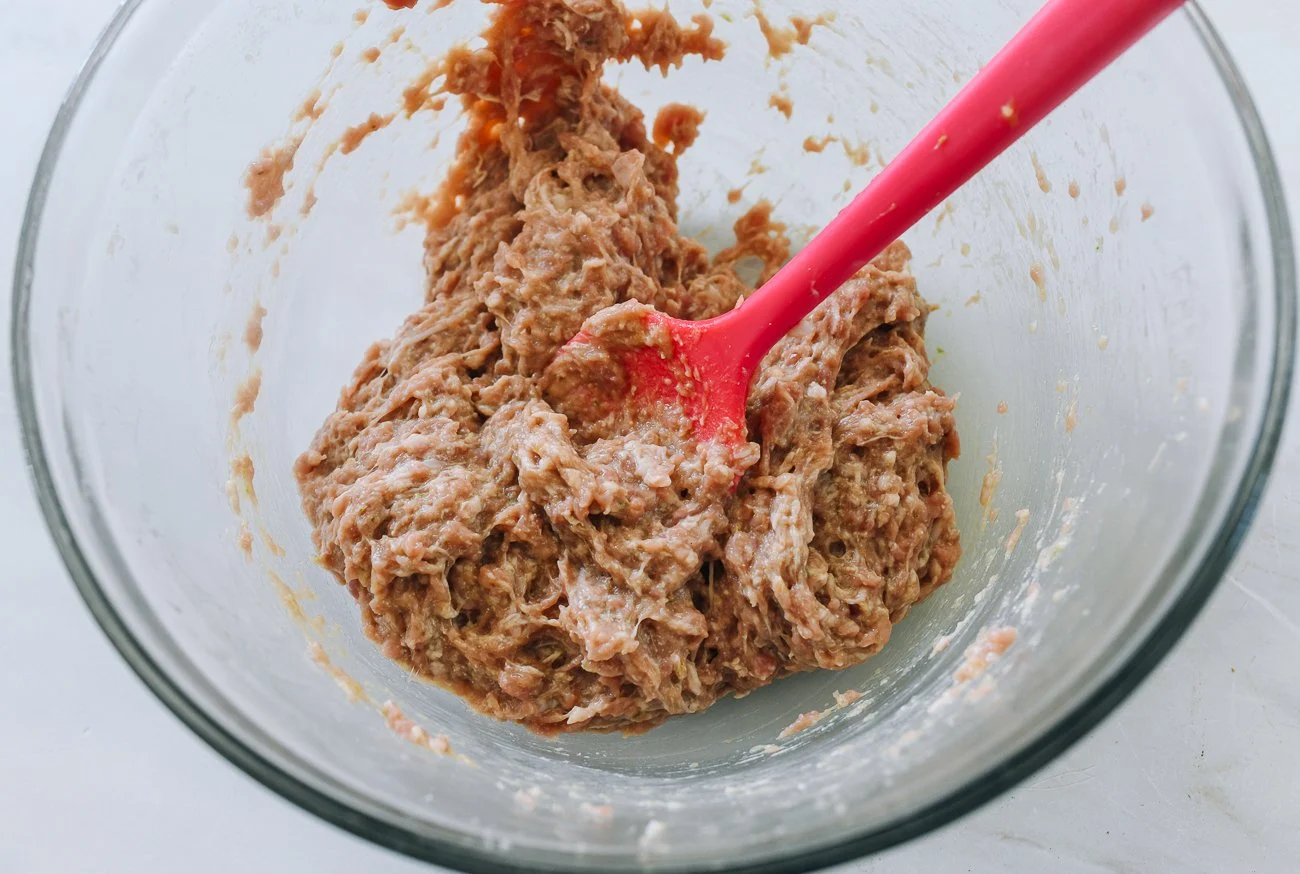
Step 3: Put the 1 lb ground pork in a mixing bowl. Add all the ginger-scallion puree in three additions, whipping in one direction until the pork completely absorbs each addition before adding the next.
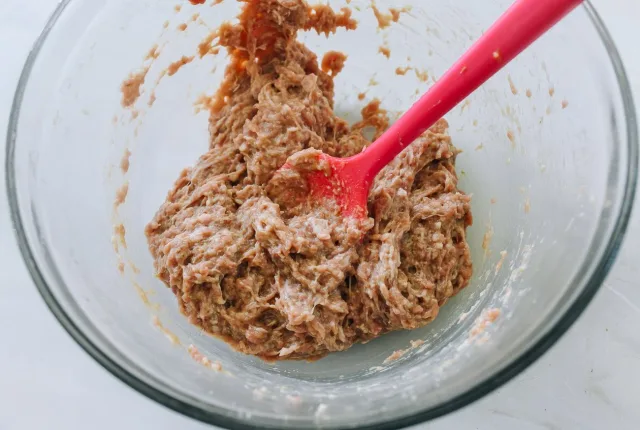
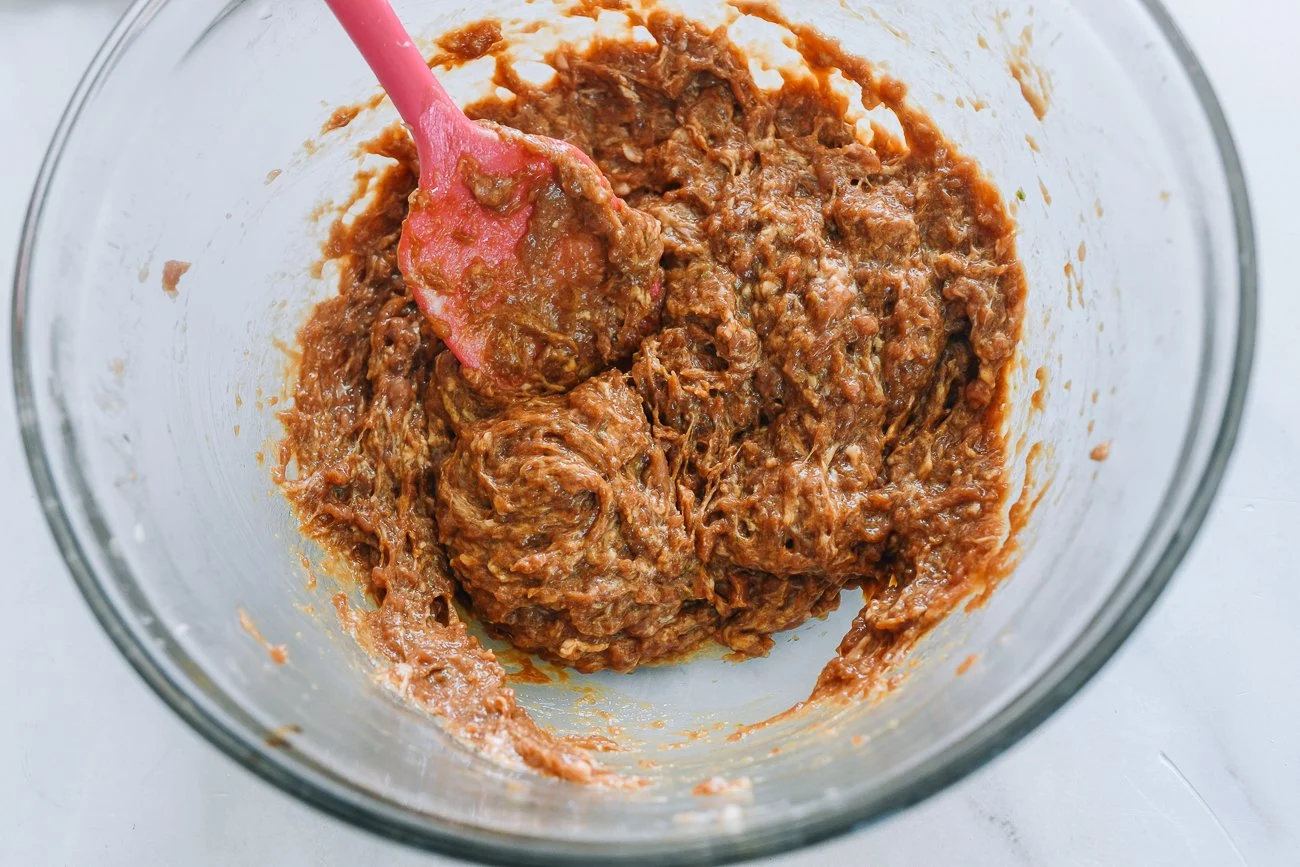
Step 4: Add 1 tbsp oyster sauce, 1 tbsp light soy sauce, 2 tsp dark soy sauce, 1½ tsp sesame oil, 1 tsp sugar, ½ tsp white pepper, ½ tsp five-spice powder and your chosen ¼–½ tsp salt. Whip in one direction until the filling forms a sticky paste.
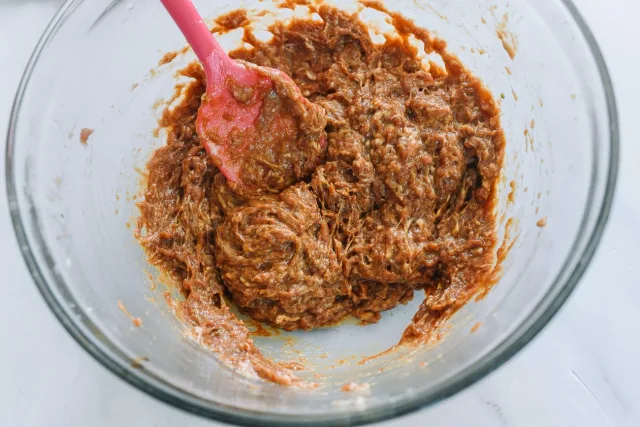
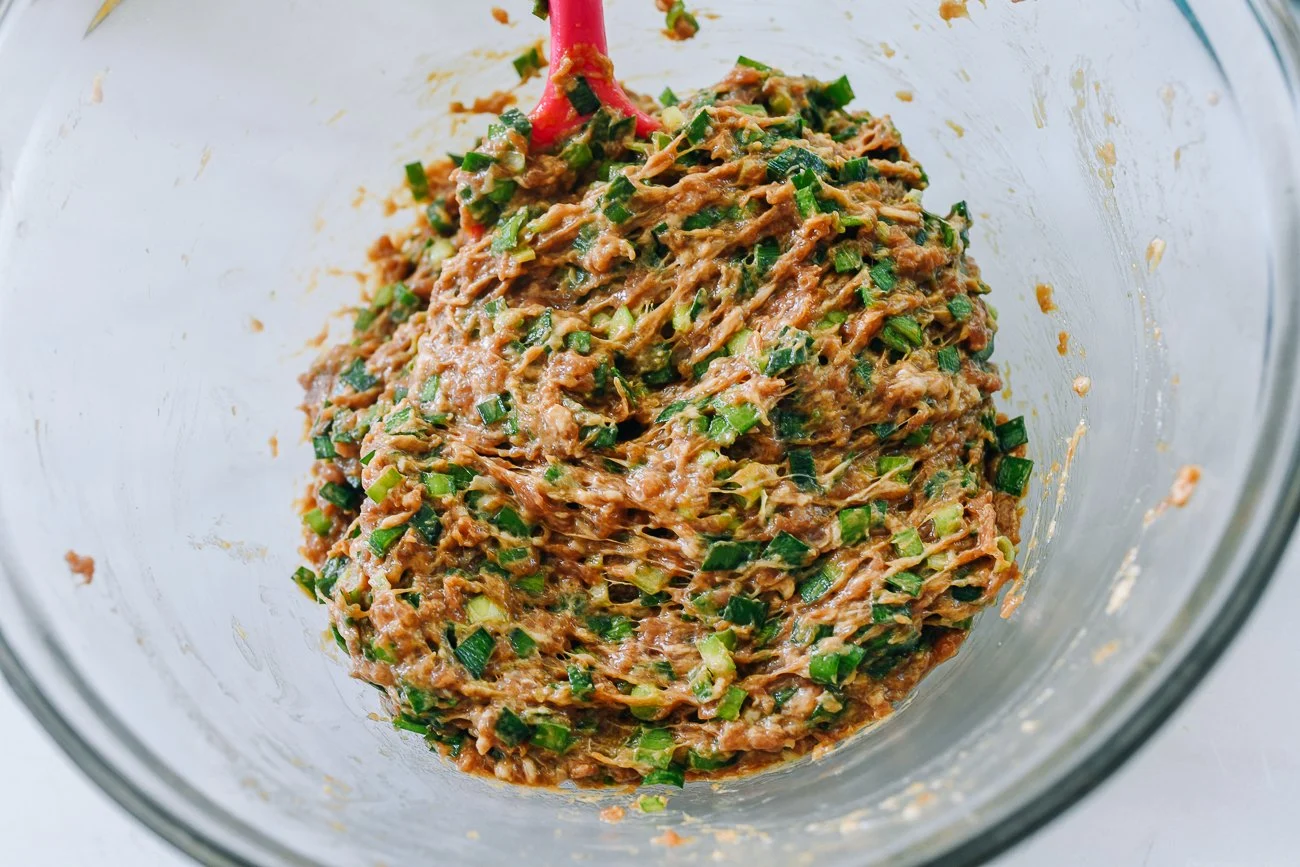
Step 5: Strain the completely cooled infusion, discarding the garlic, peppercorns and star anise. Toss all 2 cups very finely chopped chives with the retained infused oil in a separate bowl. Add the oil-coated chives to the pork paste and whip until evenly combined.
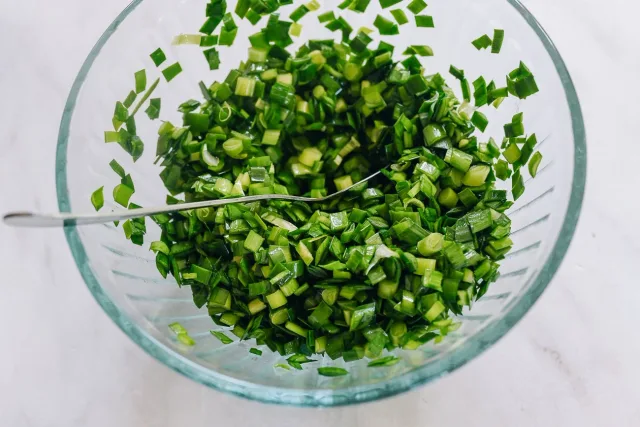
Step 6: Cover the filling. If you want it firmer and easier to wrap, refrigerate for 1 hour. Otherwise wrap now; keep the raw filling refrigerated whenever you pause during assembly.

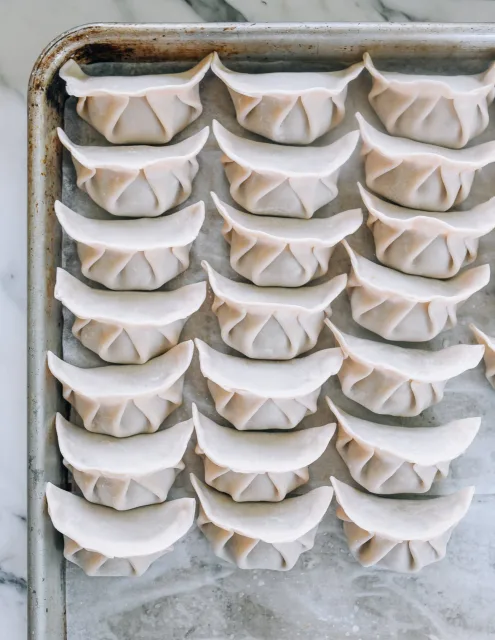
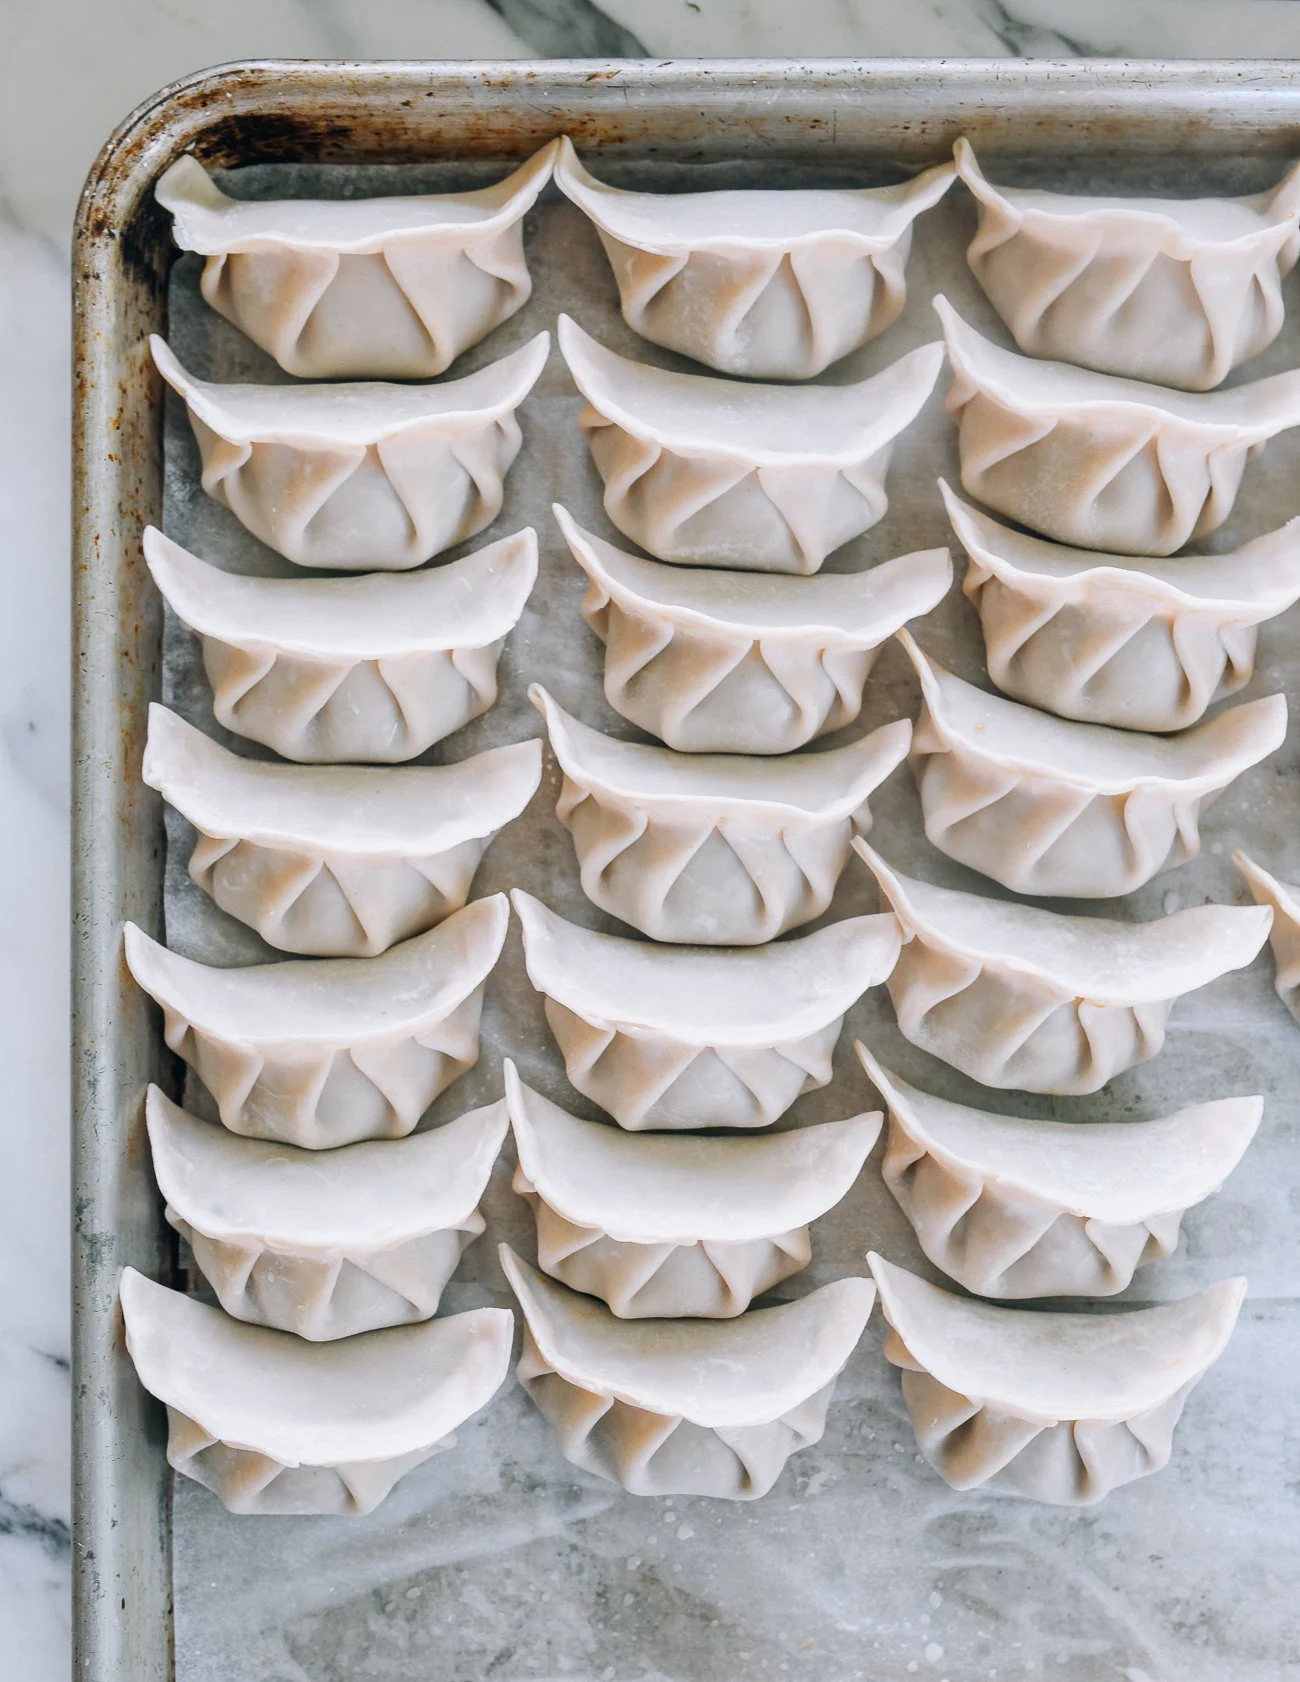
Step 7: Line a sheet pan with parchment. Keep purchased wrappers under a damp paper towel. Moisten one wrapper edge with a little sealing water, put about 1 tbsp filling in the centre and pleat tightly closed. Space finished parcels slightly apart on the tray and repeat until the filling or wrappers run out. Keep any unused raw filling refrigerated promptly.
Step 8: Cook the dumplings now, or cover the spaced tray and freeze overnight until the parcels are solid, then transfer to a freezer bag. Cook frozen dumplings directly without thawing. Expect about four dozen, depending on wrapper size and filling draw.
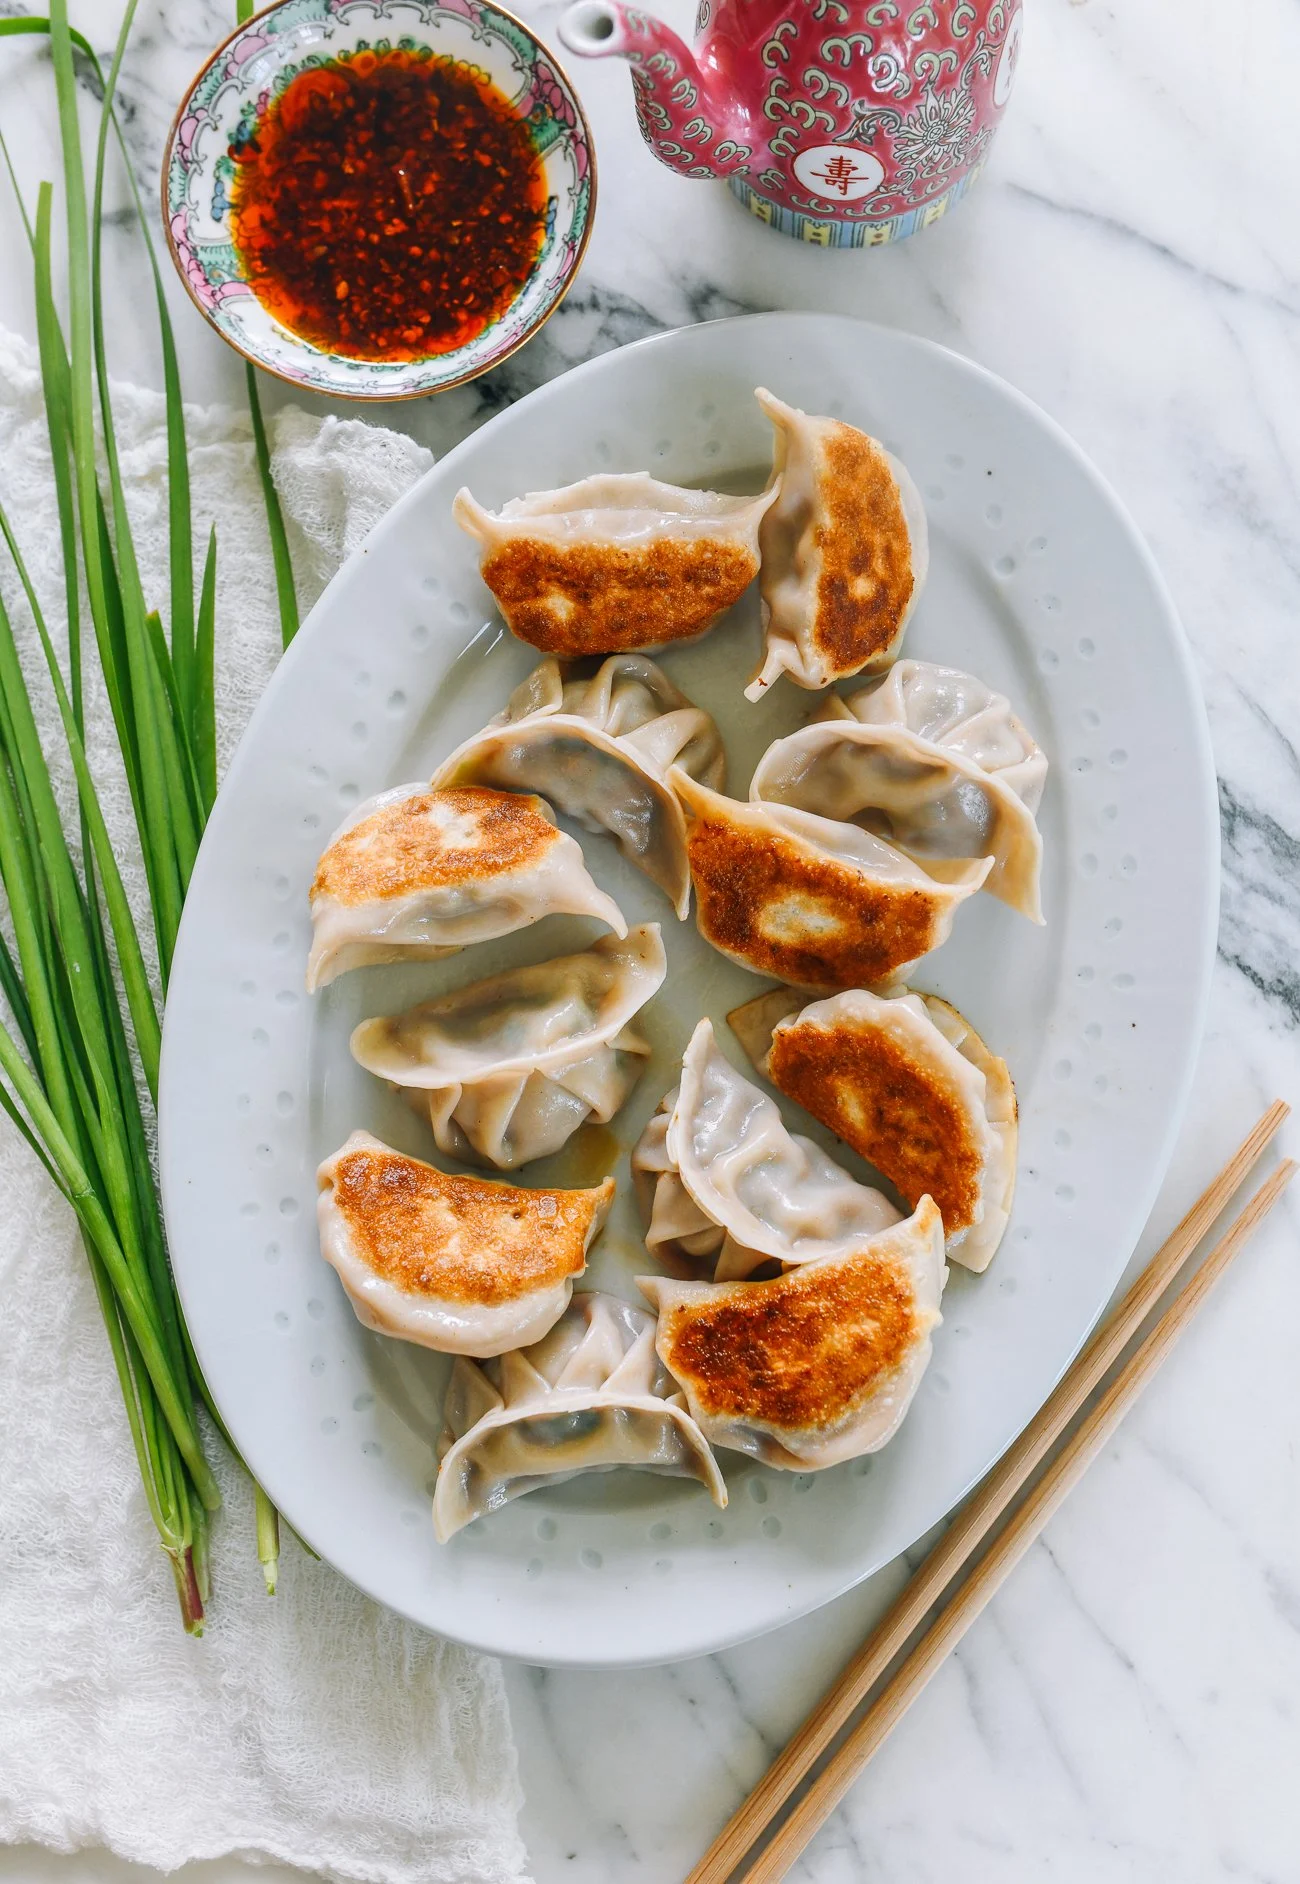
Step 9: For each batch, heat a non-stick pan over medium heat with 2 tbsp separate pan-frying oil. Arrange one uncrowded layer of fresh or unthawed frozen dumplings flat-side down. Fry until their bottoms are golden brown, watching the pan and adjusting heat as needed. Keep remaining fresh parcels refrigerated or frozen parcels in the freezer.
Step 10: Carefully add ½ cup cooking water to this batch and cover with a tight-fitting lid. Cook for about 7 minutes until most water has evaporated and the dumplings are cooked through. Continue as needed until the pork filling reaches 71°C/160°F; frozen or larger parcels can take longer.
Step 11: Uncover and let the remaining water evaporate completely. Continue until the bottoms are crisp and every dumpling is fully cooked, with pork filling at 71°C/160°F. Repeat this pan sequence for more batches as needed, drawing a fresh 2 tbsp pan oil and ½ cup cooking water for each batch.
Step 12: Lift the fully cooked dumplings from the pan and serve hot, with optional vinegar or ready chili sauce. Share between eight portions, about six dumplings per portion when the batch size permits. Refrigerate cooked leftovers promptly.
Photos (1)
Comments
0 threadsSign in to join the discussion.
No comments yet. Start the discussion.