

Chinese · Dessert
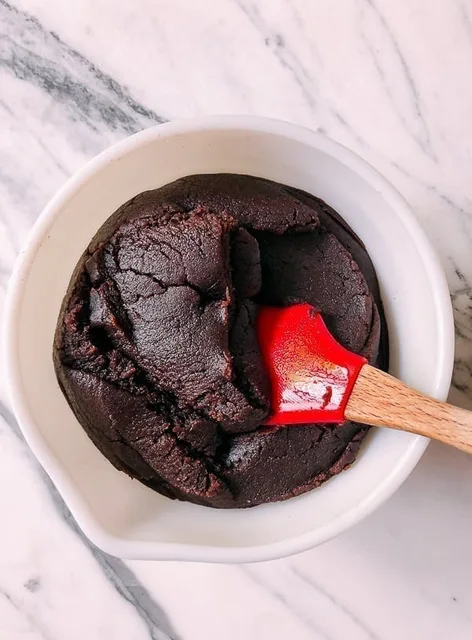
Snow Skin Mooncakes
From the zcook collection
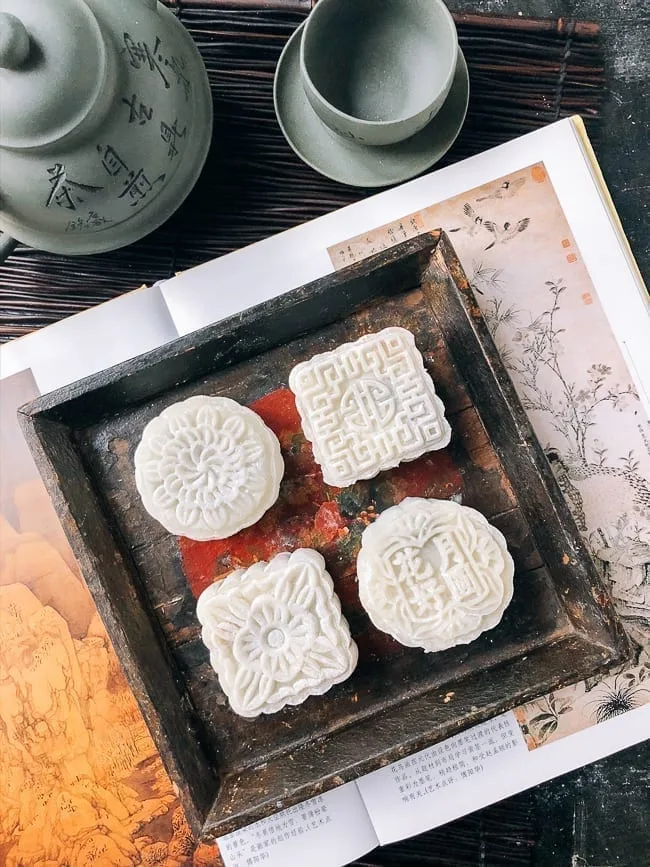
Chilled chewy rice-flour mooncakes with ready red bean paste, shaped in a 100 g mold after steaming and kneading the snowy skin.
- Vegetarian
- Chinese
- Dessert
- snow skin mooncakes
- Dessert & Sweets
- Total
- 4 hr
- Prep
- 1 hr 20 min
- Cook
- 40 min
- Serves
- About 8 mooncakes using a 100 g mold
- Level
- Hard
- Energy
- 264 kcal
Method16 steps · about 4 hr
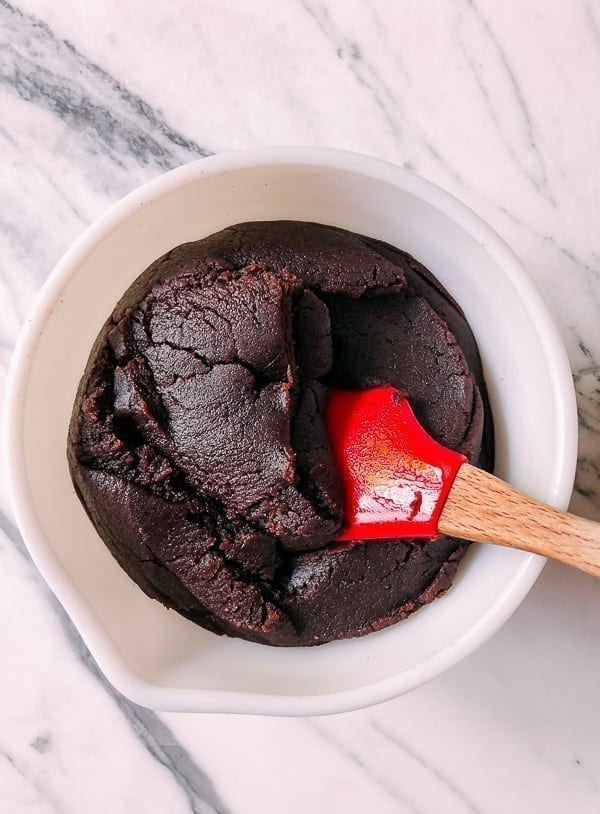
Step 1: Have 400 g ready cooked smooth red bean paste chilled and covered before starting. Keep it refrigerated while making the snow-skin dough. Set out a 100 g mooncake mold, kitchen scale, food-grade gloves, pastry brush and heat-safe food wrap suitable for steaming.
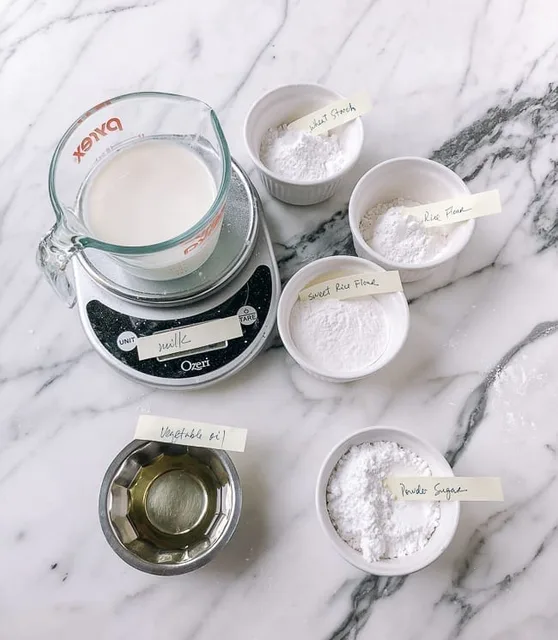
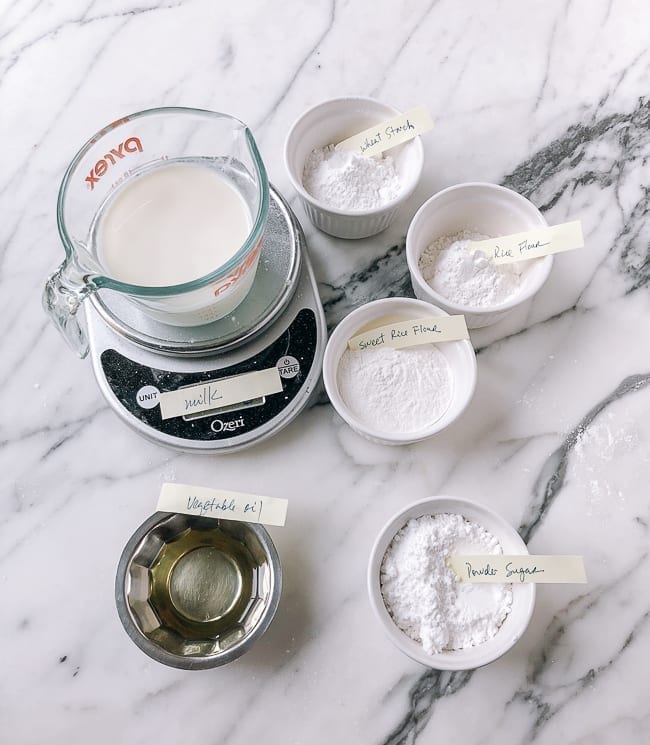
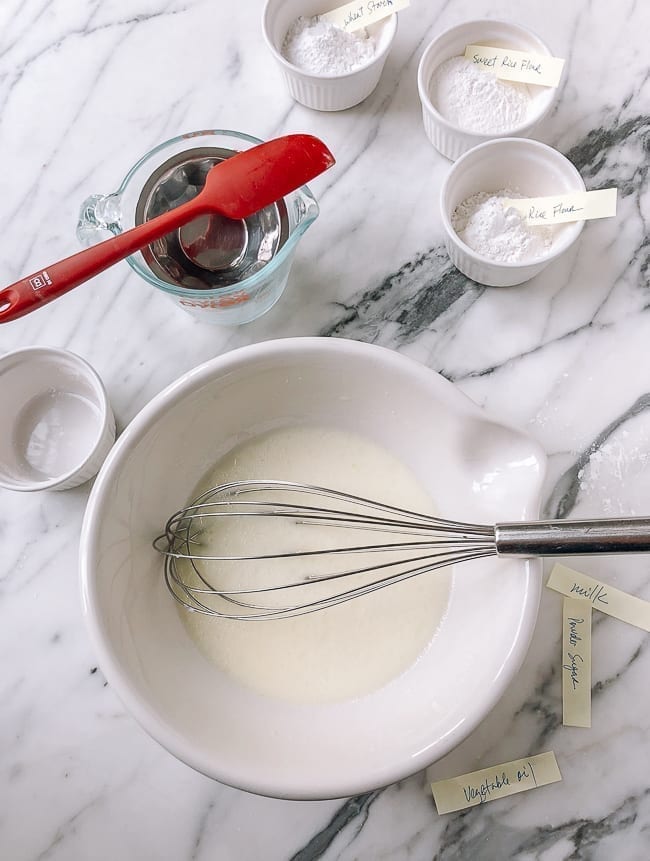
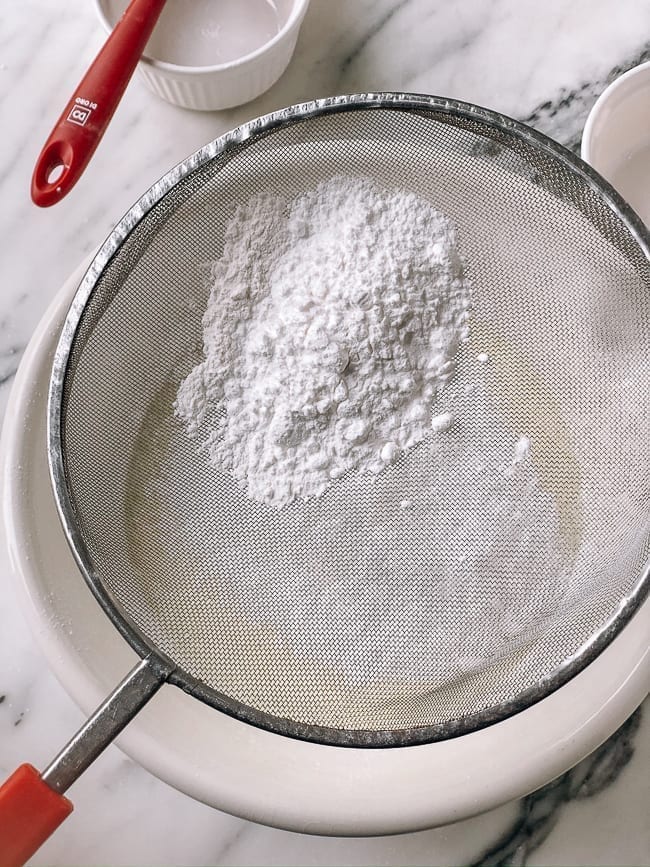
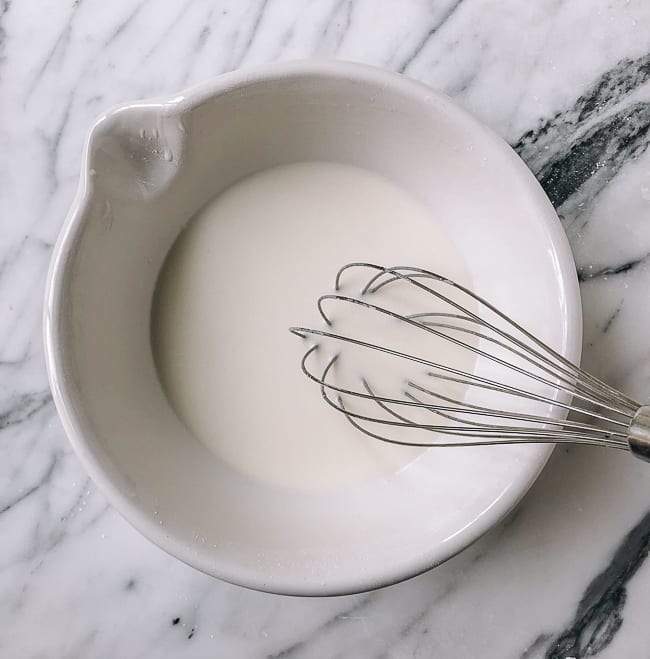
Step 2: Gather the dough ingredients. In a large bowl, combine the 60 g powdered sugar, 215 g whole milk and 25 g vegetable oil. Sift in the separate 50 g dough glutinous rice flour, 35 g ordinary rice flour and 35 g wheat starch. Whisk until no lumps remain.
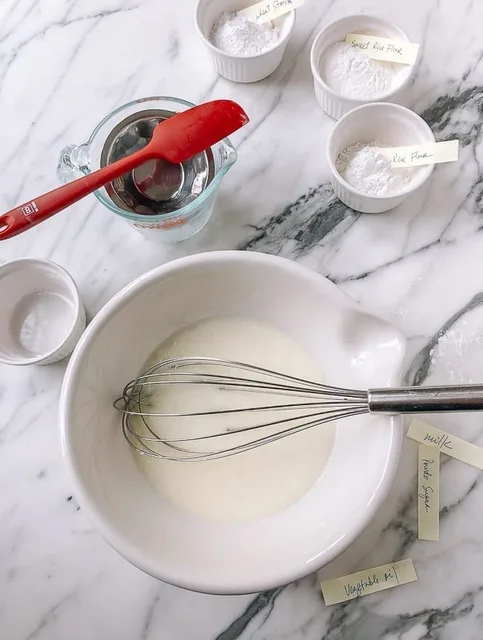
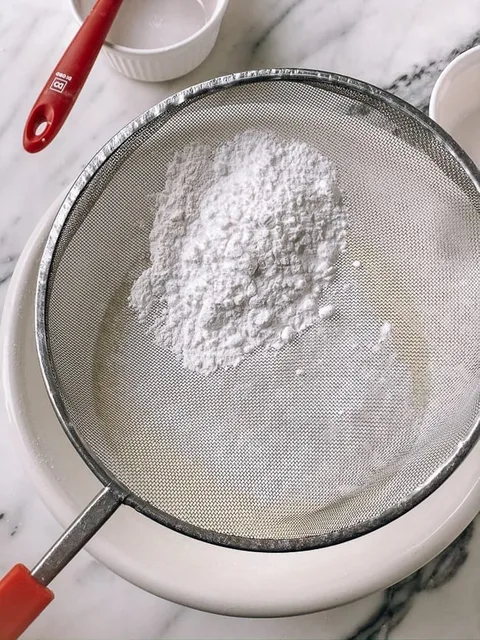

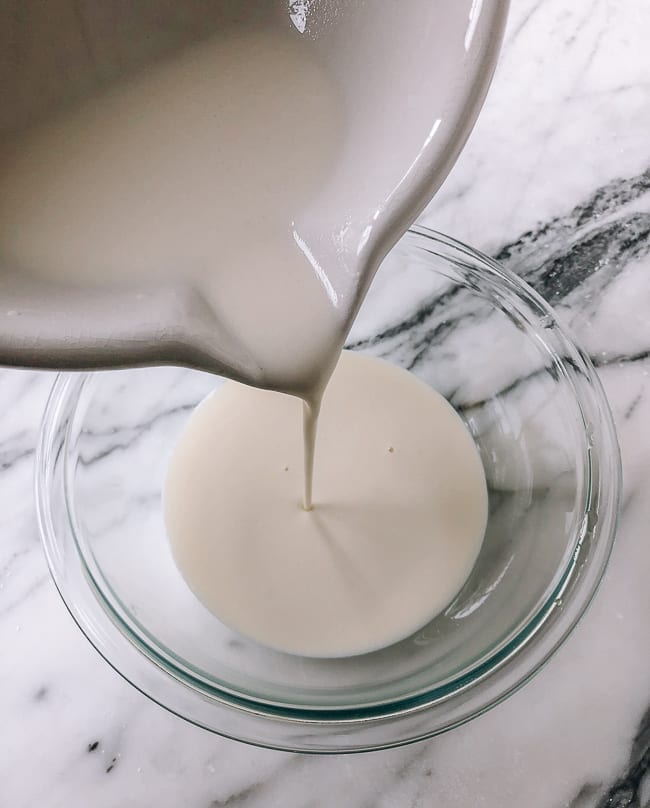
Step 3: Pour all the smooth batter from step 2 into a heatproof bowl that fits the steamer. Cover it with heat-safe food wrap suitable for steaming, and rest for 30 minutes.

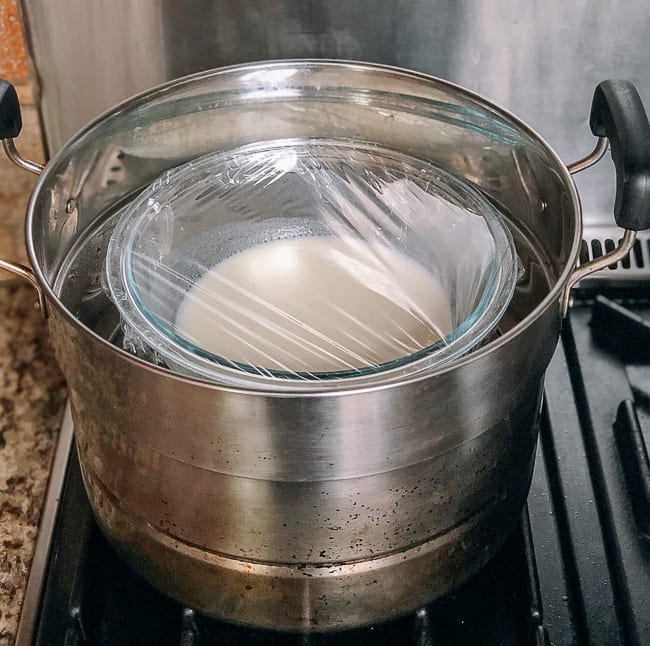
Step 4: Fill the steamer with enough external water for the cooking phase and any needed continuation. While the steamer water is still cold, place the covered bowl of rested batter from step 3 inside, above the water. Keep the food wrap away from the hot sides and follow its heat-use instructions.

Step 5: Put the covered steamer from step 4 over high heat. Follow the source 25-minute initial heating-and-steaming guide, maintaining enough water and steady steam as it heats. Carefully check the dough at the end: it must turn from opaque to fully translucent throughout; a little oil floating on top is normal.
Step 6: If the dough from step 5 is not fully translucent and cooked through, replace its heat-safe covering and steam over high heat for another 5 minutes, then check again. Continue only as needed until fully cooked, topping up the external steamer water carefully if necessary. If already cooked at the first check, proceed directly to step 7.
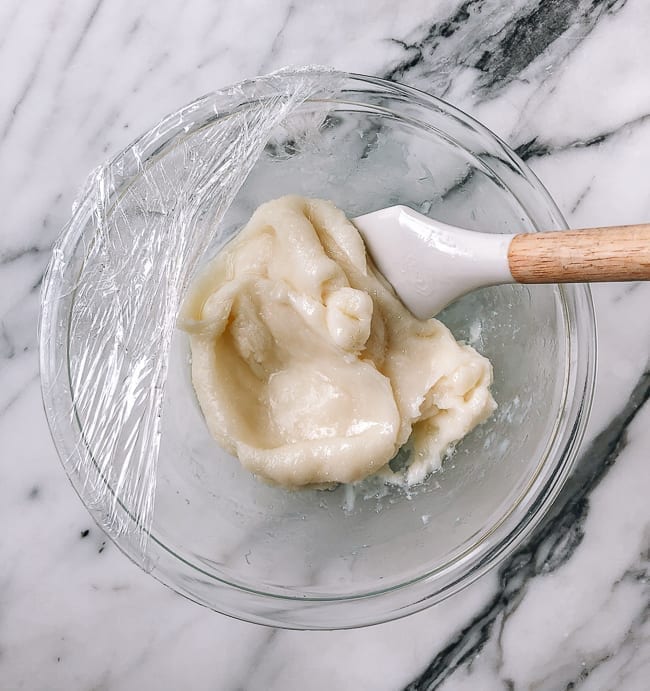
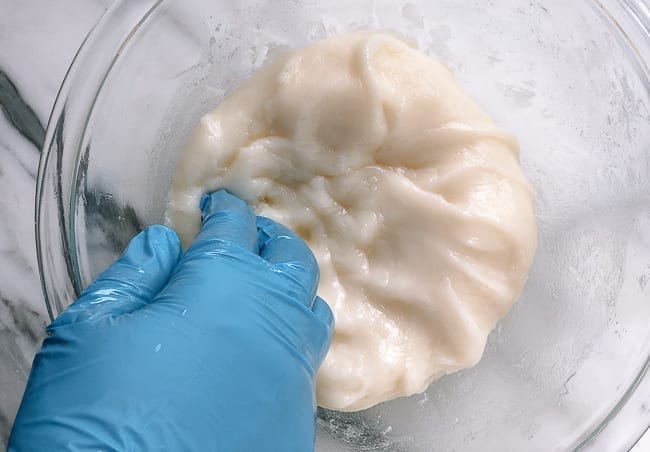
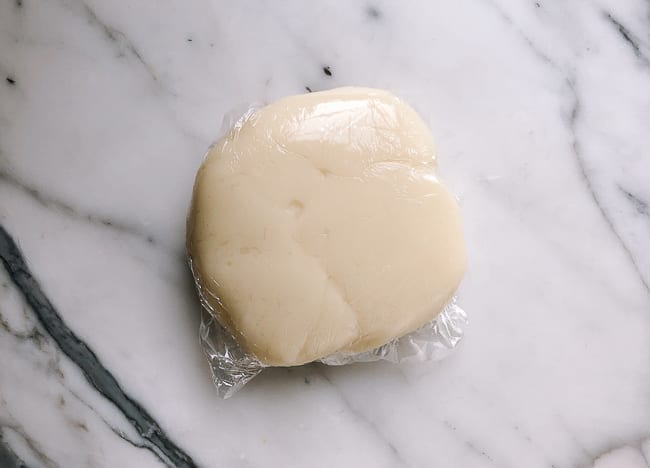
Step 7: Lift the bowl of fully cooked dough from step 6 out of the steamer and stir carefully to cool it. As soon as it is cool enough to handle safely, wear food-grade gloves and knead for a few minutes until smooth and the oil is absorbed. Wrap the dough and move it promptly to the refrigerator.
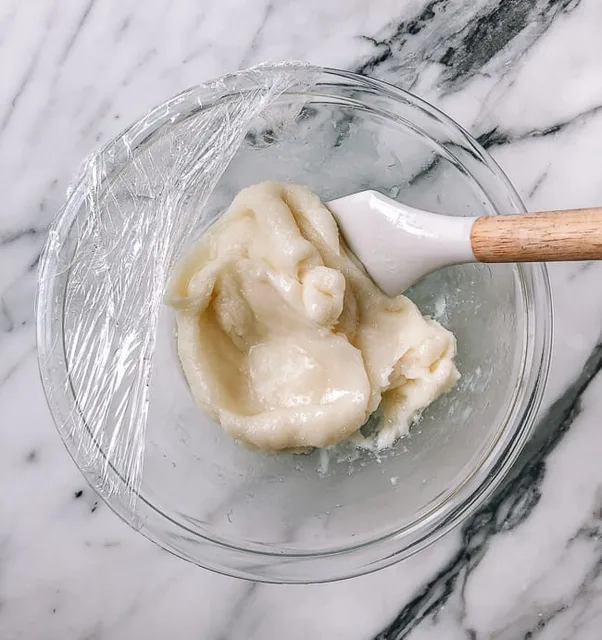
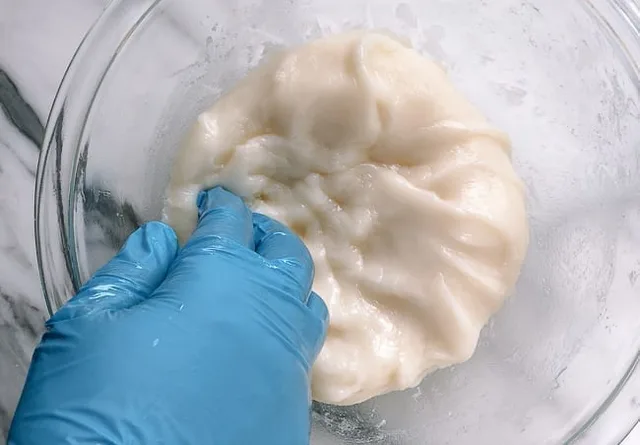
Step 8: Chill all the wrapped, kneaded dough from step 7 in the refrigerator for 1–2 hours, checking from 1 hour, until cold and pliable for portioning. Cook and cool the separate dusting flour during this wait.

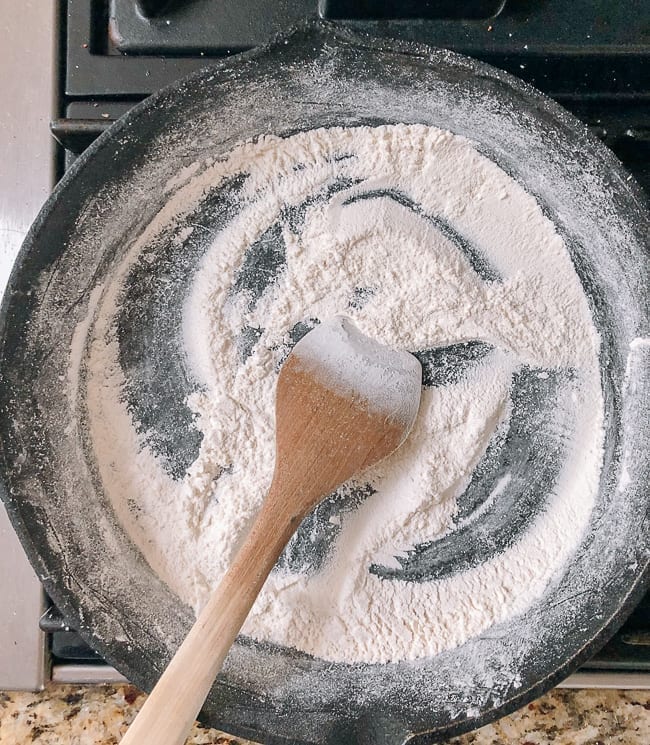
Step 9: In a clean dry pan over medium-low heat, cook the separate 25 g dusting glutinous rice flour for 6–7 minutes, stirring often and checking from 6 minutes until very lightly browned. Set it aside to cool completely before it touches the finished dough.

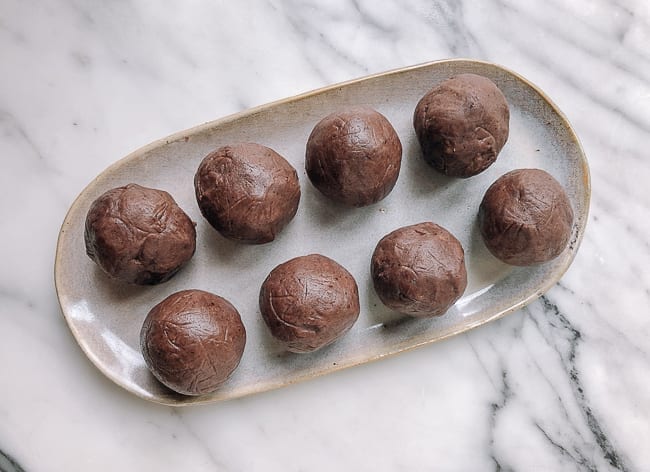
Step 10: Use the selected 100 g mold. Weigh the chilled dough from step 8 and chilled red bean paste from step 1 into matching 50 g portions and roll each into a ball with gloved hands. This makes about eight mooncakes, depending on the cooked dough yield. Assemble as many matched portions as the supplies allow, and keep any remaining filling chilled and remaining dough covered.
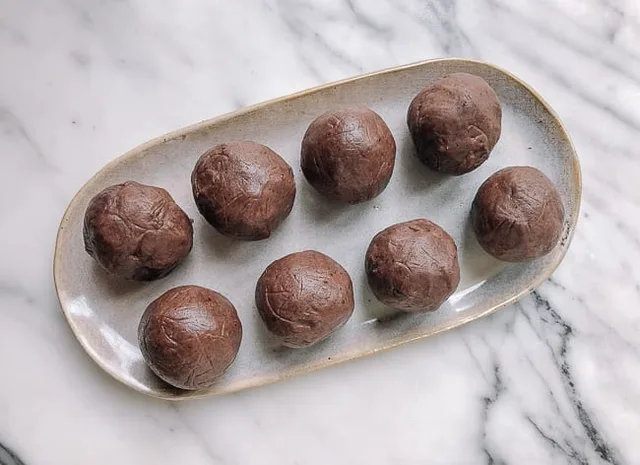
Step 11: Lay food wrap on the work surface. Take one 50 g dough ball from step 10 and press it into a round disc no wider than about 4 inches/10 cm. If using a rolling pin, keep the dough between two layers of food wrap to prevent sticking. Keep the remaining portioned dough and filling covered and chilled between batches.
Step 12: Place one matched 50 g red bean filling ball from step 11 in the center of the disc. Lift the wrapped disc, turn it upside down and gently press out air bubbles around the filling.
Step 13: Turn the opening of the filled skin from step 12 upward. Slowly press the edges together to seal, keeping the dough as even as possible around the filling.
Step 14: Brush every recess inside the mooncake mold with a little fully cooked, cooled dusting flour from step 9 and shake off the excess. Carefully place the sealed ball from step 13 inside without forcing it; reshape slightly if needed to fit. You may lightly dust the ball too, using only enough to prevent sticking.
Step 15: Turn the mold from step 14 open-side down on the wrapped work surface. Press the spring bar gently until you feel resistance, lift the mold and release the mooncake into your other hand. Repeat steps 11–15 with the remaining matching dough and filling portions from step 11, redusting with cooked flour from step 9 as needed. Keep finished cakes chilled, and keep any unused dough and filling separately covered in the refrigerator.
Step 16: Transfer the finished mooncakes from step 15 to an airtight container lined with food wrap and refrigerate promptly. Chill for a few hours before serving for the best chewy texture. Keep refrigerated and eat within 3–4 days for best taste; follow any shorter filling-product storage instructions.
Photos (2)
Comments
0 threadsSign in to join the discussion.



No comments yet. Start the discussion.