


Italian · Dessert
No-Bake Chocolate Pinecones Recipe
From the zcook collection
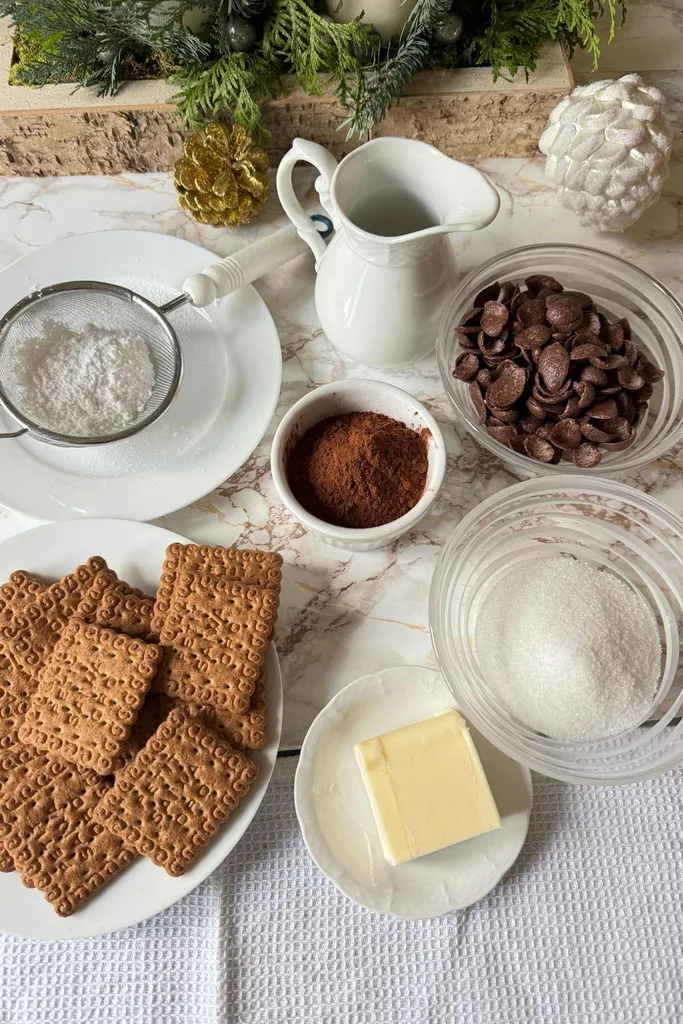
No-bake chocolate pinecones made from cookie crumbs, cocoa and butter, with chocolate cereal scales and a light powdered-sugar finish. Shape 4–6 cones and chill until firm.
- Vegetarian
- Italian
- Dessert
- Cookies
- Total
- 1 hr
- Prep
- 30 min
- Serves
- 4–6 chocolate pinecones
- Level
- Easy
Method9 steps · about 1 hr
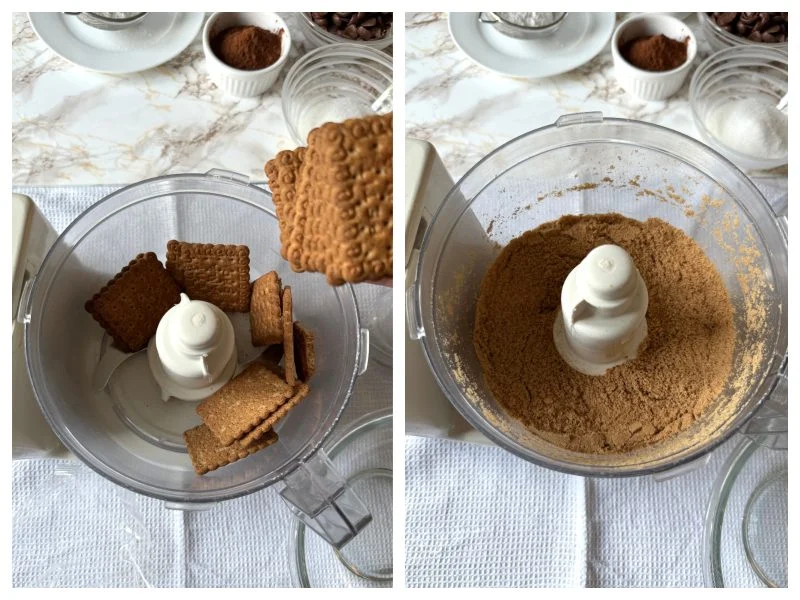
Step 1: Grind the 150 g plain dry cookies to fine crumbs with no large pieces.
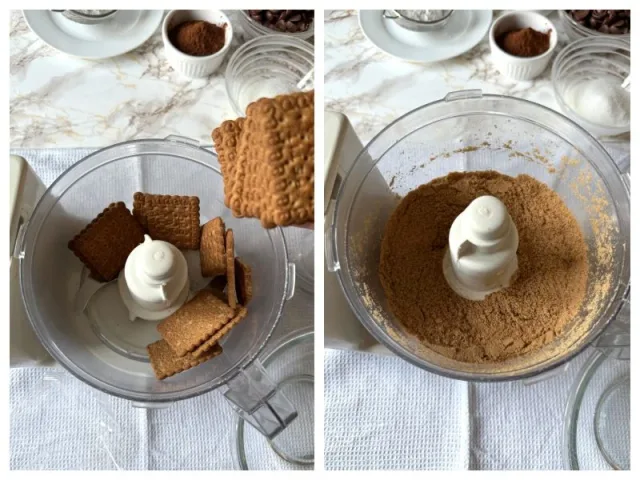
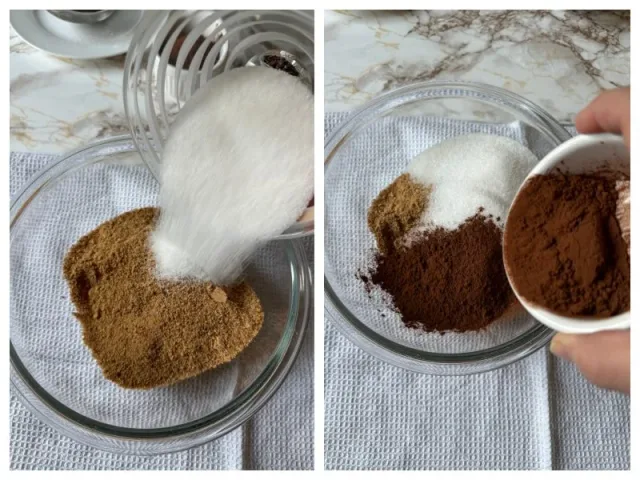
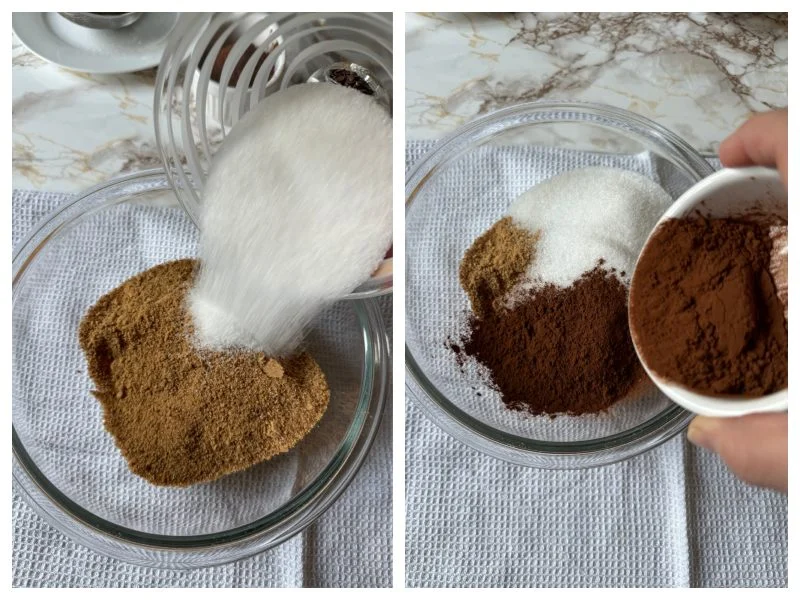
Step 2: Put the cookie crumbs from step 1 in a mixing bowl. Stir in the 100 g granulated sugar and 30 g unsweetened cocoa until evenly combined.
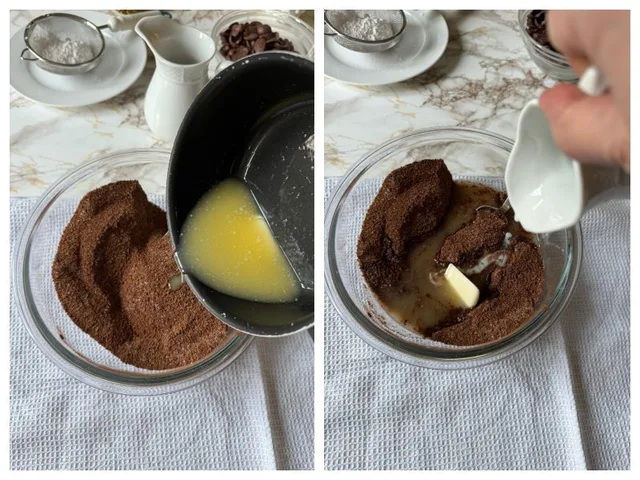
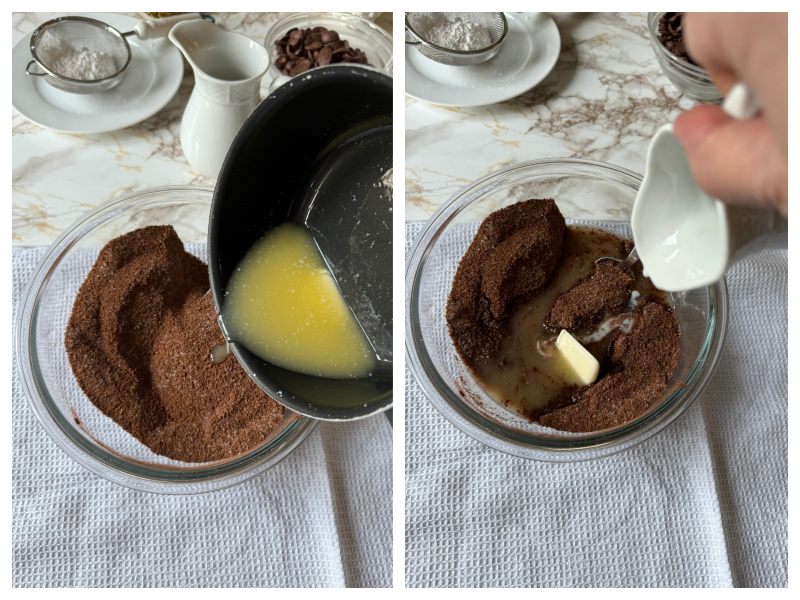
Step 3: Gently melt the 100 g unsalted butter without frying or bubbling it. A few soft, unmelted pieces can finish melting as you mix the dough.
Step 4: Add the melted butter from step 3 to the cookie mixture from step 2. Add milk gradually from the 25 ml supply, using just enough to bring the mixture together. If it remains dry, add a tiny amount of extra milk; keep the dough firm rather than wet.
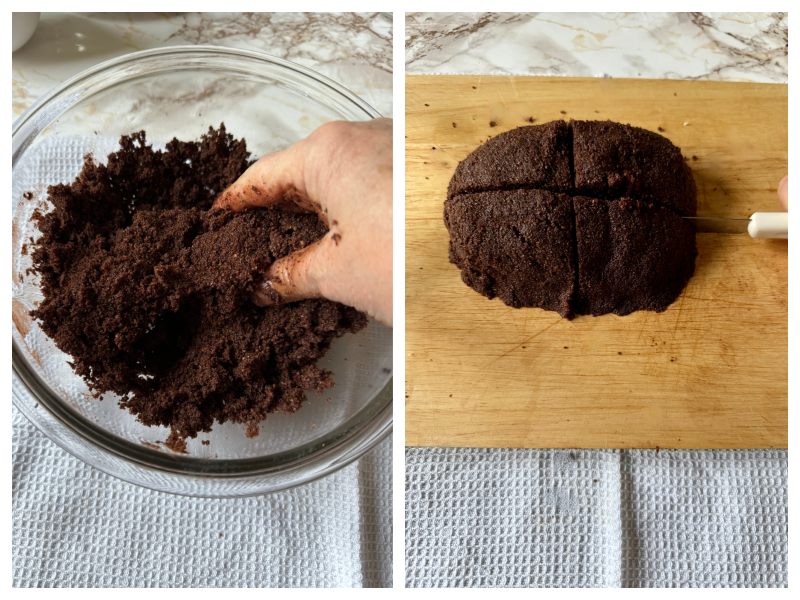
Step 5: Knead the mixture from step 4 on a clean work surface until smooth and compact. Divide it into 4–6 equal portions; smaller cones are easier to coat.
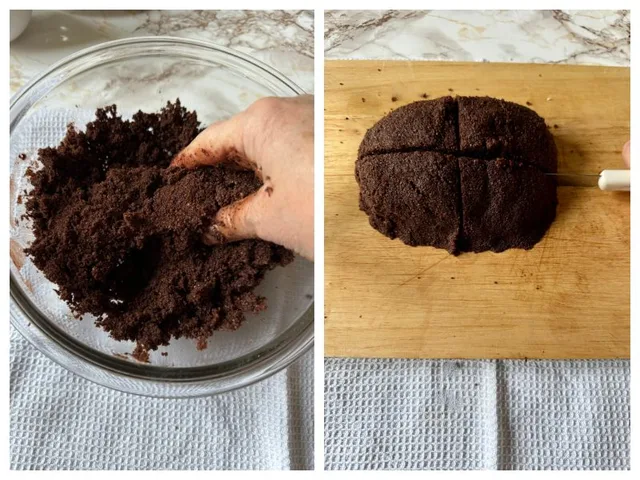
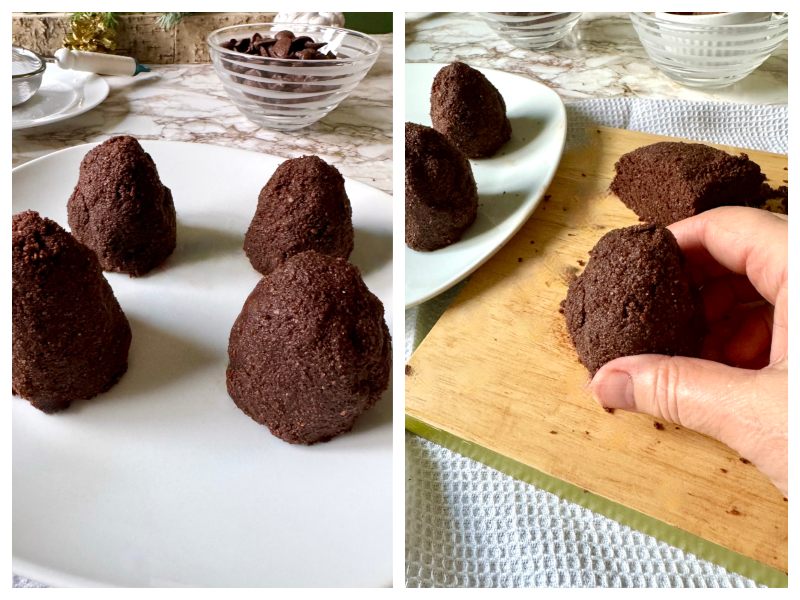
Step 6: Shape each portion from step 5 into a small pyramid or cone with your hands.

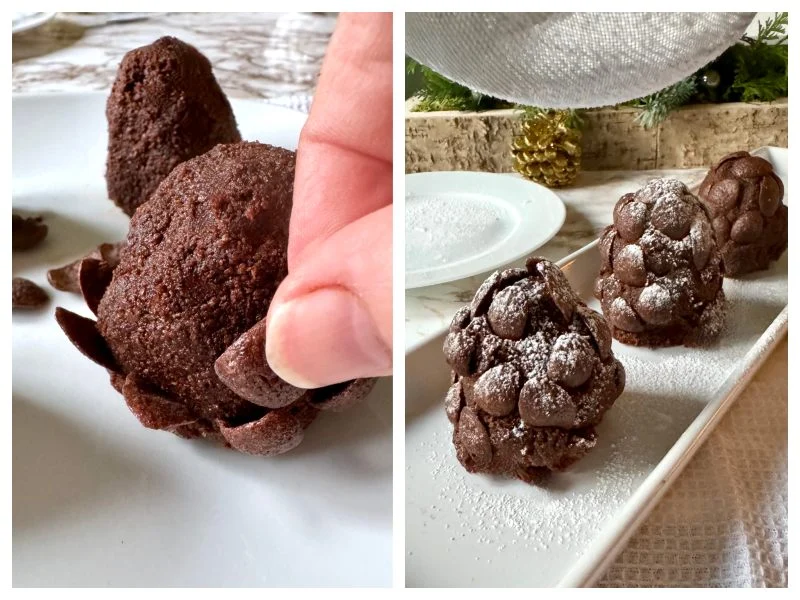
Step 7: Press boat-shaped chocolate cereal pieces into the cones from step 6. Work from the base upwards in overlapping layers, pointing the curved tips outwards like pinecone scales. Use enough from the 100 g supply to cover every cone, handling the cereal gently.

Step 8: Put the coated pinecones from step 7 on a tray or plate. Refrigerate for at least 30 minutes, until firm enough to handle.
Step 9: Just before serving, lightly dust the chilled pinecones from step 8 with powdered sugar.
Photos (3)
Comments
0 threadsSign in to join the discussion.



No comments yet. Start the discussion.