
Indian · Dinner
Paneer Biryani Recipe (Restaurant Style)
From the zcook collection
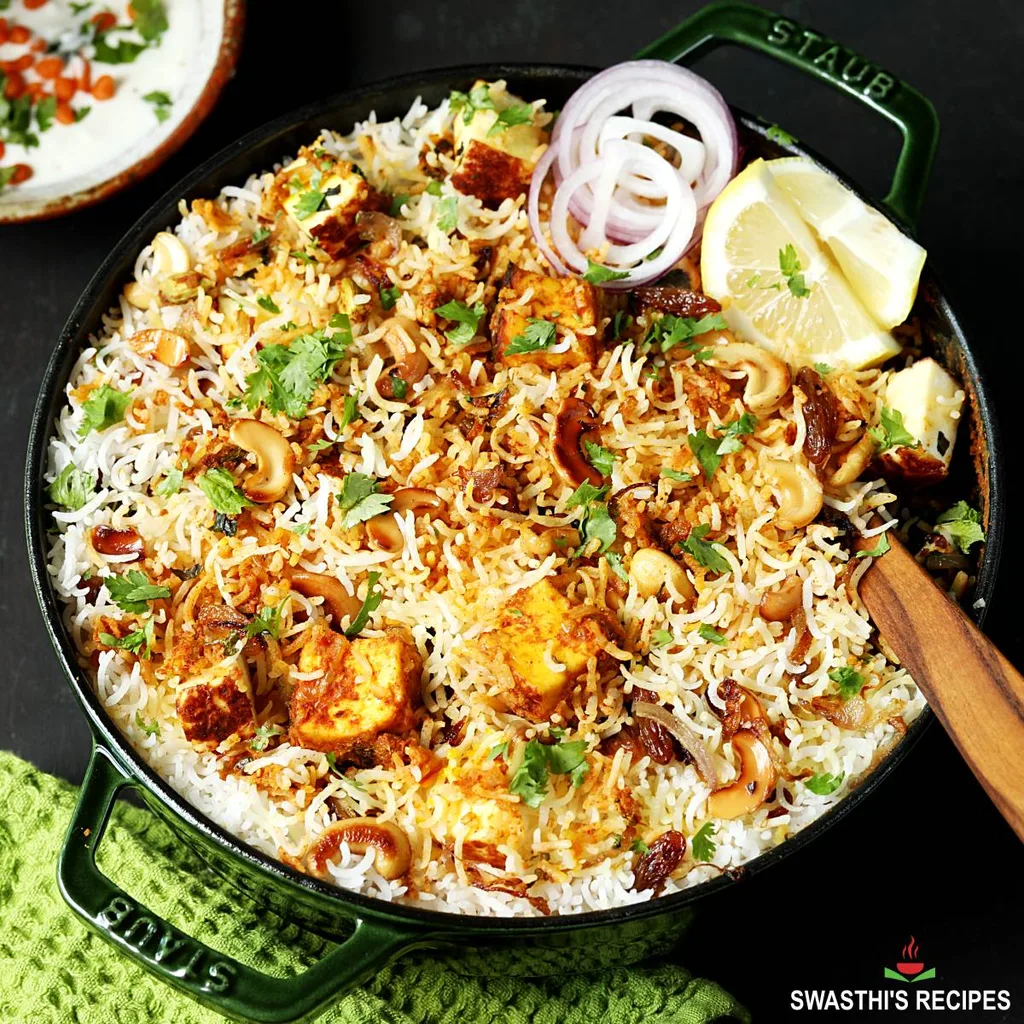
Layered paneer biryani with partly cooked basmati, a yogurt-spice gravy, saffron milk and fried onion-nut garnish. Steam gently on a griddle and rest 20 minutes before serving.
- Vegetarian
- Indian
- Main
- hyderabadi paneer dum biryani
- Paneer biryani
- Total
- 1 hr 55 min
- Prep
- 45 min
- Cook
- 50 min
- Serves
- 4 to 5
- Level
- Hard
- Energy
- 704 kcal
Method28 steps · about 1 hr 55 min
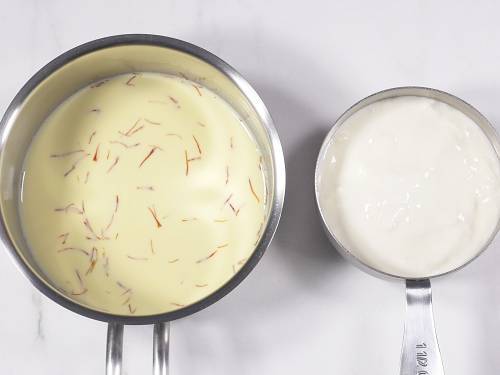
Step 1: Heat the quarter cup saffron milk (¼ cup), soak the two to three pinches saffron and optionally stir in the teaspoon kewra or rose water. Reserve this same saffron milk for layering.
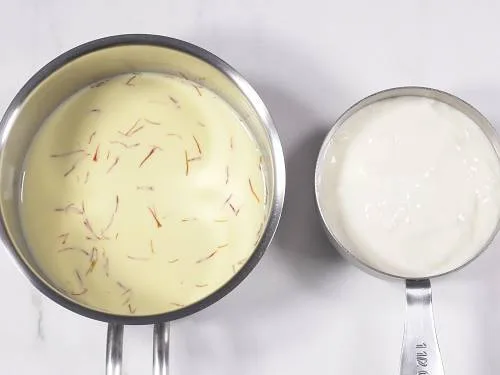
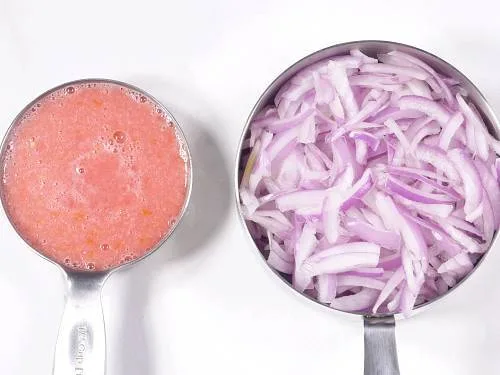
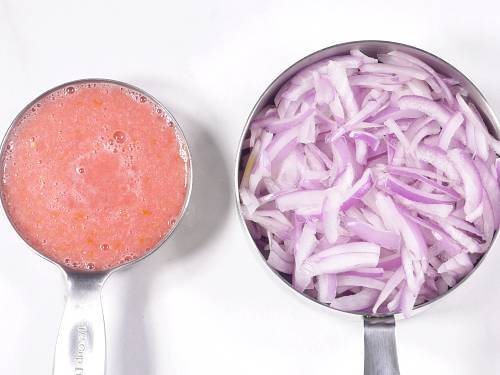
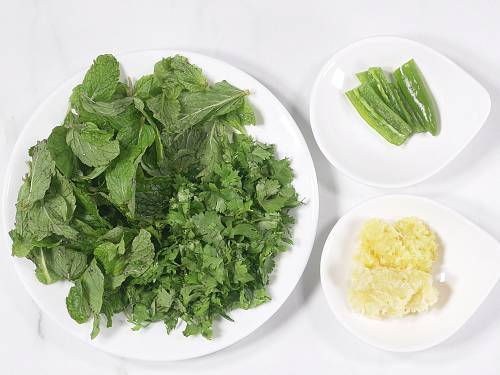
Step 2: Slice onions (2 cup) thinly and evenly, separate their layers and measure two cups, about 180 g. Slit the optional green chilies and deseed if needed.
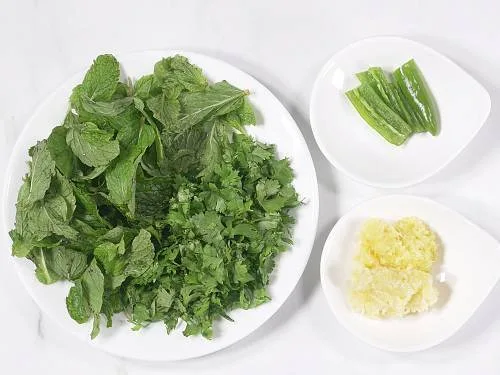
Step 3: Rinse the mint and coriander in separate water, discard the rinse, drain and chop. Reserve each prepared three-quarter-cup herb supply for its three-quarter and remaining-quarter portions later.
Step 4: Rinse the same 400 g dry basmati rice and soak at least 30 minutes in separate water. Discard this soaking water at step 21; it is not the gravy or boiling water.
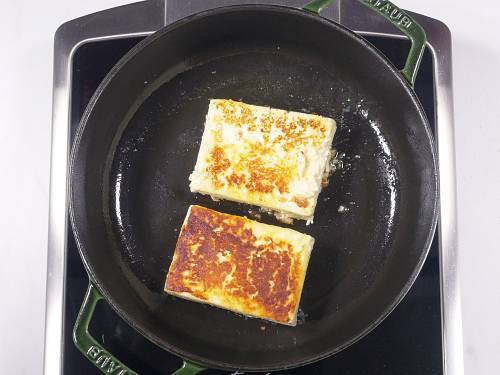
Step 5: Heat only the first one tablespoon from the six-tablespoon ghee or oil supply. Fry the selected 250–400 g paneer blocks until golden on both sides; wait until the pan is hot so they release cleanly. For the no-paneer-garnish option choose 300 g and later put it all in the gravy.
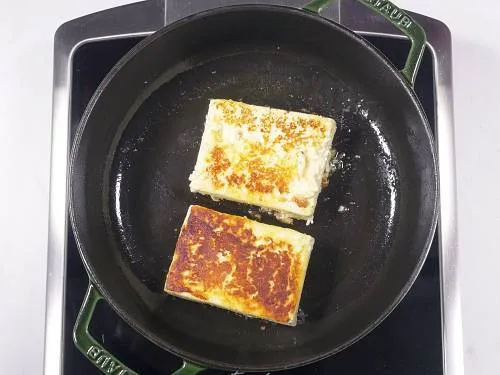
Step 6: Remove these same fried blocks, cool completely and dice each into 10–12 portions. Reserve for the gravy and optional garnish.
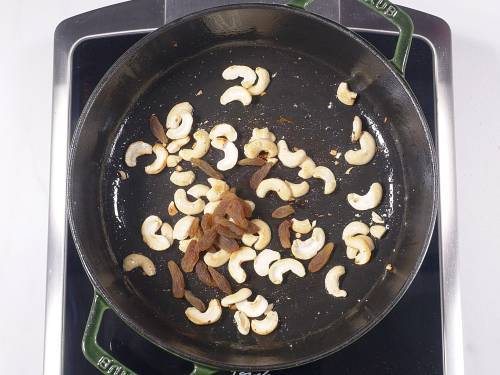
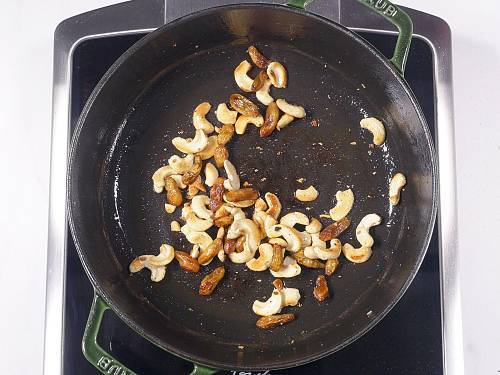
Step 7: Use the same pan and any retained paneer-frying fat, adding only one teaspoon from the same measured six-tablespoon ghee supply. Fry the 20 cashews light golden, add raisins (3 to 4 tablespoons) and fry until plump. Remove this same nut/raisin garnish and reserve.
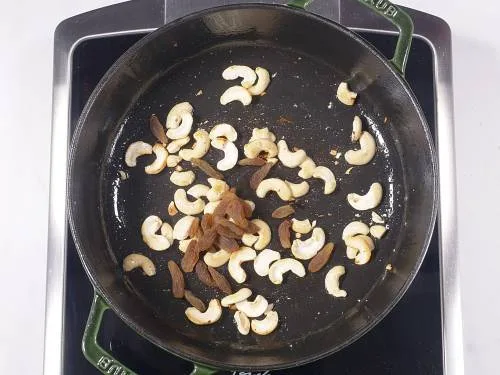
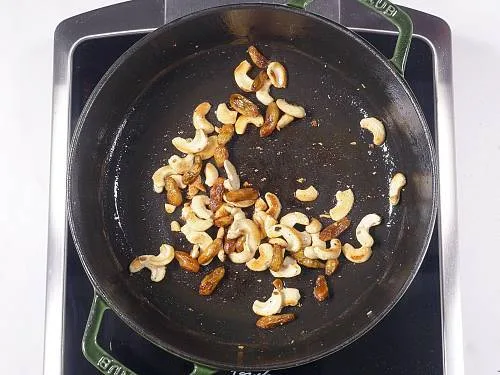
Step 8: Wipe any burnt paneer or nut fragments from the pan with kitchen tissue.
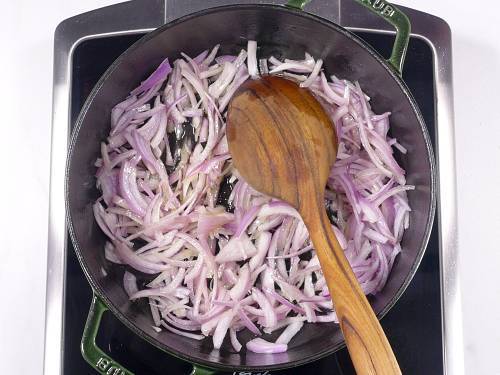
Step 9: Reserve the final one tablespoon from the measured six-tablespoon ghee supply. After the earlier tablespoon and teaspoon, use only the remaining 3⅔ tablespoons for onion frying. Add the sliced onions from step 2, fry over medium-high heat and stir/spread them often.
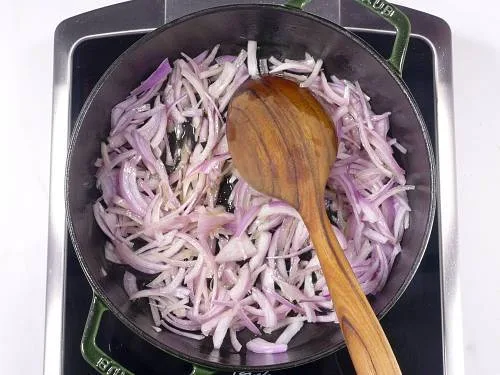
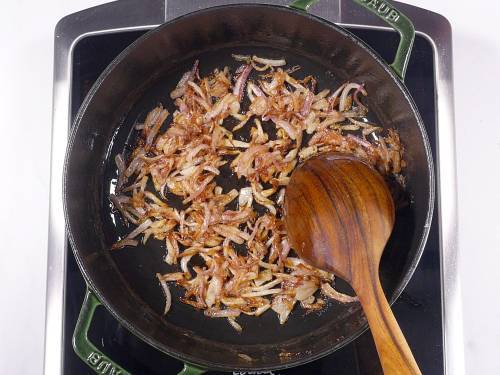
Step 10: Continue frying these same onions, reducing heat from high to medium then low as needed, until deep golden without burning. The full source guide takes about 12 minutes; watch closely near the end.
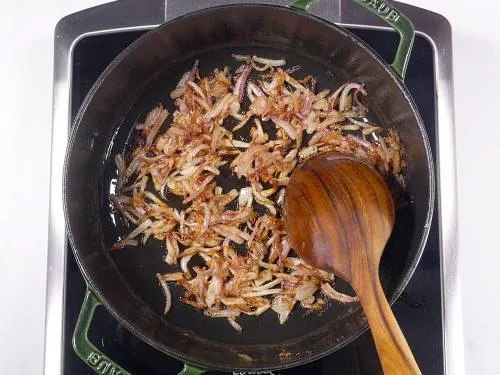
Step 11: Reserve only two tablespoons of these cooked fried onions for final garnish. Leave all remaining fried onions in the pan for the gravy.
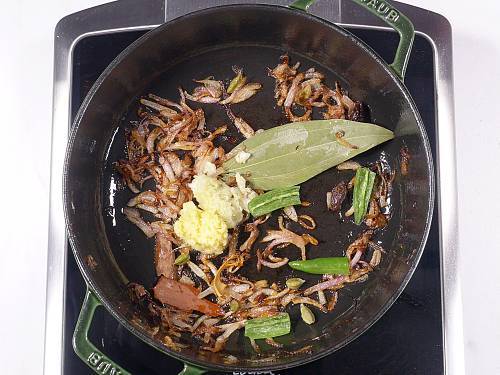
Step 12: Reduce the heat. Add the six whole-spice ingredients OR the separate one-third teaspoon garam masala (⅓ teaspoon) instead of all those whole spices. Sauté the ginger-garlic paste (1½ tablespoon) and the same optional prepared green chilies from step 2 until aromatic.
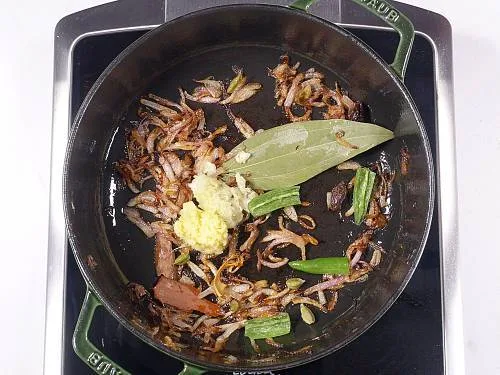
Step 13: Add the gravy salt (¾ teaspoon), biryani or garam masala, coriander powder (1 tablespoon), roasted cumin powder (1 teaspoon), Kashmiri chili powder and turmeric (¼ teaspoon) to this same onion-spice base.
Step 14: Add the half cup tomato puree and cook this same masala until thick and aromatic.
Step 15: Whisk the 1¼ cups plain yogurt smooth, OR whisk one cup Greek yogurt with its separate quarter cup milk instead. Mix only two tablespoons of the cooked masala from step 14 into this chosen yogurt mixture to temper it; leave all remaining masala in the pot.
Step 16: Turn the heat low and stir the entire tempered yogurt mixture from step 15 into the remaining tomato-spice masala.
Step 17: Cook the yogurt-masala gravy over low heat, stirring, until thick and traces of fat appear.
Step 18: Turn off and stir the separate three to four tablespoons hot gravy water into the same cooked gravy.
Step 19: Taste the gravy and adjust only with separate extra salt or garam masala (to taste) if needed. Add three quarters of the prepared mint and coriander from step 3 and three quarters of the fried diced paneer from step 6, reserving their final quarters. If the no-paneer-garnish option was chosen, add all of its 300 g fried paneer here instead. Cover until rice is ready.
Step 20: Bring the separate six cups rice-boiling water rapidly to a boil with the rice-only salt (1½ to 2 teaspoons), rice-only tablespoon oil (1 tablespoon) and tablespoon lemon juice (1 tablespoon).
Step 21: Drain and discard the rice soaking water. Add only the same soaked rice from step 4 to the boiling water from step 20, keeping the water from overflowing.
Step 22: Cook this same rice only to about 95% done, still with a slight bite. Drain to a colander and gently shake off excess boiling water.
Step 23: Before layering, make sure both the cooked paneer gravy from step 19 and the drained rice from step 22 are hot. If the gravy cooled, reheat and turn off. It must be slightly runny; use only separate extra hot water if slight thinning is necessary.
Step 24: Layer the same hot drained rice over the hot paneer gravy and pour all the reserved saffron milk from step 1 evenly over it.
Step 25: Add only the remaining quarter of each prepared herb, remaining quarter fried paneer if reserved, the same fried cashews/raisins, the reserved two tablespoons fried onion and final reserved tablespoon ghee. Optionally add the separate quarter teaspoon garnish biryani masala (0.25 tsp).
Step 26: Seal this assembled pot with foil or a moist cloth and cover with a heavy lid. Heat 2–3 minutes over medium until the pot is hot while heating a griddle on another burner.
Step 27: After those initial 2–3 minutes, place the same pot on the hot griddle, lower heat and steam 15–18 minutes. Turn off and rest 20 minutes. Avoid direct flame, which can scorch the layered gravy.
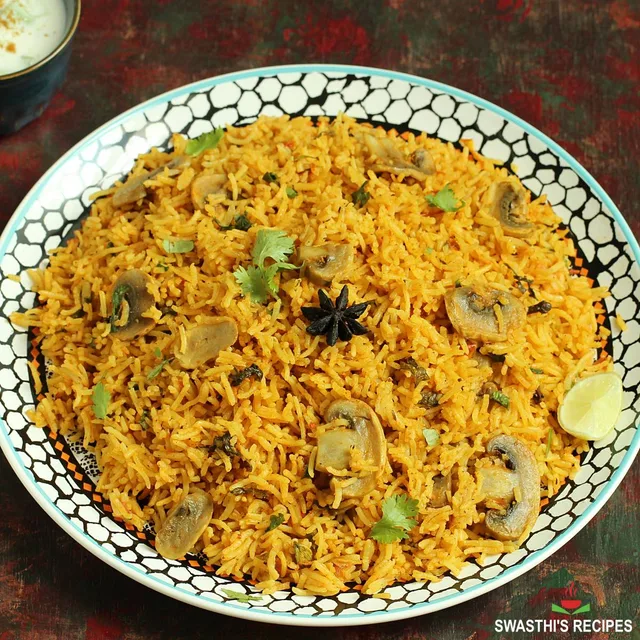
Step 28: Serve the same finished biryani in layers so each portion gets paneer gravy, cooked basmati and garnish. Prepared raita, salad or salan may accompany it.
Photos (1)
Comments
0 threadsSign in to join the discussion.
No comments yet. Start the discussion.