

Portuguese · Dessert
Portuguese Custard Tarts (Pasteis de Nata)
From the zcook collection
Portuguese-style custard tarts with flaky homemade rough puff pastry, as enjoyed in Macau. Start with cold prepared pastry; this batch makes twelve small tarts.
- Vegetarian
- Portuguese/Macau
- Dessert
- Total
- 3 hr 30 min
- Prep
- 3 hr
- Cook
- 30 min
- Serves
- 12
- Level
- Hard
- Energy
- 245 kcal
Method17 steps · about 3 hr 30 min
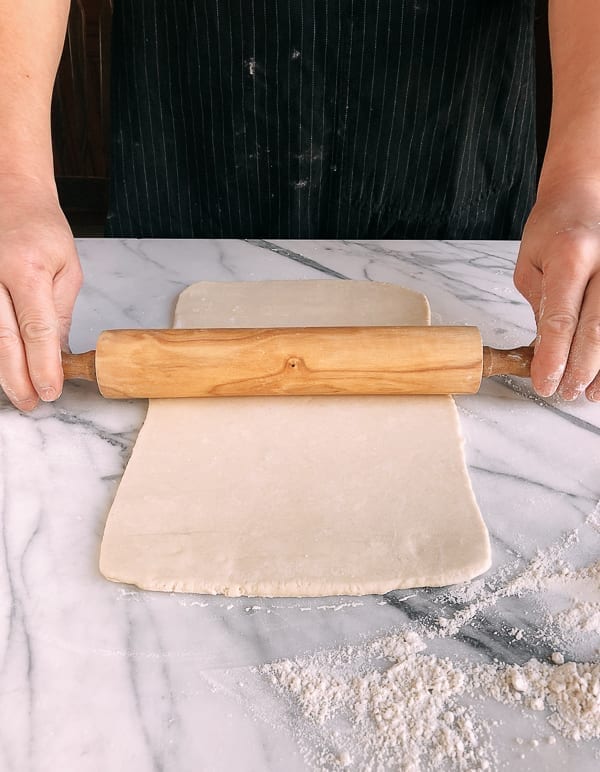
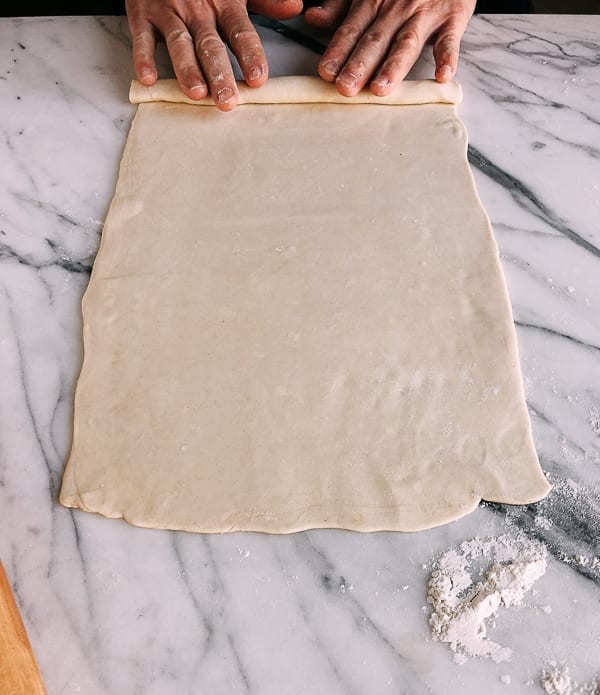
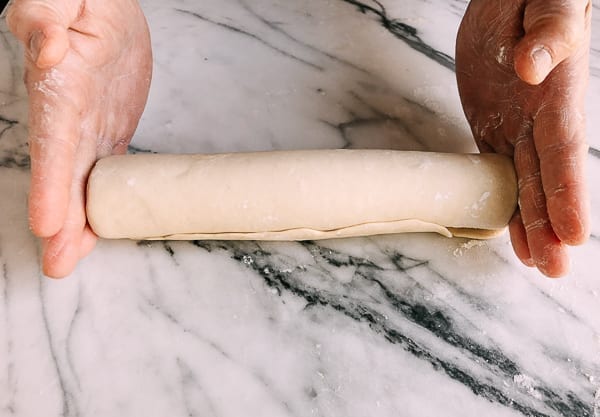
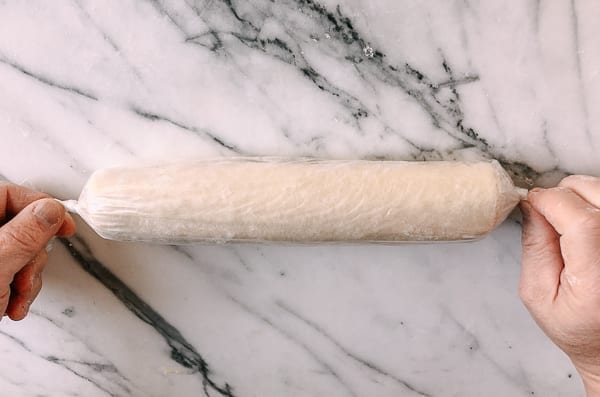
Step 1: On a lightly floured surface, roll the cold prepared puff pastry into a 10×12-inch rectangle. Roll tightly from a 10-inch side into a 10-inch-long log. Wrap in plastic and freeze for 30 minutes, until firm enough to slice.
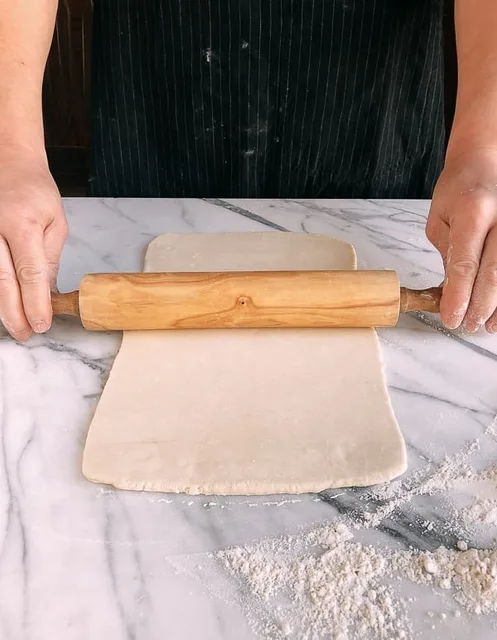
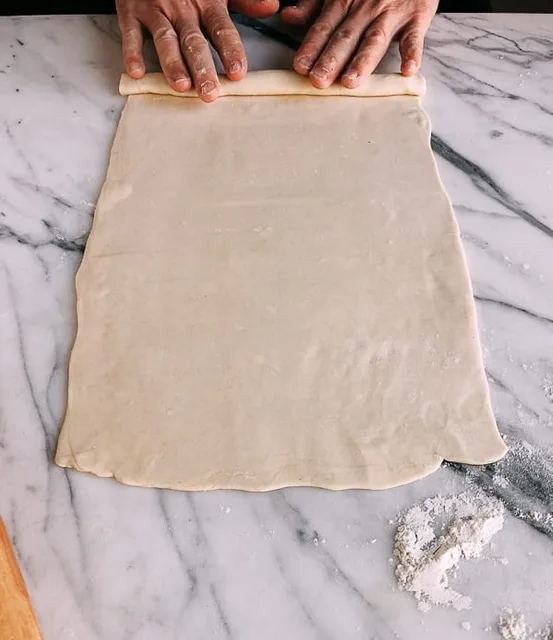
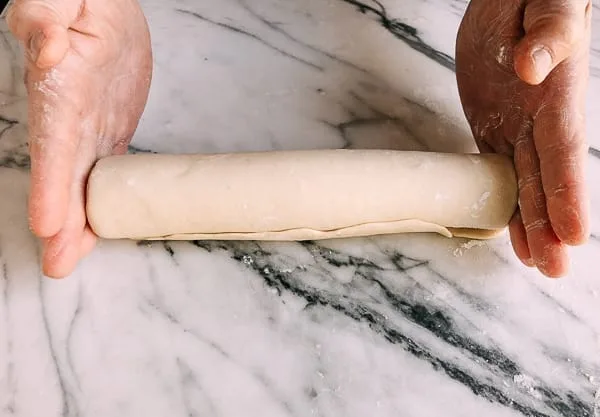
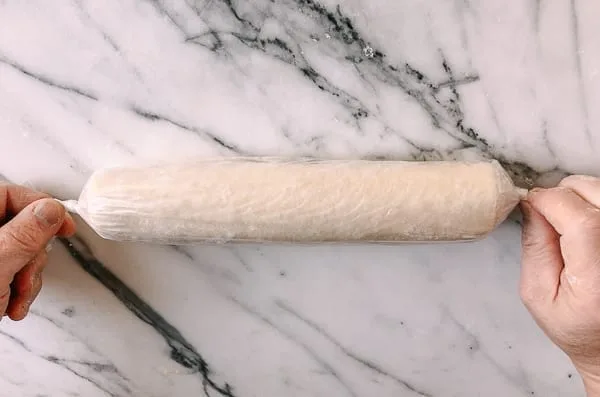
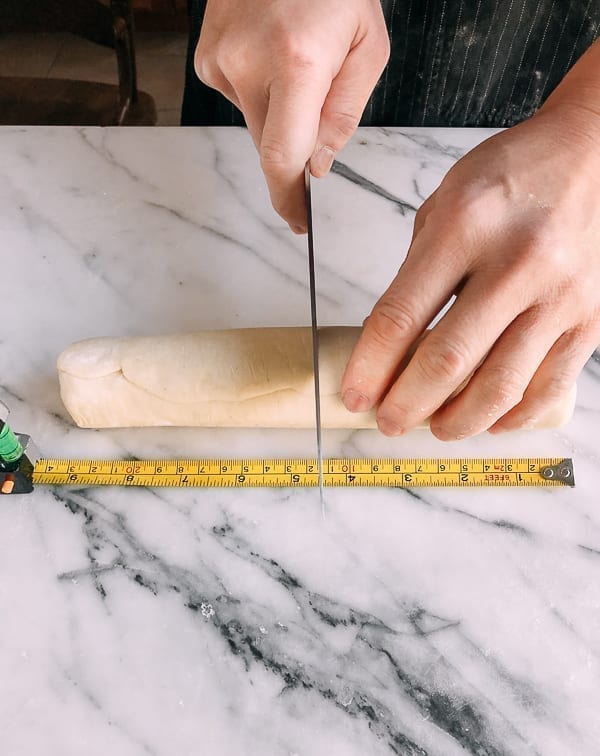
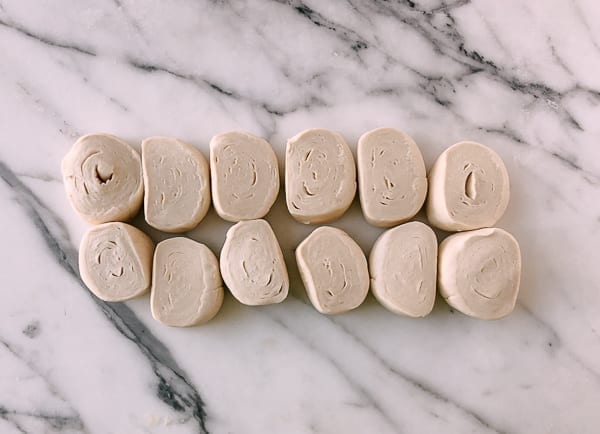
Step 2: Cut the firm log into 12 equal pieces, about 35 g each. Work with six pieces at a time, keeping the rest refrigerated while shaping.
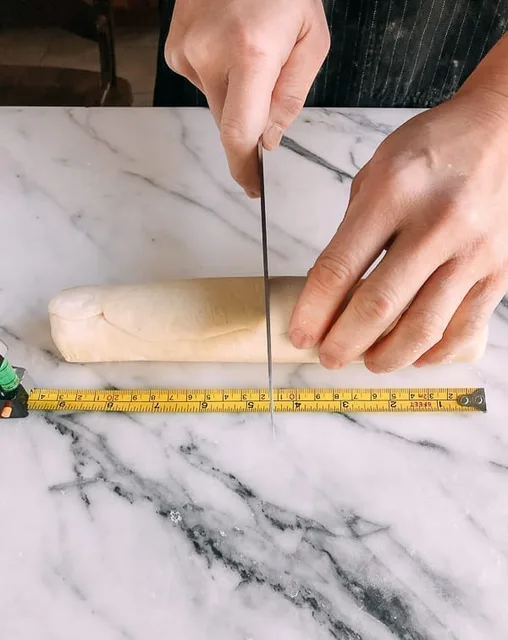
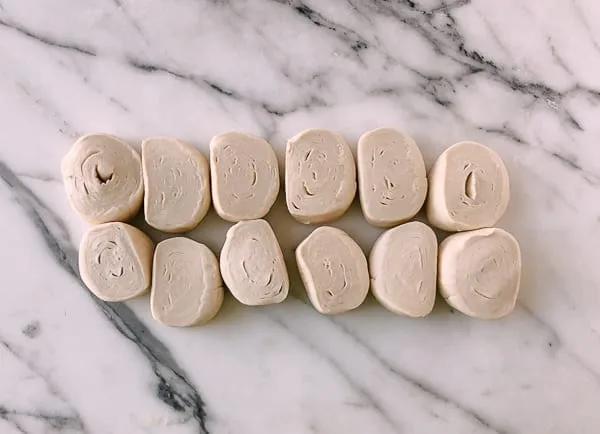
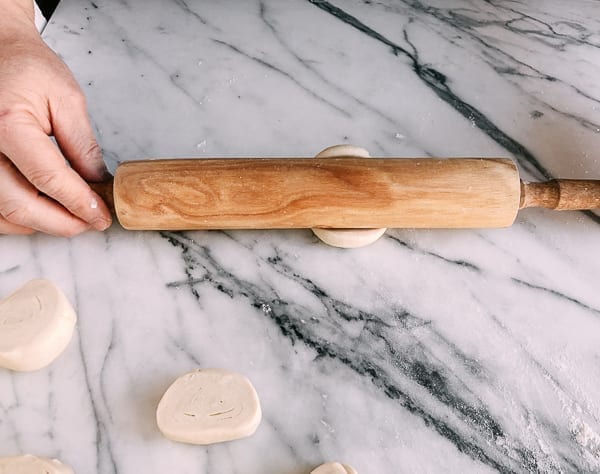
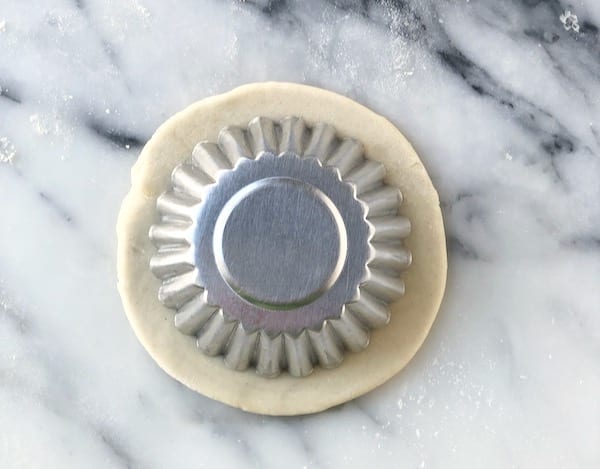
Step 3: Place each piece swirl-side up on the lightly floured surface. Roll it into a disc about ¼ inch wider than the tart tin and about 3/16 inch thick. Use flour sparingly and a metal scraper to lift the dough.
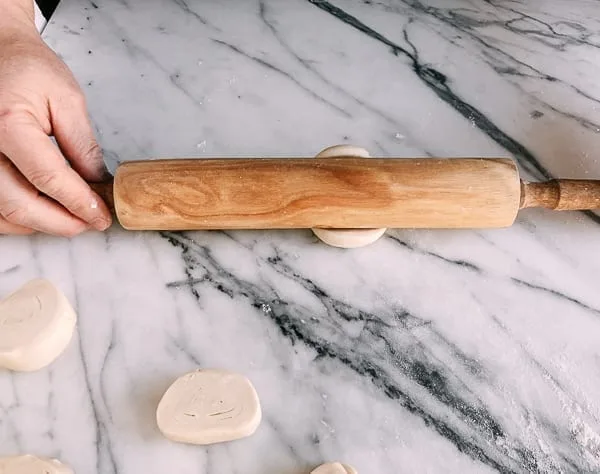
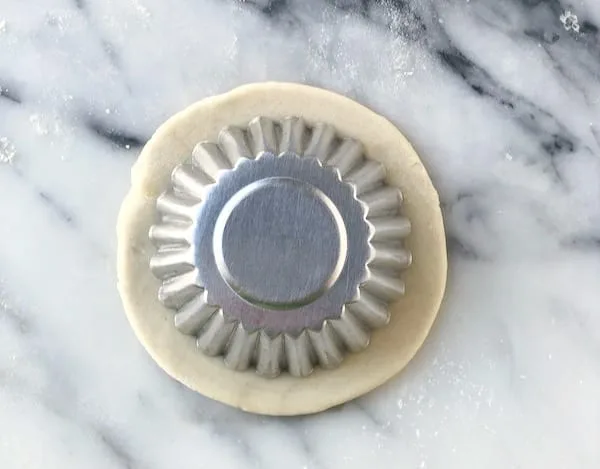
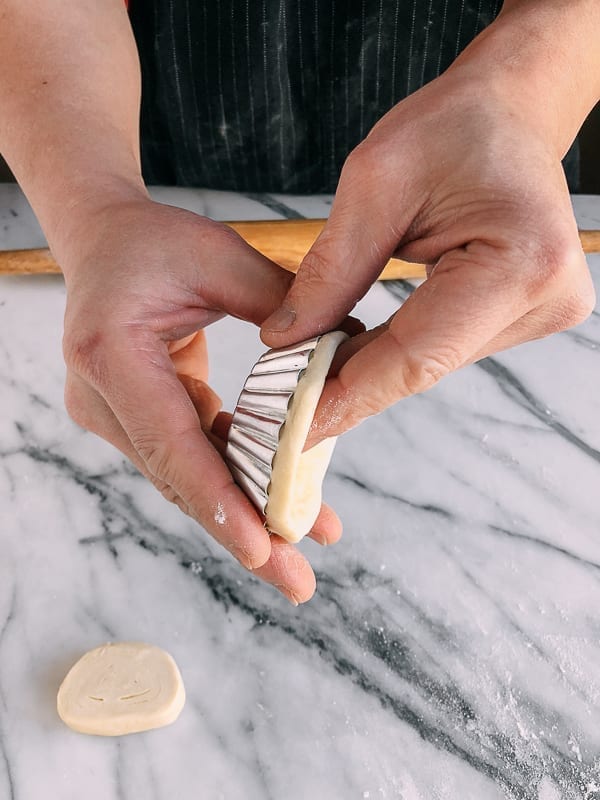
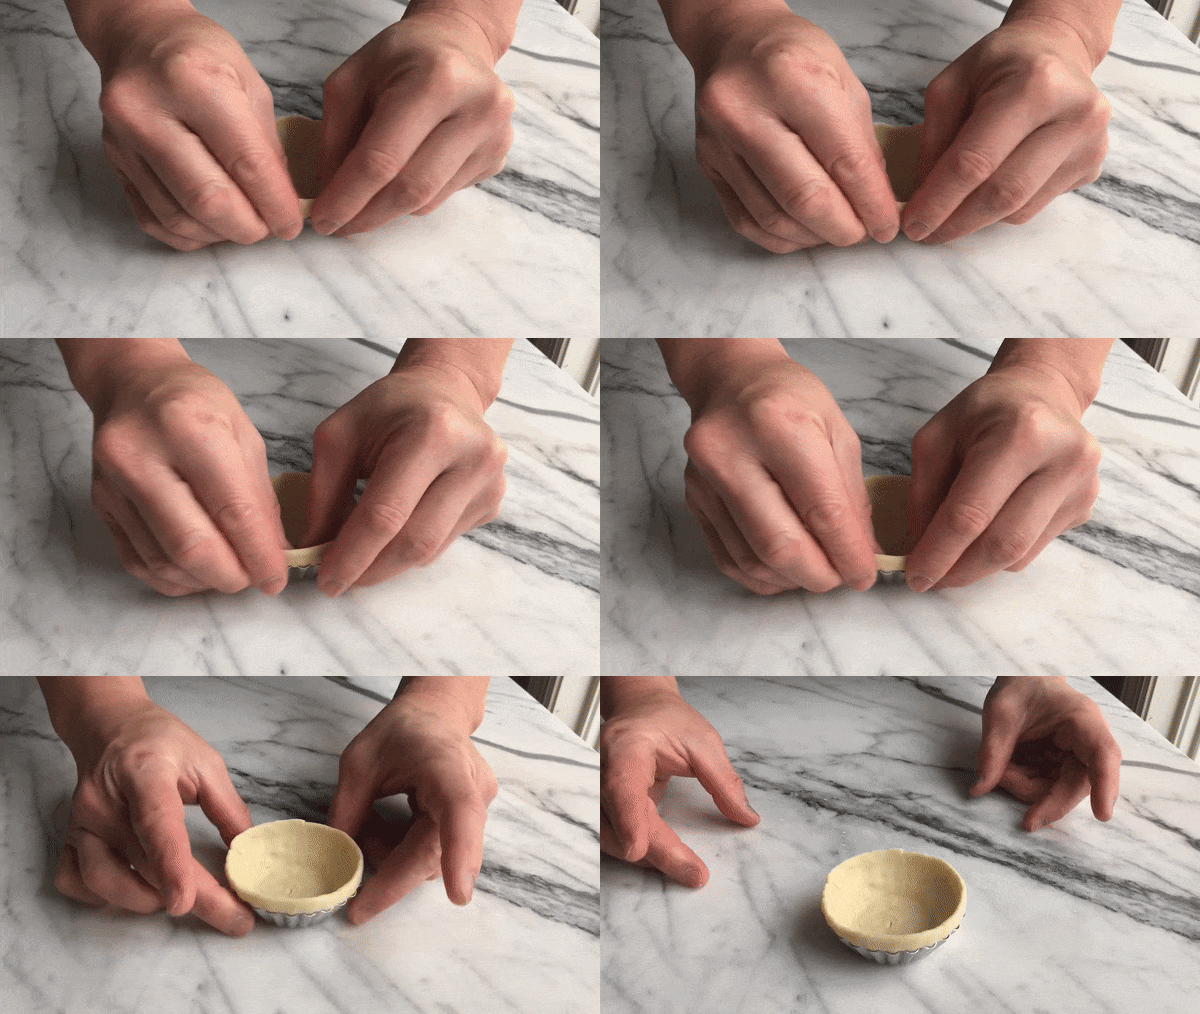
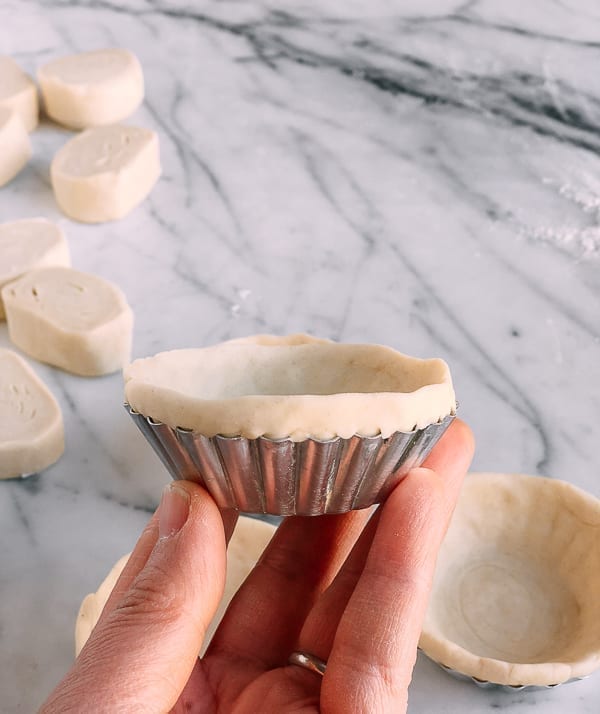
Step 4: Press each disc into a small tart tin, fitting the bottom and sides closely and leaving a small lip above the rim. The author’s tins hold about ¼ cup and measure about 7 cm across the top, 5 cm across the bottom and 2 cm deep. Dust your fingers sparingly as needed, and keep the pastry cold while fitting it.
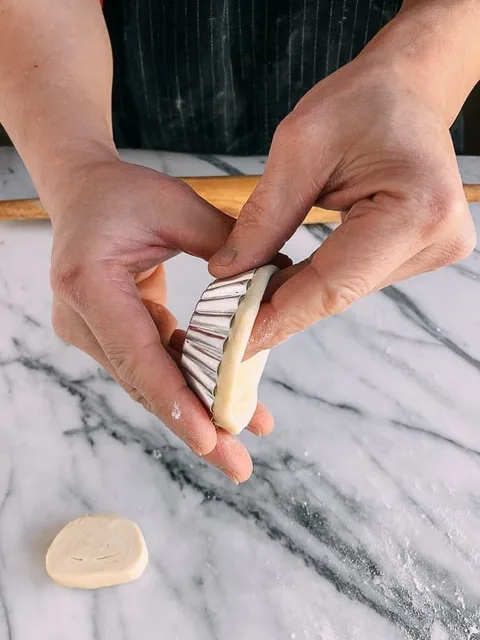
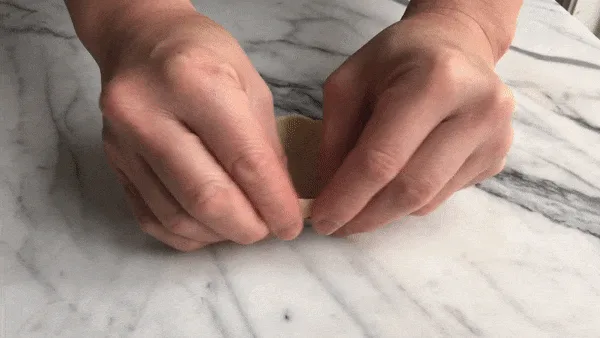
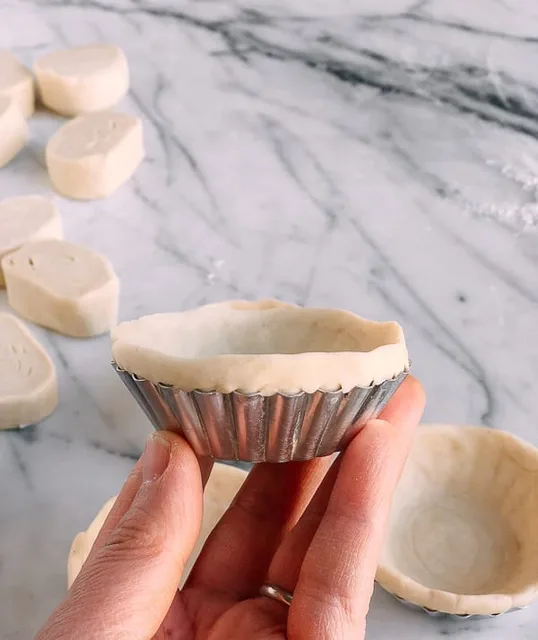
Step 5: Freeze the formed, unfilled pastry cups in their tins for at least 35 minutes, until frozen. They may be kept unfilled in the freezer for up to two weeks; keep them frozen until filling.
Step 6: In a small saucepan, whisk the cream (118 ml), sugar (115 g), milk (300 ml), egg yolks (2), cornstarch (4 tsp) and vanilla (1¼ tsp) together while cold, until the sugar dissolves.
Step 7: Heat the custard over medium-low heat, whisking continuously and scraping the bottom. Stop heating when it begins to steam and lightly coat the sides of the pan; it should remain pourable rather than become thick pudding.
Step 8: When the custard lightly coats a spoon, remove the pan from the heat. Continue whisking and scraping the sides so no lumps form.
Step 9: Cool the custard completely before filling the frozen pastry. Cover its surface with plastic wrap to prevent a skin. Cool promptly, and proceed to filling and baking; warm custard would melt the pastry.
Step 10: Preheat the oven to 475°F (about 246°C). Place the frozen pastry cups, still in their individual tins, on a sheet pan.
Step 11: Fill the frozen pastry cups with the cooled custard, leaving about 3/16 inch below each pastry rim. Use only what fits at this level. Cook any excess custard through promptly for another use.
Step 12: Put the filled tarts on the middle rack and immediately lower the oven to 450°F (about 232°C). Bake for 20 minutes, then check and rotate the pan. This is the first part of the author’s approximately 30-minute total bake.
Step 13: Bake for another 5 minutes, bringing the elapsed baking time to about 25 minutes. Check for golden pastry and bubbling, browned spots on the custard.
Step 14: Continue baking for about 5 minutes more, to roughly 30 minutes total, until the pastry is cooked through and the custard is set, with browned spots. The custard centre must reach 71°C (160°F). If the tops brown too quickly, switch off the heat and let the residual oven heat finish cooking; remove only when fully cooked.
Step 15: Remove the fully baked tarts from the oven and let them cool in their tins on a wire rack.
Step 16: Once cool enough to handle, gently remove the tarts from their tins and enjoy warm. Refrigerate any leftovers promptly, within two hours of cooking.
Step 17: For the optional reheating route, place the tarts in an oven at 350°F (about 177°C) for 7–10 minutes, checking at 7 minutes, until hot through. Refrigerated leftovers should reach 74°C (165°F).
Photos (1)
Comments
0 threadsSign in to join the discussion.


No comments yet. Start the discussion.