
Japanese · Dinner
Hiroshima Okonomiyaki
From the zcook collection
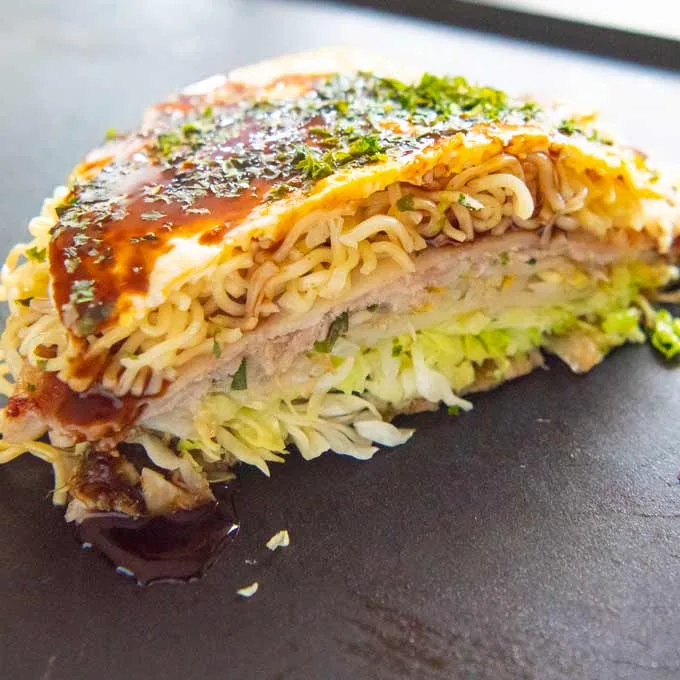
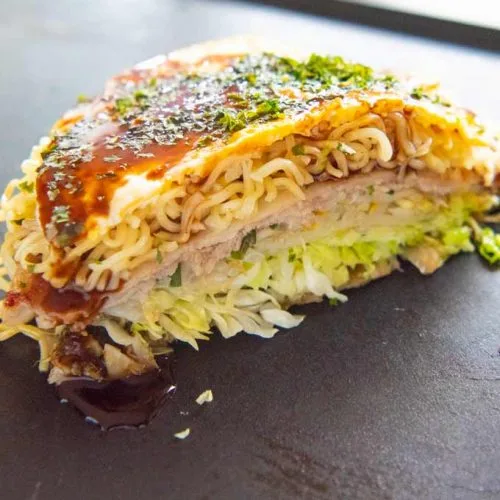
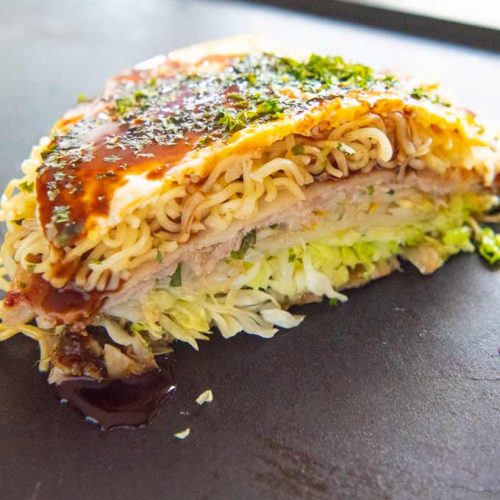
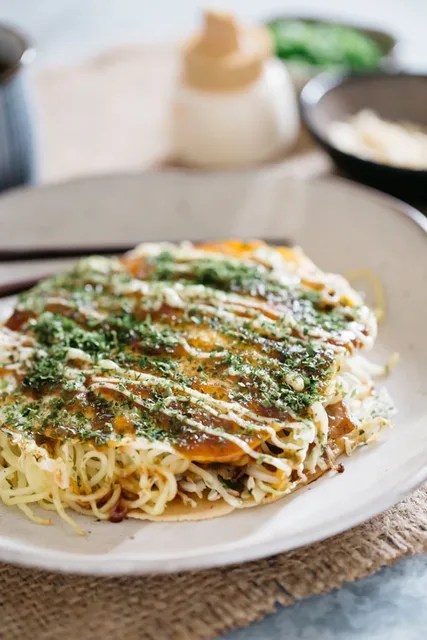
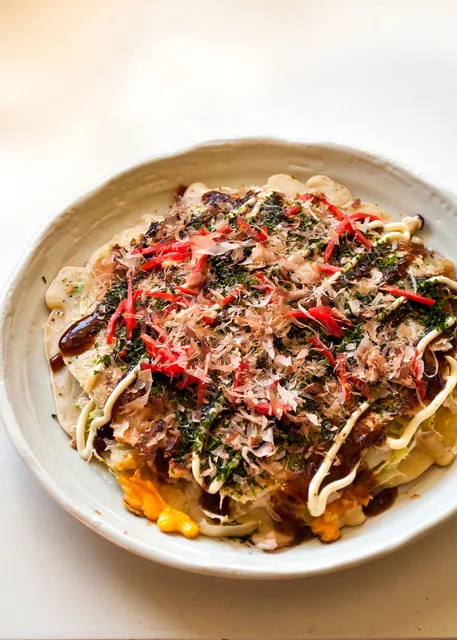
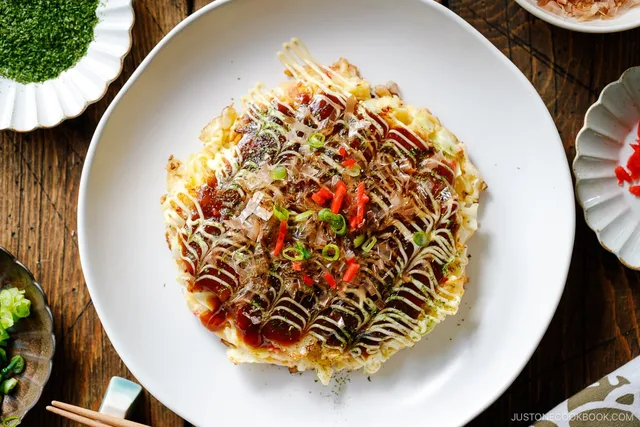
A Hiroshima-style layered savory pancake with cabbage, bean sprouts, thin pork belly, cooked yellow noodles and an egg layer, topped with ready okonomiyaki sauce and aonori.
- Japanese
- Main
- Hiroshima
- Okonomiyaki
- Prep
- 5 min
- Serves
- 1 large layered pancake, cut into 2 portions
- Level
- Hard
Method19 steps
Step 1: Heat a flat griddle or the first of two frying pans to about 170°C (338°F). Keep two wide spatulas ready for turning the layered pancake.
Step 2: Whisk all 40 g flour and 80 ml batter water together in a bowl until smooth and free of lumps.
Step 3: Brush one side of the griddle, or the first pan, with a thin film of oil. Pour about three-quarters of the batter from step 2 onto it and spread into a thin circle about 20 cm (8 inches) across. Keep the remaining batter in the bowl.
Step 4: Increase the cooking surface to about 200°C (392°F). Scatter the tablespoon of bonito flakes (1 tbsp) over the thin pancake from step 3, followed by the optional 5 g tororo konbu. If omitting the kelp, add the additional tablespoon bonito instead, making 2 tablespoons bonito in total.
Step 5: Pile all the shredded cabbage (120 g), then all the bean sprouts (80 g), on the seasoned pancake from step 4, keeping them inside its edge. The pile will stand roughly 8 cm (3 inches) high. Sprinkle the vegetable pinch of salt (1 pinch) over it.
Step 6: Press the vegetable pile from step 5 down gently to flatten its top. Scatter all the ready tenkasu (2 tbsp) and chopped scallions (1 tbsp) over it. Lay all the pork belly (50 g) slices across the top to cover the vegetables, then season the pork with its pinch of salt and pepper.
Step 7: Cook the layered pile from step 6 for about 5 minutes, until the edge of the thin pancake curls upward. Leave the pile in place until the base is firm enough to lift.
Step 8: Drizzle all the remaining batter from step 2 over the top of the pile from step 7 in thin lines to help hold the layers together.
Step 9: Slide one large spatula, or two wide spatulas, underneath the base from step 8. Lift and turn the whole pile quickly so the pork is underneath and the pancake is on top.
Step 10: Tuck any escaped vegetables back against the pile from step 9. Recenter the top pancake and shape the pile into a neat round, keeping the pork against the cooking surface.
Step 11: Cook the turned pile from step 10 for about 8–10 minutes, until the cabbage is soft and wilted and the thin pork is cooked through, reaching at least 63°C (145°F). Continue if needed. Begin step 12 after roughly 6 minutes of this cooking phase so the noodles finish alongside the pancake.
Step 12: About 6 minutes into step 11, brush the unused griddle area or a second pan heated to about 200°C (392°F) with a little oil. Add all 100–120 g ready cooked yellow noodles and stir-fry for about 2 minutes, loosening the strands and heating them through. Add a little of the optional loosening water only if the noodles stick together. If the pancake needs longer, keep the noodles warm over gentler heat.
Step 13: When the cabbage and pork from step 11 are fully cooked and the noodles from step 12 are ready, shape the noodles into a circle matching the pancake. Lift the whole layered pancake onto the noodles.
Step 14: Lower the griddle to about 170°C (338°F). Keep the layered pancake and noodles from step 13 on one side. Clean the freed cooking area and brush it thinly with oil for the egg; if using two pans, prepare a cleared, oiled pan in the same way.
Step 15: Crack the egg (1) onto the newly oiled area from step 14. Break the yolk immediately and spread the egg into a thin circle about the same size as the pancake.
Step 16: While the thin egg from step 15 is still partly unset, lift the pancake and noodles from step 14 onto it, keeping the layers together.
Step 17: Cook the egg underneath the stack from step 16 for about 10–20 seconds as an initial check. Slide the spatula under the egg and turn the entire stack so the egg is on top. Continue cooking as needed until the egg is fully set.
Step 18: Spread enough ready okonomiyaki sauce over the egg-topped pancake from step 17 to coat it generously. Sprinkle with aonori to taste.
Step 19: Move the finished okonomiyaki from step 18 off the active heat and let it rest for at least 3 minutes before cutting. Cut it into two equal portions with a suitable spatula and serve warm. Use utensils safe for the cooking surface; avoid metal knives or spatulas on a nonstick coating.
Photos (1)
Comments
0 threadsSign in to join the discussion.
No comments yet. Start the discussion.