
Japanese · Breakfast
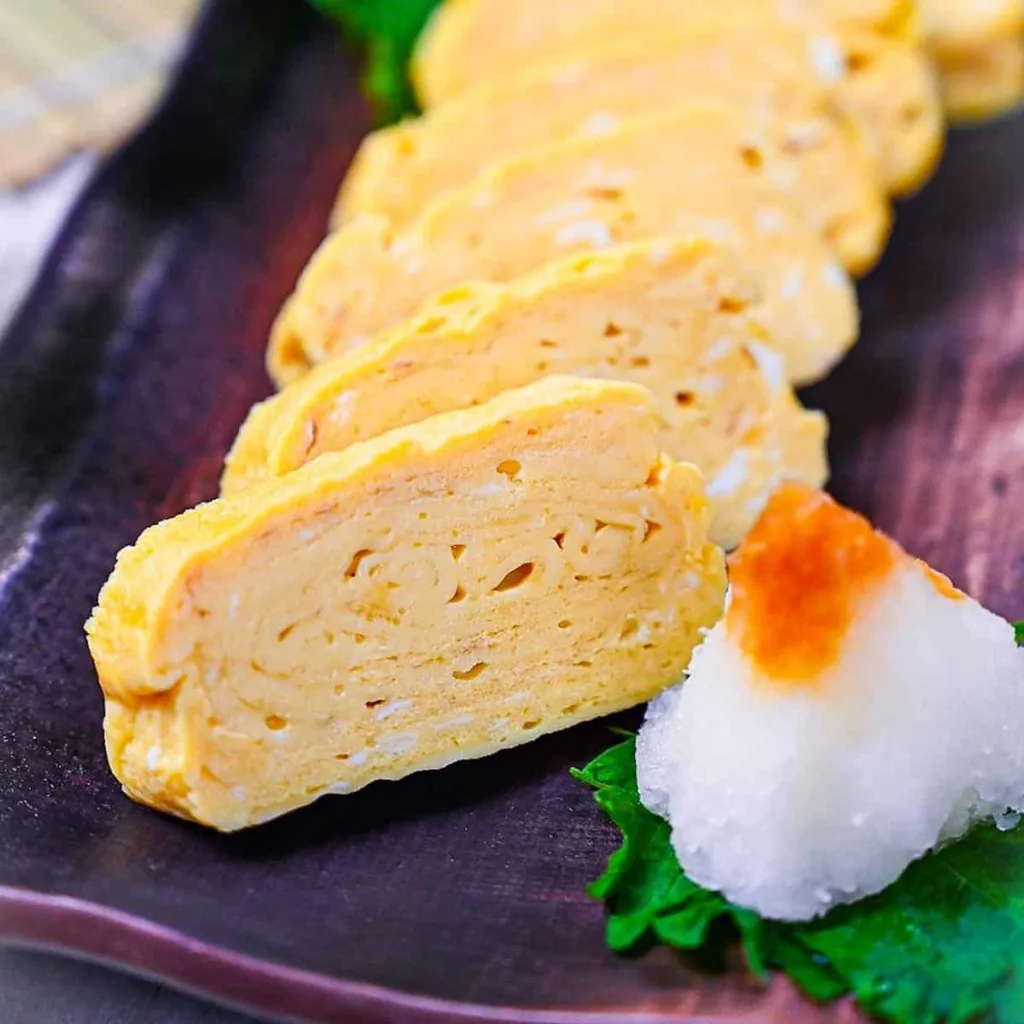
Dashimaki Tamago (Japanese Rolled Omelette with Dashi)
From the zcook collection
A tender rolled omelette made by cooking successive thin layers of egg seasoned with ready dashi, mirin and soy sauce. Shape the cooked roll, slice it and serve as a small breakfast, bento or side portion with optional grated daikon.
- Japanese
- Rolled Omelette
- Breakfast
- Bento
- Side Dish
- Prep
- 5 min
- Cook
- 15 min
- Serves
- 1 rolled omelette; 4 small side portions
- Level
- Hard
- Energy
- 93 kcal
Method13 steps
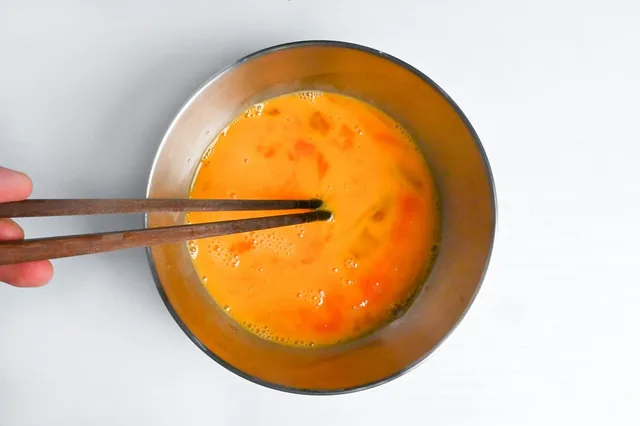
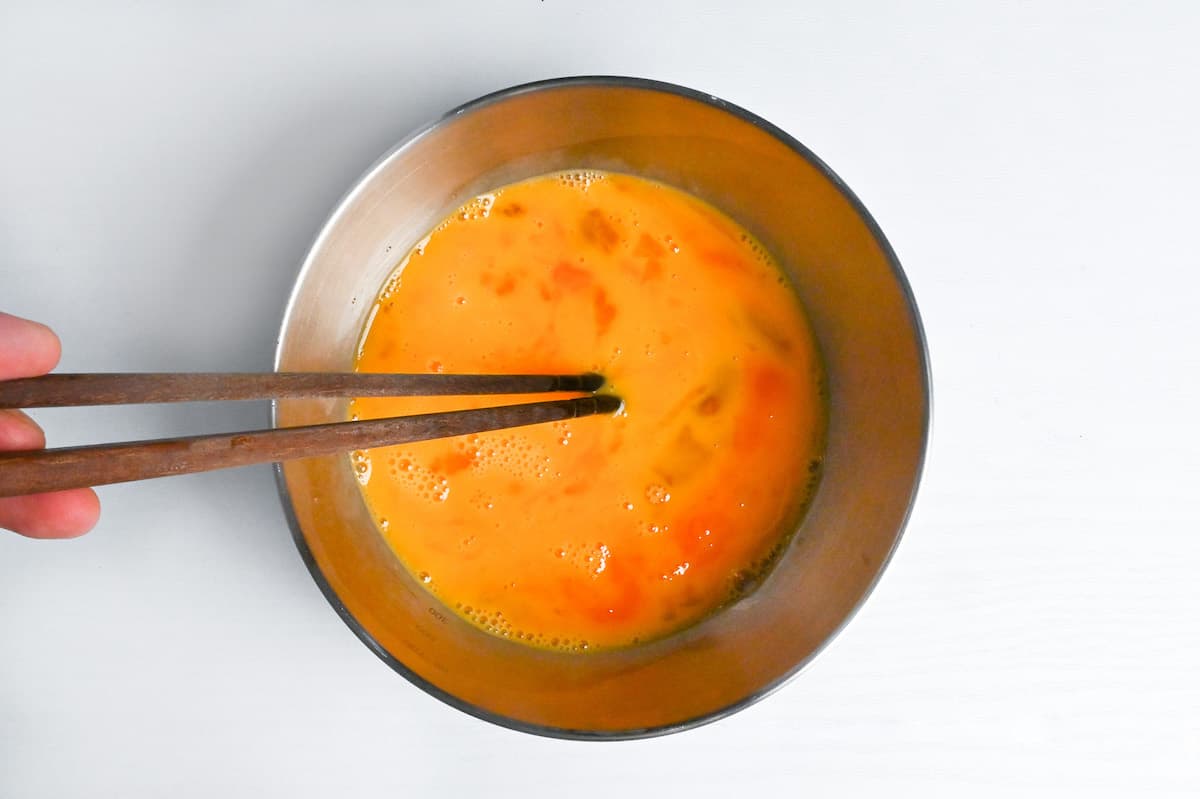
Step 1: Crack the 4 eggs into a bowl. Beat lightly with chopsticks in a back-and-forth motion to combine yolks and whites; avoid vigorous circular whisking and excess bubbles.
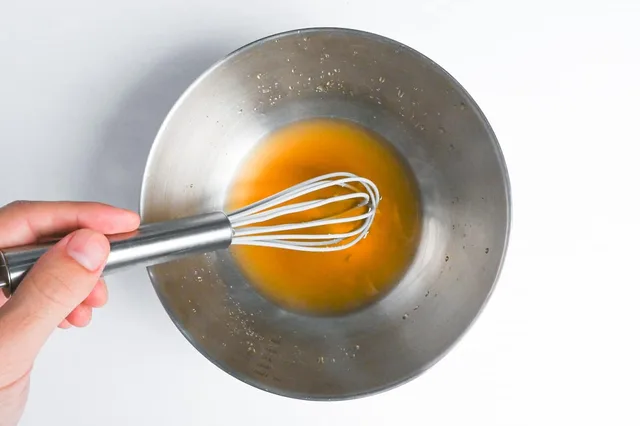
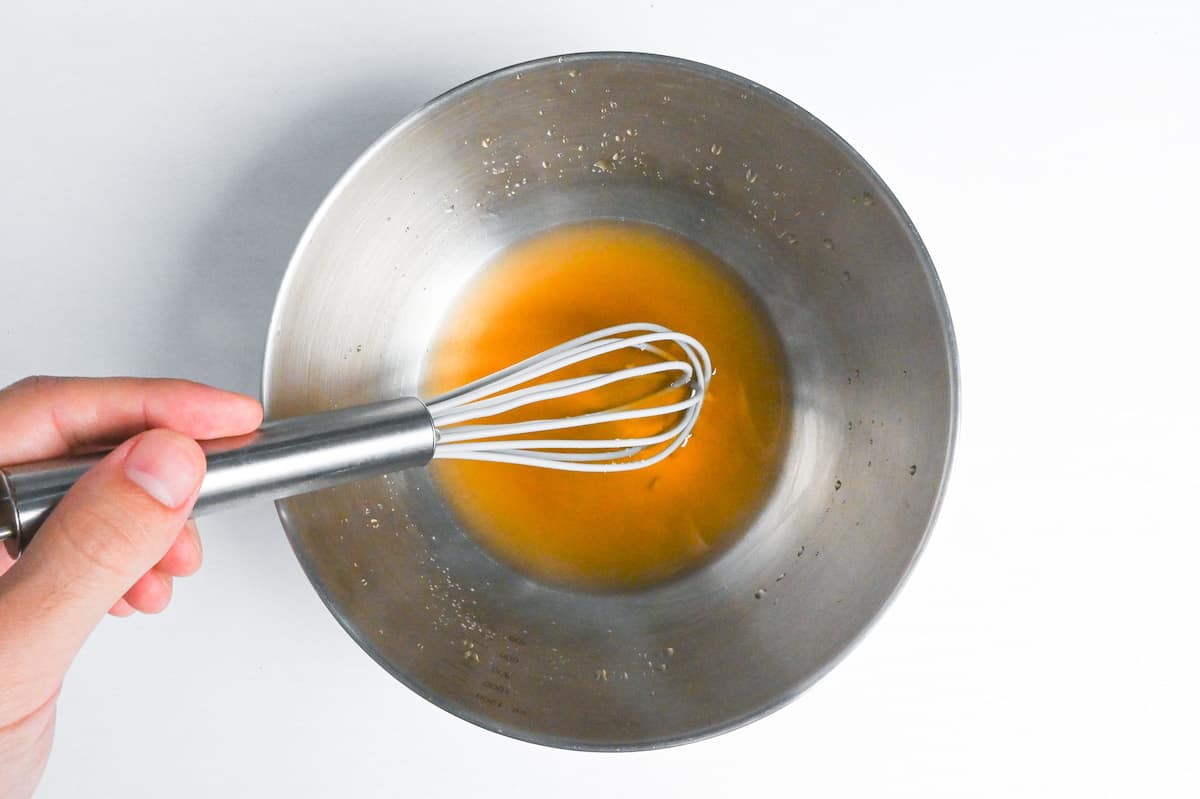
Step 2: In a separate bowl, mix the 3 tbsp ready dashi, 4 tsp mirin, 1 tsp sugar, ¼ tsp salt and ½ tsp koikuchi soy sauce until the sugar and salt dissolve.
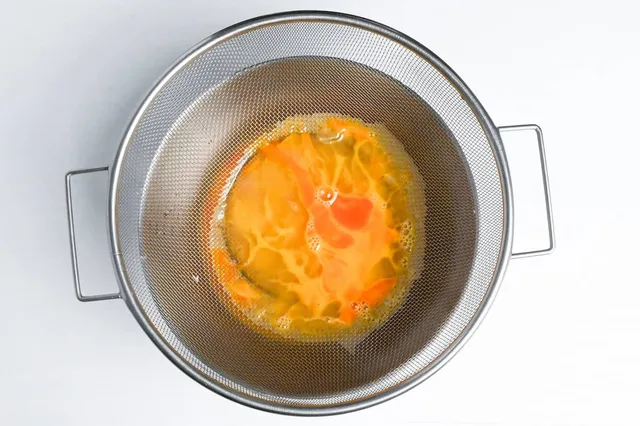
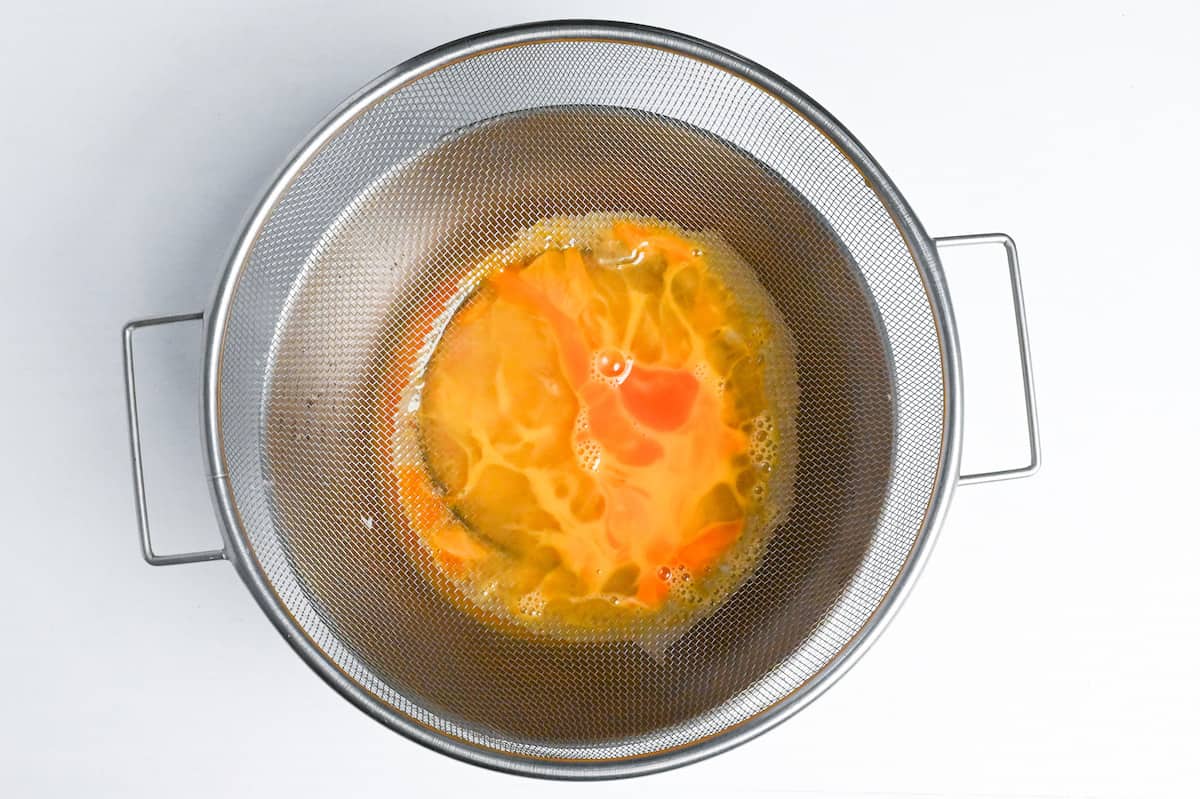
Step 3: Set a sieve over the dashi-seasoning bowl from step 2 and strain the beaten eggs from step 1 into it. Mix gently without making excess bubbles.
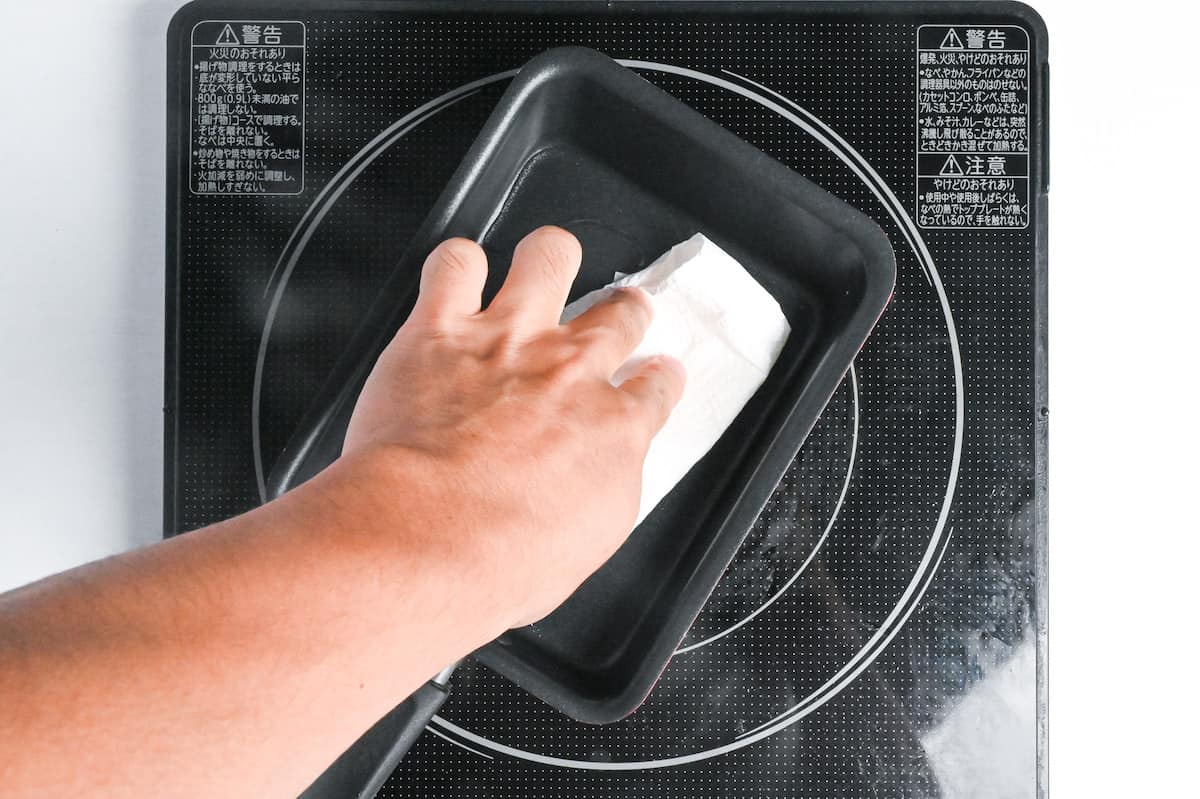
Step 4: Pour the 1 tsp cooking oil into a rectangular tamagoyaki pan and heat over medium heat. Spread the oil with kitchen paper and wipe off the excess. Keep that oiled paper nearby to grease the pan between layers.
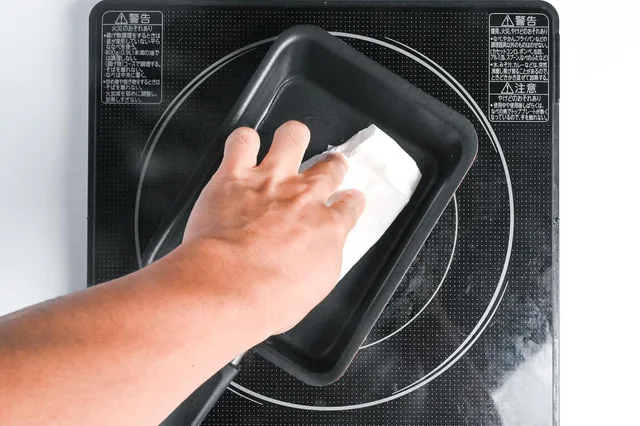
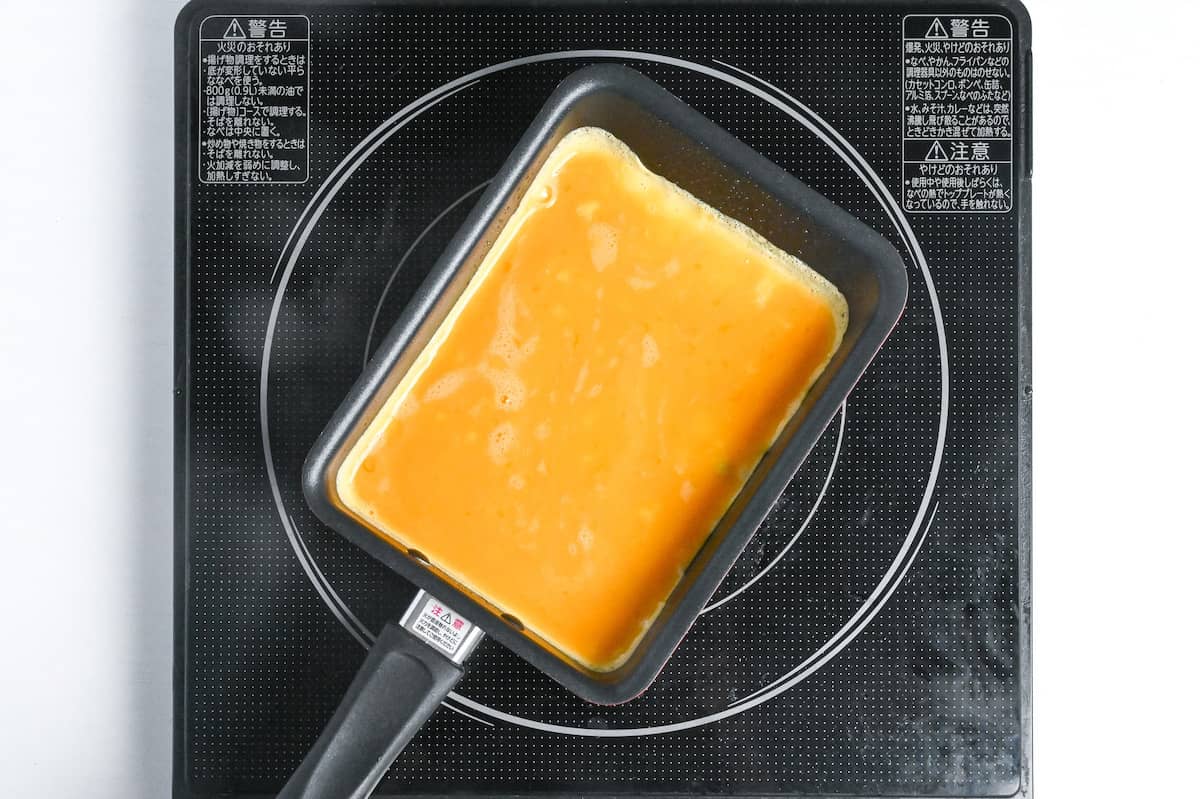
Step 5: When the oiled pan from step 4 is hot, pour in enough egg mixture from step 3 to cover its base in a thin, even layer. Pierce bubbles with chopsticks. Briefly lift the pan off the heat if parts are cooking too quickly.
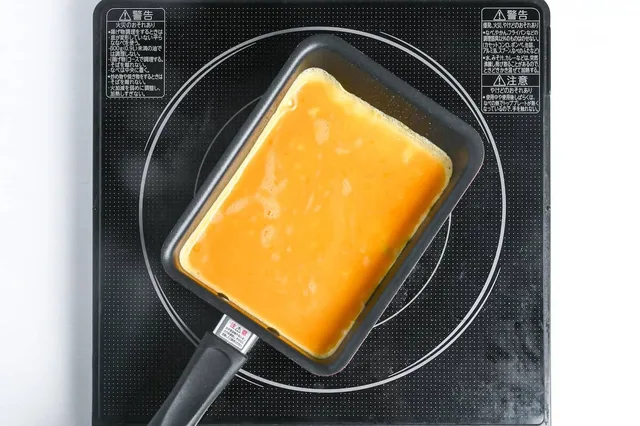
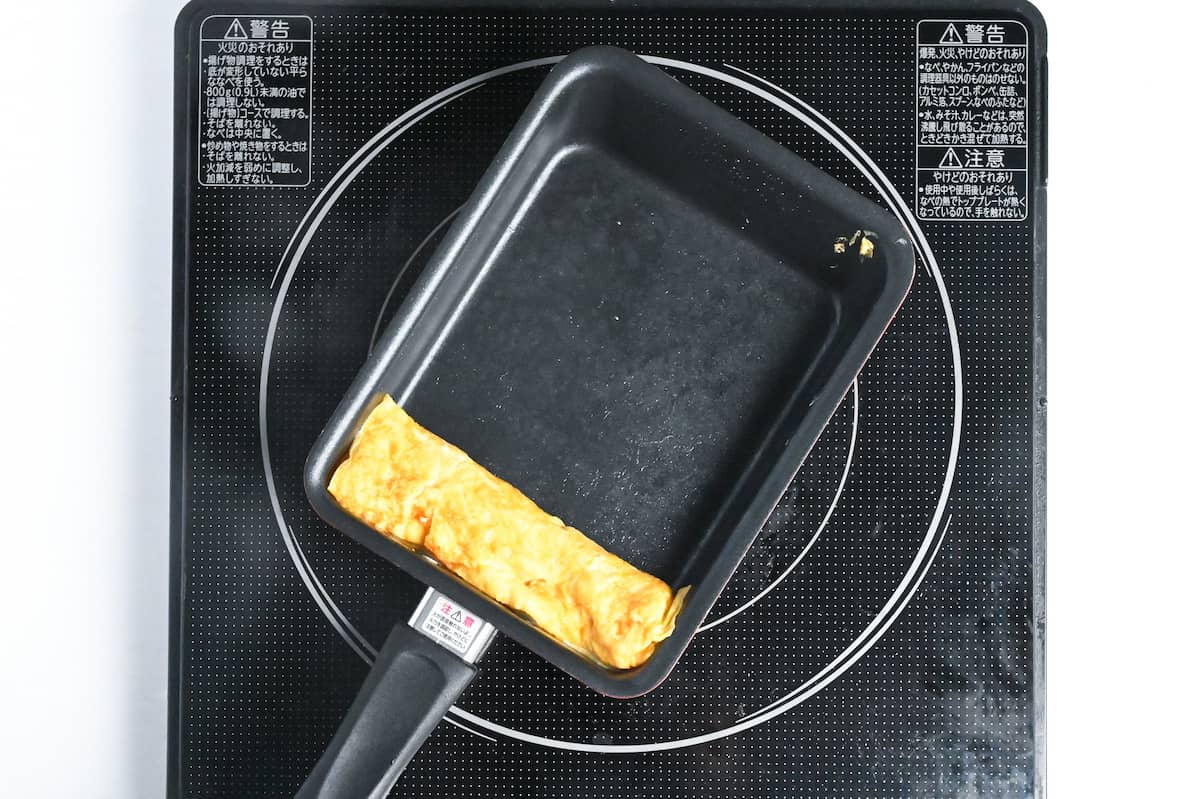
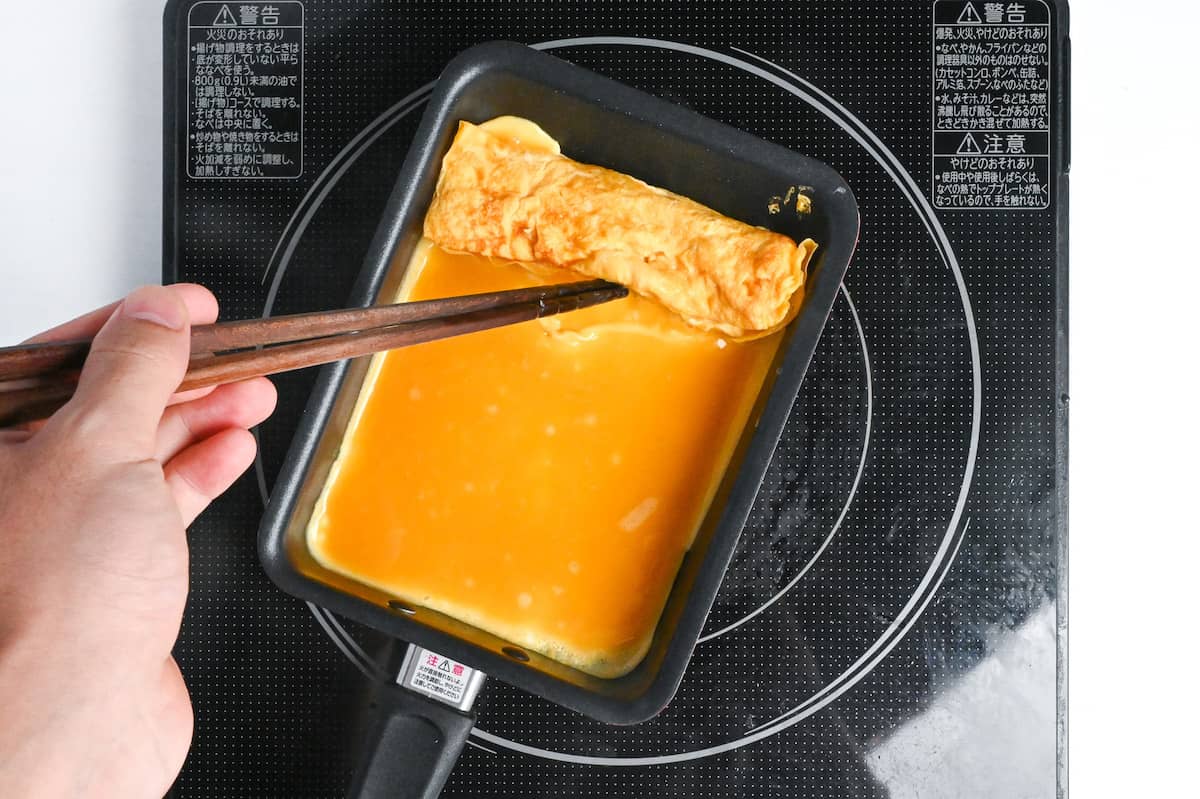
Step 6: Once that layer from step 5 has begun to set but is still soft enough to roll, pinch the far edge lightly with chopsticks. Gently scoop with the pan as you start rolling towards yourself, helping the egg fold without tearing.
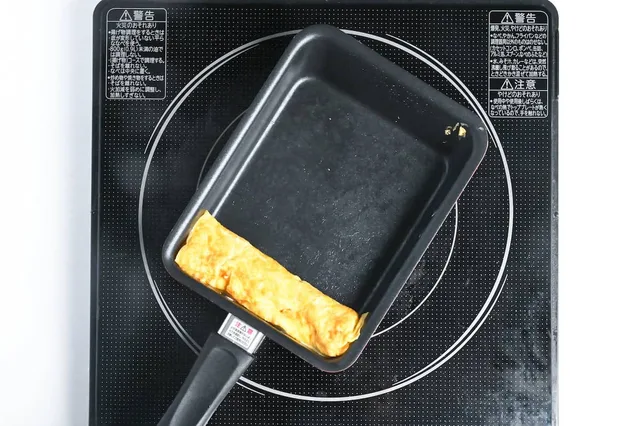
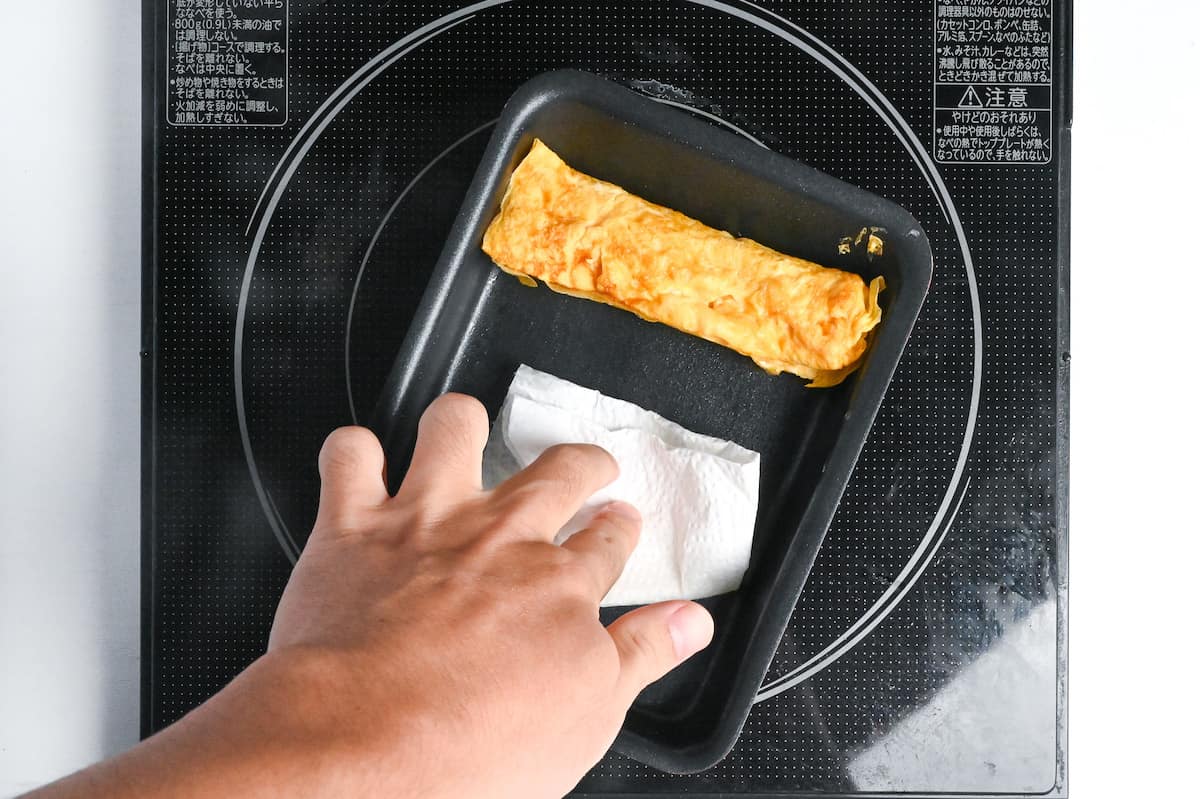
Step 7: Finish rolling the first layer from step 6 towards the near edge. Use the oiled paper from step 4 to grease the empty space, push the roll to the far end, then grease the rest of the exposed pan.
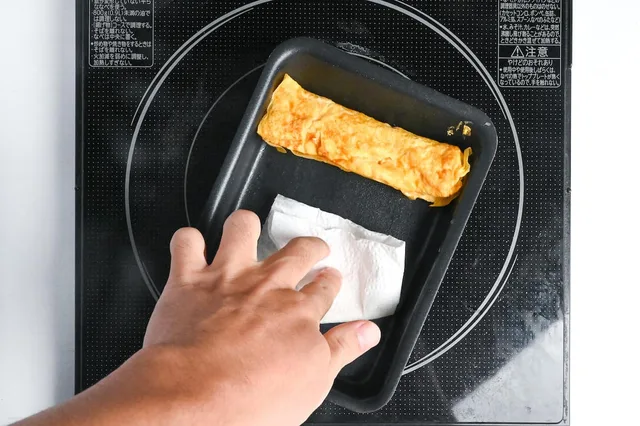
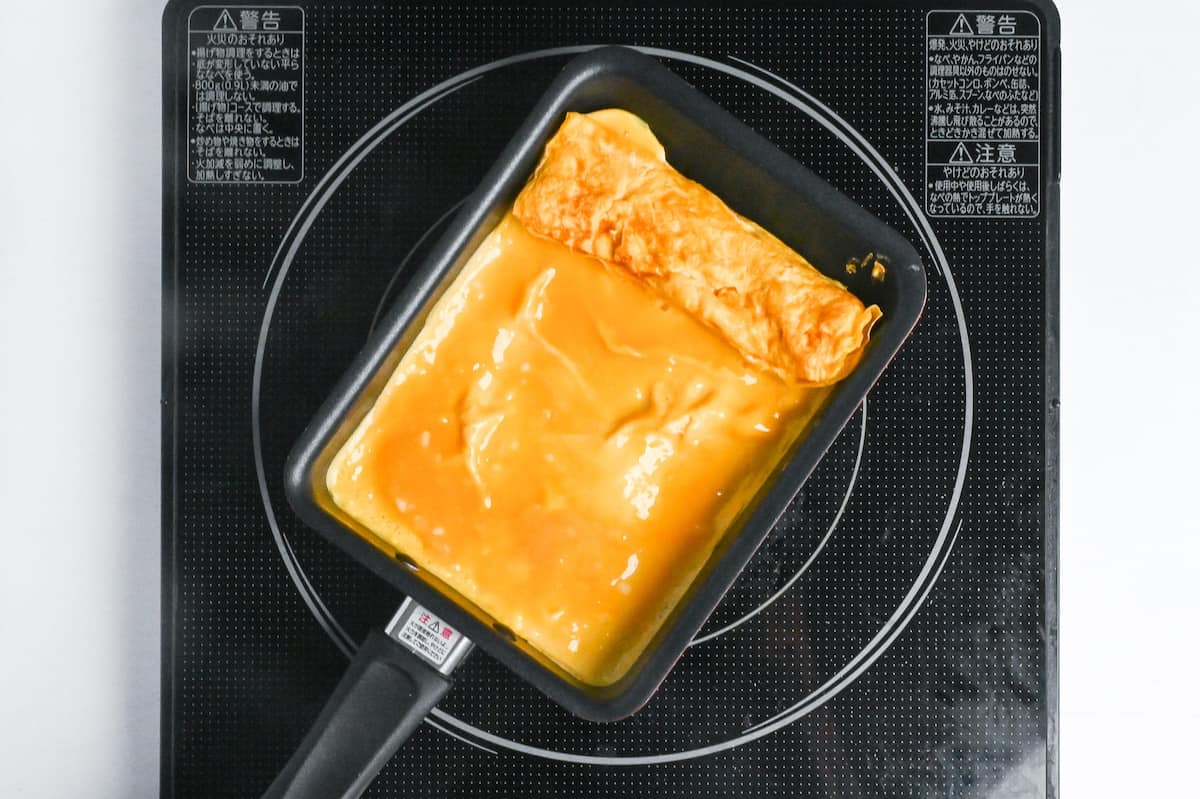
Step 8: Pour another thin layer of the remaining egg mixture from step 3 into the pan from step 7. Lift the roll slightly and tilt the pan so some mixture runs underneath and joins the layers.
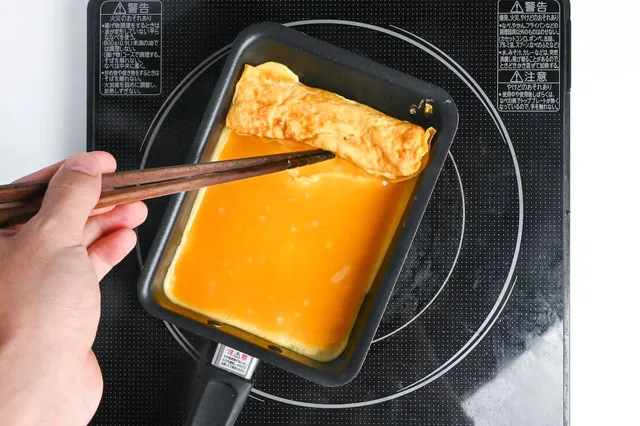
Step 9: Tilt the pan to spread the fresh layer from step 8 evenly. Let it begin to set while still flexible, popping bubbles and briefly lifting the pan off the heat if it gets too hot.
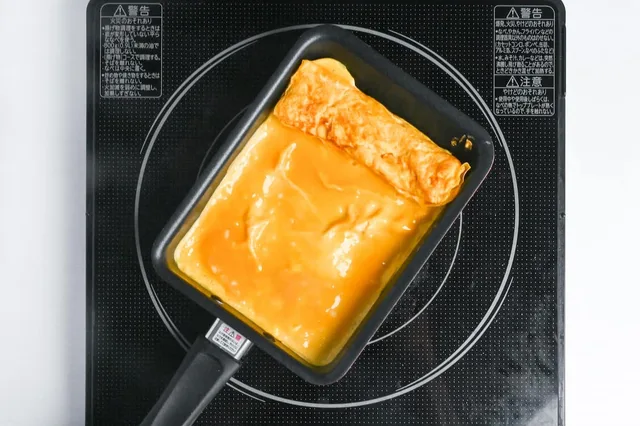
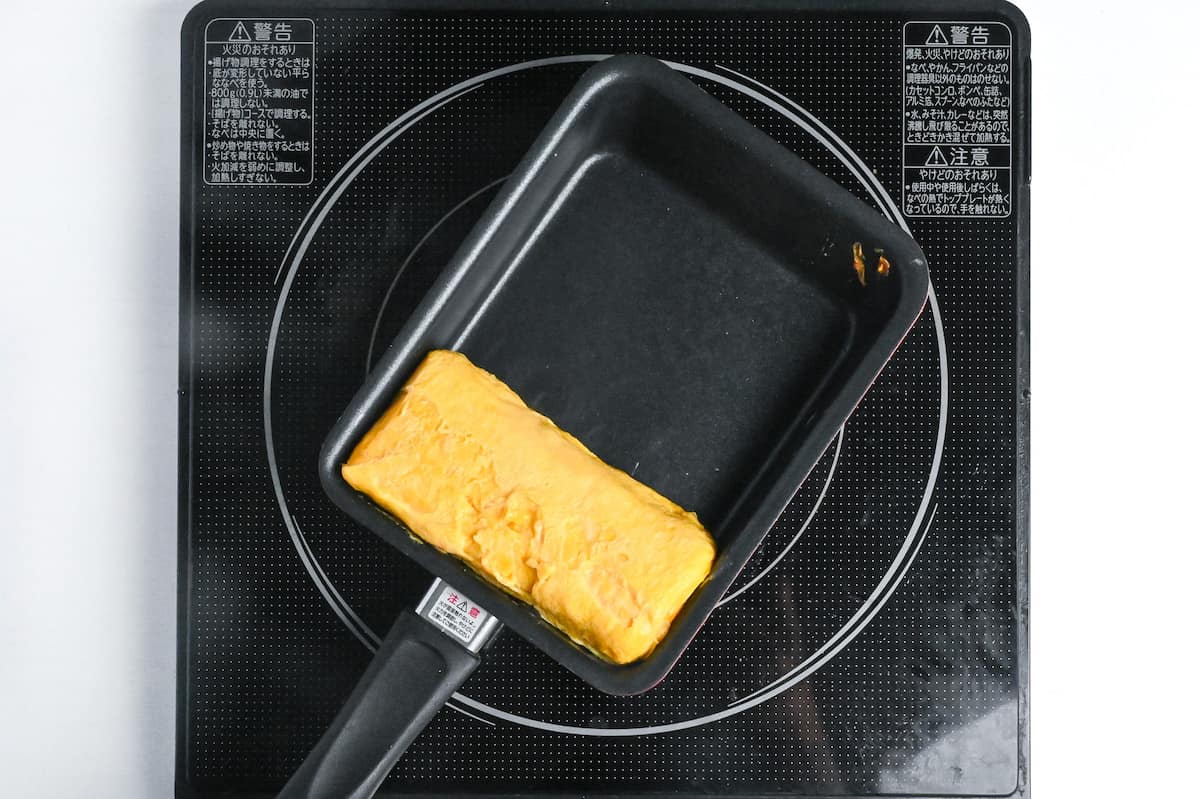
Step 10: Roll the flexible layer from step 9 around the existing roll. Repeat the greasing, thin pouring and rolling in steps 7–9 until all the egg mixture from step 3 has been used. Finish gently heating the completed roll until the eggs are set throughout and its center reaches 71 °C (160 °F).
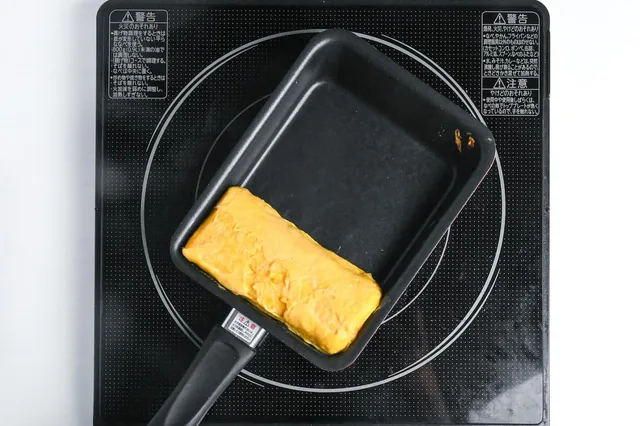
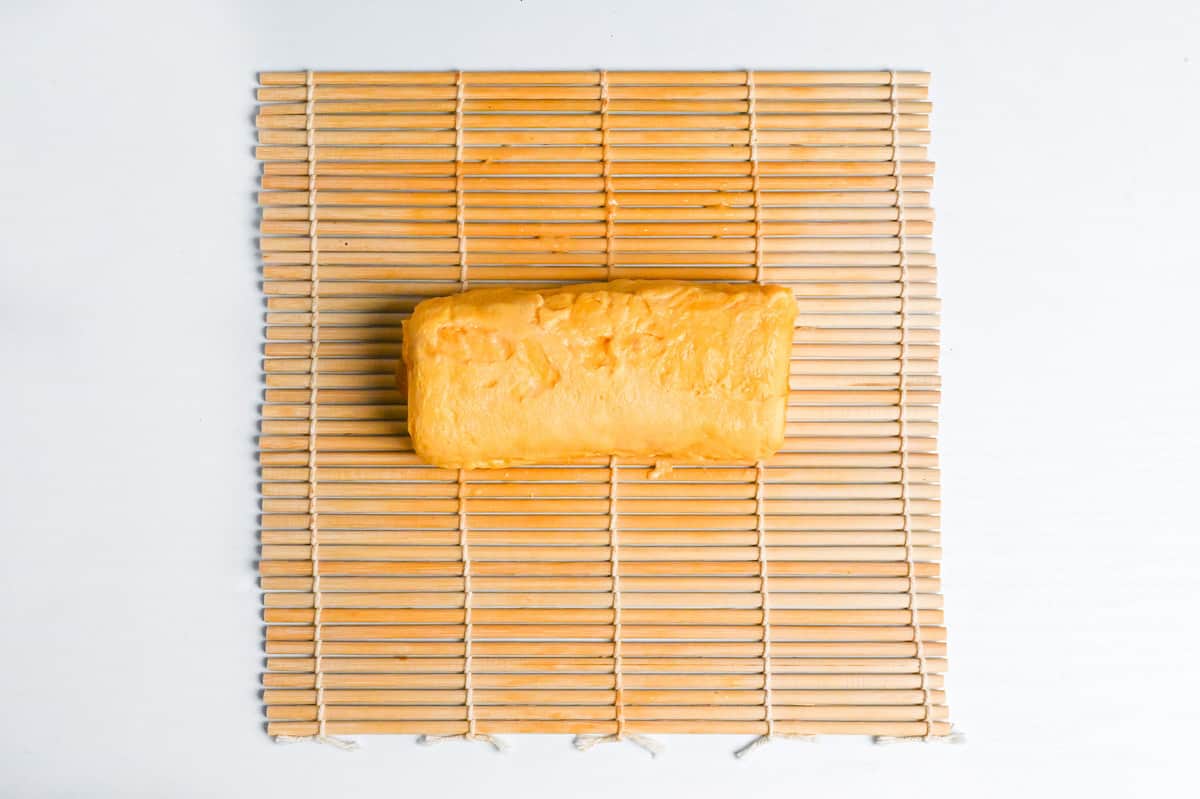
Step 11: Lift the fully cooked rolled omelette from step 10 onto an inverted bamboo sushi mat. Gently press it into shape, then move it to a chopping board.
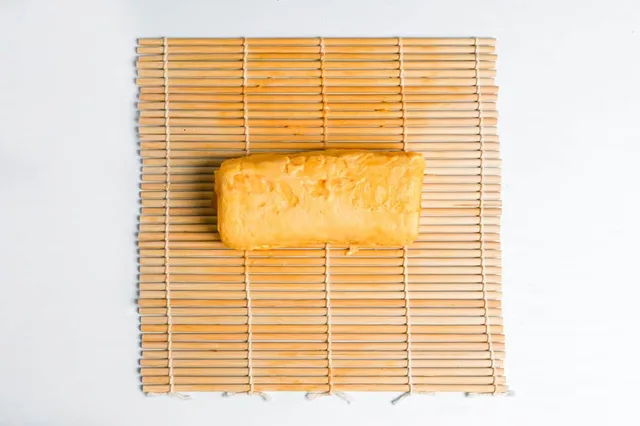
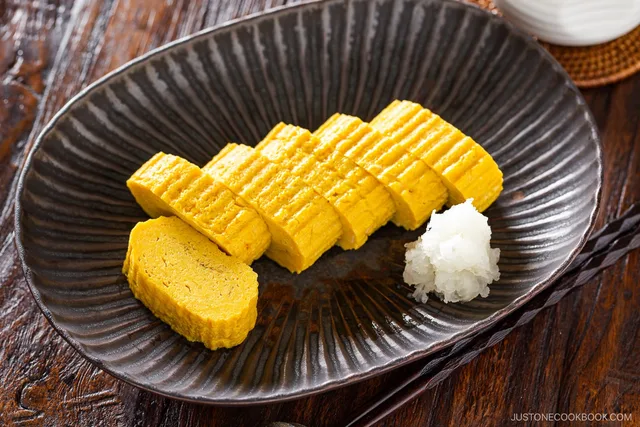
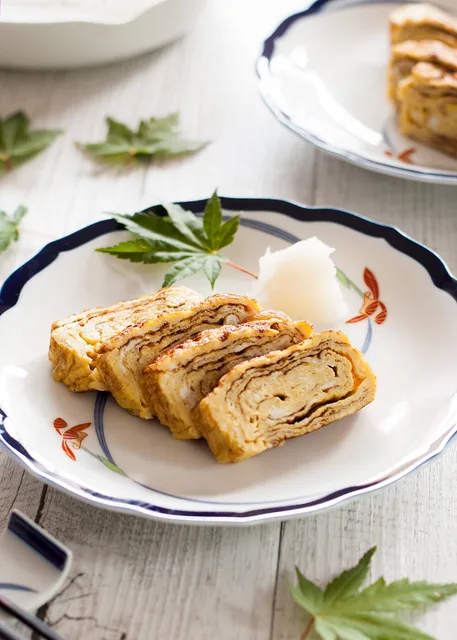
Step 12: Cut the shaped omelette from step 11 into slices about 1 inch thick. Serve with the optional 1 tbsp ready grated daikon. If desired, add a little extra soy sauce to the daikon.
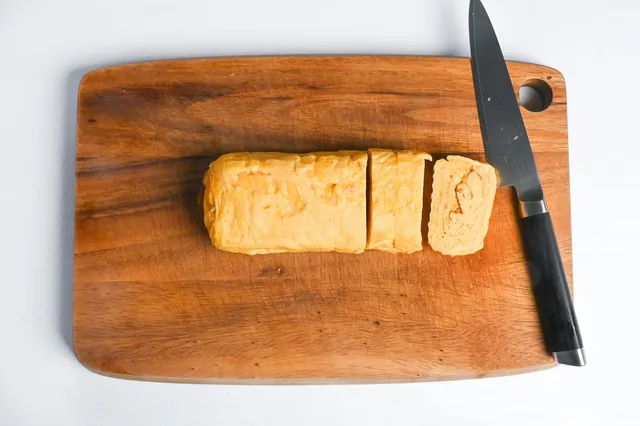
Step 13: Enjoy the sliced omelette from step 12 fresh as four small side portions.
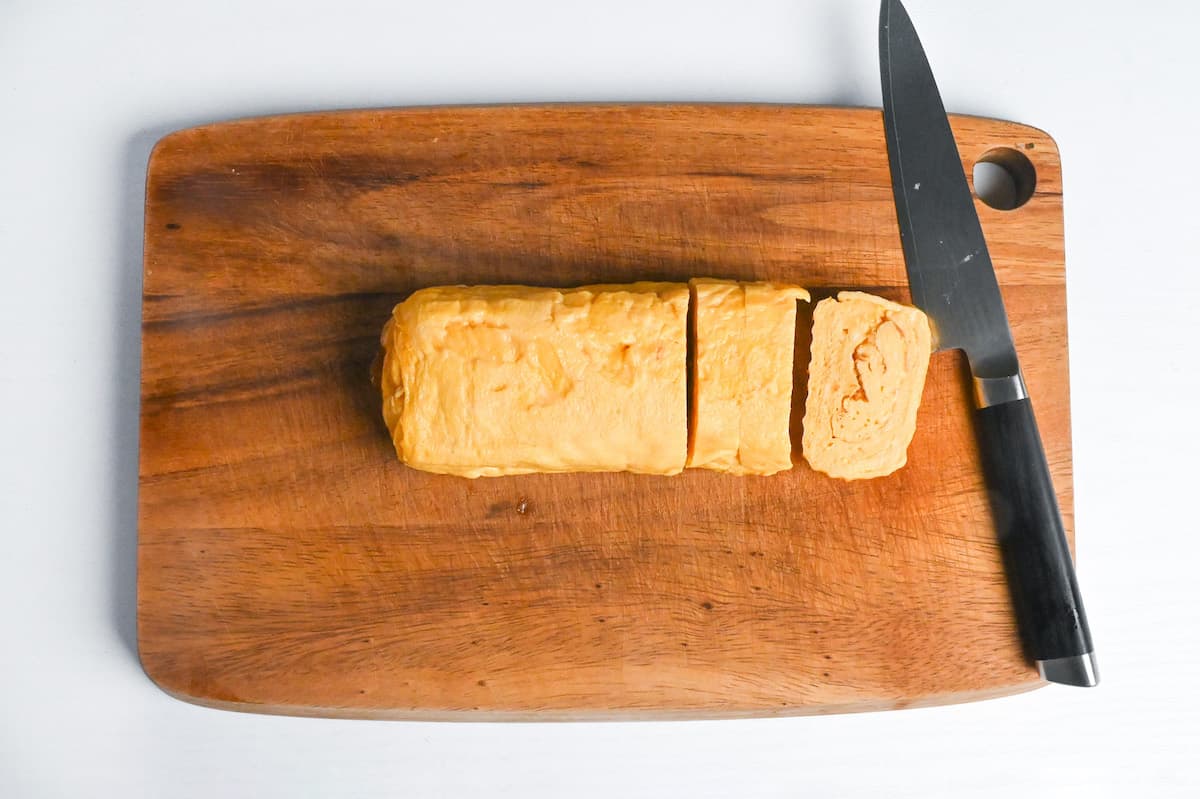
Photos (1)
Comments
0 threadsSign in to join the discussion.

No comments yet. Start the discussion.