
Japanese · Breakfast
Dashimaki Tamago (Japanese Dashi Rolled Omelette)
From the zcook collection
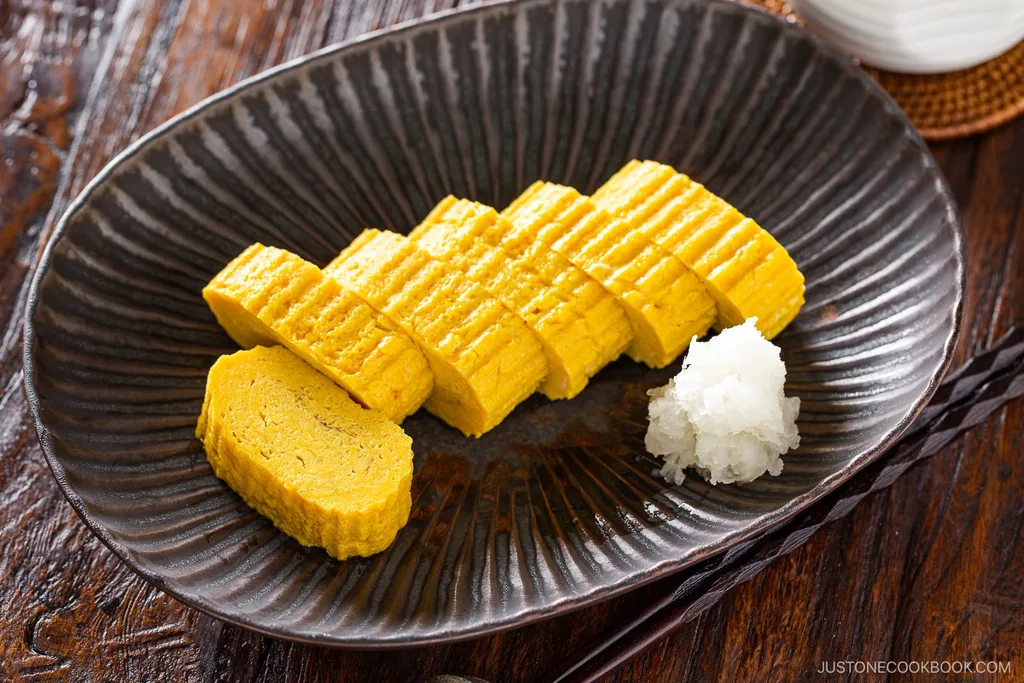
Make this Dashimaki Tamago recipe—Osaka's silky Tamagoyaki (rolled omelette) packed with dashi for a tender, custardy texture no other version can match.
- Dairy-free
- Japanese
- Breakfast
- Just One Cookbook
- Total
- 25 min
- Prep
- 10 min
- Cook
- 15 min
- Serves
- 2 servings
- Level
- Hard
- Energy
- 185 kcal
Method14 steps · about 25 min
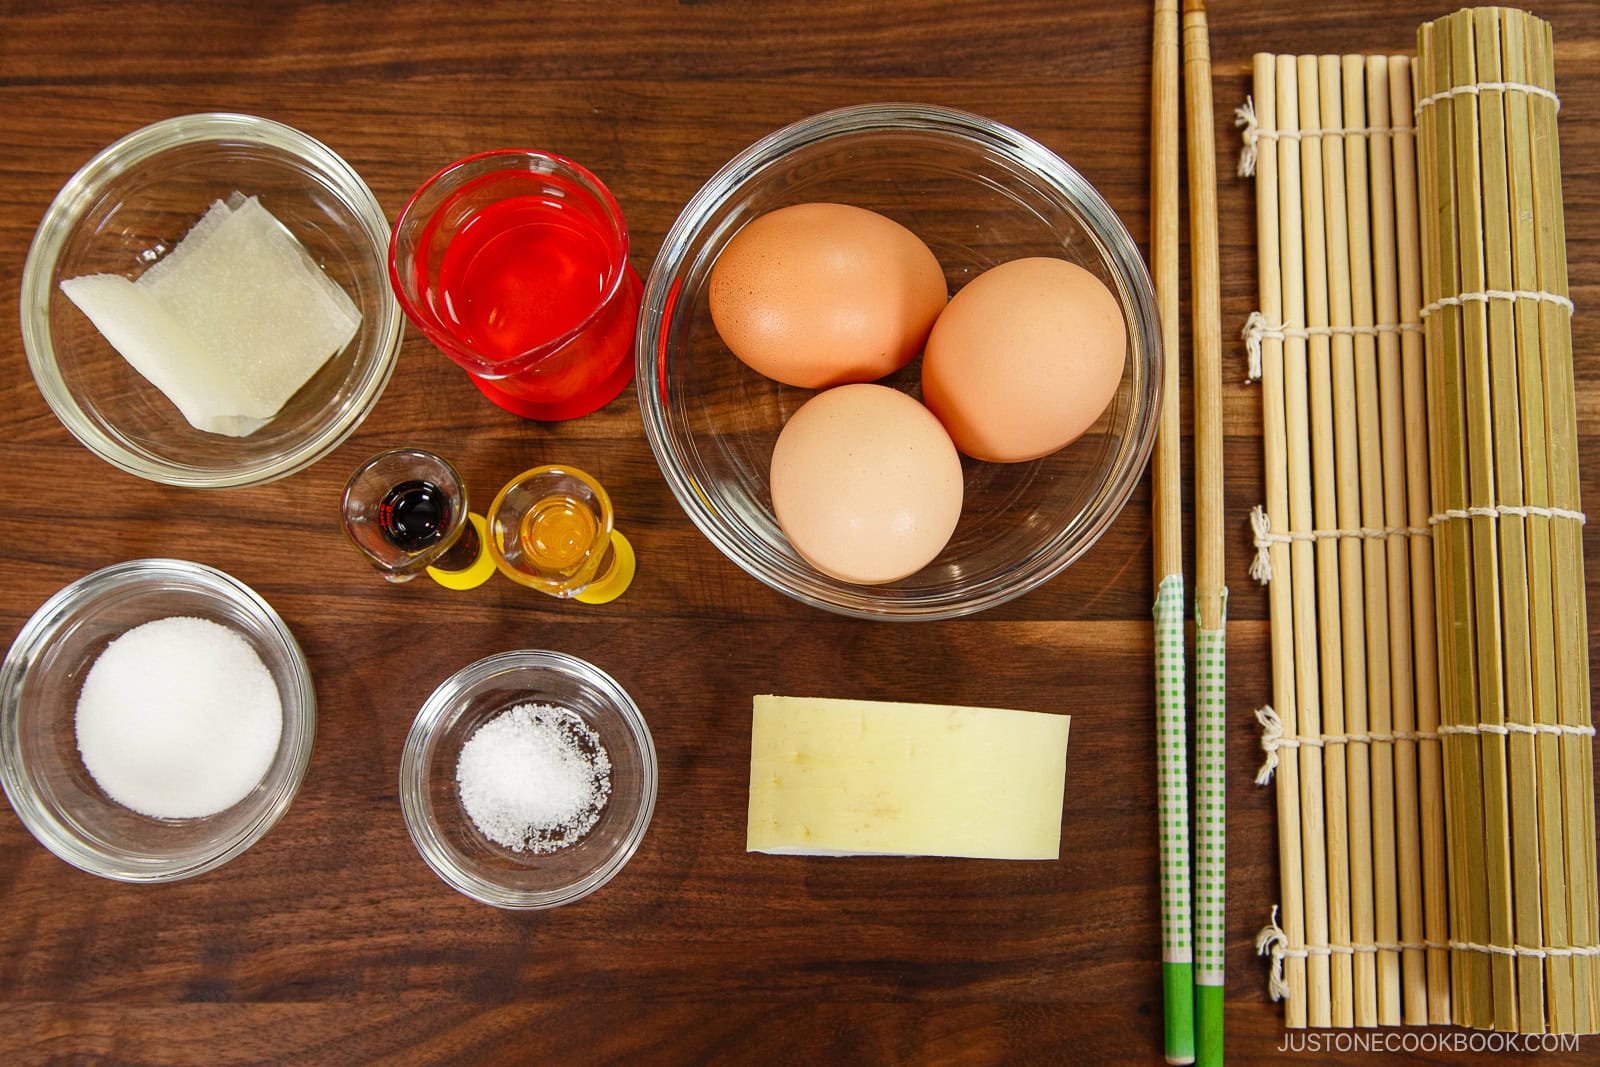
Step 1: Gather the ingredients and prepare a tamagoyaki pan or round frying pan. The dashi-rich egg mixture is delicate; pour thin layers and roll gently.
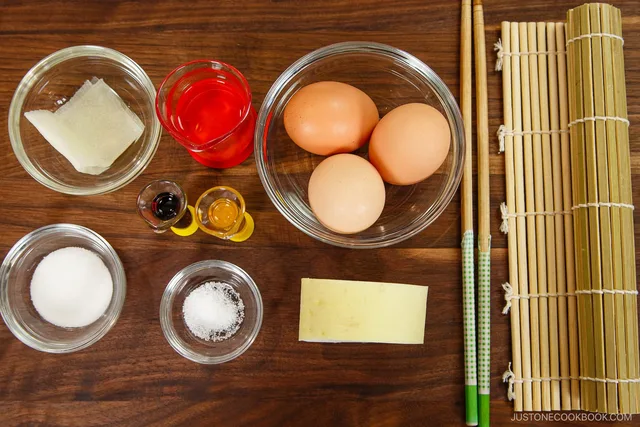
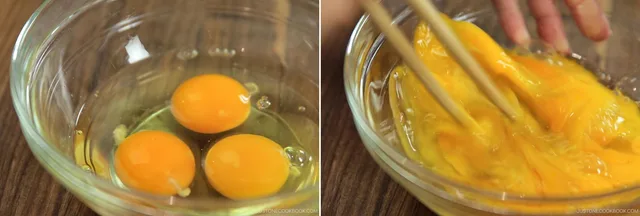
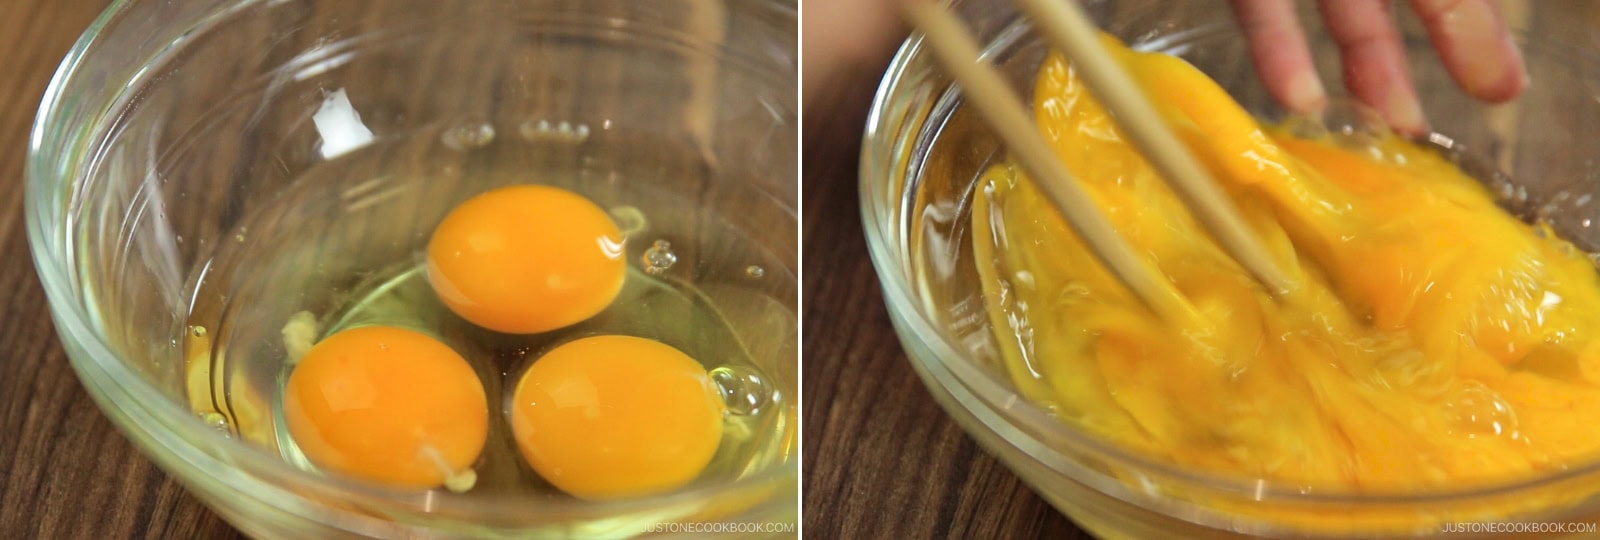
Step 2: Crack 3 large eggs (50 g each w/o shell) into a bowl. Whisk by "cutting" through the eggs with chopsticks in a zig-zag motion, taking care not to overmix.
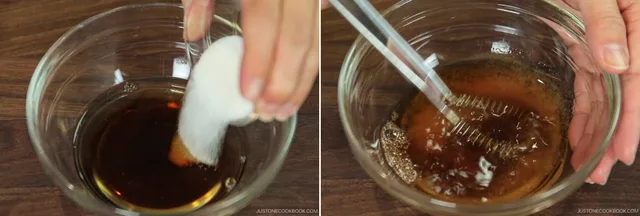
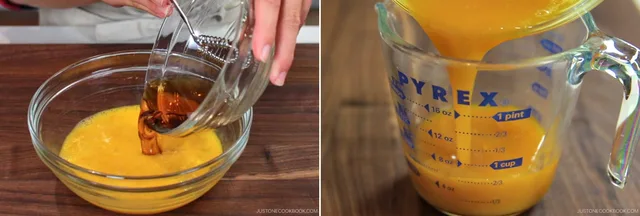
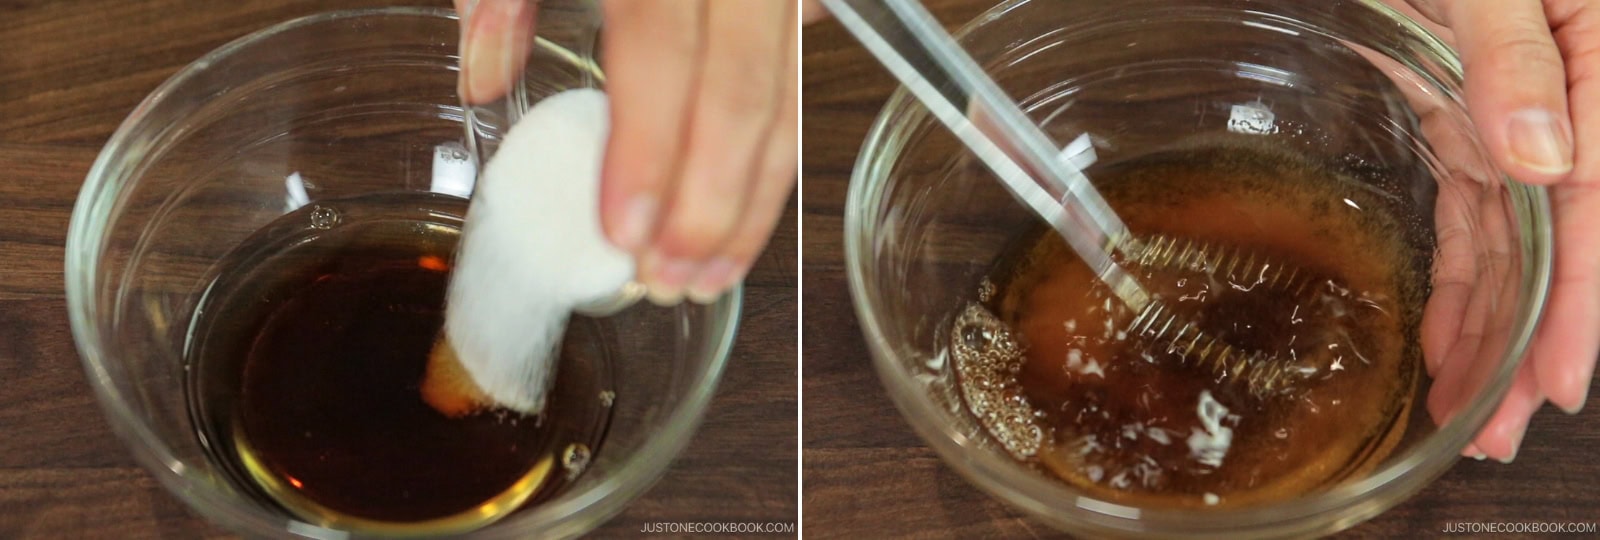
Step 3: Combine the seasonings in another bowl: 3 Tbsp dashi (Japanese soup stock), 2 tsp sugar, 1 tsp soy sauce, 1 tsp mirin, and 2 pinches Diamond Crystal kosher salt. Mix well.
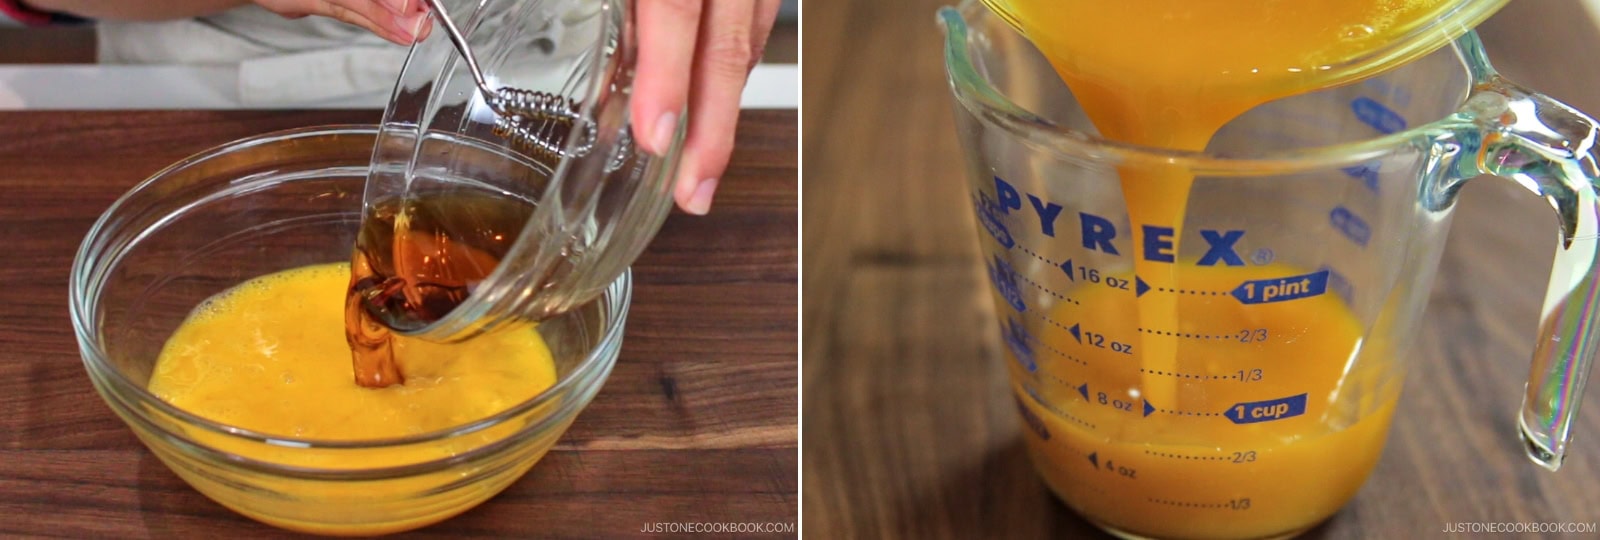
Step 4: Add the seasonings to the eggs and whisk to combine. Don't overmix. Transfer the mixture to a measuring cup with a spout.
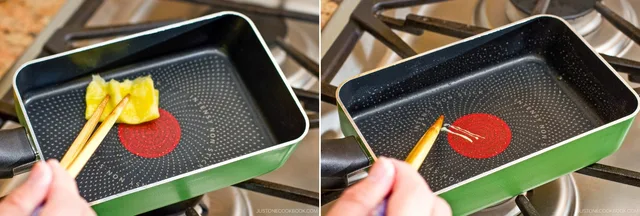
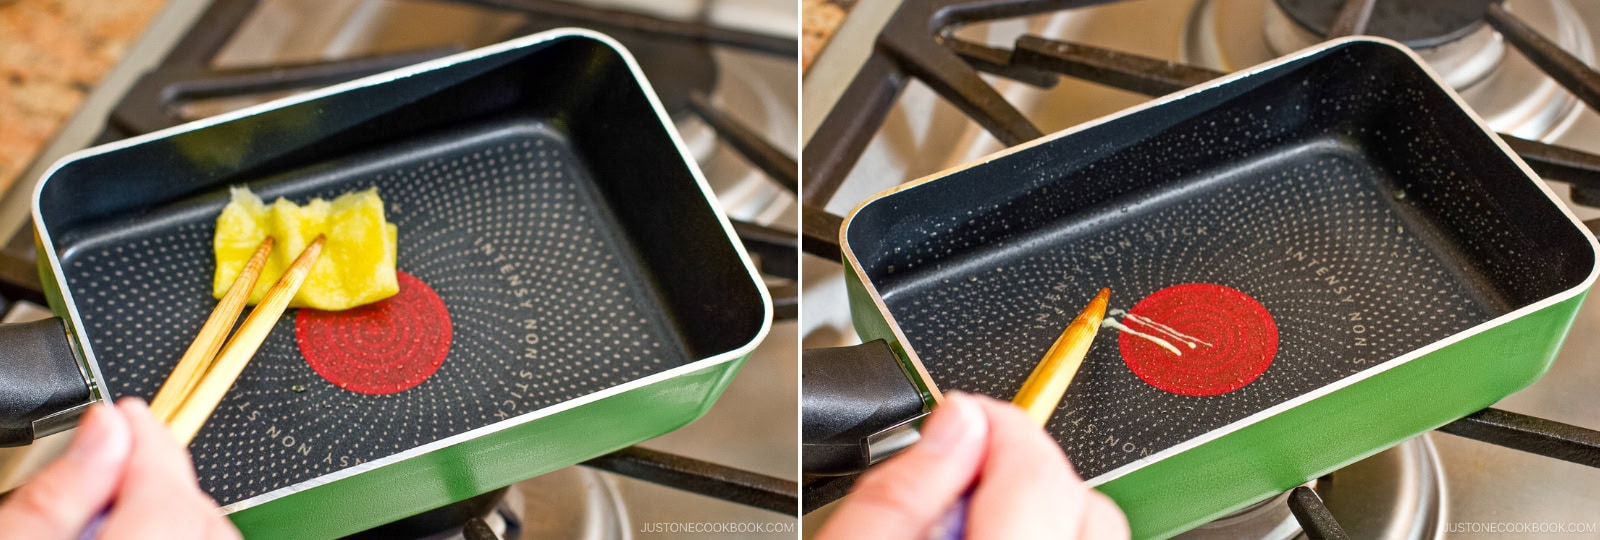
Step 5: Heat the pan over medium heat. Dip a folded paper towel in 2 Tbsp neutral oil and apply a thin layer to the pan. Add a drop of egg mixture — if it sizzles, the pan is ready.
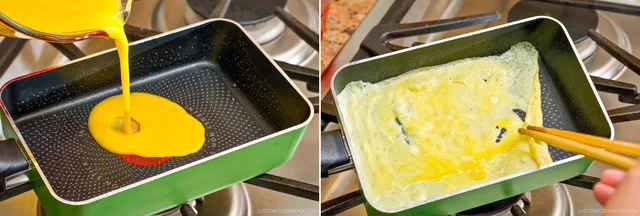
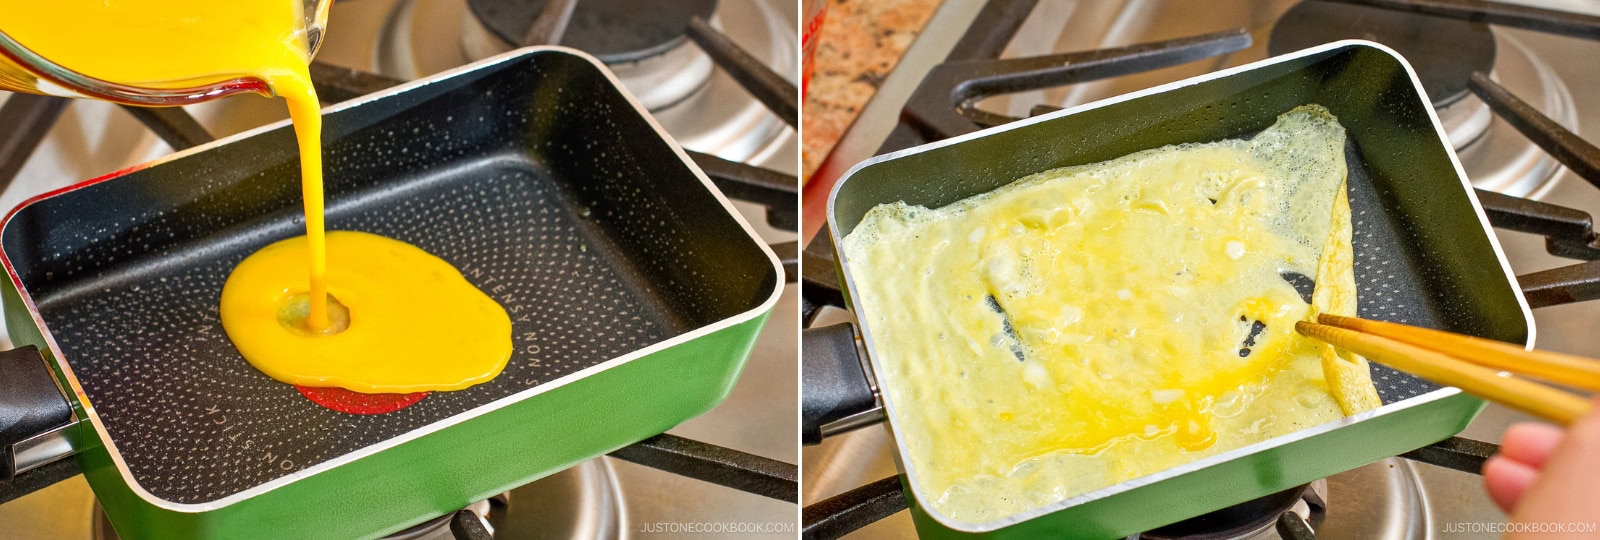
Step 6: Pour a thin layer of egg into the pan and quickly tilt it so the mixture coats the entire cooking surface. Poke any air bubbles with cooking chopsticks.
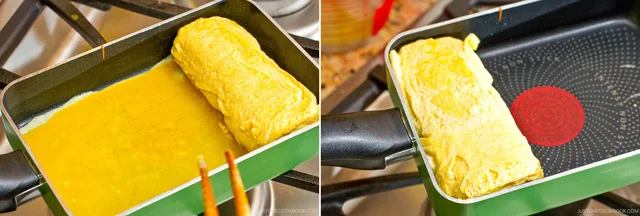
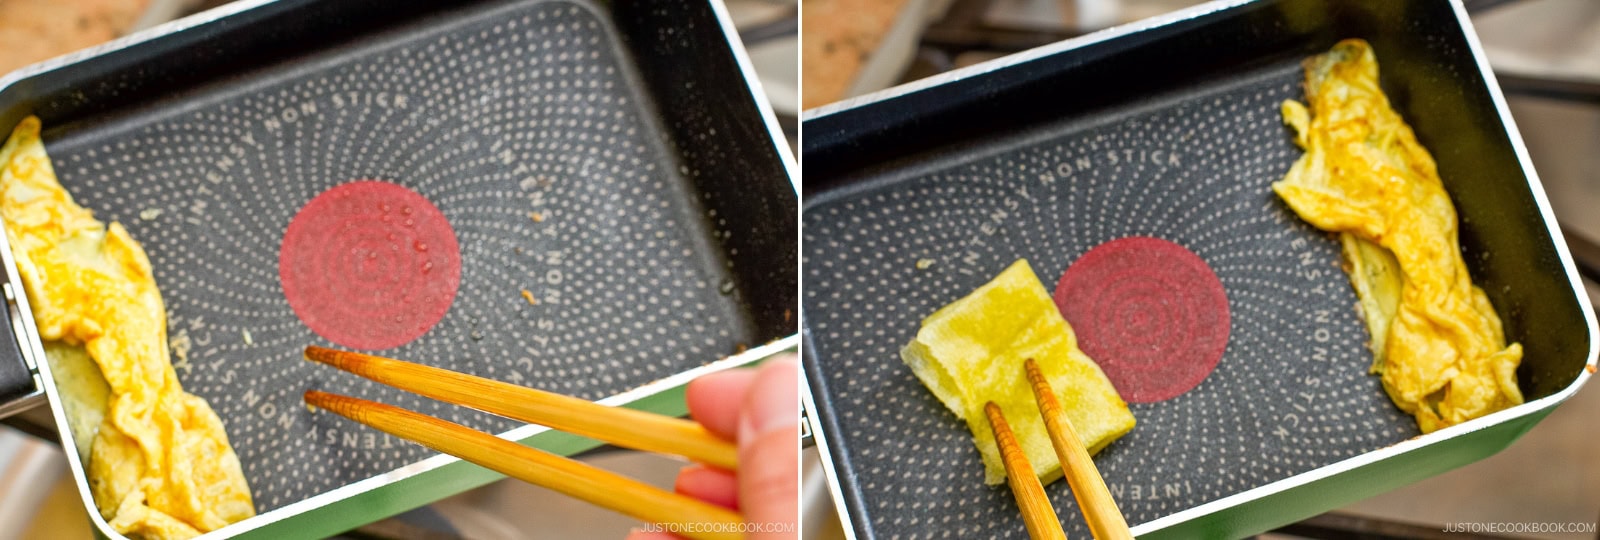
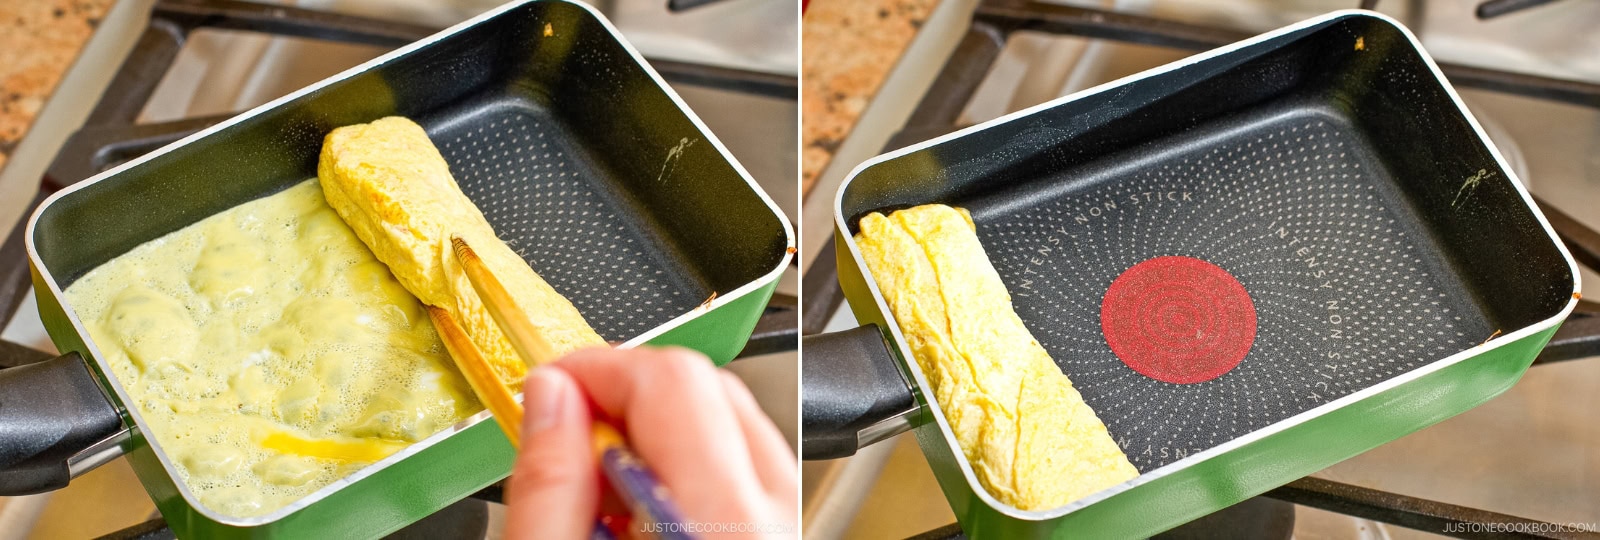
Step 7: When the bottom is set but the top is still runny, roll the egg into a log shape using chopsticks or a spatula, starting from the far side of the pan toward the handle. Move the rolled omelette to the far side. Apply more oil to the pan with a paper towel, even under the omelette. Nami's Tip: Don't worry about rolling perfectly at this stage, since the inner layers will be hidden inside.
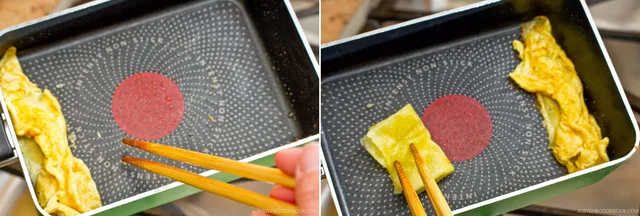
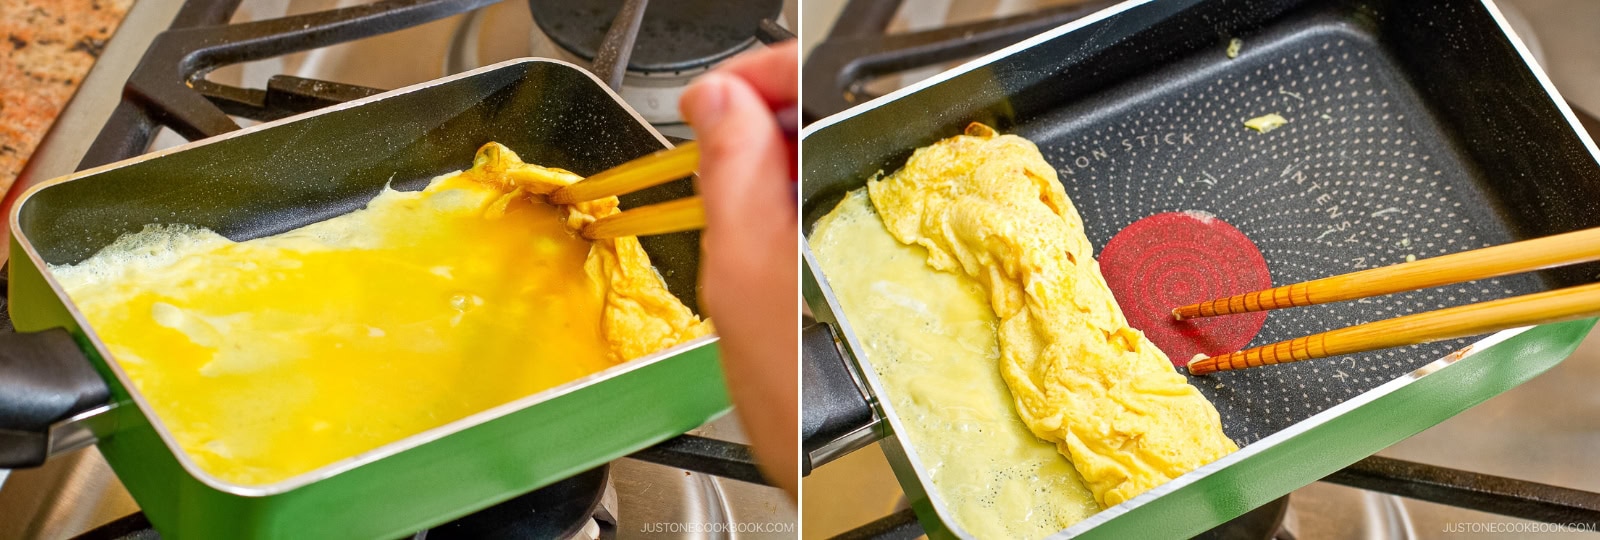
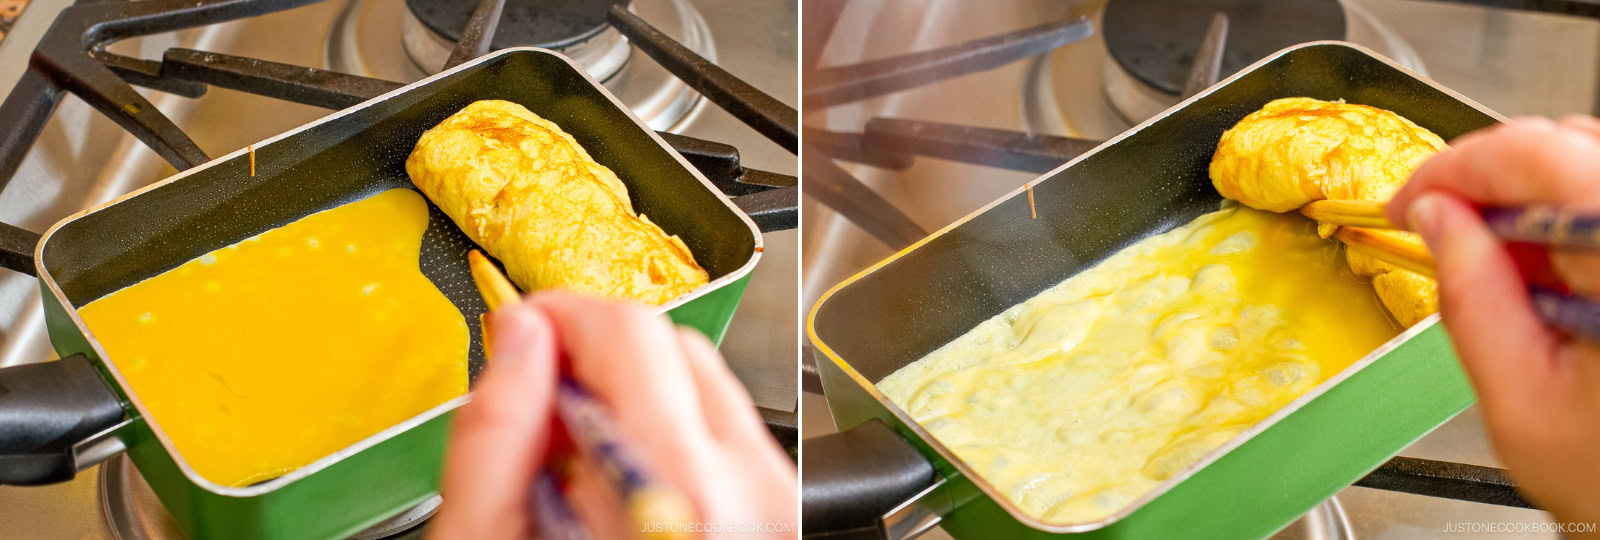
Step 8: Pour the second thin layer of egg, just enough to cover the bottom of the pan. Lift the rolled omelette and tilt the pan to spread the egg mixture underneath. When the new layer of egg has set and is still soft on top, roll it as before from the far side toward the handle. Nami's Tip: Control the cooking temperature by lifting the frying pan rather than adjusting the stove heat. If the heat is too weak, the egg will stick to the frying pan, so be careful.
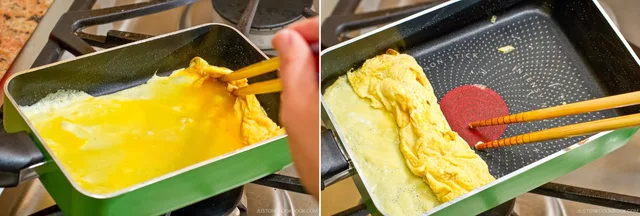
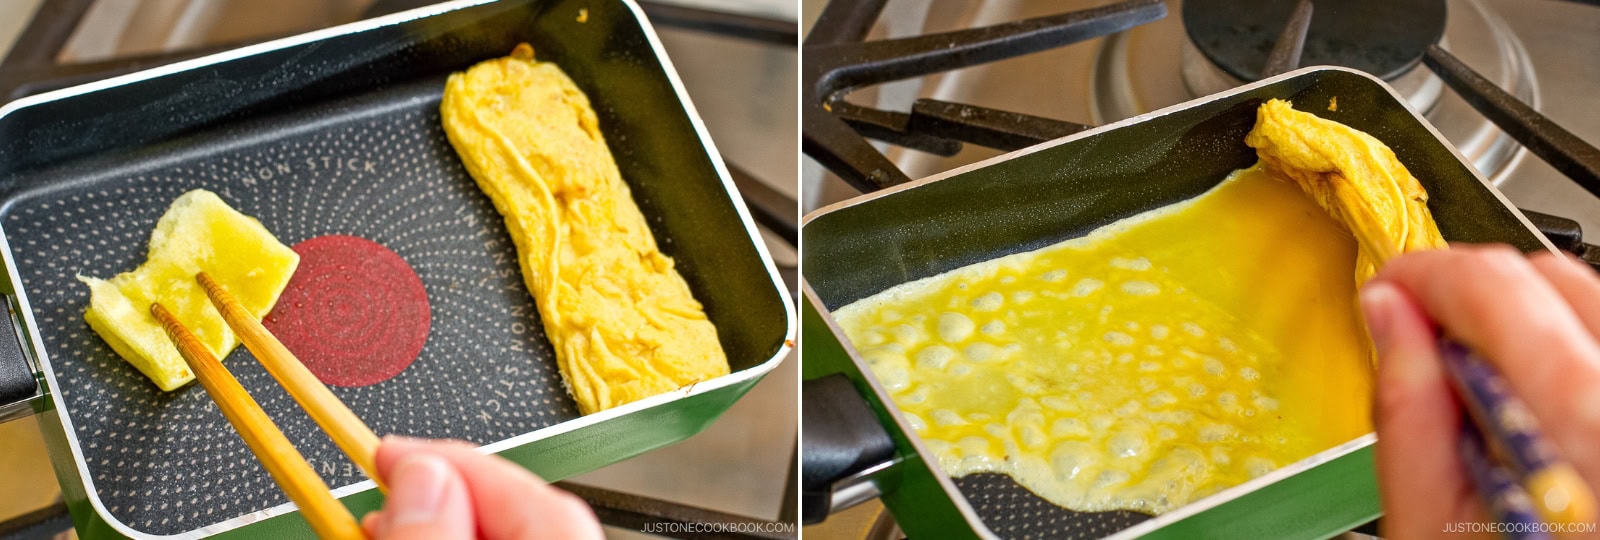
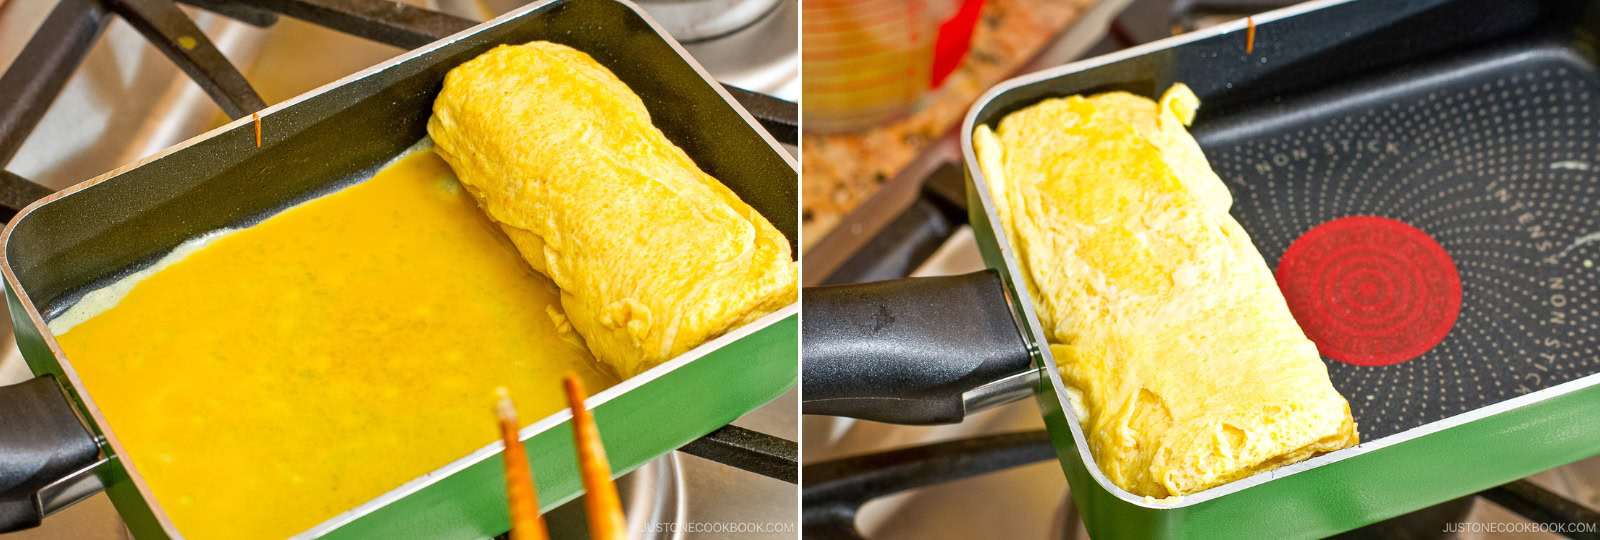
Step 9: Move the rolled omelette to the far side. Reapply oil on the pan and under the omelette. Pour the next thin layer of egg and tilt to coat the entire surface—including under the omelette.
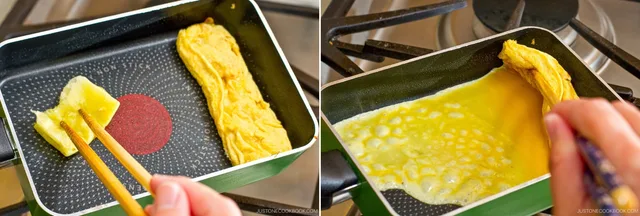
Step 10: Roll again when the bottom is set and the top is still soft.
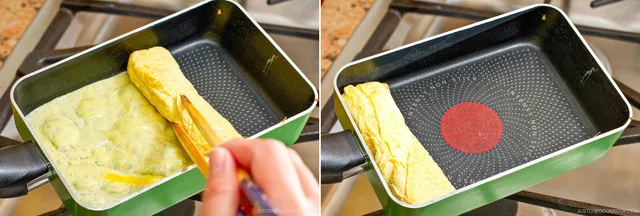
Step 11: Repeat until all the egg mixture is used.
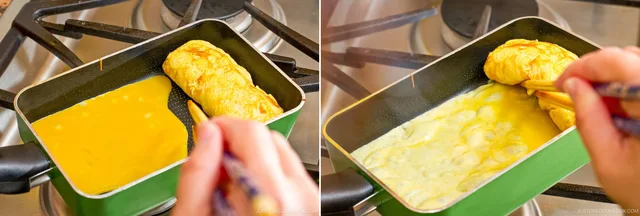
Step 12: On the final round, brown the omelette lightly on each side, if desired.
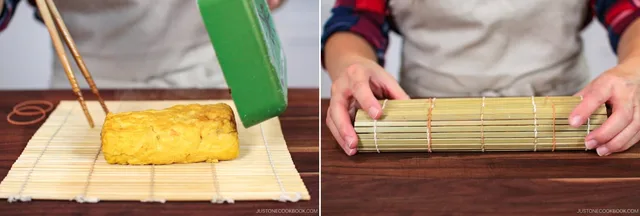
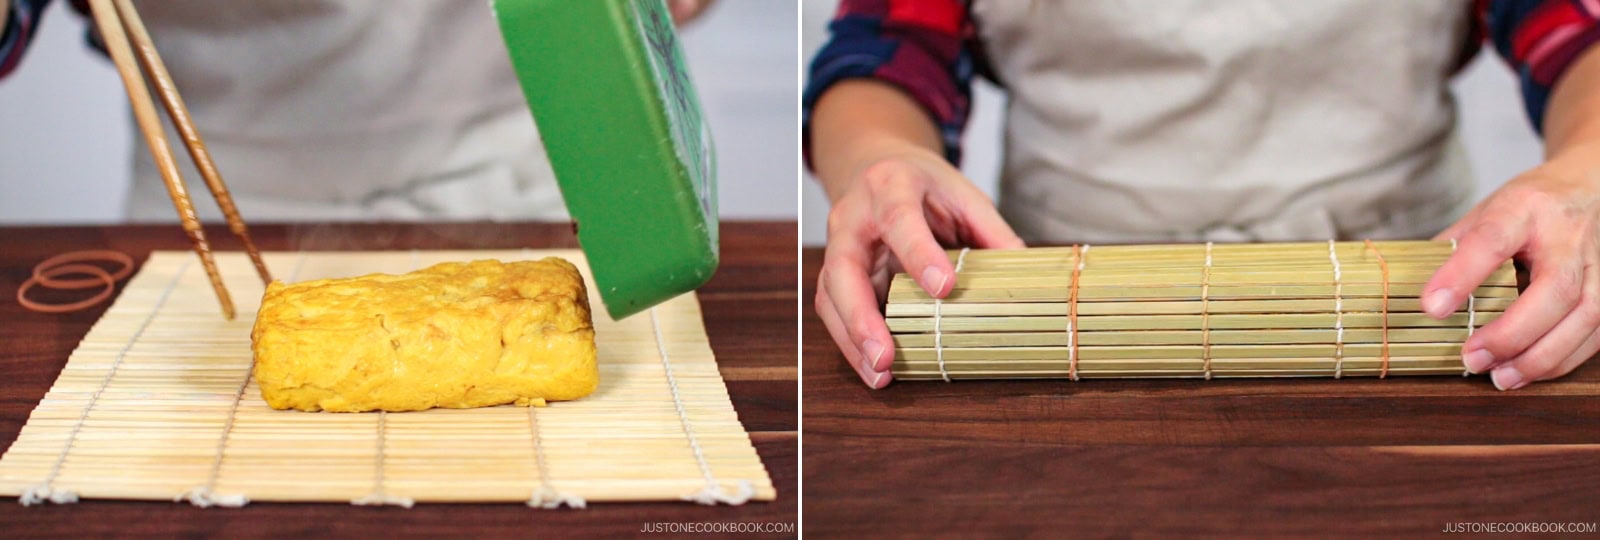
Step 13: Remove the omelette from the pan. While still hot, place it on a bamboo sushi mat and roll tightly to set the shape. Let stand for 5 minutes. Nami's Tip: Rolling in the bamboo mat is optional but recommended for a neat log shape.
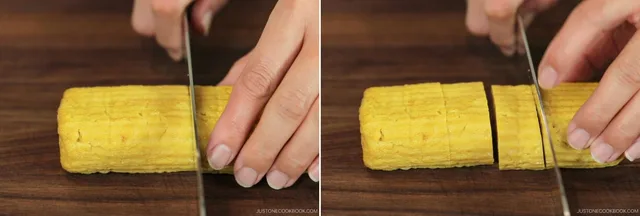
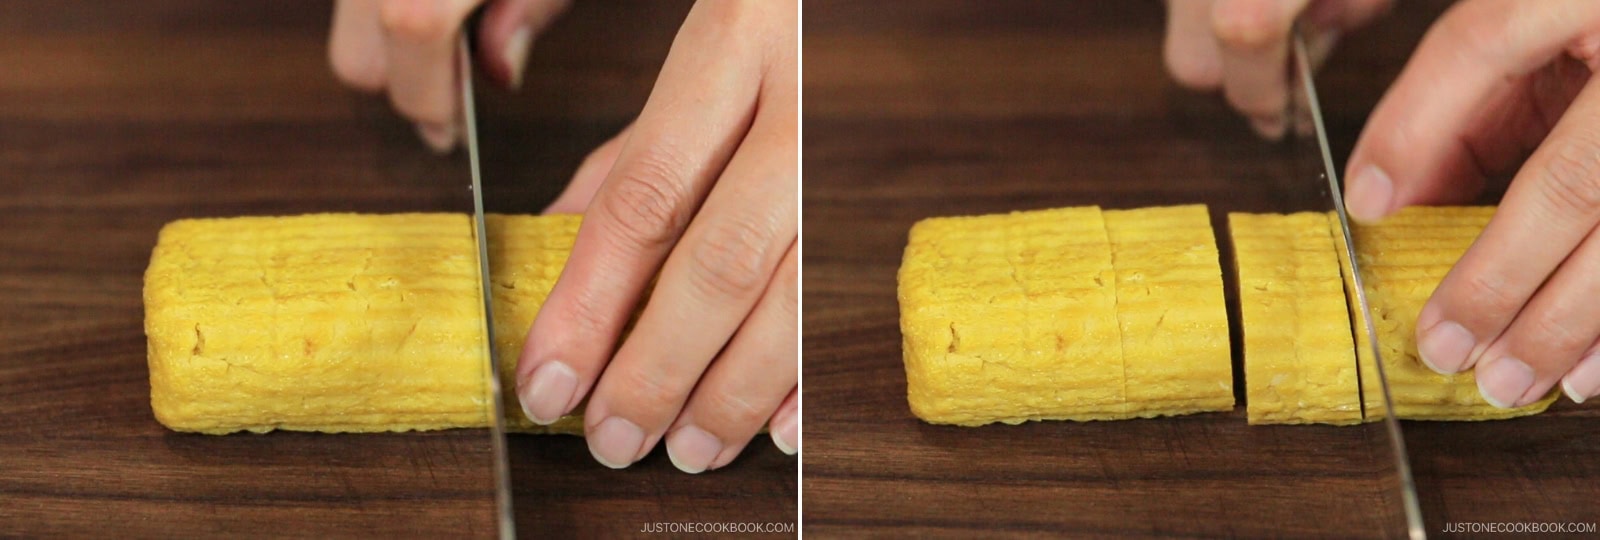
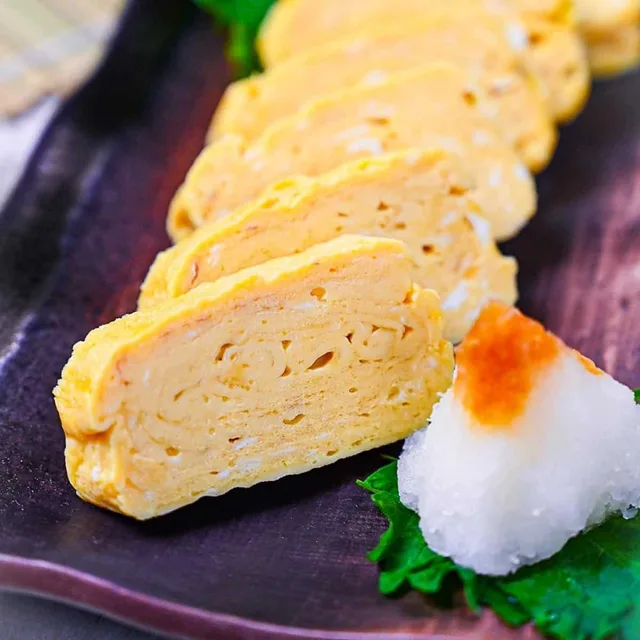
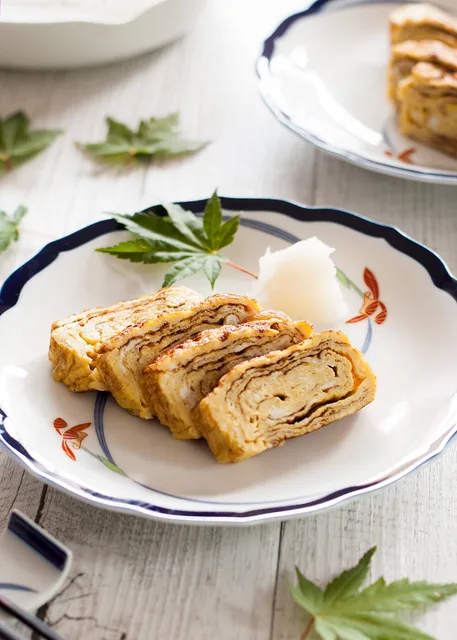
Step 14: Slice the omelette crosswise into ½-inch (1-cm) pieces. Optionally, serve with a mound of grated daikon and a splash of soy sauce on the side. Nami's Tip: Gently squeeze out any excess water from grated daikon.
Photos (1)
Comments
0 threadsSign in to join the discussion.

No comments yet. Start the discussion.