
Vietnamese · Dessert
Sticky Rice and Banana Cakes (Banh Tet Chuoi)
From the zcook collection
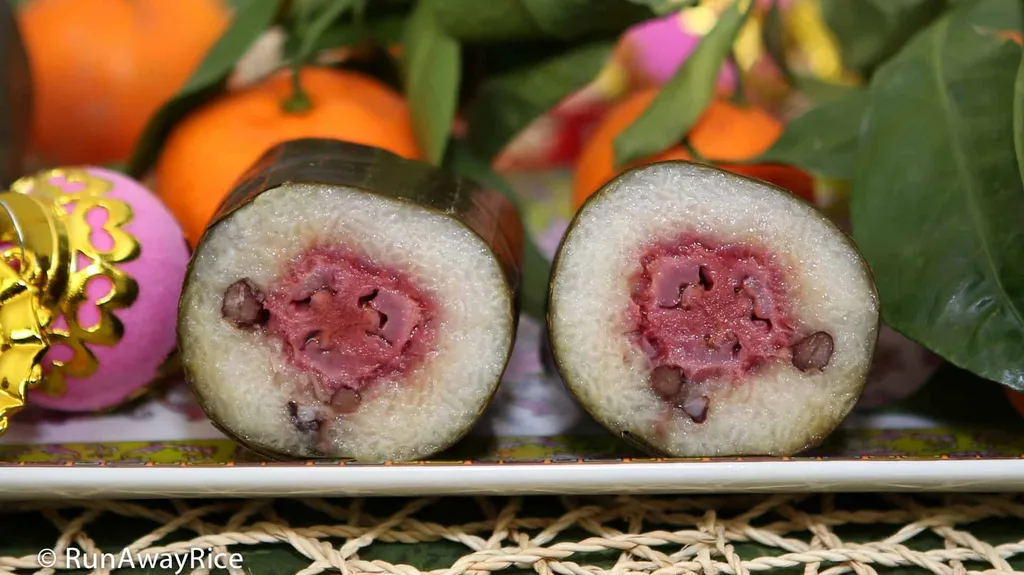
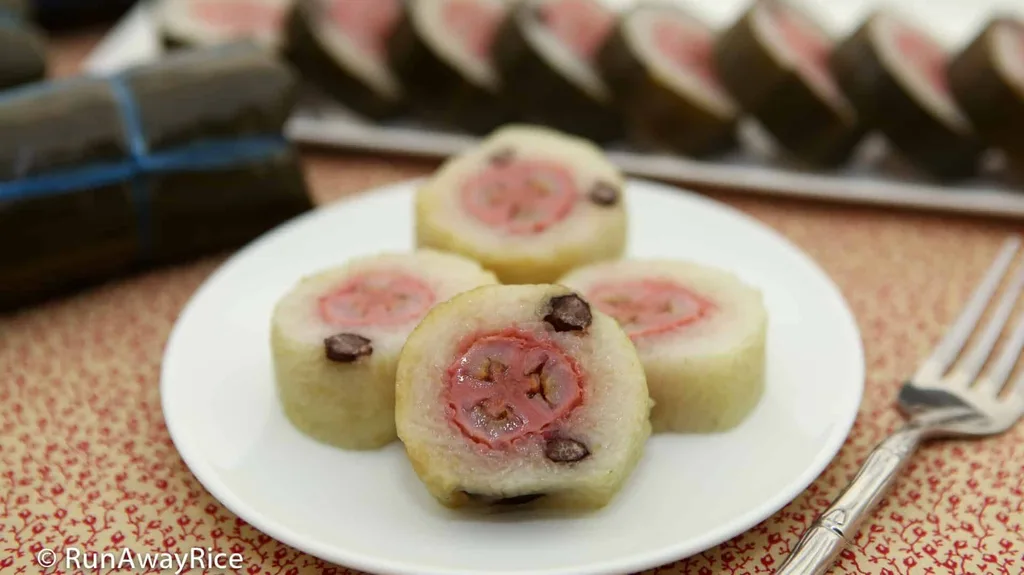
Sweet Thai bananas wrapped in coconut sticky rice and black beans, enclosed in banana leaves and gently boiled on the stovetop. Slice the cooled cakes for a Vietnamese Lunar New Year snack or dessert.
- Vegan
- Dairy-free
- Vietnamese
- Dessert
- banana sticky rice wrapped in banana leaves
- banh tet chuoi
- glutinous rice and banana
- Prep
- 2 hr 45 min
- Serves
- About 8 cakes; assemble as supplies permit
- Level
- Hard
- Energy
- 358 kcal
Method30 steps
Step 1: Gather a ruler, one 12-inch temporary tying string, eight 5-foot lengths of cooking twine, aluminum foil, food-safe plastic wrap, a colander and a large stovetop pot. Have the cleaned banana leaves ready.
Step 2: Wash the glutinous rice several times with clean water, then cover it with warm soaking water and soak for 2 hours.
Step 3: Trim and peel the bananas. Coat them with the rum (1 Tbsp) and sprinkle 1/2 tbsp sugar on the first side. Turn them and sprinkle another 1/2 tbsp sugar on the other side. Cover and marinate in the refrigerator for 2 hours while the rice soaks.
Step 4: Cut sixteen 8-by-8-inch banana-leaf squares for about eight cakes. Keep usable offcuts aside and discard damaged pieces; the leaves are wrappers.
Step 5: Rinse the canned black beans (3 Tbsp) with clean water and drain them well.
Step 6: After the soak, drain the rice, discard its soaking water, and rinse the rice several more times. Drain well.
Step 7: Put the drained rice into a large wok with all the coconut milk (1/3 cup), the remaining 1 tbsp sugar and the salt (1/4 tsp). Stir over medium heat for about 5 minutes, until the rice becomes sticky and takes up the liquid. Turn off the heat, fold in the drained black beans from step 5, and keep the mixture covered while setting up for wrapping.
Step 8: Set up a wrapping space beside the covered rice mixture, the marinated bananas and the leaf squares. Plan on about eight cakes, assembling only as many as the rice mixture and bananas allow.
Step 9: Lay the temporary 12-inch string across the work surface. Place one leaf square over it, shiny side down and veins running horizontally. Add a second square, shiny side up with its veins running vertically.
Step 10: Spoon about 2/3 cup of the rice-and-bean mixture onto the leaves and spread it into a rectangle about 4 by 5 inches.
Step 11: Lift one marinated banana from step 3 and place it in the center of the rice rectangle.
Step 12: Lift the two long sides of the leaves and press the rice around the banana. Bring the leaf edges together and roll down snugly to enclose the filling.
Step 13: Fold the excess leaf ends inward so the filling stays enclosed.
Step 14: Secure the middle loosely with the temporary string while sealing the ends.
Step 15: Stand the cake on one end. Trim excessive leaf length if necessary, fold the open end over the filling, and pat it down firmly.
Step 16: Turn the cake over and seal the second end in the same way.
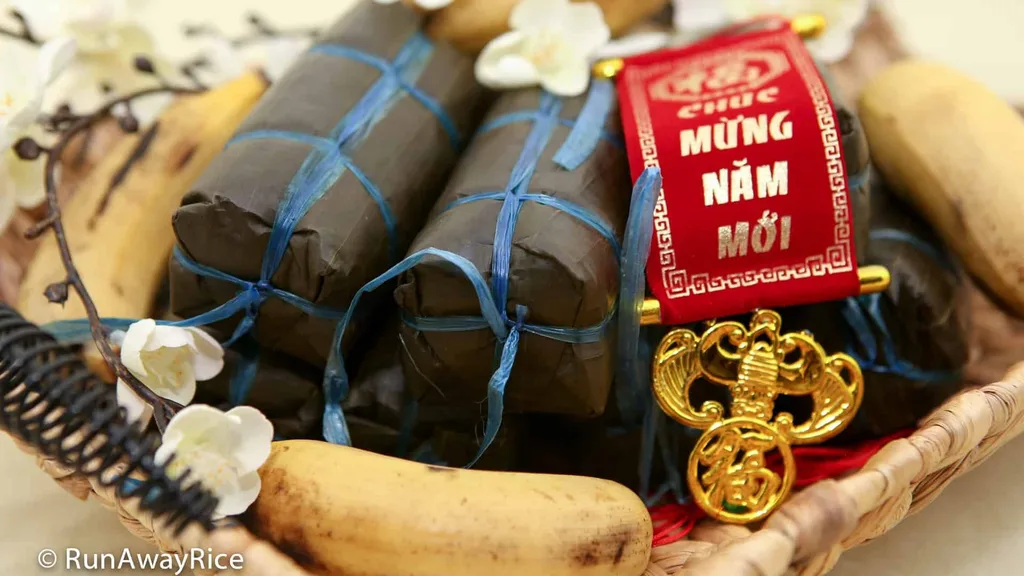
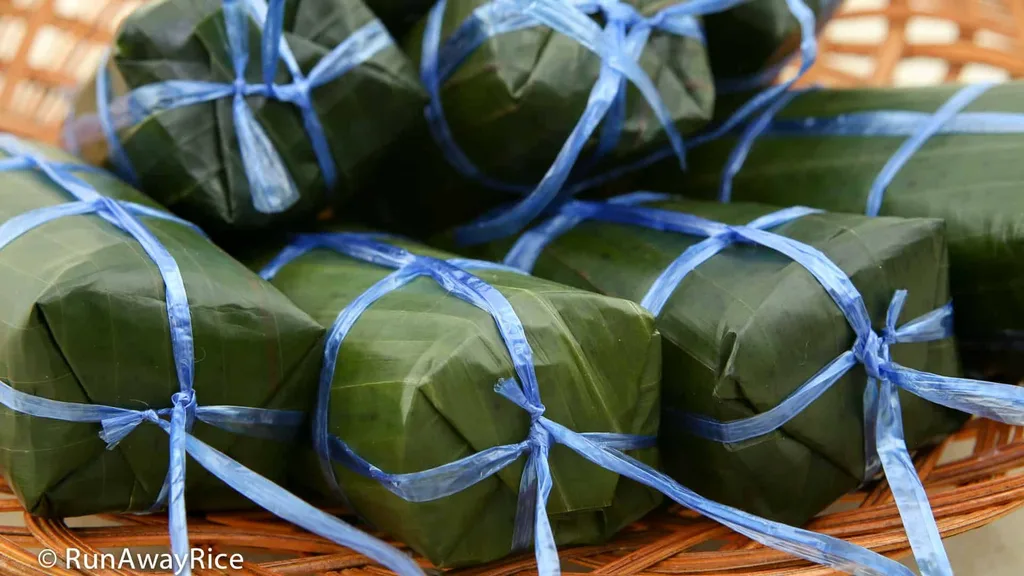
Step 17: Use one 5-foot length of cooking twine to tie the cake securely lengthwise and around its body. Remove the temporary string.
Step 18: Adjust the tied cake into a compact, even log.
Step 19: Repeat steps 9–18 with the remaining leaf squares, rice mixture and bananas, keeping the same per-cake guides. Stop if a filling supply runs out. Refrigerate any unused prepared rice or bananas promptly rather than forcing them into larger cakes.
Step 20: Wrap each assembled, leaf-covered cake in aluminum foil for cooking.
Step 21: Arrange the foil-wrapped cakes in a large stovetop pot and add enough water to cover them. Use a pot large enough for the cakes and cooking water; if cooking separate batches, repeat the full cooking stage for each batch.
Step 22: Bring the water to a boil, then maintain a gentle boil for 2 hours. Start timing once the water is boiling. Check the water level occasionally and top up with boiling water so the cakes stay covered.
Step 23: After the cooking guide, check that the cakes are cooked through and the rice is tender. Continue the gentle boil if needed, maintaining the water level. Turn off the heat when the cakes are ready and set a colander nearby.
Step 24: Lift the cakes into the colander with tongs and drain. Remove the foil, rinse the outside of each leaf wrapper with clean water, and pat dry. Wrap the leaf-covered cakes in food-safe plastic wrap for cooling.
Step 25: Let the cakes cool briefly, then refrigerate promptly to finish setting for at least 2 hours before cutting. Keep the total time outside refrigeration under 2 hours; do not leave them at room temperature for the whole setting wait.
Step 26: Choose one cutting method for each cooled cake: remove the leaves first and slice with string in step 27, or slice with the leaves still on in step 28. Use only one method for that cake.
Step 27: For the first cutting method, remove the plastic wrap, twine and banana leaves. Slide a piece of clean string under the cake, cross its ends over the top, and pull to cut a round. Repeat for the remaining rounds, then skip step 28 for this cake.
Step 28: Alternatively, remove the plastic wrap and twine but keep the banana leaves on while cutting rounds with a knife. Remove the leaves from each round before eating. Skip this method for cakes already sliced in step 27.
Step 29: Serve the sliced banana sticky-rice cakes as a sweet snack or dessert. Remove every remaining piece of leaf, twine or plastic wrap before eating.
Step 30: Refrigerate leftovers promptly in covered containers and use within 3–4 days. The author also offers freezing whole wrapped cakes for up to 6 months; thaw in the refrigerator. Reheat cooked leftovers until hot throughout, reaching 74 °C (165 °F).
Photos (4)
Comments
0 threadsSign in to join the discussion.


No comments yet. Start the discussion.